

Need some quality headphones to connect to your PC? Try the JBL Tune 720BT, now available on Amazon! As an Amazon Associate I earn from qualifying purchases, at no additional cost to you.
During your explorations of some of the late-game areas of Chained Echoes you may run into one or more Elemental Tablets. Lodged in stone altars and a complete mystery at first, the Elemental Tablets serve as keys that lock away the most powerful enemy in the game. You'll need to collect all six Tablets to battle said boss.
This guide will lead you to all six Elemental Tablets in Chained Echoes. Once you've found the Tablets you can take them to the western area of the Ograne Grottos to unlock the boss battle. You can't accomplish this feat until the veeeeery end of the game, so expect this to be one of the last things you do during a playthrough of Chained Echoes.

Water Tablet

Fire Tablet


Light Tablet


The Water Tablet is located in the Narslene Sewers, but you need to take a long route to reach it:
- First, you need Charon's Coin Bag. It's located in a locked manor in the middle of the Rohlan Fields lake. You can unlock the manor with the Manor Key, located in a chest on the bluffs about the Eternal Flame Temple in the northwest of Rohlan Fields.
- Second, you need to find the Elevator Key. It's located in a room right near the end of Magic Academy Nhysa, the final dungeon of the game.
- Third, you need to enter Raminas Tower, climb to the third floor, and use the elevator. The Elevator Key will allow you to descend to the ground floor of the tower, and you can proceed deeper until you exit into the northeast area of the Ograne Grottos. Look to the west of the entrance for a boat that you can sail in using Charon's Coin Bag.
- Fourth, you need to enter the Baalrut Tunnel. Head north of the boat and you can leap down into the tunnel. Go south of the spot where you land and you'll find an exit to the Narslene Sewers.
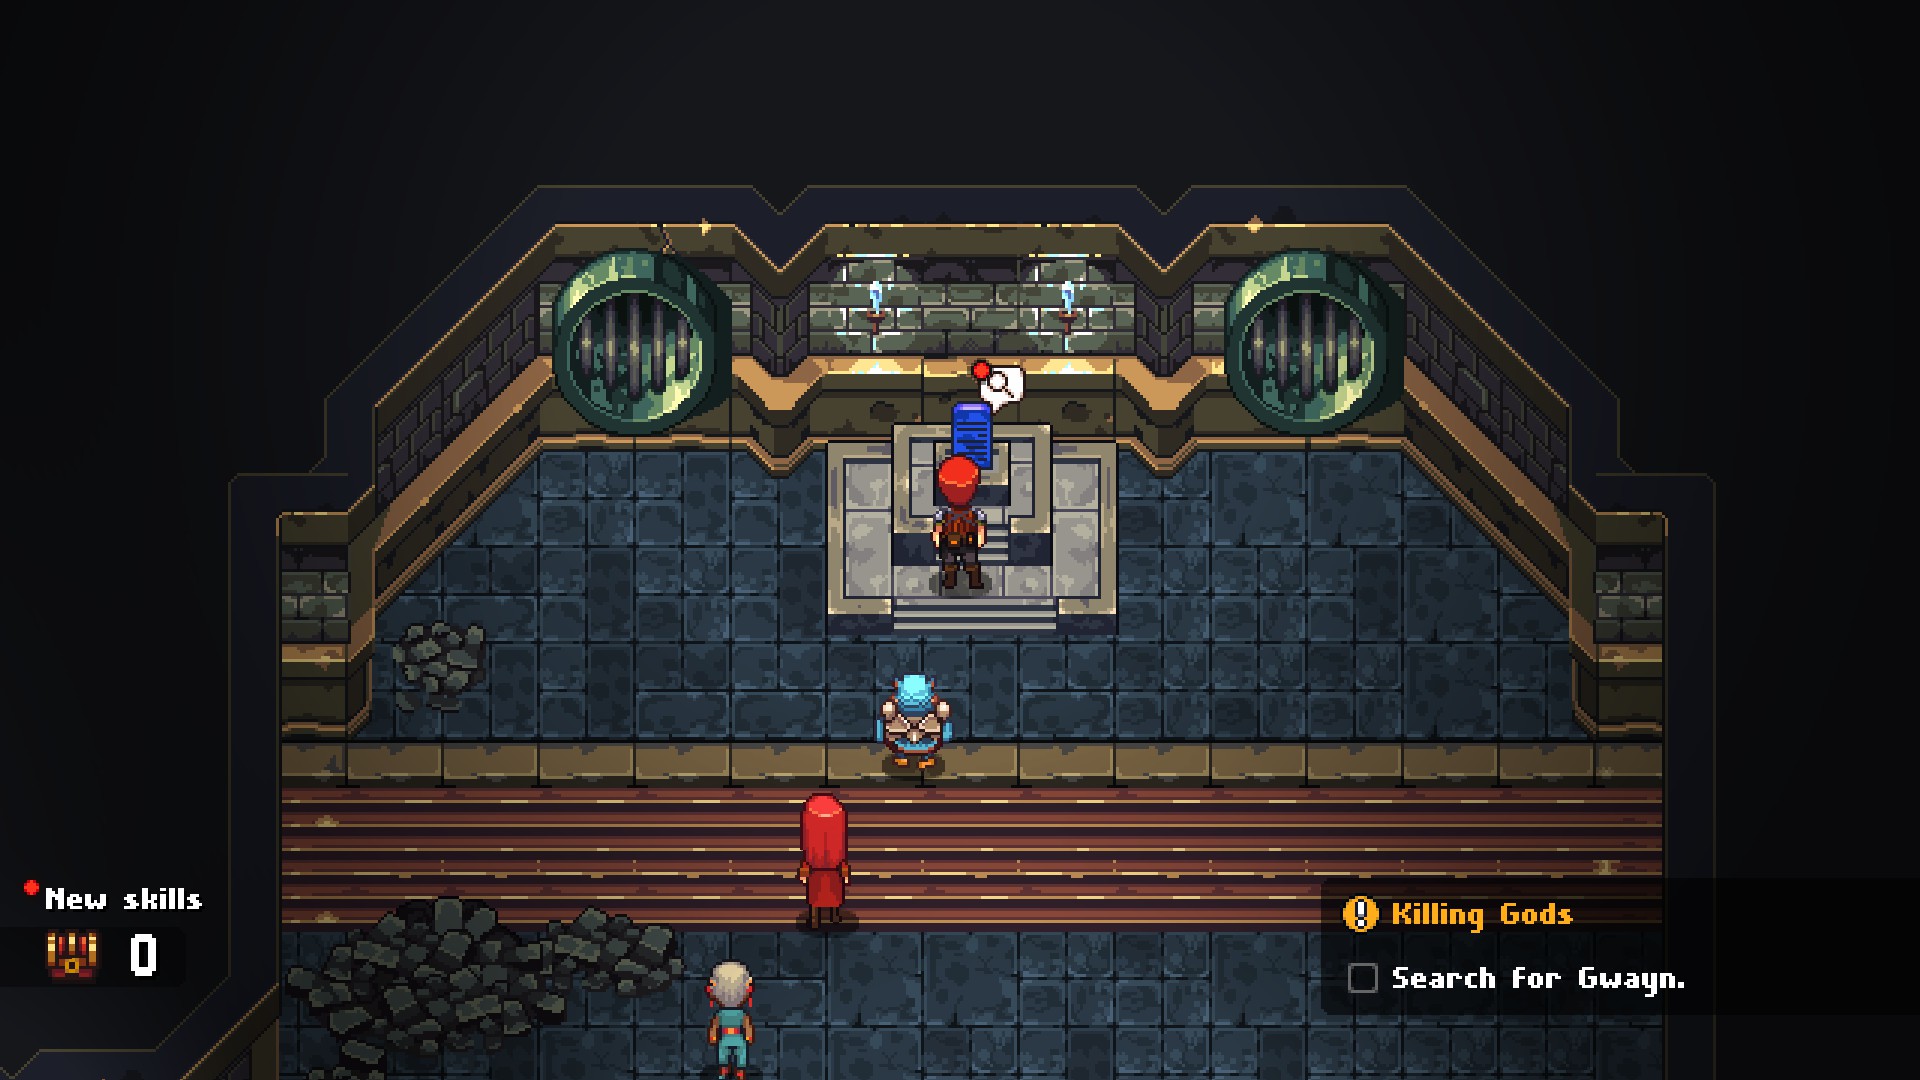
- Fifth and last, complete the final section of the sewers. At the end of the dungeon is a rhyming boss named Boutrous, and when you defeat him you can claim the Water Tablet from the nearby altar. The guide above contains details for defeating Boutrous.
Fire Tablet
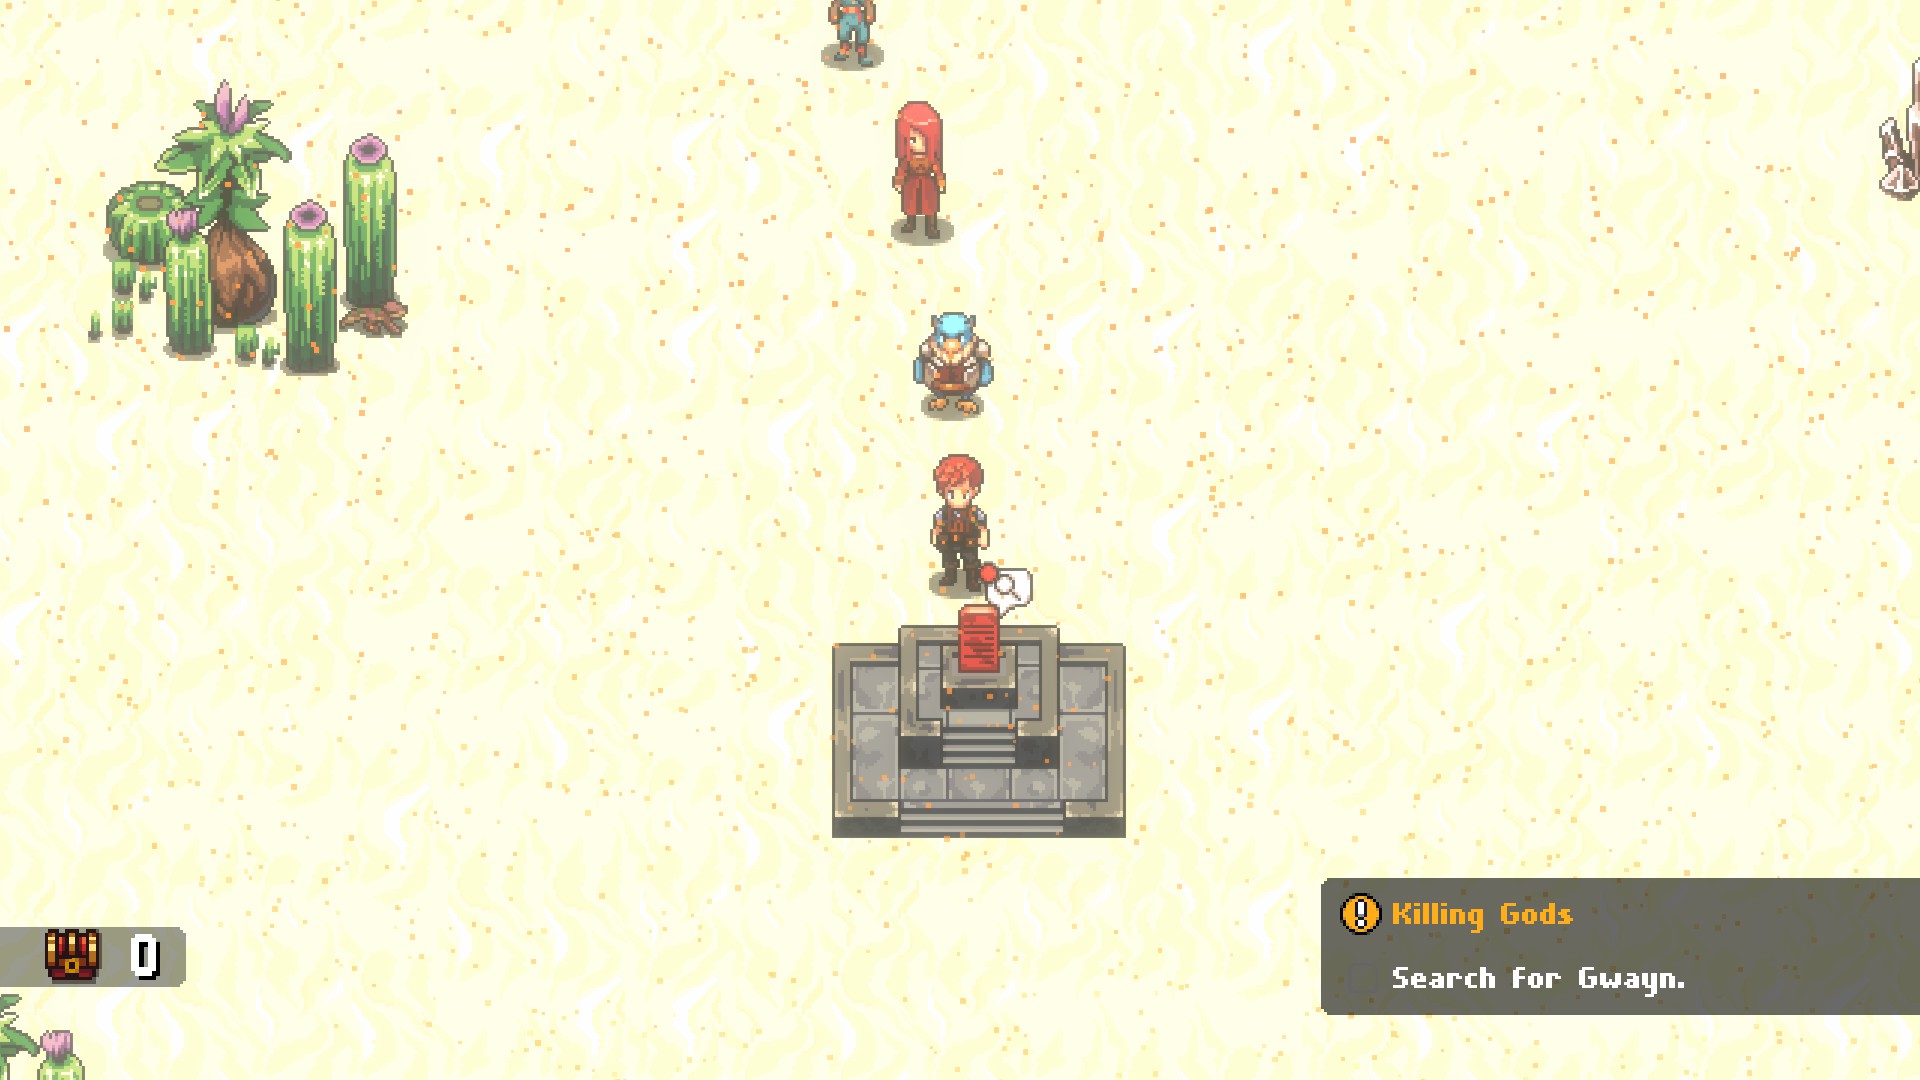
The Fire Tablet is located on the edge of a small oasis. To find the oasis you need to make your way to the Baalrut Tunnel, as detailed under the Water Tablet entry. In the northeast of Baalrut Tunnel you'll face a pair of bosses named Chel and Twi'Tone. Past them you'll find the exit to the oasis. Look south of the water to find the Fire Tablet.

Earth Tablet
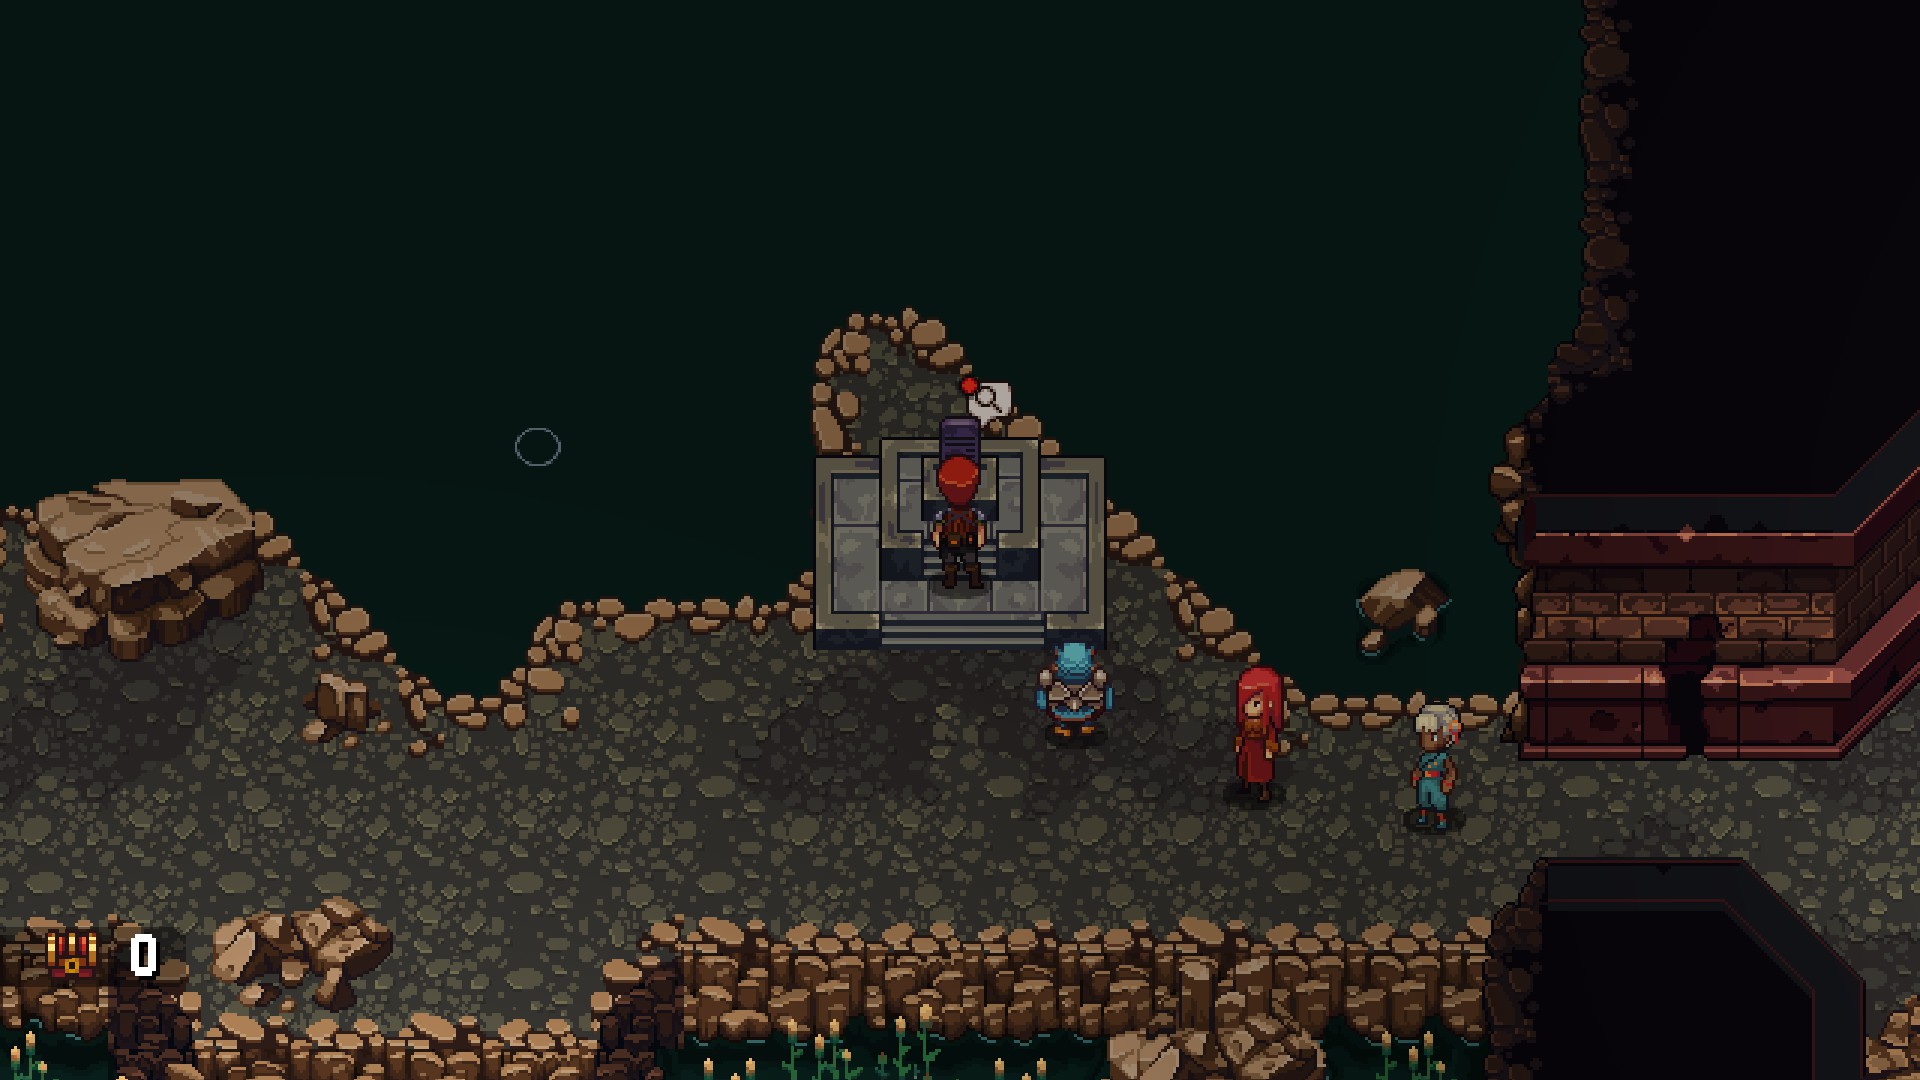
The Earth Tablet is located in Ograne Grottos. To reach it you'll need to find the eastern section of the grottos, as listed under the Water Tablet entry. Head south of the boat's landing point to the southeastern section of Ograne Grottos, and proceed steadily inward. Once you reach the end of this area you'll enter another dimension and face off against the Randomage. Leave his dimension once you've won the fight and you'll find the Earth Tablet nearby.

Wind Tablet
Check in the northeast of Valandis once you've completed the main quest Chained Echoes and reassembled the party. There's a new location up here that resembles rafts being overtaken by tentacles. This little spot represents a small portion of the remains of Marylea, and they've been nabbed by the Krakun, a massive, familiar-looking beast. You'll need to fight the Krakun in Sky Armor to get at the treasure chests it's guarding.

Krakun
Strength: Water
Weakness: Wind
Steal: Nothing
Ah, another of these things. The battle against the Krakun is almost identical to your fight against the Krachen much earlier in Chained Echoes, only this version is substantially stronger. You'll want to have Sky Armor of the 600 level (and preferably the game's two Seraph armors) before you try to take the Krakun on in earnest, as its attacks just hit too hard for lower-level Sky Armor to withstand. It uses the following attacks:
- Tentacle Pierce, a single-target melee attack
- Tentacle Heal, which restores HP to one Tentacle
- Water, an AOE Water spell
- Tentacle Grap, which decreases the size of the yellow section on the Overdrive Bar
- A variety of offensive buffs once other Tentacles are defeated
All of these attacks hit hard and are a pain in the butt, but otherwise this fight is nigh-identical to the one back in the Narslene Sewers. The main difference here is that the Krakun's main body will occasionally use Tentacle Grap, which slowly narrows the 'safe' zone of your Overdrive Bar. You don't want this battle to last too long.
Buff out your party with some defenses to start, and, if you can, Blind the Physical Tentacle so its first hit won't wallop your characters. Then push everyone up to Gear 2 and do your best to demolish the Healing Tentacle in a single round. Once it's out of the way, turn your attention to the Physical Tentacle, then the Magical Tentacle, healing as necessary. The fight gets steadily easier as it goes along, despite the attack buffs, though you still want to keep yourself out of Overheat if you can avoid it.
You'll earn a Grimoire Shard for defeating the Krakun. 21,999a, 14,896a, two Repair Kit DXes, and, most important, the Wind Tablet.
In order to obtain the Light Tablet you'll need to obtain a key item known as the Baibai X. You can purchase the Baibai X from the merchant in the Goblin Village, in the northeast of the Ograne Grottos. You'll need to be in the middle of the side quest A Goblin's Dilemma to gain access to the merchant.
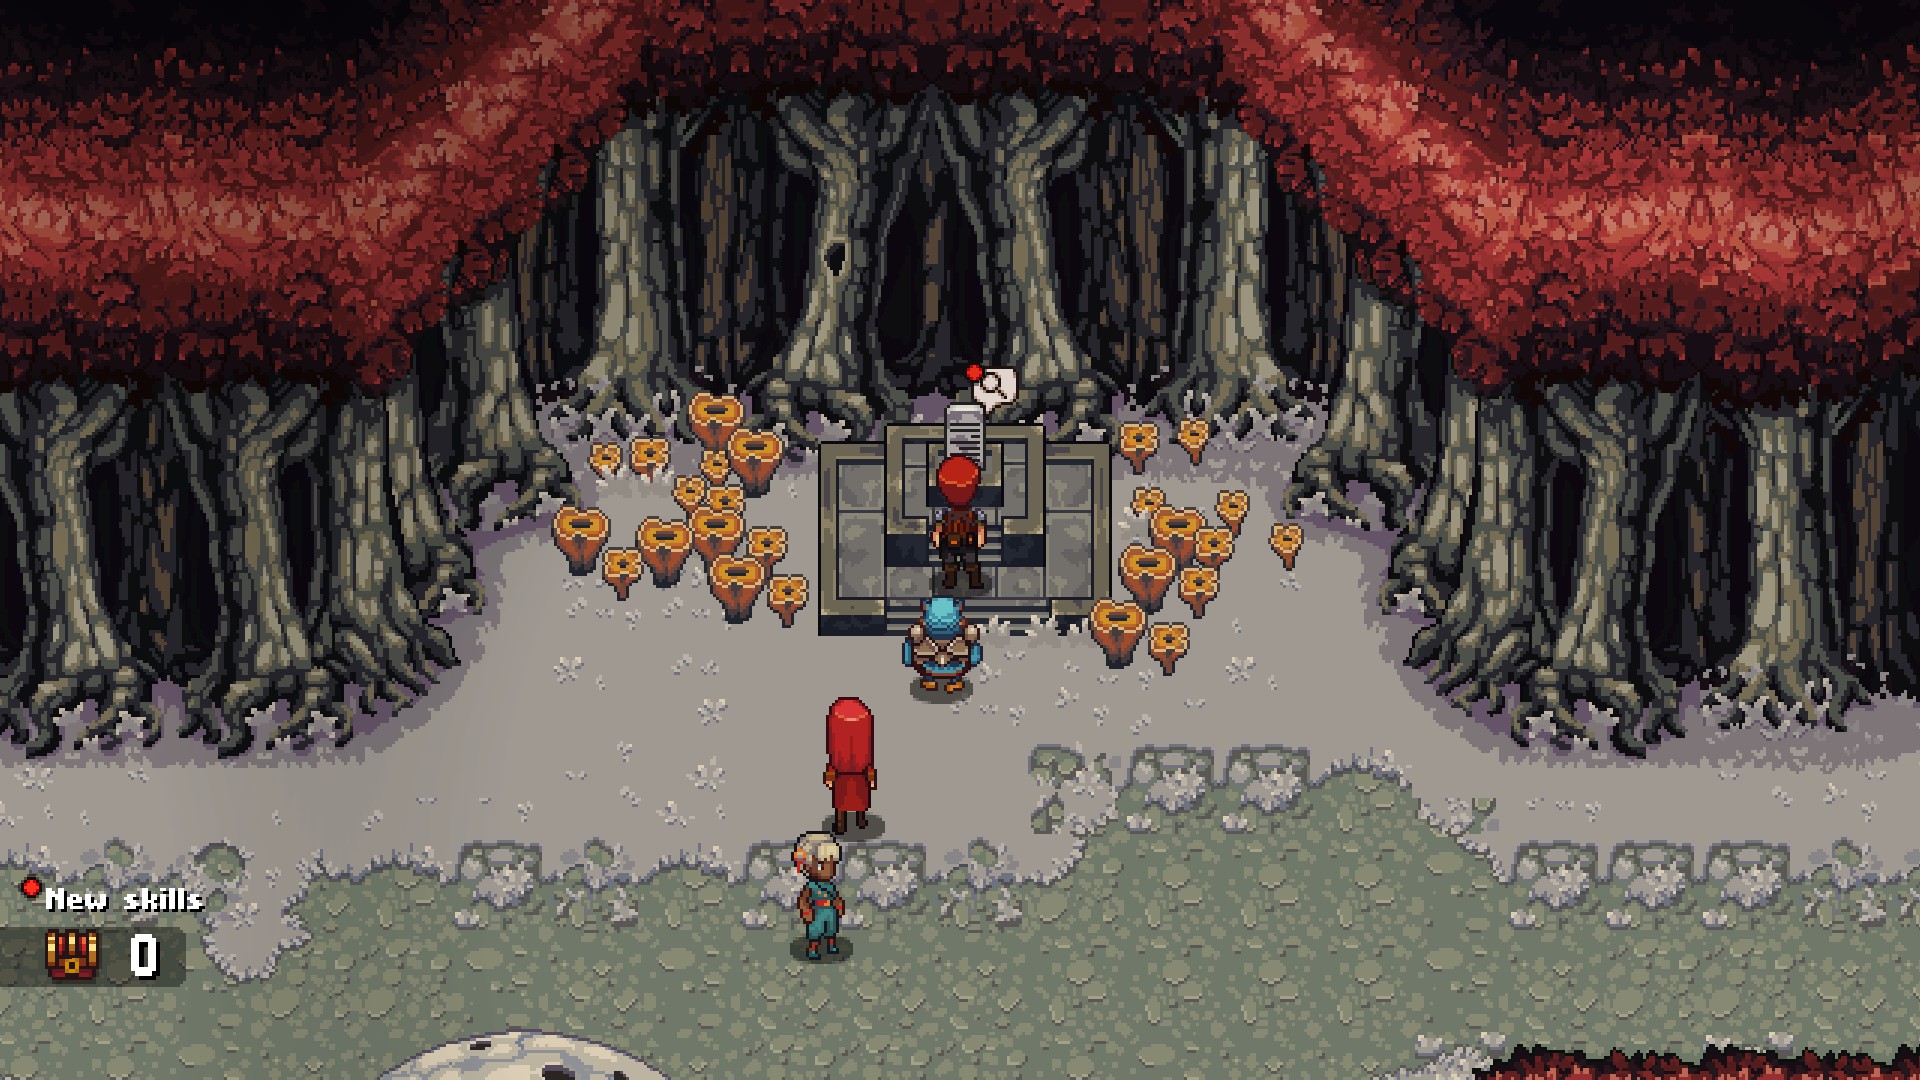
Next you'll need to travel to the northeast of the Flower Fields of Perpetua, which requires trekking north from the southeastern map in your Sky Armor. The Baibai X will allow you to destroy the vines blocking the path into this section of Perpetua. In the far northeast corner of the forest you'll run into the Assassin Girl, and you'll need to defeat her to claim the Light Tablet. The guide above provides details on how to defeat the Assassin Girl.
Darkness Tablet
Once you've completed A Goblin's Dilemma you'll be prompted to follow the goblins as they retreat to the Kortara Mountain Range. Travel to the Goblin Village and look for a sparkling Miner's Key among the mushrooms near the merchant. You can use this key to operate an elevator in the Wygrand Mines, accessible via the northern mining shaft in the town of Rockbottom.
Head east of where the elevator stops and you'll find a door that was previously blocked by a goblin. You can now enter this area to finish up your business with the goblins once and for all. On your way to their totem room you'll find the altar with the Darkness Tablet.
Done!
And that's all of the Tablets! Take them to the altar area in the west of Ograne Grottos and slide the Tablets into the six stone altars. This will create a warp point in the middle of the area, and when you step on it...

God King Gaemdriel
Strength: None
Weakness: None
Steal: Adamantium Nugget
Hoo. This guy is no joke. Similar to the first phase of the final boss but on steroids, Gaemdriel lives up to his title of 'God King' with a bevy of powerful attacks that can swiftly put your team in the ground. You'll need to prepare thoroughly in order to take this guy down. You can expect the following attacks from Gaemdriel:
- Act Thrice
- Physical Mode / Magical Mode, switching between Gaemdriel's movesets
- A random number of physical attacks against random targets, up to four per turn (Physical)
- X-Slash, an AOE physical attack against your entire party (Physical)
- Modus Operandi, granting Physical- and Magic-Resist until Gaemdriel's next turn and switching modes
- Meditation, a buff (Magical)
- Dread, a single-target spell (Magical)
- Heavenly Redemption, an AOE spell (Magical)
- Vengeance, an AOE Dark spell (Magical)
- Poison Smoke, which Poisons the entire party (Magical)
Gaemdriel starts off in Physical Mode, and will batter your team three times per turn with either his normal attack or X-Slash. This mode is easy enough to deal with: Simply put someone out who quickly accumulates Hate (Egyl is probably your best bet) and have them immediately attract Gaemdriel's attention. So long as you debuff Gaemdriel's offensive power they can likely tank his hits while the rest of your team buffs themselves and debuffs the rest of Gaemdriel's stats. Boosting your Agility and debuffing Gaemdriel's is particularly useful going forward.
It won't be long before Gaemdriel uses Modus Operandi and switches to Magical Mode. At this point Hate won't help you much, and you'll need to put up a strong resistance to his magic. There are a number of options you can use, but the easiest to deploy is likely Ba'Thraz's Elemental Orbs, which will raise everyone's Resistance across the board. Heal as necessary, wait for Gaemdriel's resistances to go down so you can hit him again, and keep picking away at him with your strongest attacks.
Eventually Gaemdriel will use Modus Operandi to swap back to Physical Mode. Throw your tank back out and repeat the process as before. Once you reach this point you should have the fight in the bag, assuming you're not struggling too much. In case you are, though, here are some more suggestions:
- Save your Ultra Move for Amalia, and keep her behind someone with good survivability. She can instantly bring your whole party back if you're close to being wiped out.
- Debuff Gaemdriel constantly. You want to keep his offensive abilities stymied throughout the fight. Glenn has several Skills that are great for debuffing Gaemdriel while still doing a bit of damage.
- If you don't want to bring out a tank for Gaemdriel's Physical Mode you can instead inflict Blind on him, though this won't provide you with consistent protection since it wears off after a single round.
- Make sure you dispel the Regen effect attached to Meditation. It will restore 2,000 HP each time Gaemdriel's turn comes up.
- For whatever reason Gaemdriel's version of Poison seems more potent than normal, and can quickly take down your party. If you can heal everyone of the ailment without compromising the fight, do it.
- This always goes without saying, but always keep an eye on your Overdrive. Once it hits Overheat, especially when he's in Magical Mode, Gaemdriel can absolutely decimate your party in a single round.
You'll receive a Grimoire Shard and a King's Monument, as well as 20,000a and 50 SP from the Reward Board, for defeating God King Gaemdriel. You can also pat yourself on be back, because you've just beaten the toughest battle in Chained Echoes. Well done!