

Need some quality headphones to connect to your PC? Try the JBL Tune 720BT, now available on Amazon! As an Amazon Associate I earn from qualifying purchases, at no additional cost to you.
Monsters
- Black Sheep - Drops Black Wool
- Cobwebtadie - Strong to Dark, weak to Fire - Drops Toadstone
- Dune Charger - Strong to Wind, weak to Earth - Drops Electric Hair
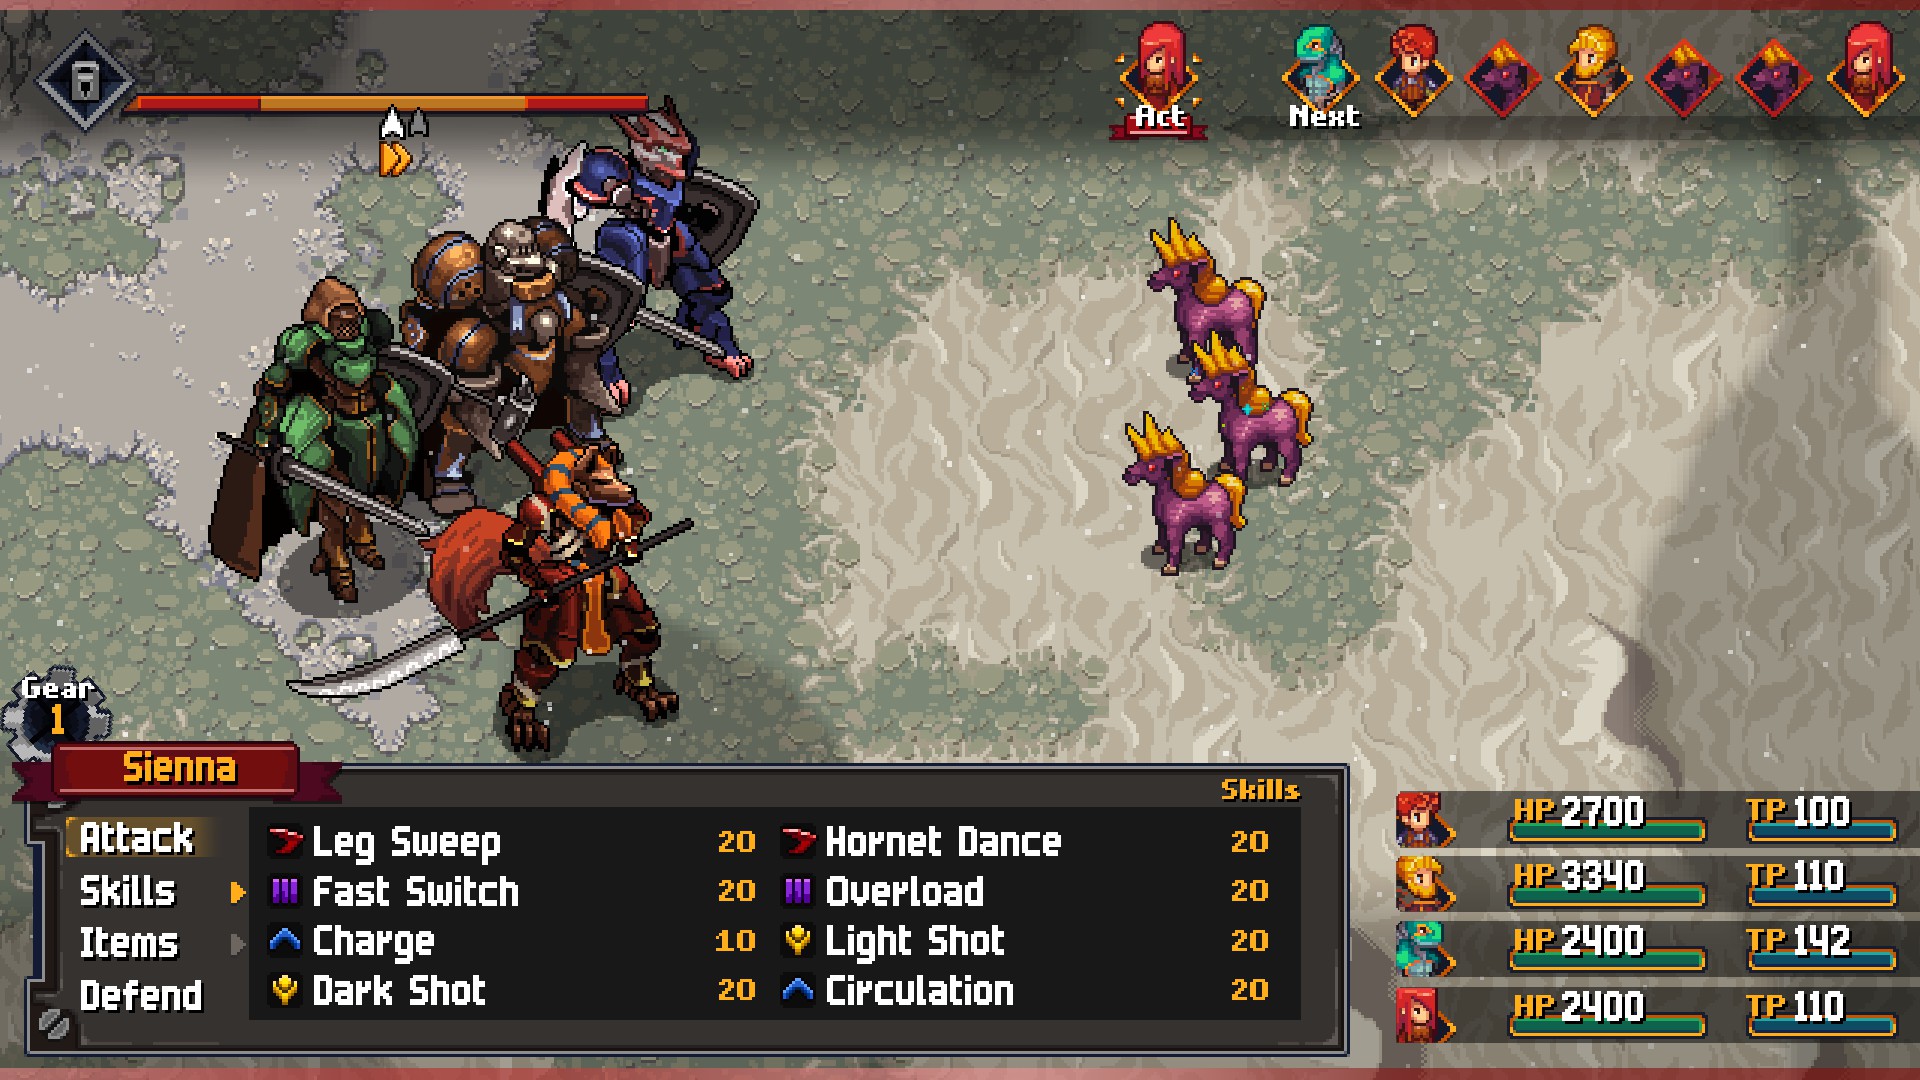
- Sand Shark - Drops Sandy Fin
- Blue Plate
- Creepy Mask
- Cricket
- Lost Badge
- Mushbroom
- Perpetuan Lemon
- Stinky Powder
- Thin Wire
- Tulip
- Water
A burbling swamp that at one point was substantially nicer to visit, the Flower Fields of Perpetua are the end result of using the Grand Grimoire. This place is hauntingly beautiful, and filled to the brim with odd enemies, reactive fungi, and treasure. There's a huge section of the flower fields that you can completely skip, as well, and you'll need to be most of the way through the game to survive the optional areas.
This guide covers the southern and eastern sections of the Flower Fields of Perpetua, all of which are optional. If you're looking for the sections of the Flower Fields of Perpetua that are explored during the game's main quest, you need to look at this guide instead. If you want to visit the rest of the flower fields you'll need Sky Armor, at a minimum, and even then you'll probably want to wait until after you've completed the Empyrean Ruins before coming here. The gear there will make your Sky Armor strong enough to fight the enemies hereabouts.

Southwestern Flower Fields of Perpetua
The southwestern section of the flower fields is pretty similar to what you've already seen in the north: Bog, fungus, and islands. It's one of the easier areas to explore.
- In the northeast is an island with a Crystal Source and a cave that's part of the Ograne Grottos. Inside the cave you'll find a switch that will open a gateway deep within the grottos. When you exit the cave there's a good chance you'll immediately run into Da Capo, a Unique Monster.
- In the east is a stretch of land with a chest on it that's covered in plant life. You can't land on this area, but you can hover over in your Sky Armor. The chest contains eight Giant's Hides.
- In the southeast is a small clearing where you can land your Sky Armor. Here you'll find a chest containing seven Tough Rips.
In the northeast is, yes, another fungus to activate. It will create a path to an island to the west. Activate the fungus here. South of here there should be a fungus path leading further south, to two islands, east and west, where you can activate more fungus. These will create a path connecting to the western chain of islands that you visited earlier.

In the far south is one final island to land on. Activate the fungus here and you will connect all three fungal paths. North of this island is a long fungal pathway, and if you follow it to the end you'll find a golden box containing a Soul of Farnese. Took a while, but worth the effort.
Southern Flower Fields of Perpetua
The west side of a huge desert, the southern section of the Flower Fields of Perpetua is a nice change from the rest of the region. You can more or less fly around with impunity in your Sky Armor and collect things without needing to resort to puzzles. Roaming the desert are Dune Chargers that will absolutely wreck your party if you try to fight them outside your Sky Armor, and if you hover close to the ground you may run into the occasional squad of Sand Sharks.
- In the northwest, along the shores of the bog, you'll find two Crystal Sources.
- In the southwest you'll find a metal box containing an Elemental Cannon M200. Helpful arrows in the desert point the way if you get lost.
- In the east is a crescent-shaped rise, in the middle of which you'll find a Crystal Source. Check the northern rock wall of the crescent for a heap of rubble that's hiding a cave. Inside the cave is a red chest that contains a Koncerz.
- Along the east side of the desert you'll see what appears to be a huge X in the sand. Check the middle of the X to receive a buried Soul of Farnese.

- Smack dab in the middle of the desert is a church. Normally it's locked, but if you retrieved the Church Key from the end of the Empyrean Ruins you can enter. Inside is an altar and a few paintings. Check the painting of the tree on the right for a switch. This will open a stairway in the church leading down to a pair of enormous stone tablets. Checking them will reveal the locations of three hidden statues to the Heroes of Leonar, located throughout Valandis.
- In the southeast you'll find a metal box containing Offensive Drones O200.
- In the northeast you'll find a camp full of researchers. A short walk southeast of the camp is a Crystal Source.
- In the dunes to the southwest you'll find a Crystal Source by itself. A little further north of here you'll see a buried treasure sigil. Follow its northern arrow to find another arrow beside a clump of land sticking out of the sand. Check the left side of this little rise for a buried Guarding RAM.
- In the northwest you'll see the sand burbling up out of the ground. Touch this spot and it will disappear. Travel to the northeast, to the right of the camp, and you'll see the sand burble again. Another touch and it will vanish. The third time the burble will be north of the church, and approaching it will reveal Humphrey the Hungry, a Unique Monster.

Eastern Flower Fields of Perpetua
Unlike the majority of the Flower Fields of Perpetua, the eastern area is bog-free. Instead you'll find a maze-like section populated entirely by Black Sheep. These enormous creatures are quite powerful, and must be fought in Sky Armor. This area of the flower fields is filled with obstructions, forcing you to hover north from the entrance in the south if you want to get anywhere.
- Right in the middle of the map is a little clearing with a chest. You can fly up onto the bluffs above the clearing, land, hop out of your Sky Armor, and climb down into the clearing. The chest contains Sacred Water.
- North of the entrance you'll run into your first Black Sheep, and its Stomp attack will hit your whole party for hefty amounts of damage. If you struggle with this thing then you probably can't handle the rest of this area, as you'll need to fight them in pairs. They have high defenses, but status ailments like Poison and Blind will make battling Black Sheep a fair bit easier.
- In the southwest of this area you'll find a metal box containing a Filthy Touch RAM.
- In the northwest you'll hit a clearing with two Black Sheep. If you can defeat them you can pop open the metal box they're guarding, which contains Dark and Light Resist RAM.
- Just north of the clearing with the Sacred Water chest you'll find a Crystal Source.
- In the northeast is a clearing defended by two more Black Sheep. You'll need to be strong enough to beat these things if you want to go any further north.

A quick walk inside you'll find a merchant, who pleads for you to rescue his daughter from an assassin. East of here you'll run into three Cobwebtadie, nasty creatures that use painful poison attacks and explode when defeated. Make sure everyone in the party has a decent amount of health before you kill one. (Fortunately, you can skip all of these battles in the forest if you're careful.) East of the Cobwebtadies you'll find a split in the path. To the north is a chest containing six Emperor's Hides, while to the north is a chest containing six Ancient Carcasses.


Weakness: Water
Steal: Nothing
Ouch. This fight is incredibly nasty, though not for reasons you might expect. The Assassin Girl isn't interested in doing incremental damage, and is focused on taking out her target, the daughter of the merchant. You need to take her down before she can achieve her objective. The Assassin Girl has the following attacks:
- A stab, which can instantly kill up to two of your party members
- Thousand Daggers, which reduces everyone's health to 1
- Doppelganger, creating an image of a Grandma Assassin that will heal the Assassin Girl
- Doppelganger, creating an image of a Wolf Assassin that will use Wide Slash
- A move towards the Assassin Girl's target