

Need some quality headphones to connect to your PC? Try the JBL Tune 720BT, now available on Amazon! As an Amazon Associate I earn from qualifying purchases, at no additional cost to you.
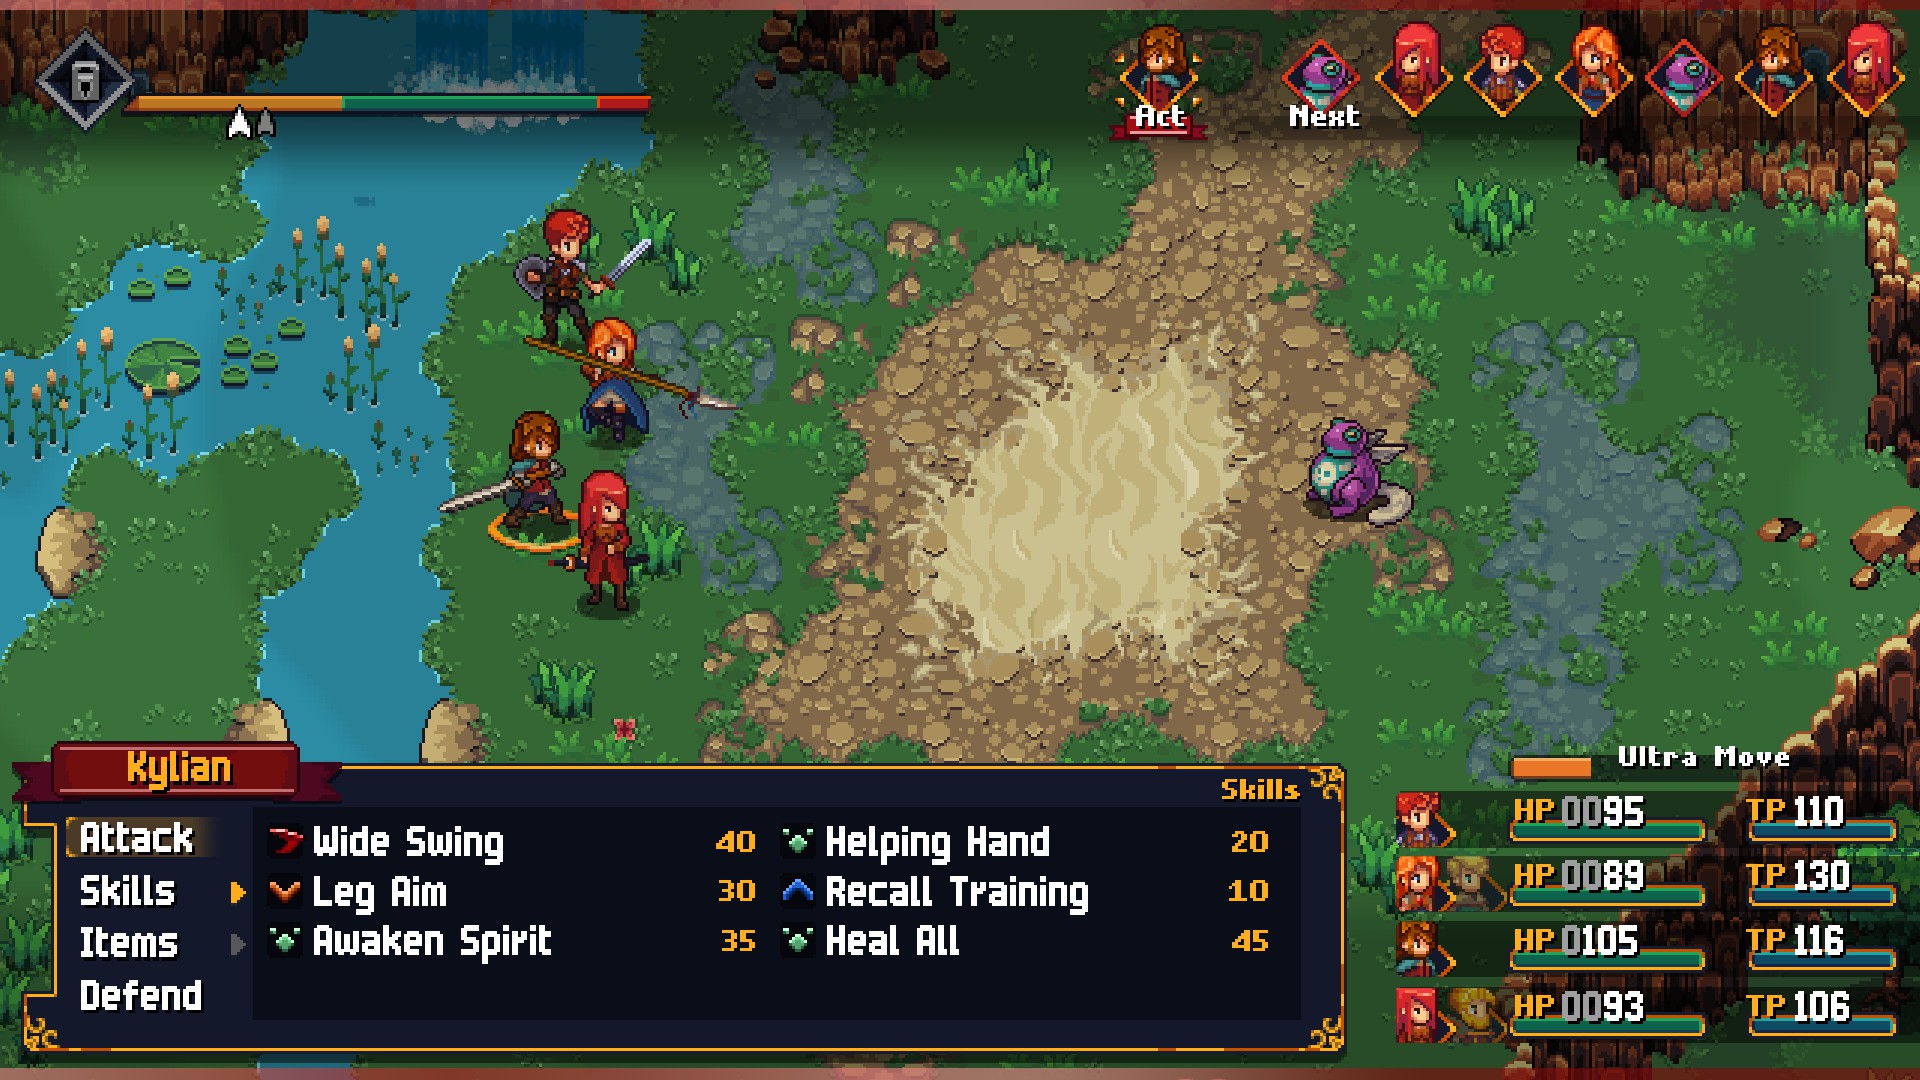
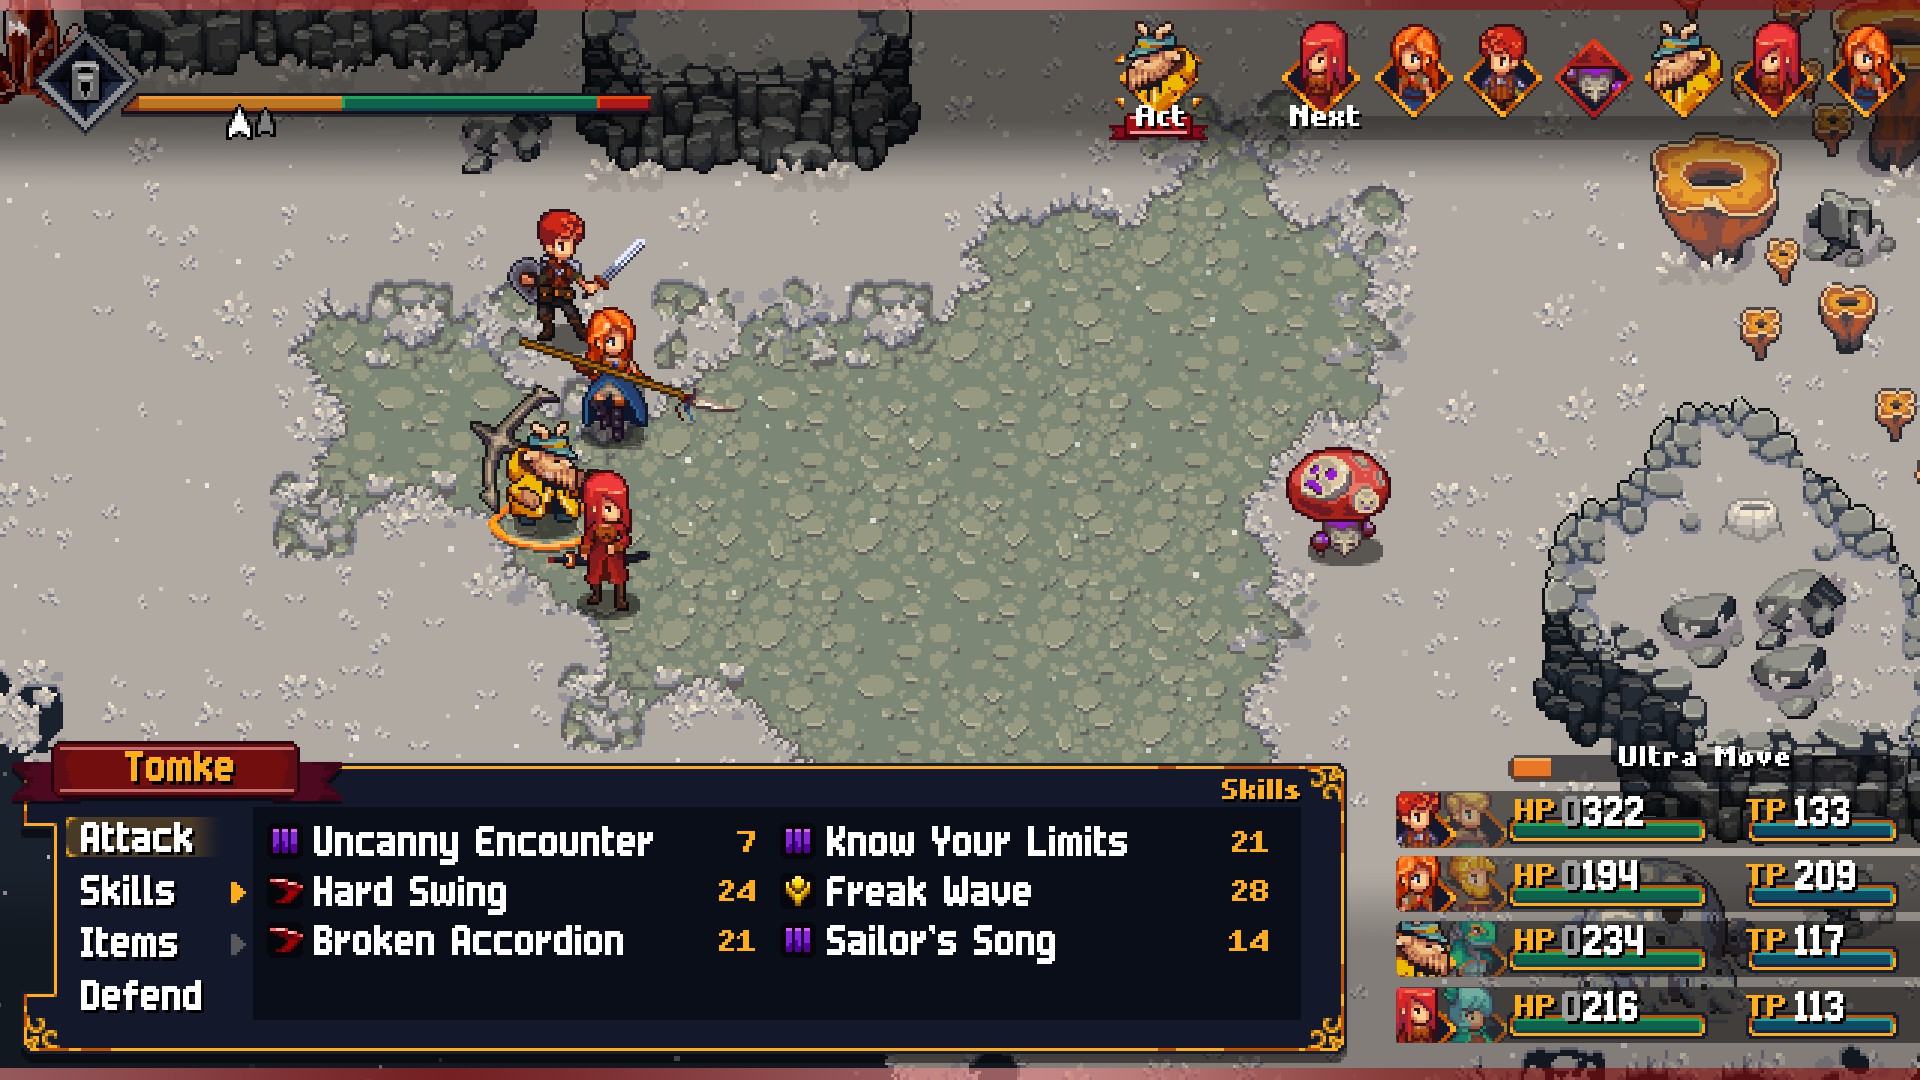
Early in your Chained Echoes adventure you'll be introduced to the concept of Unique Monsters. A set of singular, powerful beasts that nest throughout the world, Unique Monsters are optional battles that will test your combat skills to their utmost. These fights are brutal, even if you over-level, and can challenge even the best of players.
Though beating Unique Monsters is tough, they're worth the trouble. In addition to the occasional unique item that they drop, Unique Monsters have spots on the Reward Board that will gift you with additional prizes, including huge amounts of SP. Once you've joined the Adventurer's Guild you can also speak to their Guild Leaders about defeating Unique Monsters, and they'll throw even more rewards at you.
This guide will help you take down the many Unique Monsters of Chained Echoes. Bear in mind that some of them hit so hard that fighting them early is downright impossible. If you can't find a way to beat one of these things, come back later after you've acquired more Grimoire Shards, and / or some suits of Sky Armor. They'll always be waiting in the same spots. They will also come back after being defeated, allowing you to farm each Unique Monster for resources.

Tak the Yak
Location: Rohlan Fields, in a clearing north of Farnsport
Recommended Level: 8+
Strength: None
Weakness: None
Steal: Yak Horn
Weakness: None
Steal: Yak Horn
That's a big yak. If you decide to battle Tak the Yak during your first encounter with the beast then it will, indeed, prove quite the opponent - but not unbeatable. Tak has straightforward but painful moves:
- A normal strike which does around 40 HP of damage
- Ram, which hits one character for tons of damage, often enough to OHKO them
- Stomp, which hits everyone for around 40 to 50 HP
- Bass Bleat, which usually does nothing but can potentially paralyze one or more characters
Tak isn't complicated, but it is tough. It will use Stomp an unfortunate amount of times in a battle, pummeling your whole party and pushing the Overdrive into Overheat on a regular basis. Its other moves are also annoying, but they're far less irritating than Stomp.
Start off by hitting Tak with every debuff in the book, particularly Kylian's Leg Aim. This will give you more time to get off attacks. By the time that's done Tak will usually get off an attack, and if it's Stomp you'll want your Cleric to use Heal All. You must keep using Heal All during this fight, so make sure it's on someone fast enough to outpace Tak each round. Leg Aim will help with that. If your Cleric won't get to heal everyone before Tak goes again, have Kylian heal with Helping Hand or start breaking out items.
Key to this battle is keeping the Overdrive low. If it gets too high Tak's Stomps will quickly obliterate your crew. Using items will prevent the Overdrive from going any higher, and swapping your characters around will push it back down. Defending is a good option, as well, since it will also greatly deaden the effects of Tak's hits, alongside reducing your Overdrive. Hit when you can, use Ultra Moves whenever they come up - Glenn's is always great, given the wide range of debuffs attached - and you will, eventually, prevail against Tak.
Tak the Yak may drop a Yak Horn when defeated. Check Tak's spot on the Reward Board and you'll earn 100a, 50 SP, and five Bamboo Fibers. Speak to a Guild Leader to receive five Snacks, two Angel Wings, and 200a.

Mimic
Uh... yeah. This counts. North of the entrance to Fanrsport on the Rohlan Fields you'll find a man named Don Q freaking out about windmills. Approach the windmill to the west of him and you'll discover that it's a Mimic. A few hits will take it out, and Don Q will give you a Rapier. You can also claim the kill on the Reward Board: 100a, 50 SP, and five Iron Ores. Barely seems fair, but... whatever.
Leaping the Frog
Location: Rohlan Fields, one screen north of Basil
Recommended Level: 8+
Strength: Wind
Weakness: Earth
Steal: None
Note: Leaping the Frog seems to disappear from its nest occasionally. I suspect this is a bug. If it's not in the sand pit, either leave the screen and come back or save and reload your game. Leaping should spawn.
Not quite as difficult as Tak the Yak but still very painful for a new party, Leaping the Frog is a lot to handle. It has three attacks, though most of the time you'll only see one of them. (And pray you don't see the other.)
- A normal strike that does moderate amounts of damage - Leaping typically uses its normal attack on its turns
- Water, which hits everyone for moderate amounts of water damage
- Frog Song, which gives Leaping Regen status
Leaping is dangerous primarily because it's very fast, even against higher-level parties. Debuffing its Agility with Kylian is more or less mandatory, as is debuffing both its physical and magical stats. Put a Cleric on constant healing duty with Heal All in case Leaping uses Water, then keep attacking the frog while maintaining an even Overdrive. Water can decimate your party if you move into Overheat, though putting Water Resistance Crystals in your equipment will offset some of the damage. Victor will do lots of damage with his Earth magic in this battle.
One of the greatest temptations while battling Leaping will be to rush the fight. Leaping has a lot less health than other Unique Monsters, and you'll see its HP bar draining quickly as you attack. Don't fall for this trap. If you push an offensive too often Leaping will hurtle your Overdrive Bar into Overheat, and everyone can get knocked out in an instant if it decides to use Water. Remain patient, mitigate Overdrive buildup as necessary, and claim your victory.
You may receive a Poached Leg for defeating Leaping the Frog. Check the Reward Board and you'll earn an additional 100a, 50 SP, and five Weathered Bones. Speak to a Guild Leader and you'll receive three of each of the Overdrive items, as well as 500a.

Ekskalibur
Location: Central area of the Fiorwoods
Recommended level: 12+
Strength: Earth
Weakness: Water
Steal: Nothing
A red-eyed terror, Ekskalibur is located in the central section of the Fiorwoods, though you won't normally run into the turtle. To spawn Ekskalibur you need to find a copse of trees in roughly the middle of the area (though a smidge closer to the south). Run around the trees three times and Ekskalibur will appear to the northeast.
Ekskalibur has a few attacks:
- A normal melee strike
- Magic Shield, which buffs its magical defenses
- Physical Resist, which completely negates any physical damage
Ekskalibur will activate its physical resistances after taking one physical strike, and any physical attacks you use after that point will either do no damage or miss entirely. You'll need to use magic to beat the turtle. Debuff Ekskalibur into oblivion - it's quite a slow enemy, so you'll have plenty of time to do this - then pull in characters like Lenne, Victor, and Ba'Thraz, and have them smack the turtle around with magic, preferably Water attacks. It's not a terribly difficult fight, even at lower levels, though it might take a while.
Ekskalibur may drop an Excalibur Replica when defeated. Check the Reward Board and you'll earn 200a, 50 SP, and five Long Feathers. Speak to a Guild Leader to earn an additional 2,500a. Beating Ekskalibur also spawns the next Unique Monster down on the list...
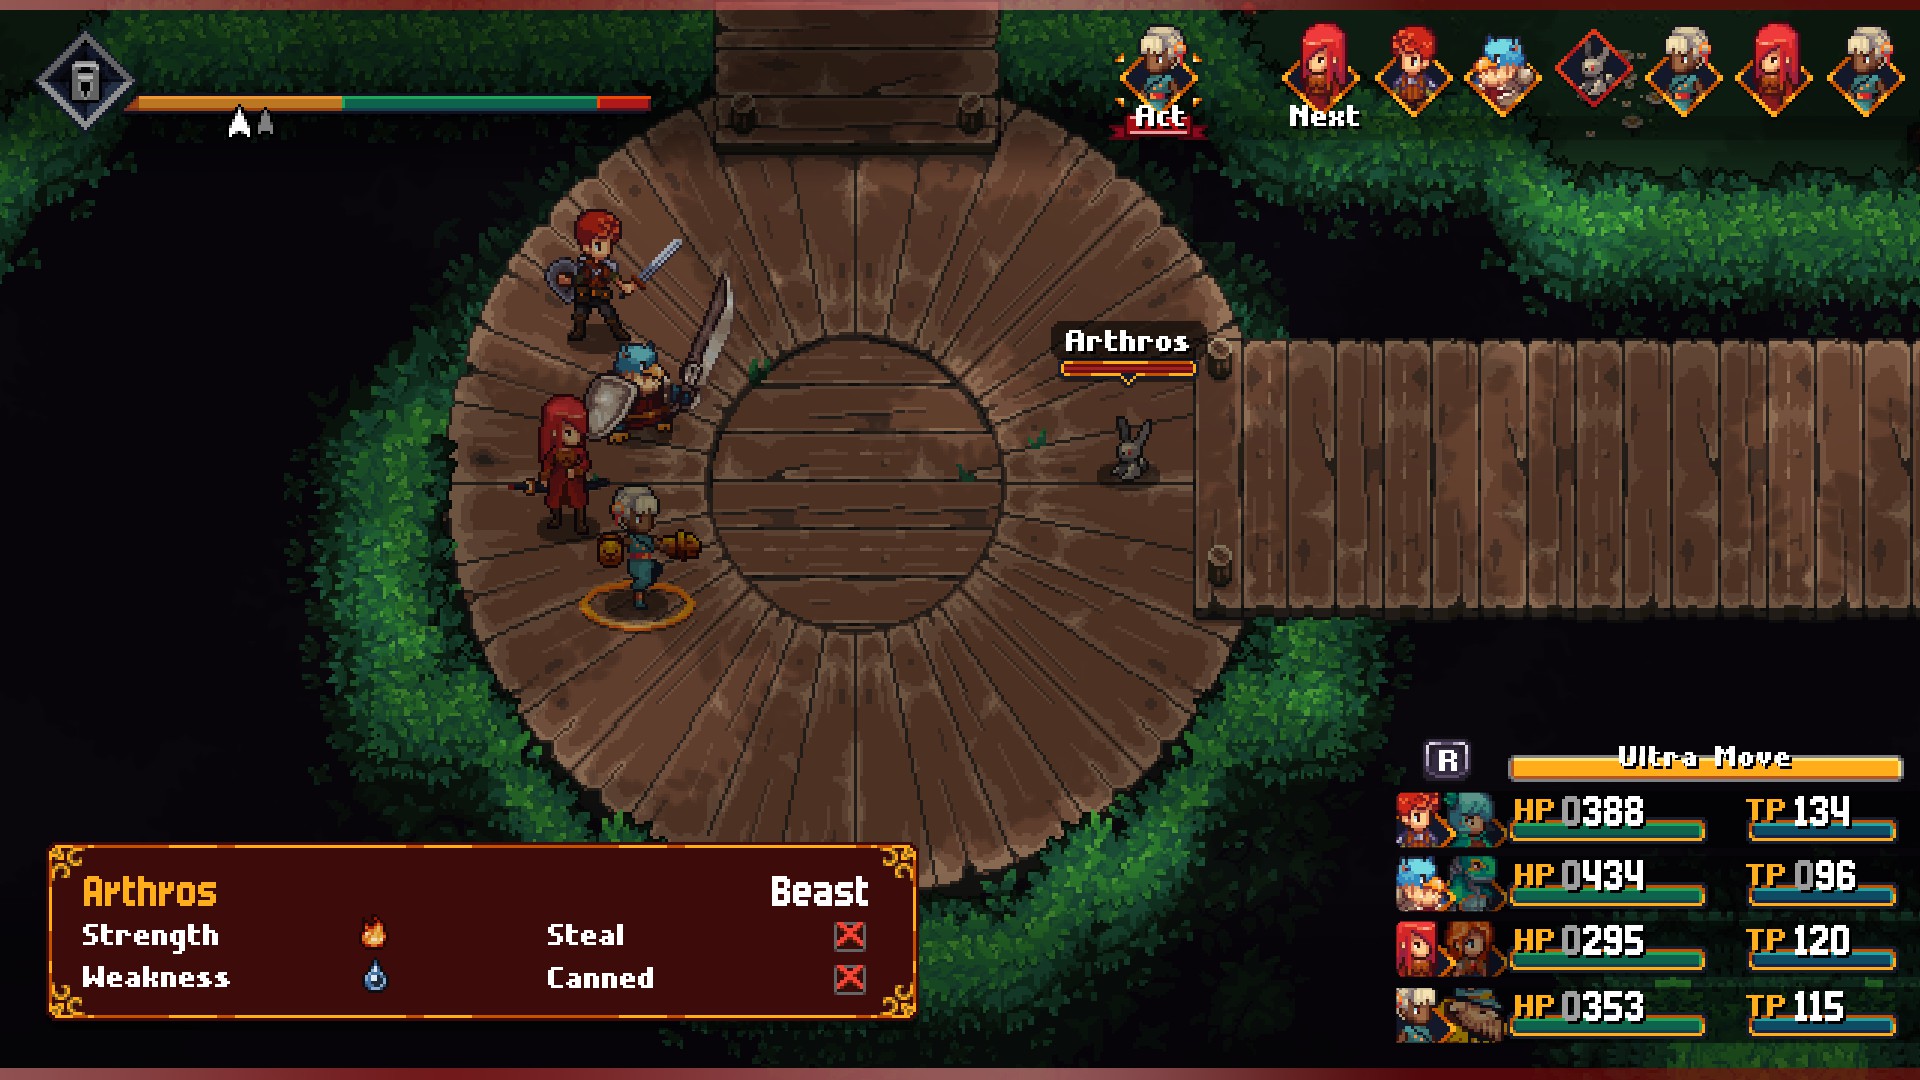
Arthros
Location: Western area of the Fiorwoods
Recommended Level: 15+
Strength: Fire
Weakness: Water
Steal: Nothing
Another red-eyed creature, Arthros is linked to its buddy Ekskalibur, listed above. It appears in the western section of the Fiorwoods, but will only show up once you've defeated Ekskalibur. Do that, then check the southwest of the boardwalks in the west of the Fiorwoods. Arthros will leap out to fight once you enter the correct area. You must fight Arthros before leaving the woods, or Ekskalibur will return to life and you'll need to fight it again to make Arthros appear.
As far as evil rabbits go, Arthros isn't that big a deal. It uses the following attacks:
- A normal melee strike
- Physical Evade Maneuver, which greatly boosts Arthros' Evasion
- Into the Abyss, an AOE attack that deals Dark damage
Much faster than Ekskalibur, Arthros will start the fight by greatly boosting its Evasion. This will make it nigh-impossible to hit the thing with physical attacks, forcing you to rely on magic. Put your casters up front - Lenne, Victor, and Ba'Thraz, if you're coming here earlier in the game - and have them wallop on Arthros. The bad bunny doesn't have great magical defenses, fortunately, and if you hit it with a flurry of Water moves you shouldn't have too much trouble bringing Arthros down.
Arthros may drop a Hairy Crown when defeated. Speak to a Guild Leader to receive an addition four Repair Kits, two Exchange Parts, and 1,500a.
Dwelly of the Valley
Location: Kortara Mountain Range, on a lonely island in the southwest area of the map
Recommended Level: 15+
Strength: Wind
Weakness: Earth
Steal: None
One of Kortara's two Unique Monsters, Dwelly of the Valley won't be available for you until you can pilot Sky Armors. Once you can, take a trip to the southwestern area in the area and fly around. There's a small, lonely island in the middle of the map. Try to land on it and Dwelly will attack.
A flighted fiend that lives in the gaping chasm that cuts through Kortaran Mountain Range, Dwelly is one of the easier Unique Monsters to battle, in large part because you have to use Sky Armor to fight it. Dwelly has the following attacks:
- A normal, physical strike
- Wing Flap, which does around 1,000 HP of damage
- Bad Breath, which can Paralyze, Poison, and Blind a single target
All three moves are painful, but none of them will be crippling. Hit Dwelly with debuffs, then rev up to Gear 2 and put on the pressure. Bad Breath is a real pain in the butt, but Dwelly doesn't use it that often, and your afflicted character can either use items to heal away the status ailments or just become the group's healer.
You may receive a Curling Eye for defeating Dwelly of the Valley. Check the Reward Board and you'll receive 1,000a, 50 SP, and five Titan Leathers. Speak to a Guild Leader and you'll also receive two Meals and 1,000a.
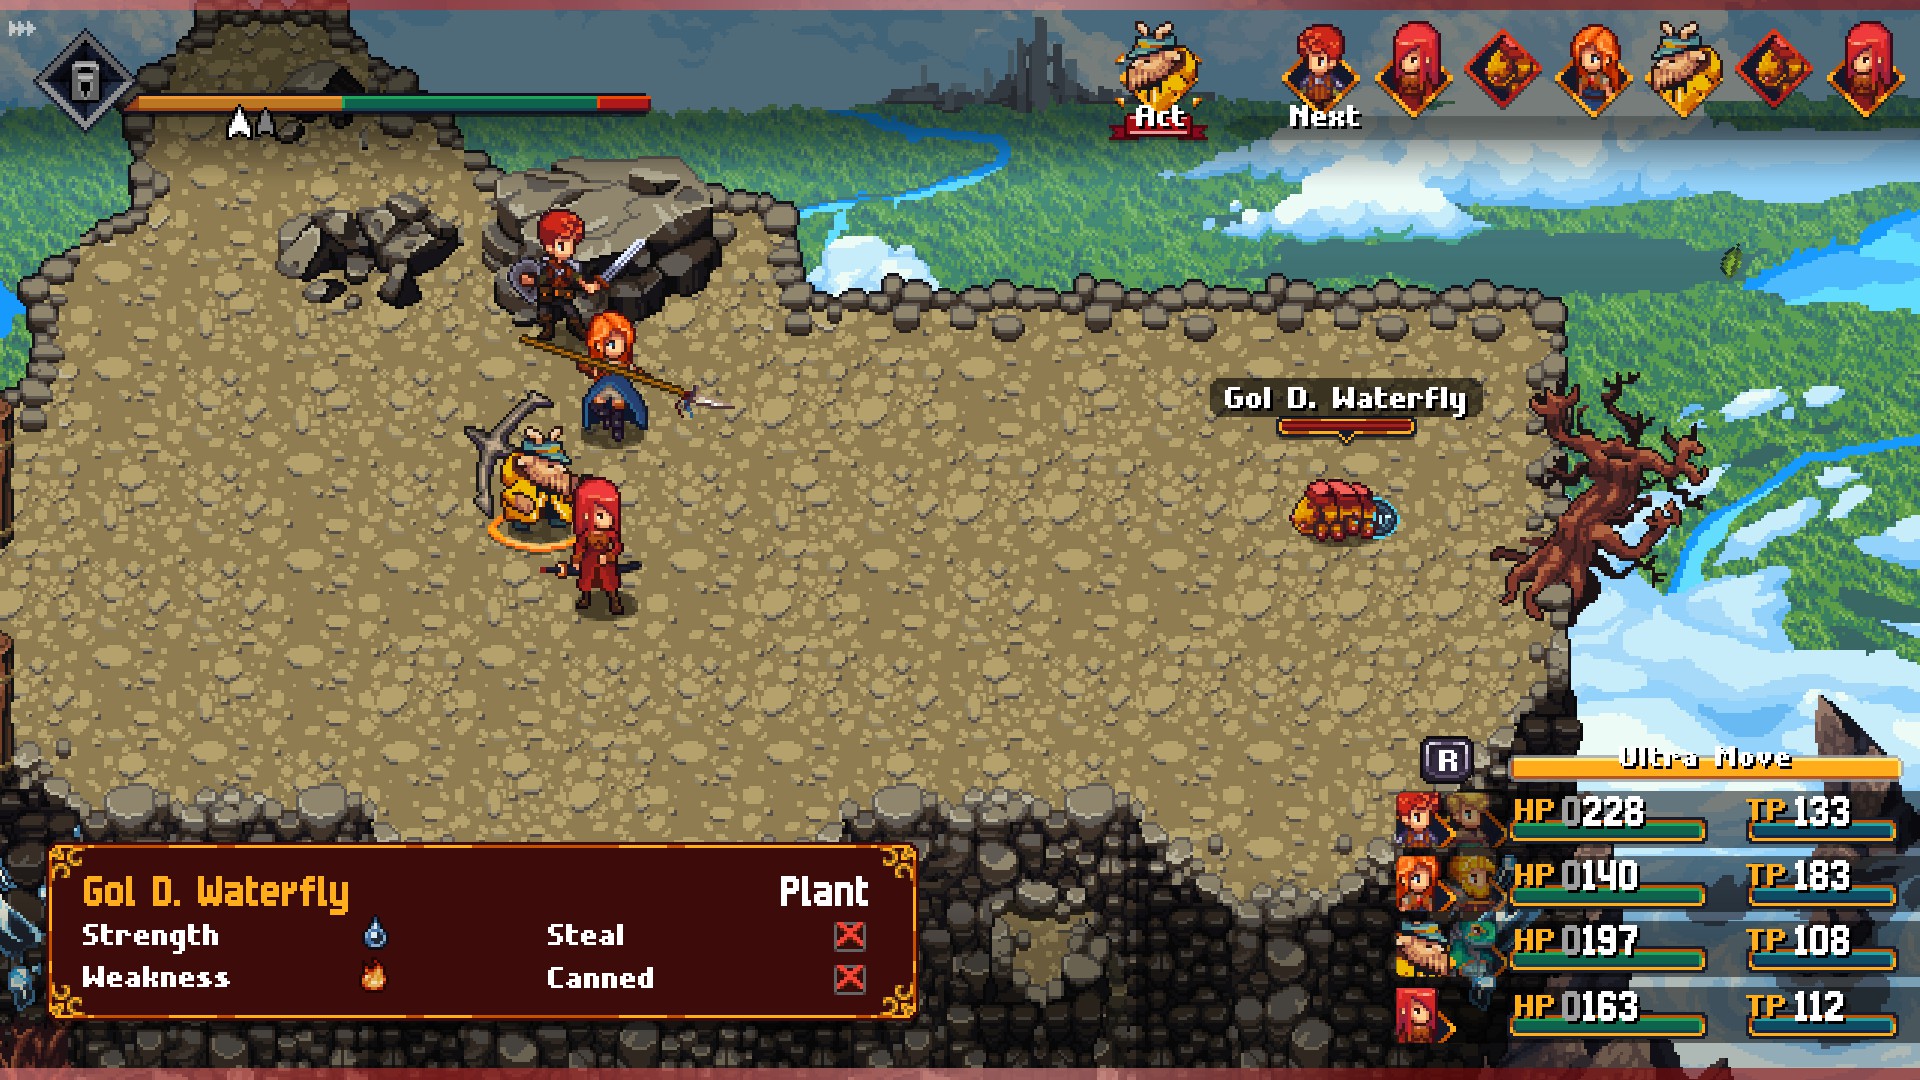
Gol D. Waterfly
Location: Kortara Mountain Range, on a solitary platform in the northeast of the area
Recommended Level: 15+
Strength: Fire
Weakness: Water
Steal: None
The other of Kortara's Unique Monsters, Gol D. Waterfly needs to be baited out of hiding. To spawn the Waterfly you need to kill a large number of its children, likely in the 20+ range. You'll find normal Waterflies in large numbers in the eastern forests, and can wallop them quickly in your Sky Armor. Leave the area to refresh their numbers and kill them all again if Gol D. Waterfly doesn't spawn. When you do reach the magical number you'll find the boss in the northeast of the map, on a solitary platform in the northwest.
Regardless of how you decide to fight Gol D. Waterfly, this fight is easy. If you battle it on foot you'll be facing attacks that hit upwards of around 100 HP of damage, but they don't come out all that often and only hit a single person. Guard against Water and you should be fine. If you fight in your Sky Armor you will obliterate this poor insect.
You may receive a Gol D. Orb for defeating Gol D. Waterfly. Check the Reward Board and you'll earn an additional 200a, 50 SP, and five Long Feathers. Speak to a Guild Leader and you'll also receive four Silph's Fans, Bolas, Oil Lamps, and Water Bombs, as well as 2,500a.
Da Capo
Location: Flower Fields of Perpetua, outside the cave to the Ograne Grottos
Recommended Level: 15+
Strength: Water
Weakness: Fire
Steal: Nothing
One of the bizarre residents of the Flower Fields of Perpetua, Da Capo lives in the southwest of the region. Jump to the Western Fast Travel Crystal, then hop in your Sky Armor and fly directly south. You'll find a cave to the Ograne Grottos with a lever. This is part of a side quest. Leave the cave and Da Capo will appear and challenge you. (And if it doesn't, try entering and leaving a few times.)
Da Capo has a few attacks of note:
- Death Cap, which hits everyone in the party with Dark damage
- Slimey Hell, which inflicts Sleep, Poison, and Silence on one party member
And... that's it. Slimey Hell is a pain, but if you can dispel Sleep you can swap your afflicted party member out for someone fresh. Death Cap does damage, and not a ton. Fire attacks are ideal, though Da Capo's defenses aren't amazing, so any strong attack you have should suffice.
Da Capo may drop a Flesh Cap when defeated, you'll receive 300a, 50 SP, and 5 Yak Grass Fibers from the Reward Board. Speak to a Guild Leader and you'll also receive an Ambrosia, as well as 1,500a.
Location: Southeastern section of the Flower Fields of Perpetua
Recommended Level: 20+
Strength: Earth
Weakness: Light
Steal: Nothing
A titanic sand worm, Humphry the Hungry prowls the desolate dunes of the Flower Fields of Perpetua. Enter the southeastern area in Sky Armor and look in the northwest of the desert. You'll see sand burbling out of the ground. Touch it and it will vanish. Head far east, to a camp of researchers, and you'll see the sand burbling again to the right of the camp. Another touch will send the sand burble to an area north of the church in the middle of the desert. Touch it again to reveal Humphry.
Humphry uses the following attacks in combat:
- A normal melee strike
- Bed of Stones, which grants HP Regen to Humphry
Humphry is primarily a pain because it regains health at a rapid pace. Otherwise, it just hits hard. Debuff Humphry's physical attributes, perhaps make it Blind and Poisoned, and target its weakness to Light attacks. Beating Humphry won't take that long, though make sure you don't try to take it on at too low a level. Simple or not, Humphry still hits pretty hard. If you can handle the Dune Chargers in this area, you can probably take down Humphry as well.
Humphry the Hungry may drop a Sandy Tooth when defeated. Speak to a Guild Leader and you'll receive a Nectar and 1,500a.

Otter Nobunaga
Location: Arkant Archipelago, on the beach in the northwest
Recommended Level: 15+
Strength: Water
Weakness: None
Steal: Emperor's hide
An honorable warrior with a pervy streak, Otter Nobunaga appears on the beach in the northwestern section of the Arkant Archipelago, west of the area's village. In order to make Otter Nobunaga appear you need to remove everyone's equipment - except for their accessories, those are fine - and enter / reenter the area. He should be sitting on the sand nearby. You can put your equipment back on, even jump in your Sky Armor, and he'll stick around so long as you don't leave the area.
A melee warrior with flair, Otter Nobunaga can use the following attacks:
- A simple sword strike
- Arc Swing, which hits the whole party for high damage
- Charming Cuteness, which Charms the whole party
A pretty straightforward battle on foot, and a rout if you're in Sky Armor. Otter Nobunaga can hit fairly hard with his two attacks, but Charming Cuteness is typically the problem, as it prevents your characters from switching so long as it's active. Debuff the otter, keep your party healed, and use your best attacks. If someone gets Charmed they'll just have to wait until it wears off, which won't take long.
Otter Nobunaga may drop an Emperor's Hide when defeated. Check the Reward Board and you'll earn 400a and 50 SP. Visit a Guild Leader and you'l receive an addition 3,000a.
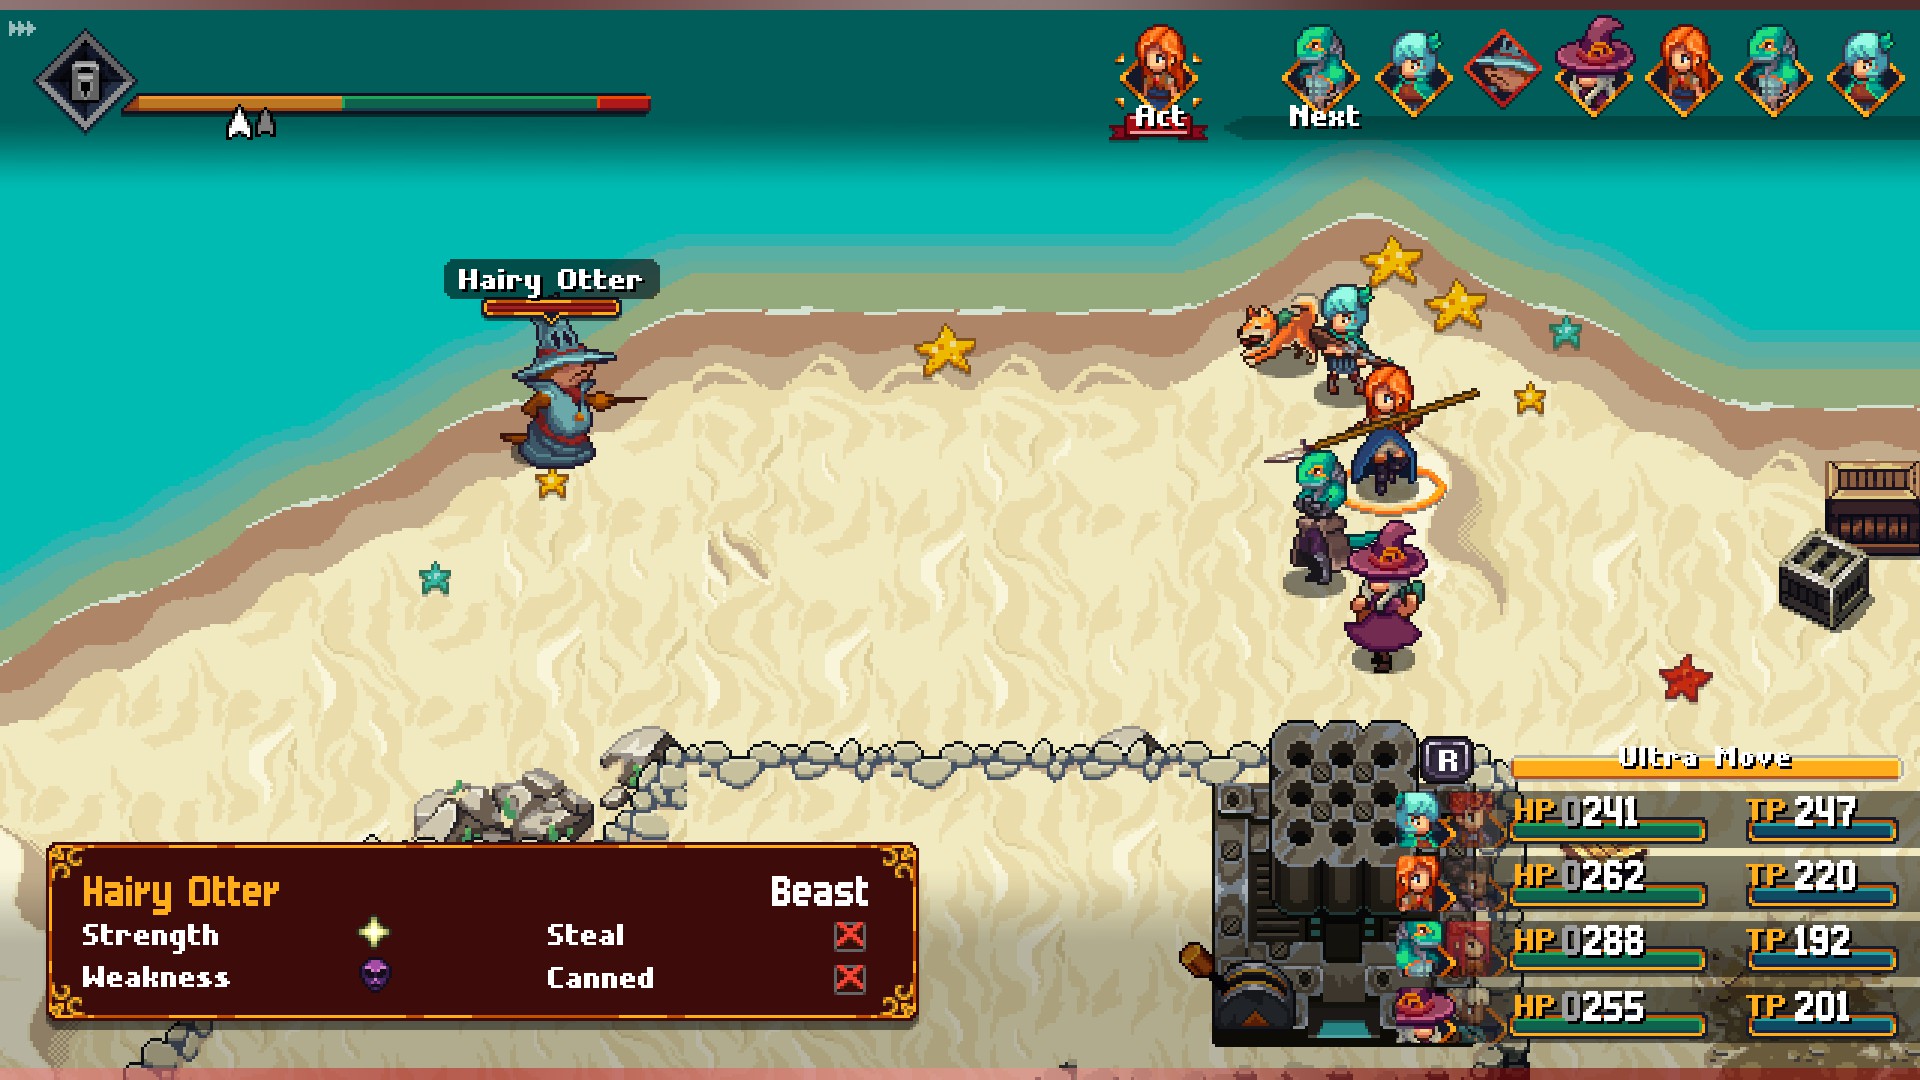
Hairy Otter
Location: Arkant Archipelago, on the northern beach in the northeastern section of the area
Recommended Level: 20+
Strength: Light
Weakness: Dark
Steal: Nothing
A furry magic user, Hairy Otter appears on the beach just north of the Taryn base in the southeast of the Arkant Archipelago. To get him to appear you need to fill the front ranks of your party with only magic users - in other words, Lenne, Ba'Thraz, Amalia, or Magnolia. Do this and reenter the area and he should appear by the dock.
Shockingly, Hairy Otter is a magic user. He'll use two Skills throughout the fight:
- Blinding Light, an AOE Light spell
- Heal, which restores his own health more or less to full
Not a lot to see, in other words. What's irritating here is that Heal will restore Hairy Otter back to full health if you let him use it, and he will use Heal if you let him get a turn in while he's weak. Chip Hairy Otter down to around half health or so, then use a status ailment (Sleep, Inact, Silence, etc.) to incapacitate him for a turn. Take him out before he gets another turn.
You may receive an Otter Owl for defeating Hairy Otter. Speak to a Guild Leader and you'll receive ten Sweets and 2,5000a for defeating Hairy Otter.

Golden Borb Bob
Location: Flying Continent Shambala, in the southern region
Recommended Level: 18+ (probably doesn't matter, this thing is easy)
Strength: Wind
Weakness: Light
Steal: Copper Nugget
An egg suddenly taken wing, Golden Borb Bob is located in the south of Shambala. You'll run into the spawn point for Bob's on a sandy stretch in the northeast of the area, shortly before you head to Shambala's southeastern region. Bob initially appears as an egg rocking back and forth, but will hatch when the battle begins. You must have less than 100,000a for Golden Borb Bob to spawn.
Naturally magic resistant, Golden Borb Bob has a few attacks:
- Melting Gold, which hits everyone
- Consume TP, which restores Bob's TP
Yep, not a lot. Bob can hit fairly hard with Melting Gold, but just isn't a massive threat. You can't use any magic attacks on Golden Borb Bob, forcing you to use physical hits. This fight is nevertheless not a big deal, and can be used for farming useful items since Bob respawns whenever you warp to Shambala.
Golden Borb Bob can drop Shiny Bellies, Gold Nuggets, or Platinum Nuggets. If you luck out and get a Platinum Nugget you can sell it for 10,000a, making Golden Borb Bob the enemy to farm if you're trying to earn money. Report your success to a Guild Leader to earn two additional Repair Kit DXes and 4,300a.
Aurora the Dragon
Location: Flying Continent Shambala, on an empty island in the northeast
Recommended Level: 20+
Strength: Dark
Weakness: None
Steal: Nothing
A reclusive, shy creature, Aurora the Dragon is located on the northern island in the northeast area of Shambala. To make it appear you'll need to enter and re-enter the area until it spawns. No trick besides that, just use the edge of the map to the west over and over.
Aurora is a powerful monster, and use of your Sky Armor is mandatory for winning the battle. Expect the following attacks:
- A normal melee strike
- Fire Breath, with hits everyone for heavy damage
This fight is difficult not so much because it's complicated, but because Aurora hits really hard. Expect both of its attacks to inflict around 1,500 HP of damage in Gear 2. In this case you should keep two characters on healing duty, one attacking when there's an opening, while your remaining attackers use their most powerful moves to chip away at Aurora's health. It doesn't have a ton, so this is a quick battle, but expect one or more of your characters to get knocked out in the process. Fire Breath will likely knock out your whole team if you let everyone sit in Gear 2, so resist the urge.
Check the Reward Board to receive 500a, 50 SP, and five Worm Carapaces for defeating Aurora the Dragon. Speak to a Guild Leader to receive an Elixir and 4,300a.

Location: Ograne Grottos, western area
Recommended Level: 25+
Strength: Wind
Weakness: Earth
Steal: Nothing
The big boss of the Tadeyes, the Senior Tadeye is located in front of the Mage Warrior Heroes of Leonar statue, deep within the Ograne Grottos. To reach it you'll need to complete a chunk of the side quest The Gates to Nhysa. Head west of the central area of the grottos and you'll find an area full of Tadeyes. The Senior Tadeye will drive off the rest of the Tadeyes, so you'll know it's around when the other disappear. Enter and reenter the map until this happens. You'll find the Senior Tadeye in the southwest of the area.
Similar to other Tadeyes you'll need to use Incocybin Berries, purchased from the Goblin Village, to make the Senior Tadeye beatable. Once this is done you can expect the following attacks from the Senior Tadeye:
- Normal melee strikes
- Electric Tail, an AOE attack
Yup. On the whole the Senior Tadeye is pretty much the same as a normal Tadeye, just a bit stronger. Debuff it further to keep it from resuming its former strength, then just wallop the thing.
Speak to a Guild Leader and you'll receive 5,000a for defeating the Senior Tadeye.
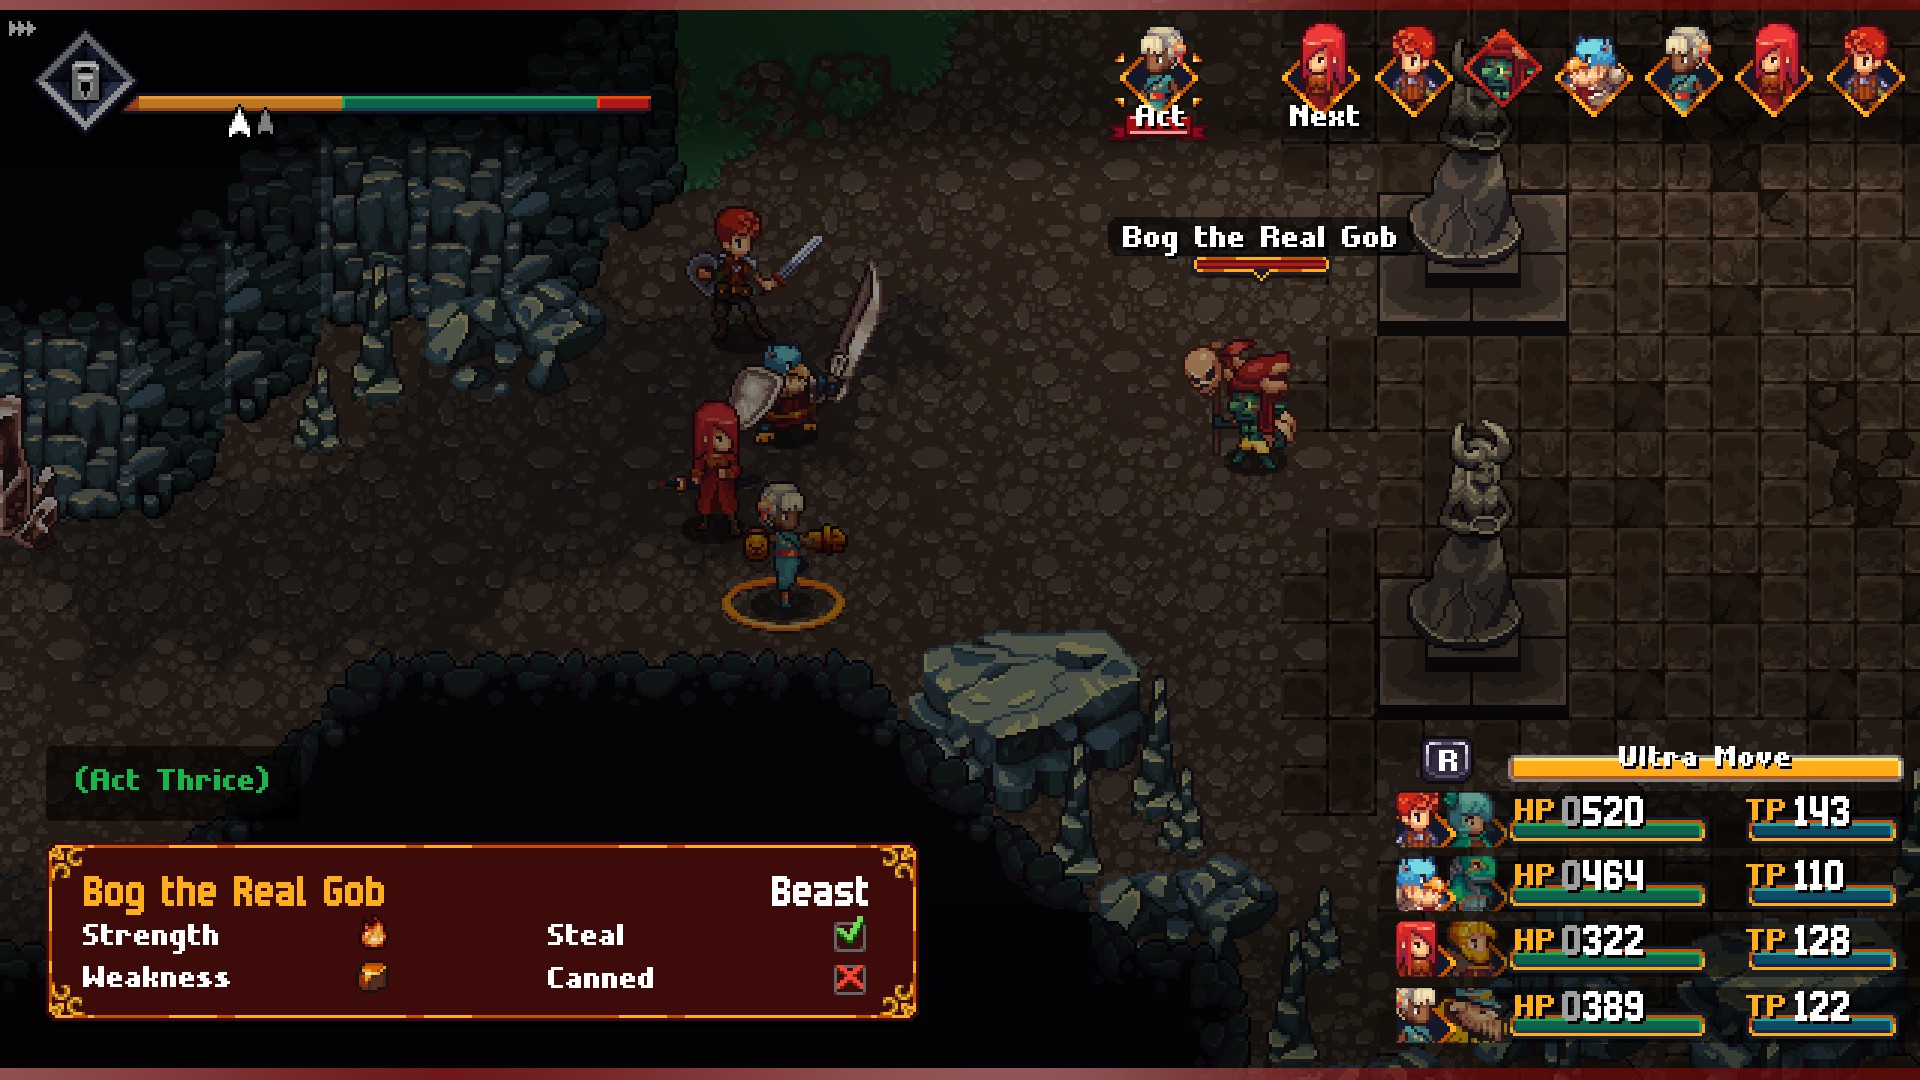
Bog the Real Gob
Location: Ograne Grottos, by the Raminas Tower entrance
Recommended Level: 30+
Strength: Fire
Weakness: Earth
Steal: Goblin Skull
A goblin that hates its own kind - though, to be fair, he may be the only real goblin - Bog the Real Gob is a difficult enemy to find. To make him spawn in the Ograne Grottos you need to complete the side quest A Goblin's Dilemma, which will clear out the nearby Goblin Village. You also need to gain access to Ograne Grottos via the lower levels of Raminas Tower, which is a process in and of itself.
Though Bog has a simple attack pattern, he's much more powerful than you'd expect. He'll use the following Skills against your team:
- Ace Thrice
- Fire Stare, a single-target Fire spell
- Miasma Skull, a single-target Poison spell
Virtually every round Bog will use a combination of Fire Stare and Miasma Skull, which when thrown at your party three times in a row gets pretty painful. Bog is also fast, so his turns will come up a lot. Debuff the little creep to start out, then use status ailments like Inact, Paralyze, and Silence to try and halt Bog's turns. Pump up your team's Agility and debuff's Bog's, if you can, then whack him to death.
Bog the Real Gob drops a Goblin Head when defeated. Check the Reward Board to receive 800a, 50 SP, and five Elastic Wings. Speak to a Guild Leader to receive an additional 5,000a.

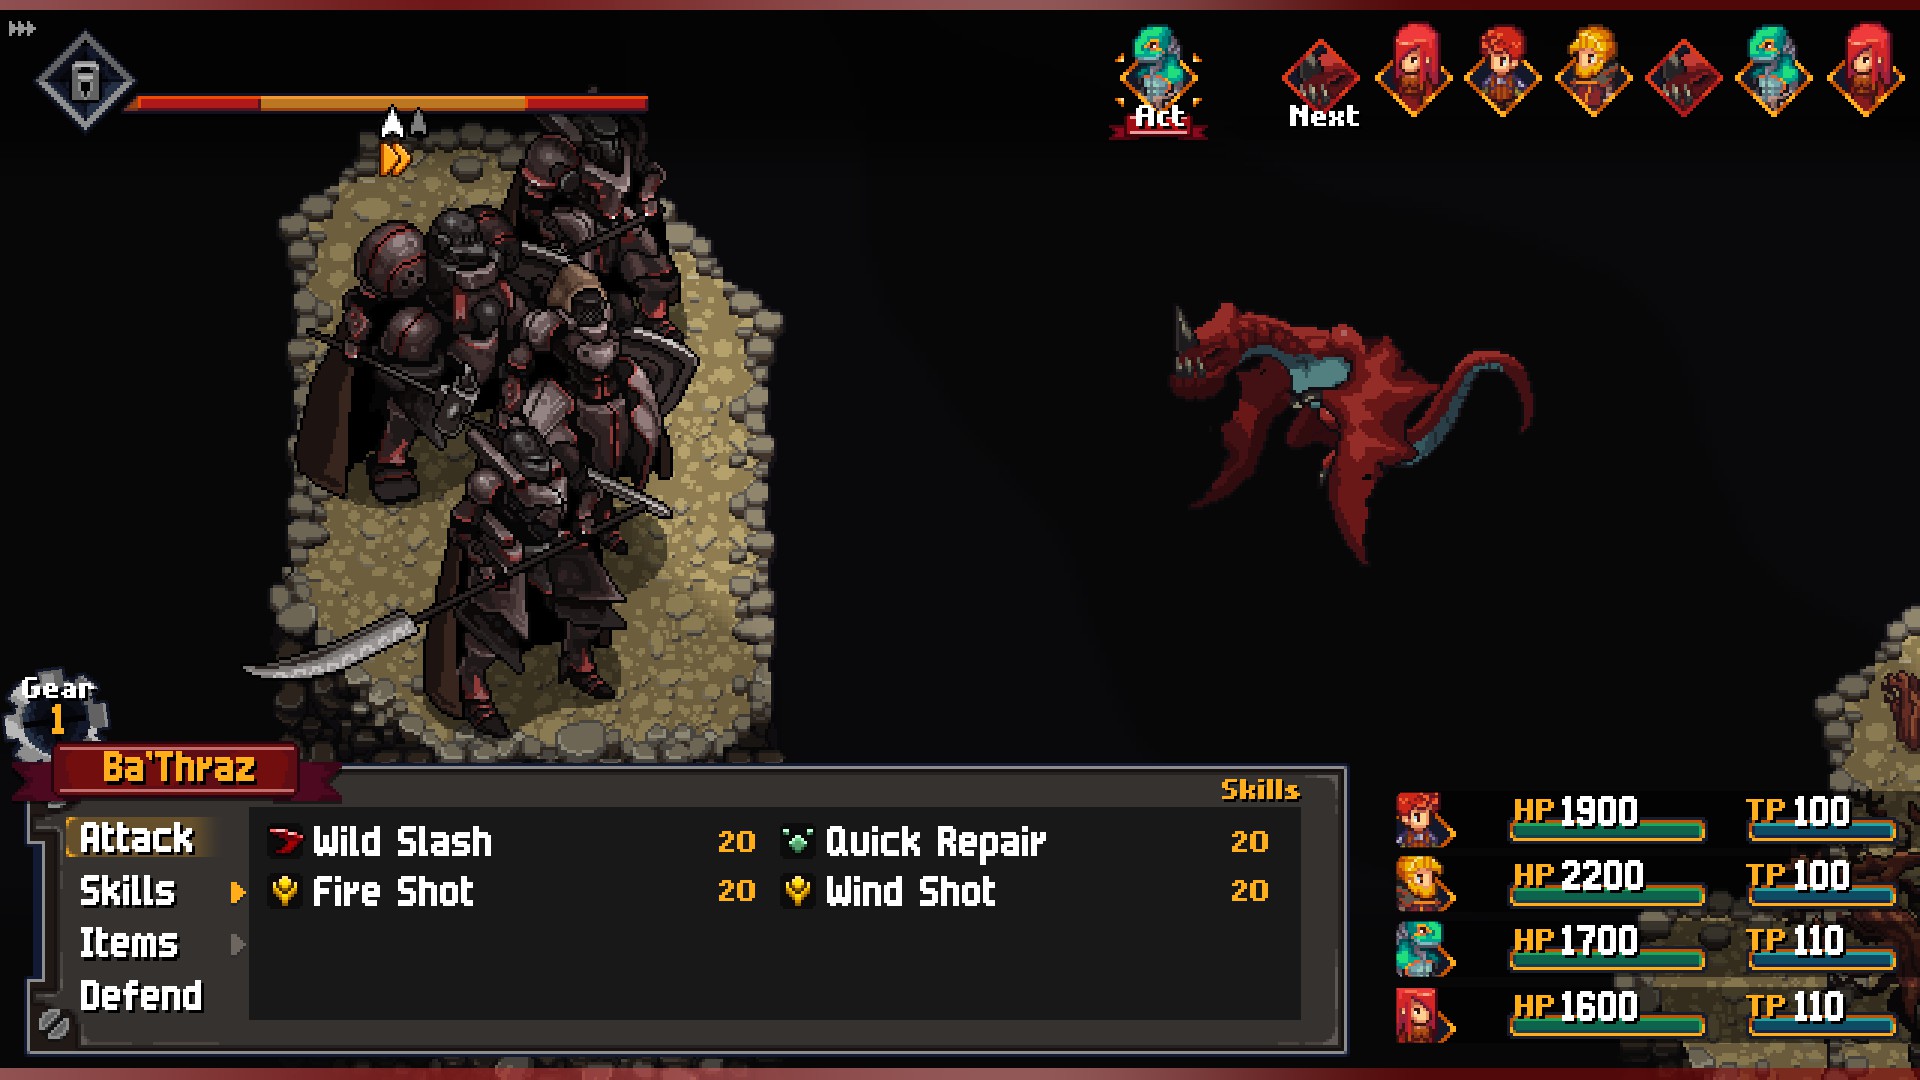
God King Gaemdriel
The final Unique Monster that you're likely to face in Chained Echoes is God King Gaemdriel. The process for battling this guy requires so much effort that it deserves its own guide. Gaemdriel is the most difficult boss in the game, and will likely stomp you unless your team is really prepared to fight. Note that Gaemdriel does not count towards the Unique Monsters count as far as the Reward Board goes, but he's still listed on there as though he is one, so...