Part 38: End of an Era - Raminas Tower
Main Walkthrough
Need some quality headphones to connect to your PC? Try the JBL Tune 720BT, now available on Amazon! As an Amazon Associate I earn from qualifying purchases, at no additional cost to you.
Magic Academy Nhysa
Monsters
- Blemmyae - Strong to Dark, weak to Light - Drops Old Nipple, Titan Leather - Can steal Adamantite
- Earthworm - Strong to Earth, weak to Water - Drops Earthworm Scalp, Orichalcum
- Phantom - Strong to Light, weak to Dark - Drops Memory
- Purple Pigear - Strong to Earth, weak to Fire - Drops Deluxe Pom-Pom, Modal Fiber
- Two Headed Wyvern - Strong to Earth, weak to Wind - Drops Devil's Head, Tiny Third Head
Loot and Materials
- Bread Crumbs
- Caterpillar
- Crocus
- Expensive Door Knob
- Fake Grapes
- Ivy
- Memory Chains
- Metal Finger
- Old Pot
- Screw
The end is nigh. The Church is finished, Frederik is gone, every general standing in the team's way has been defeated... all that's left are the Vaen, the gods who would wipe out Valandis. The final confrontation with the Vaen awaits deep below the ground, and with any luck someone has managed to unlock the path onward by now...
In order to open the way to Nhysa, the final area of Chained Echoes, you need to complete the side quest The Gates to Nhysa. This will require trekking into the Ograne Grotto via the north of the Rohlan Fields, as well as aiding a pushy NPC named Maddeleine. Once you come back to Nhysa, assuming you completed the quest earlier in the game, Maddeleine will have opened the gates into the fallen city.
(I'm honestly not sure what happens if you wait until now to complete the side quest. I imagine you'll still gain immediate access to Nhysa.)
Nhysa is a massive area, befitting an end-of-the-game dungeon crawl, and it consists of a number of sub-areas. You'll need to explore them all before you can reach the end. We'll start at the start.
Entrance (Southeast)
The first things to note in this introductory area are the enemies. They're big, they're strong, and they will whup your butt if you try to fight them on the ground. Hop in your Sky Armor for extra protection before you try to explore.
- North of the entrance is an anvil. Might as well use it if you have any leftover materials.
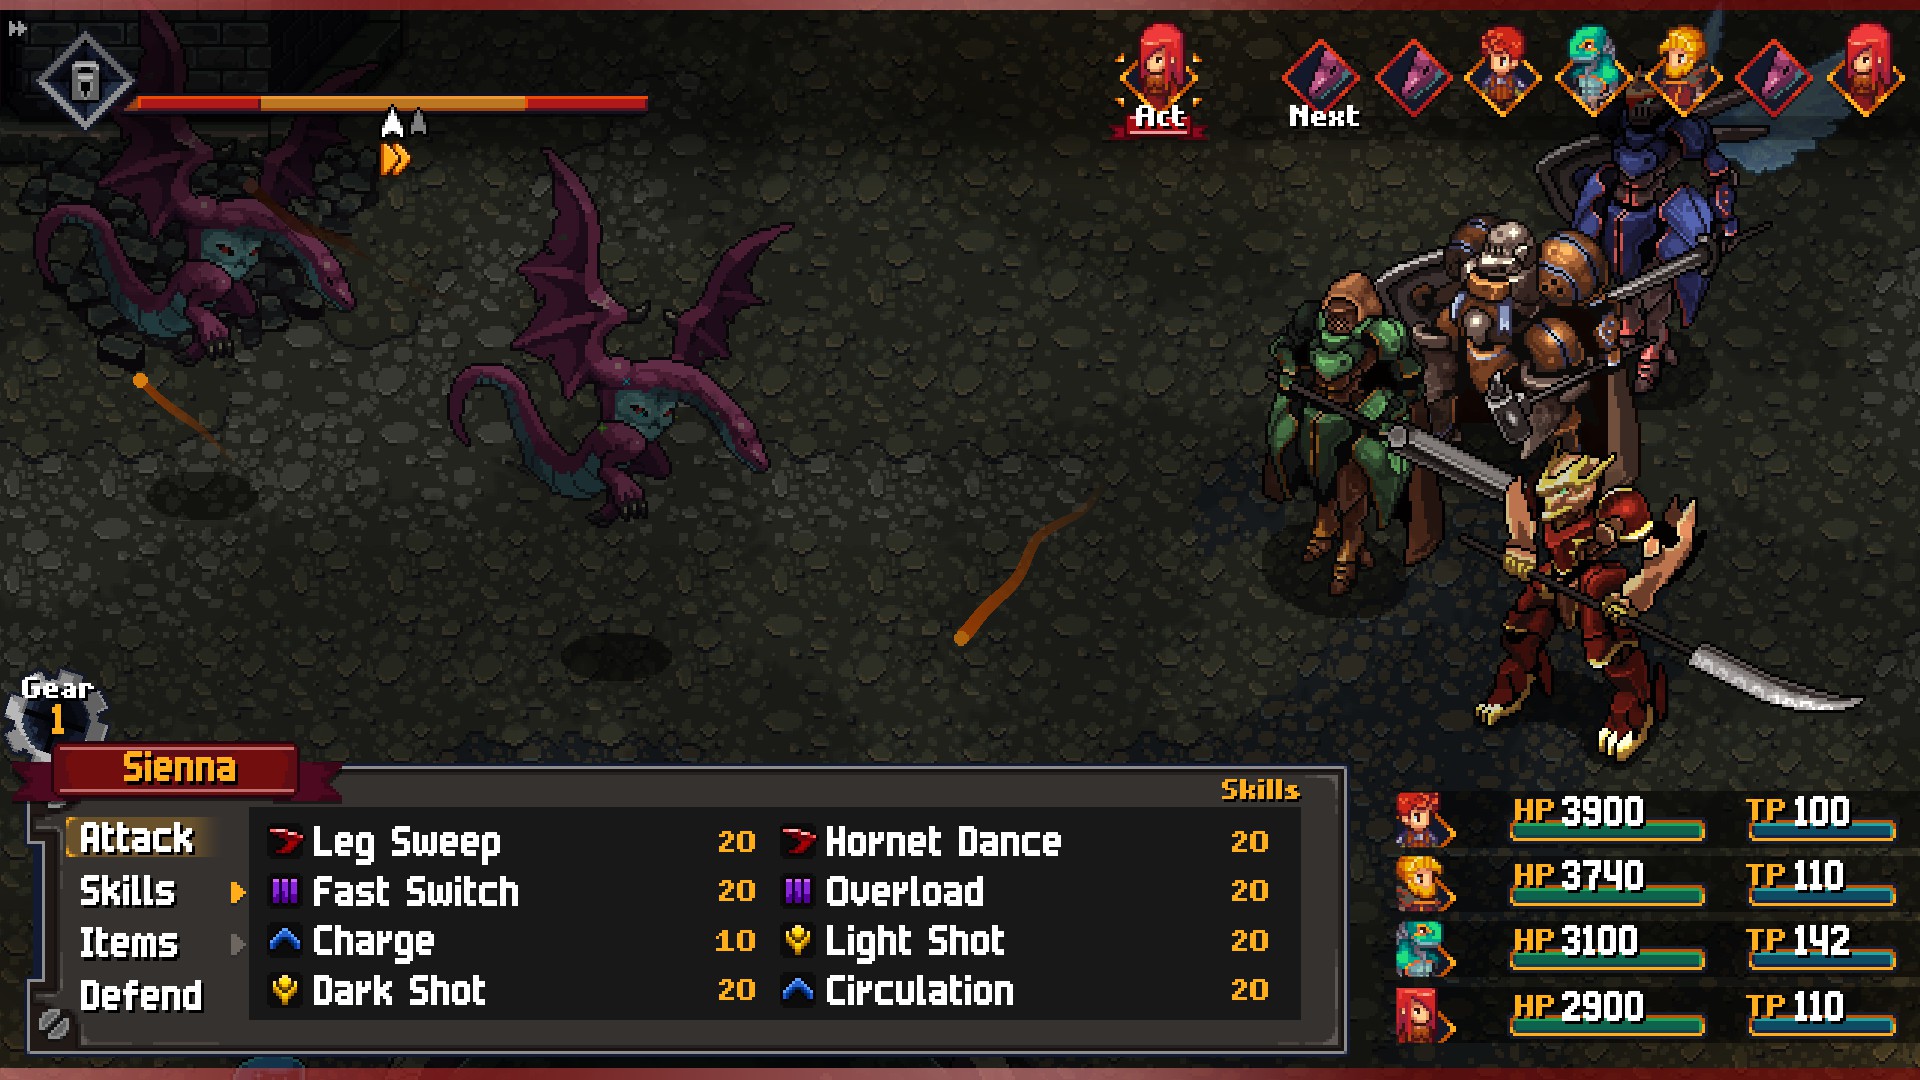
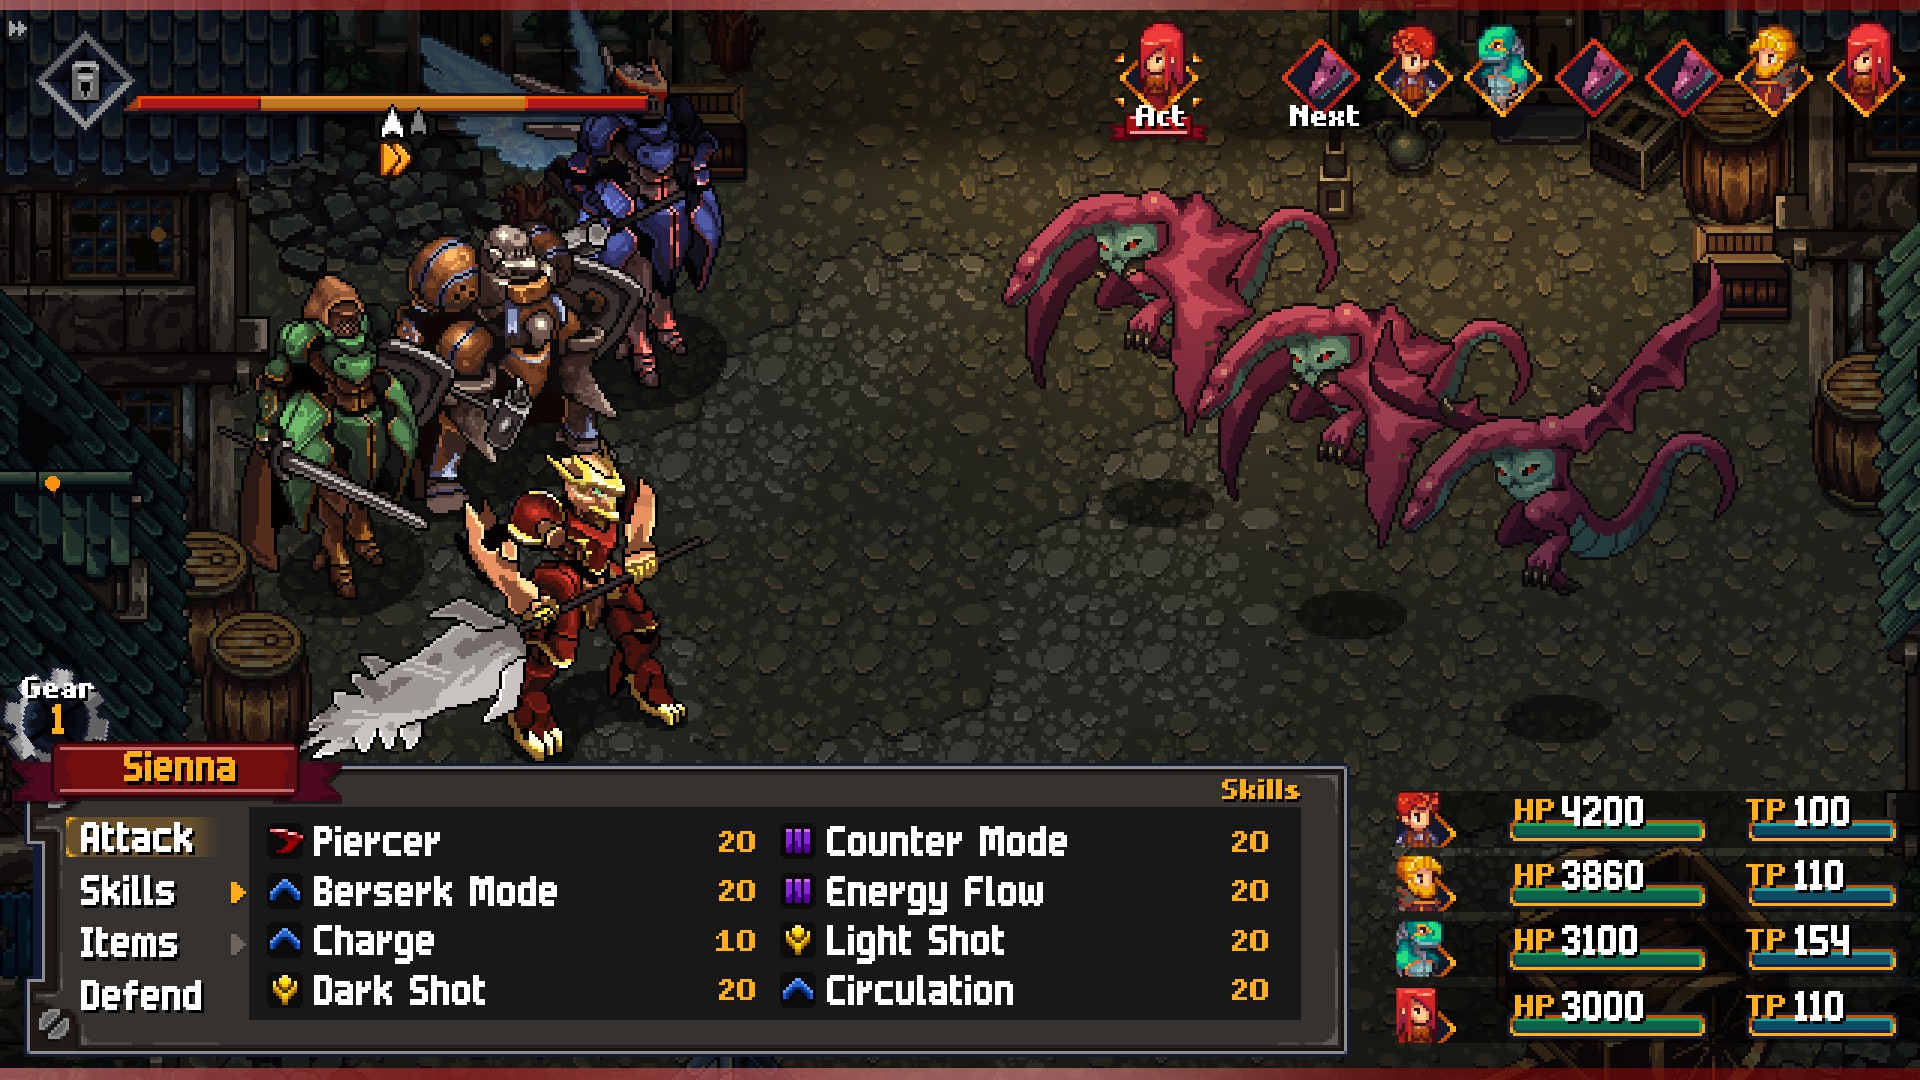
- Also north of the entrance, on the other side of the dried-up fountain, are a pair of Two Headed Wyvern. They're not a huge deal. Near them is a gate that you can't open just yet.
- Down the street to the east of the fountain you'll find a house. Inside is a chest containing two Orichalcum. If you continue east down this road you'll enter the northwest section of the city. (The layout of the map doesn't quite make sense compared to the actual geography of the area. Just roll with it.)
- To the north and on your right you'll find an open area guarded by three Earthworms. They can cause trouble with their Earthquake attack, but won't trouble you too much so long as someone is on healing duty. Hop out of your Sky Armor once you've defeated the Earthworms, then check to the north and south for alleyways. To the south you'll find a metal box containing a Great Sword GS500. To the north is another locked gate.
- In the far north is another locked gate. Go east of the gate to find a metal box containing a Sword & Shield S500. Near the metal box, against the northern wall, is a heap of rubble to destroy. Beyond it is a cave with a chest, containing... mockery? What a scam!
- To the west of the locked gate in the north you'll run into three Two Headed Wyverns. They're guarding a metal box containing a Bowgun B500.
You can now proceed either east or west. We'll start in the east, as there's something important to grab over here that will keep you from having to backtrack.
Nhysa (Northwest)
This area, similar to the Entrance, is filled with monsters that you can't fight on foot. Don't try.
- Head south of the entrance to start. There are two west-to-east streets down here. The street that's further north is guarded by two Two Headed Wyverns and an Earthworm. Check along the edge of the red house to the right of where you fight the monsters to find some buried treasure amounting to 5,210a. Along the southern street you'll find a locked house.
- Travel along the southern roads to the east and you'll find a cluster of spirits huddled together in the middle of the street. To the north of them is a Crystal Source. East of them is a house, and inside it you'll find a merchant. If you continue east through the house and out the other side you'll find a path to the next area, the Seaside Village, which we'll explore in a bit.
- In the southeast you'll find a path that, again, leads to the Seaside Village, though in this case it's a dead end. Check down here nonetheless to find three chests containing Adamantite, two Orichalcums, and an Herbalist's Advice.

- Head back to the northwestern area, and backtrack to the entrance in the west. North of the entrance is a house. Go through it and out the back door to find a chest containing three Titan Leathers.
- Down a thin roadway in the north is a Crystal Source. South along this same roadway you'll run into three Two Headed Wyverns. Take them out, then hop out of your Sky Armor and check the alleyways to the south. In the west you'll find a red chest containing Plot Armor.
- In the northeast is a fountain and a park, all penned in by rubble. There are two metal boxes here, one containing Support Drones D500 and the other a Kerberos FK500.
Seaside Village (Northeast)
Once again, stay in your Sky Armor.
- South of the area's northwestern entrance you'll run into an Earthworm and two Two Headed Wyverns. Just south of them is a gate leading into the house with the merchant from the northwestern area.
- In the southwest you'll find the three chests that you opened by entering this area from the northwestern section of Nhysa. You can't get at them from this side, but you can pop open a nearby metal box. It contains a Glaive V500.
- On the east side of the area you'll find the edge of the docks. There are two buried treasure sigils over here. Check a short walk to the north of the sigil closer to the water to find hidden Plot Armor.
- Travel to the south end of the docks. On a walkway leading east you'll find a metal box containing a Merlin F500.
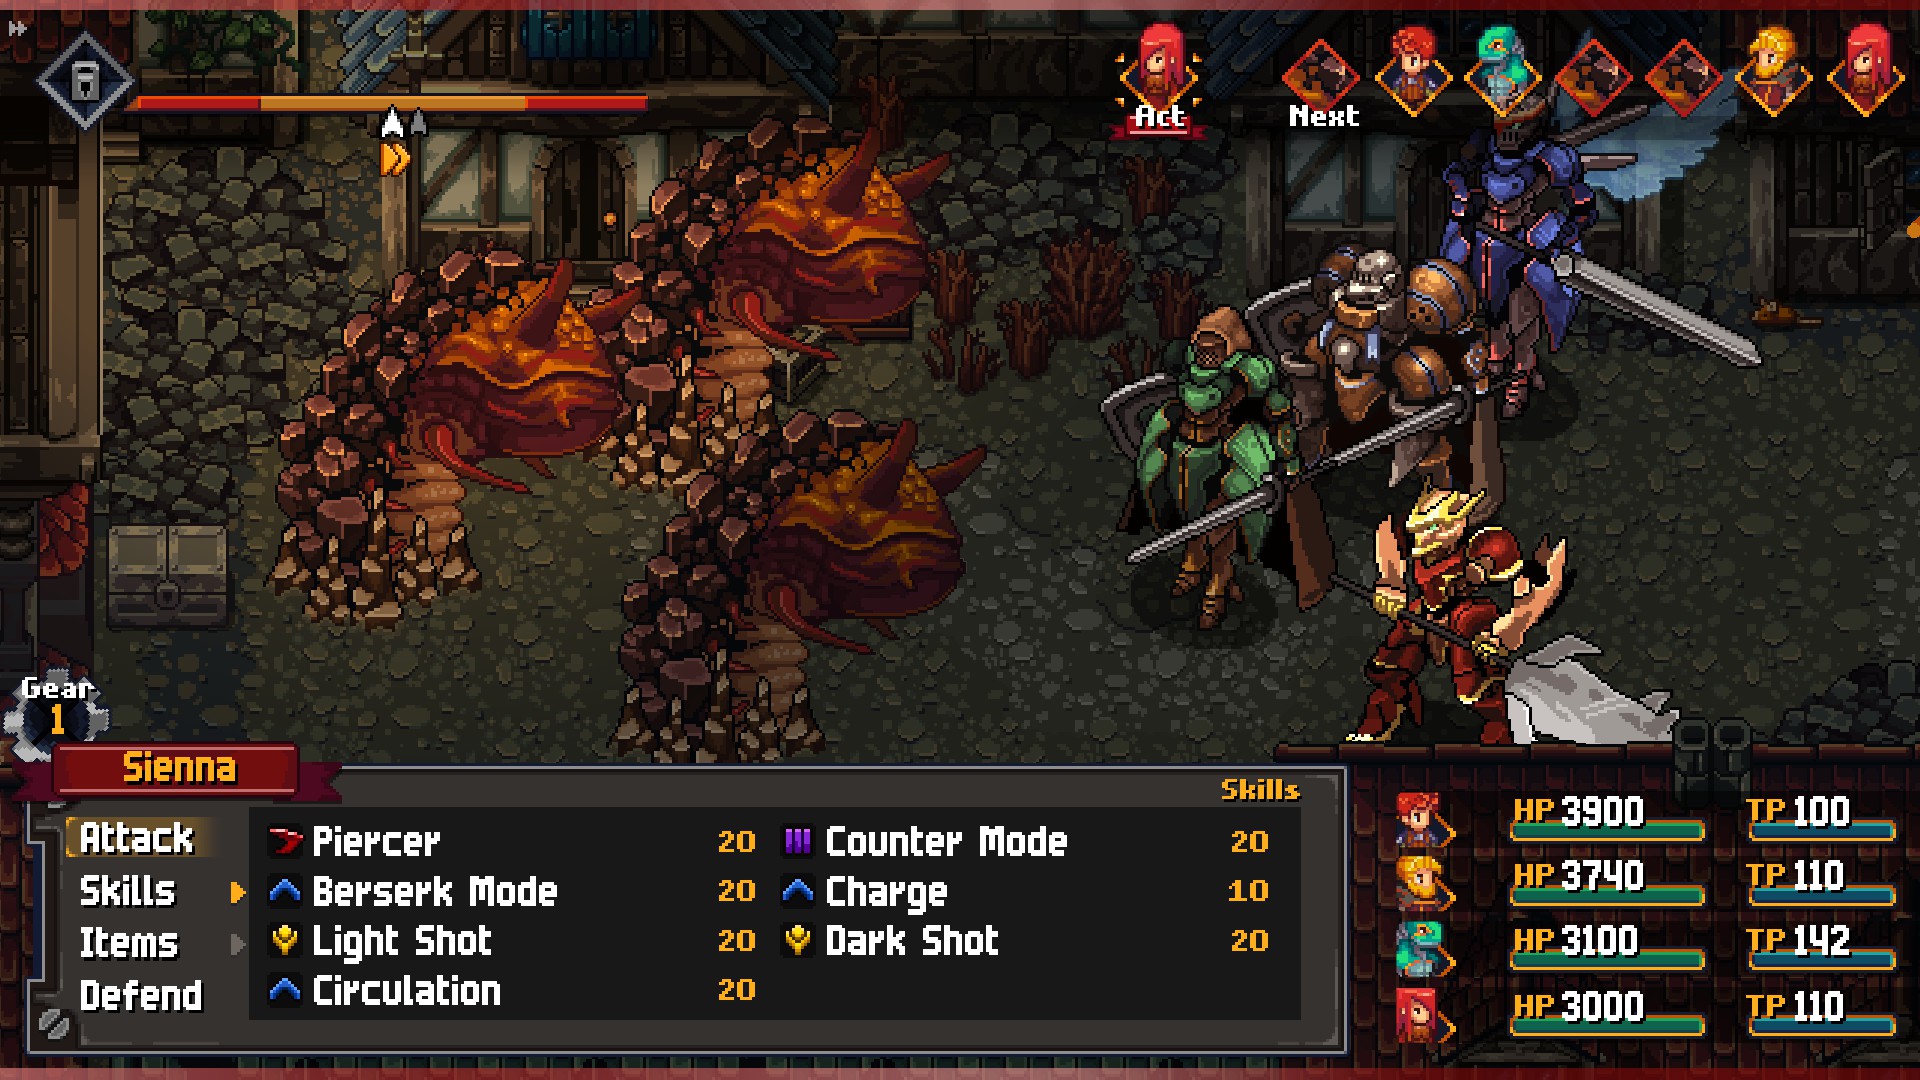
In the east of this area you'll run into two more Two Headed Wyverns and an Earthworm. North of the monsters you'll find three docked airships. Enter the hold of the middle airship and you'll find a chest containing Ambrosia. Continue north and you'll find a large storage room, and busy ransacking it...
Prok, Galfried, Bathusda, and Nos
Strength: Wind
Weakness: Water
Steal: Adamantite (Bathsuda)
Heeeey, it's these guys again. Sienna's ex-buddies are still up to no trouble, and though their stats have changed their tactics have not. Each enemy fulfills the following roles:
- Bathusda heals and buffs his party
- Galfried uses Wind magic against one or all members of your party
- Nos attacks and debuffs
- Prok attacks
Yep. They're not pushovers, necessarily, but the bandits are pretty basic compared to your party. Use buffs to prepare for their attacks, then target Bathusda to remove his healing. Galfried should come next, as he goes down quicker than the rest and can do a bit more damage on average with his spells. Nos' debuffs make him a good candidate for your third target, and Prok is last. Piece of cake.
You'll earn a Grimoire Shard for defeating Bathusda, Galfried, Nos, and Prok, and they'll be out of your hair for good. Each one will leave behind some cash, for a grand total of 9,366a.
In the wake of the battle Robb will find a Bronze Key, which you can use to open up many of the locks in the early areas of Nhysa. Let's do a quick run back through the city that we've already explored:
- If you check the house on the west side of the Seaside Village (northeast map) you'll enter a wine cellar. As you head north you'll be ambushed by Phantoms, one-note enemies that like to attack with a Dark AOE move over and over. West of them is a red chest containing a Graphnel. To the north is a door that requires a Silver Key.
- In the south of the residential area to the west of Seaside Village (northwest map) you'll find a locked house. Inside you'll find red chests containing a Silver Bolero and a Muramasa.
- In the Entrance region (southeast map) there are two gates you can open, one near the anvil and the other in the alleys to the northeast. Both lead into the same connected wine cellar area as before, only now you can explore a large number of passages.
At this point you have a choice. You can either continue deeper into the wine cellar, or you can check out the west side of Nhysa, where you'll find a Market. We'll start with the wine cellar, since it's full of goodies.
Wine Cellar
The path through this area is pretty straightforward, so long as you pop the map open from time to time, and consists of straight passages leading to treasure - and the occasional battle against Phantoms. It doesn't matter which way you enter from the Entrance area, as both gates link up eventually.
- In the north, through two doors and past a gang of four Phantoms, you'll find a red chest containing a Scholar's Habit.
- In the northwest, through two doors and past yet more Phantoms, is a chest containing Nectar.
- In the west, accessible by the left path from the southern entrance, you'll find a chest containing Ambrosia.
There are other areas on this map that you haven't explored. You'll need to head into the rest of Nhysa to get at them.
You've now explored the entirety of Nhysa's eastern side. The north is still locked away, forcing you to the west. Head back to the Entrance and go left to find your next destination, the Market.
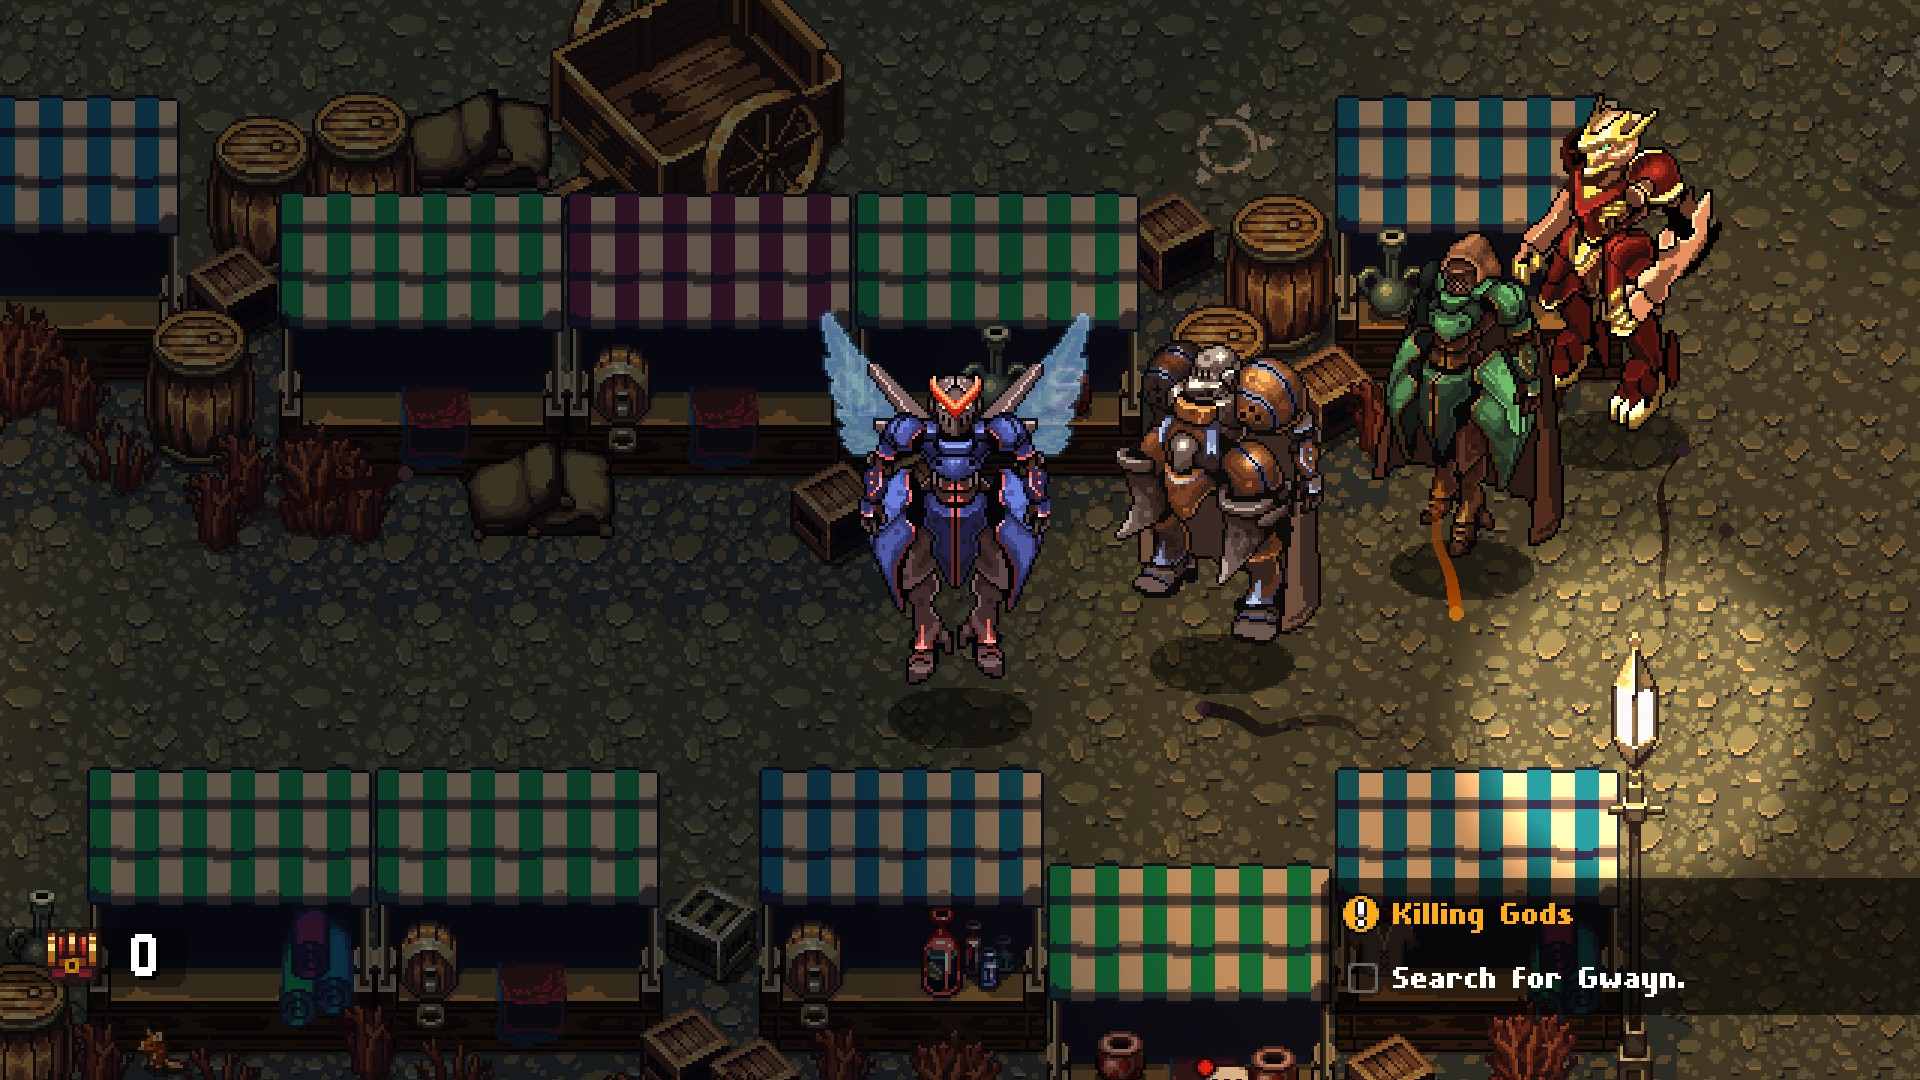
Market (Southwest)
The Market is filled with enemies that you, once again, can't fight outside your Sky Armor. Don't forget to equip it when exploring this area.
- In the southwest of the Market, directly across from the southeastern entrance, you'll run into three Earthworms. Defeat them and you can pop open the metal box they were guarding, which contains a Hammer & Shield H500.
- In the northeast is a door, requiring the Bronze Key, that leads into the wine cellars. Just south of the door is a red chest containing a Diamond Rapier. If you decide to brave the wine cellars you can find chests containing an Elixir (far east passage) and an Agamemnon FA500 (central rooms in the east). Keep an eye on the map as you explore, since some of the doorways are not obvious. In the northwest of this passage you'll find an exit to the Park, the area we're going to explore after we finish with the Market.

- In the northeast of the market stalls you'll find a sigil indicating buried treasure. Check the top-left corner of the blue stall one row southest of the sigil to find a hidden 9,411a.
- North of the market stalls you'll find a row of houses stretching to the east and west. Look to the east and you'll find a metal box containing an Ether Cannon E500.
- West of the market stalls you'll run into a Two Headed Wyvern and two Earthworms. They're protecting the path west, which leads out of the area. Just before you leave the Market, hop out of your Sky Armor and check north, along the edge of the trees. You'll find a chest containing two Devil's Heads.
To the west of the Market you'll find the Park, your next destination.
Park
The first thing to note about the Park is that you can't hop in your Sky Armor. Bummer. The enemies here are scaled appropriately, though, so you don't need to worry about being decimated as you walk around.
North of the entrance to the Park is a house that's locked. Just south of it is a Crystal Source. Northwest of the entrance you'll run into three Purple Pigears. These things aren't a huge deal, however they can attach a Lifethread to a character that will instantly knock them out if you take out the associated Pigear. Swap characters if this happens.
Beyond the Pigears you'll find a bridge. Across the bridge and to the west you'll find a red chest being guarded by two Blemmyae. These hefty creatures will for the most part just attack, though they can also inflict Deathly Stagger on a character, which will kill them if they try to make a move. Swap for a different character if this happens. The red chest they're protecting contains Diamond Armor.
Head north from the red chest and you'll come to a broken bridge. You can hop east of here, from island to island, to reach two Purple Pigears and two Blemmyae. They're protecting a red chest that contains a Rain Bow.
The red chest was paired with a dead end, so head back to the bridge from earlier and cross it to the east. From here go north, along the shores of the Park's ponds and streams. You'll find a spot where you can hop into the water, near a Crystal Source. Wade northeast of the entry point and you'll find rubble you can bash, revealing a small cave that contains 7,777a.
On the west side of the pond you'll see a red chest that you opened earlier, up on the shore. Near it, in the water, is a bubbling spot. Check it and you'll be shunted a short distance northwest. Wade west to find a shoreline where you can exit the water. West of here the path splits in multiple directions.
Start by heading southwest. You'll find a spot where you can hop back into the water. Head west, past the broken bridge from earlier, and south. Go far enough and you'll find a small, isolated bit of land with a red chest. Inside the chest is a Rubber Duck. That may seem silly, but Rubber Ducks protect their bearers from all status ailments, making this an excellent accessory for your party members. Put it on one of your healers so they can't be incapacitated.
Wade back north. In the northeast you'll find rubble that's hiding a chest, inside which you'll discover 20,000a. You're rich! Head back outside and continue north through the water to, eventually, find more bubbles. They will send you northeast, to an exit point from the water. On this island you'll find a Crystal Source and a chest containing an Elixir.
Head back to the three-way intersection, north of the broken bridge, and go north. You'll run into a squad of five Purple Pigears up here, and if you continue north you'll learn something nasty about the Academy. To the northeast of the Pigears you'll also learn something nasty about the Vaen, and why they do what they do. Bad intel all around, really.
Follow the northern path to the east and you'll run into two Purple Pigears and two Blemmyae. Just northeast of their post you'll find a chest containing an Ether Killer Crystal. Follow the southeastern paths and you'll find an exit from the Park, as well as a Crystal Source along the bending path to the south.
Upper City
All that exploration and sidetracking has put you in the Upper City, located to the north of Nhysa's Entrance. You still can't go through the silver gate between the two areas, but you have, at least, gone around it now. Hop into your Sky Armor and explore.
- North of the exit from the Park you'll run into three Earthworms. They're guarding a metal box that contains a Paris FP500.
- In the northeast you'll find an enormous dragon, none other than one of the True Kings. It's sleeping, and has no interest in you. Near it is the Silver Key. You need this thing, so make sure you grab it.
- In the southeast of the Upper City you'll find an alleyway that you'll have to enter on foot. Down it is a red chest containing a Knightly Sword. The house next to it leads to another silver-locked gate, and opening it with the Silver Key will create a shortcut to the Seaside Village.
With the Silver Key in hand you can now pop open the gate in the south of Upper City, creating a shortcut back to the Entrance. You're going to be running into trouble shortly, so now might be a good time to backtrack to the anvil and upgrade yor equipment, new and old.

East of the dragon you'll find another entrance to the wine cellars, and with two keys on you the gate will open. To the northeast of this entrance and through two doors you'll find a metal box containing an
Ovelia F0500, and to the east you'll find a locked door that you can open with the Silver Key. This creates a shortcut to the Seaside Village. Make sure you save before you head for the exit in the northeast, becaaaaause...

Wiederganger
Strength: Light (Wiederganger) / Water (Myling)
Weakness: Dark (Wiederganger) / Earth (Myling)
Steal: Tekko
Uhhhh... yeah. Sure. The Wiederganger is an odd duck, with a mishmash of questionable Skills that are more irksome than outright dangerous. It can still take your party down, but this is one of the easier boss fights in Chained Echoes. The Wiederganger can use the following attacks:
- A random number of weak melee strikes, up to five per turn
- Constructing Spirit Cage, which creates a restrictive web around one character, preventing action
- Poison Odem, which Poisons the whole party
- Calling Children, which summons Mylings
- Act Twice
- Shadow Arts, an AOE Dark spell (Mylings)
The Wiederganger will use Spirit Cages, Poison Odem, and normal strikes until you do enough damage. Then it will summon in two Mylings. Continue to damage the Wiederganger and it will grant itself Act Twice for the remainder of the fight.
This battle is pretty easy if you deploy Egyl (or, if you have him, Raphael). Having a well-equipped tank to draw Hate will push the Wiederganger to pelt that one character with weak attacks, giving your other characters plenty of room to focus on buffing and mounting an offense. Wipe out the Mylings once they appear, as they may pose more of a threat than the Wiederganger, then go back to smacking their, uh... whatever it is. Even with Act Twice active the Wiederganger can't do a ton of damage if you're properly debuffing the thing.
You'll earn a Grimoire Shard for defeating the Wiederganger. Beyond the creature you'll find stairs...

... and when you go up them you'll be in a lavish, if dishevelled, estate of some kind. There are a large number of connected rooms in this area, with a few items to collect:
- In the room south of the kitchen where you start you'll find a chest containing two Devil's Heads.
- In the northeast corner of the area, a few rooms east of the start, you'll find a red chest containing a Scholar's Habit.
- If you go upstairs and check the rooms in the west you'll find a red chest containing Diamond Armor.
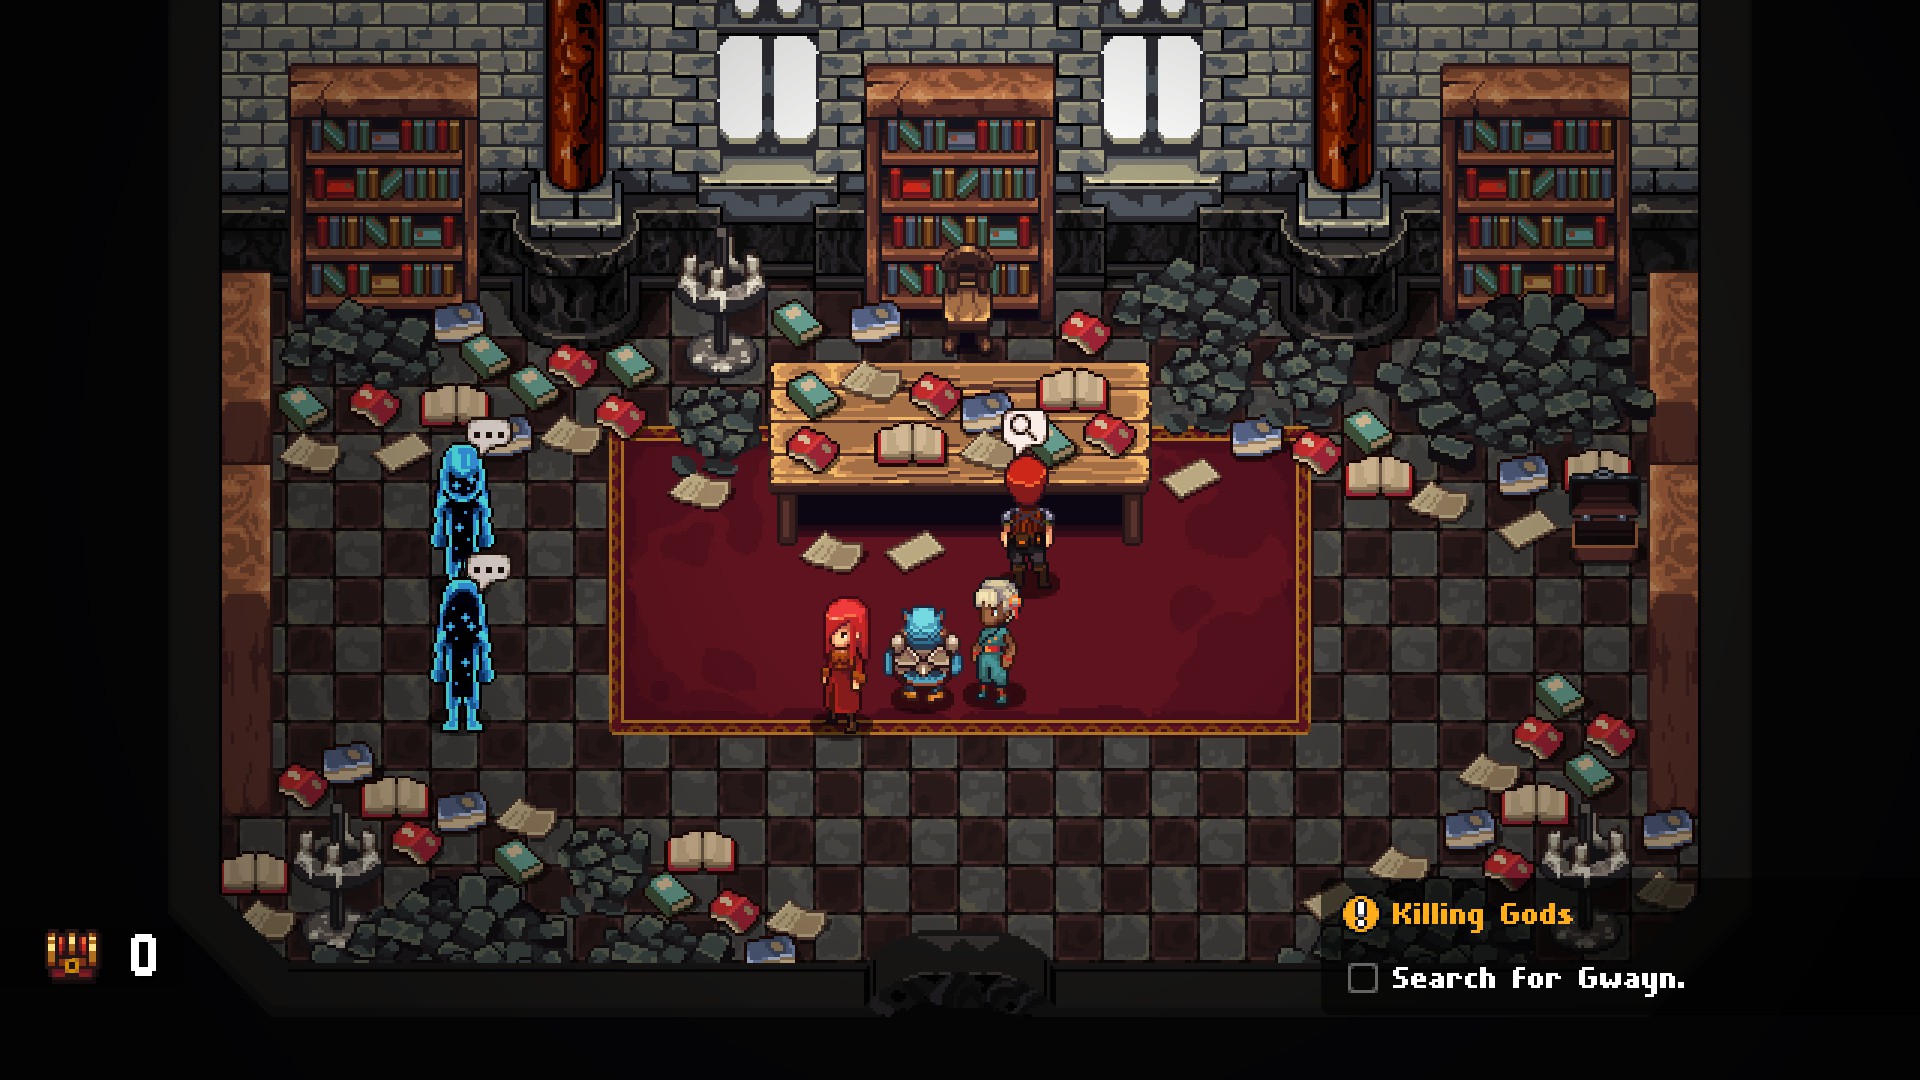
In the room with the first red chest you'll also find a spirit, one of several in this area, and they're apparently responsible for creating some sort of mystery monster. They can't seem to recall the details of the creature, however, and it will be up to you to fill in the gaps. How you answer their questions will determine the nature of an upcoming boss:
- The spirit in the room with the first red chest will wonder if the creature had a magical aura, or if it was a brute. This will determine whether it's weaker to physical or magical attacks.
- In the northwest, past a group of Purple Pigears, a spirit will wonder about the monster's color, and each color is connected to an element (Fire, Water, Earth, Wind). This will help determine the monster's Strength and Weakness.
- In the northeast of the second floor is a spirit wondering whether it read about Phoenixes, birds that can resurrect themselves, before or after it created the creature. Answer 'after' to avoid making the fight more difficult.
- In the eastern bedroom on the second floor is a spririt wondering about the monster's specialty. 'Flailing like crazy' makes it a physical threat, 'casting magic all over the place' makes it a caster, and 'fooling around with your status' turns it into a more technical monster that inflicts lots of status ailments.
How you customize the monster is entirely up to you, though you should give it attributes that correspond to your own strengths. If your team is good against physical threats, for example, it should flail like crazy rather than casting magic all over the place. If everyone's geared up for fighting Water monsters, then make it a blue monster. You get the idea.
Once you've spoken to all four spirits some furniture in the northwestern room on the second floor will move, allowing you to go through a door. You get one guess what's waiting on the other side.
Memory
Strength: Varies
Weakness: Varies
Steal: Nothing
Surprise! Memory is a giant, many-varied blob, and what it can do in combat depends on your earlier choices. It may be a physical threat, or a spellslinger, or a status ailment connoisseur. Regardless of your choices, however, this fight is not difficult, and even if you chose to let Memory revive itself you shouldn't have any trouble winning this fight. Debuff Memory, buff your own team, and wipe the floor using the blob's weakness. Unless your team is very underleveled you shouldn't even need to spend much time healing.
You'll receive a Grimoire Shard for defeating Memory. You'll also find a Gold Key. With this you can open the gate in the Upper City, beyond which you'll find a lengthy bridge. Save before you cross, as a familiar face - helmet? - is about to pop in, and they're very upset.
Whyatt
Strength: Earth (Whyatt) / Light (Support Orb)
Weakness: Wind (Whyatt) / Dark (Support Orb)
Steal: Nothing
Ahhhh yes, this guy. The last remaining defender of the Church, Whyatt is determined to put an end to your journey, no matter the cost. He's even willing to take you on while you wear Sky Armor, which is quite the commitment, and he's capable of holding his own. Expect the following actions from Whyatt:
- A normal physical strike
- Act Twice, used once you've done enough damage
- Act Thrice, used once you've done even more damage
- Counter Stance, which triggers an AOE Counter if Whyatt is hit
- Summon Support Orb, which grants Whyatt new Skills
- Cross, an AOE physical attack (Support Orb must be active)
- Heal, which restores a large amount of Whyatt's HP (Support Orb must be active)
This fight is harder than it seems at first. Whyatt starts off using so-so physical attacks, occasionally throwing up a Counter, and just generally getting bombarded by your party. Eventually he'll use Act Twice, giving himself two actions, and after enough damage he'll use Act Thrice, giving himself three actions. The Support Orbs he summons give Whyatt a more dangerous set of actions - including the ability to swiftly heal himself - and can prove an incredible nuisance. Whyatt also has a lot more health than you might be expecting of a dude in normal armor.
Unsurprisingly, you need to closely manage your Overdrive and your debuffs throughout this fight. Preventing Overheat is pretty easy early on, but once Whyatt is hitting three times per turn it becomes quite difficult to keep your Overdrive Bar in the orange. Debuff Whyatt thoroughly every time any counters run out, and use Blind strategically to prevent Whyatt from hitting you with his attacks, which are, mercifully, all physical. Prioritize destroying any Support Orbs he summons with your most powerful moves so Whyatt can't pelt you with countless AOE attacks. On the whole it's not the most complicated boss fight in the game, but you still need to stay on your toes.
You'll receive a Grimoire Shard for defeating Whyatt, and a surprise third party will rush in to finish the giant off. You can now finish crossing into the actual Academy.
Academy
You're almost there. When you arrive on the Academy grounds you'll find two doors waiting for you in the north. The door dead ahead will take you to your destination... but you should absolutely go through the door on the left first.
Inside the left door you'll find a small, scattered study. There are two items of great importance here:
- The first is the note on the desk. It describes a floating island off the west coast of Valandis, and if you visit said island you'll begin - and immediately finish - the side quest A Hammer Beating in the Sky. The blacksmith who lives on this island is the greatest in Valandis, and he can forge any Rusty weapons you have into the strongest arms available in Chained Echoes... assuming you can furnish him with a Soul of Farnese, anyway.
- The second is the Elevator Key in the chest on the right side of the room. The Elevator Key is connected to the elevator in Raminas Tower, and if you board the elevator with the key in your possession you can use it to descend to the tower's lower levels, which are filled with monsters - and, ultimately, will take you to the final, unexplored sections of the Ograne Grottos. We'll make use of this key in another guide.
If you want to take on the final, non-main-story challenges available in Chained Echoes, you'll need to visit both of these places at some point. At a minimum getting some new weapons will make finishing the game easier, should you be struggling at this point.
Whether you go now or wait, though, your next destination is through the central door, back in the courtyard. A long walk north will eventually bring you to stairs, and down them you'll find a Fast Travel Crystal, an anvil, and your merchant buddy, who was MIA for a while there. Good to see you, dude. Suit up, then head south. Your final trials await.
Labrodia-Dervinas
Strength: Water / Wind
Weakness: Fire / Earth
Steal: Nothing
Ahhh, you stupid... well, it's no surprise things came down to this. Labrodia-Dervinas is a nasty opponent, and will put all of your Sky Armor skills to the test. You'll need some careful management resource - not to mention carefully-balanced aggression - to bring him down. You can expect the following attacks from Labrodia-Dervinas:
- Act Thrice
- Normal melee strikes
- Change of Plans, which swaps between Offensive and Defensive Tactics when used
- Heal, restoring some of Labrodia-Dervinas' health (Defensive)
- Hopeless Strike, which automatically knocks out one character (Offensive)
- Light Barrage, an AOE Light spell (Offensive)
- Ultima Strike, which charges for two turns and inflicts heavy damage on the whole party
Labrodia-Dervinas begins the battle with Act Thrice active, and will always use three actions when it's his turn, unless he uses Change of Plans. When he uses Change of Plans Labrodia-Dervinas' subsequent Skill usage will change, and you'll either be subjected to painful attacks (Offensive Tactics) or lots of healing (Defensive Tactics). Regardless of his mode of attack Labrodia-Dervinas will occasionally use Ultima Strike, as well, charging up for two turns before slamming your whole party.
You need to adjust your approach to the fight as Labrodia-Dervinas swaps tactics. When he's using Offensive Tactics you should relegate two of your characters to healing and buffing / debuffing while the other two attack. Heal away any damage as quick as you can, and revive anyone unlucky enough to be knocked out by Hopeless Strike. Keep your healers in Gear 1 for this phase and bump up your attackers to Gear 2. Once Labrodia-Dervinas moves into Defensive Tactics you can go on the offensive, letting your secondary healer attack and switching almost everyone to Gear 2.
The one real point of worry is when Labrodia-Dervinas starts to charge up Ultima Strike. When this happens you'll have two turns to get everyone into a defensively-neutral Gear - 0 or 1 - and fully-healed. Then have as many characters as you can manage Defend. This will greatly mitigate the amount of damage you take from Ultima Strike when it goes off. Heal away any remaining damage, then go back to business as usual. You'll likely face two or three Ultima Strikes before you can do enough damage to put Labrodia-Dervinas down.
You'll recieve a Grimoire Shard for defeating Labrodia-Dervinas. Alas, the battle isn't over yet...

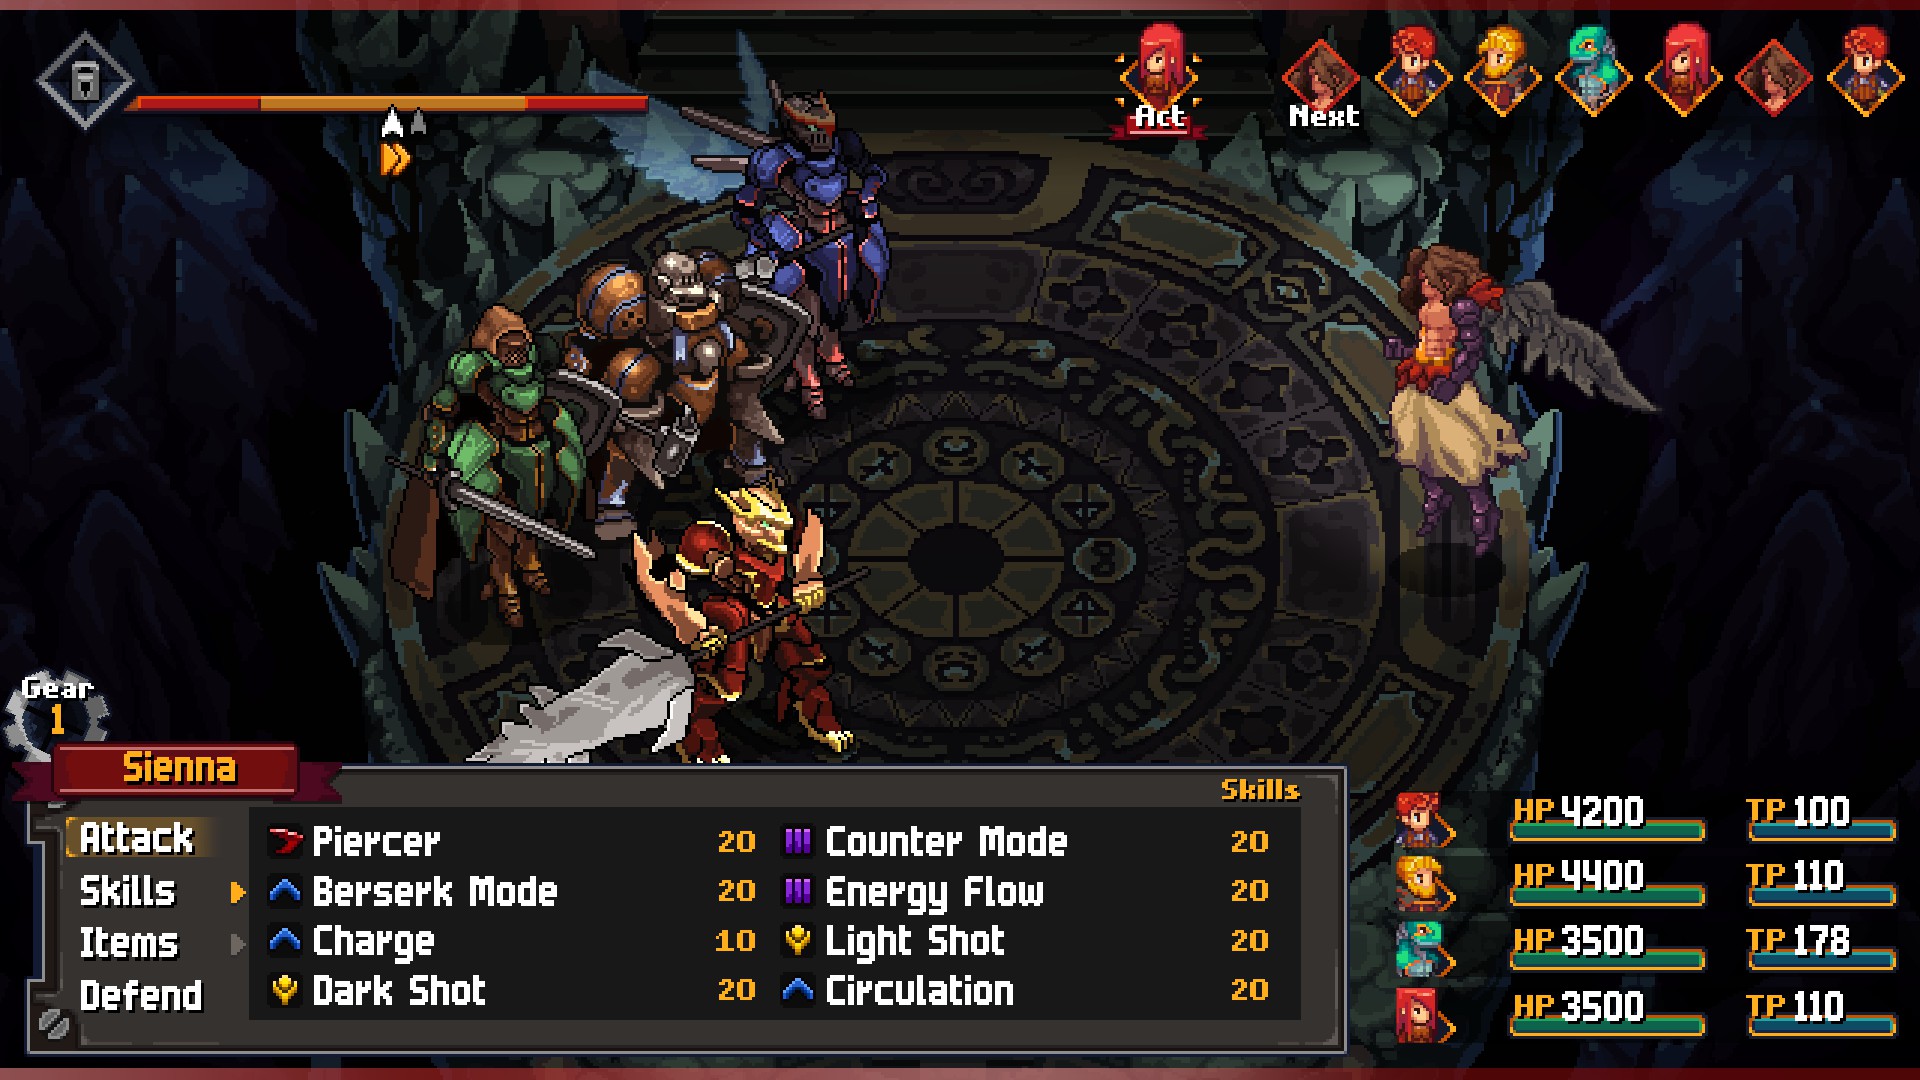
Alfreed, Tank, Healer, Magician
Strength: Dark
Weakness: Light
Steal: Nothing
Yeesh, things are starting to get weird. This grim foursome works as a team to try and take you down, covering all the roles of a well-balanced RPG squad. Oddly enough this fight will feel a little similar to your earlier brawl with Prok, Galfried, Bathusda, and Nos, but... harder. You can expect the following from this quartet:
- Alfreed uses AOE physical attacks, as well as buffs on his allies
- Tank buffs himself and uses physical attacks
- Healer keeps her side healed, but can also use Glare to do a bit of damage
- Magician uses AOE elemental spells, but most importantly can use Death Stagger on a character, which can only be negated if you switch that character out - will also use Lifethread when weak to take a character with him
- All four can use Act Twice
Each enemy has a limited number of attacks, and they don't do a ton of damage alone, but it adds up when all four go one-after-the-other. Once you've taken out two members of the team the remaining two will use Act Twice to make up for the loss.
This fight gets progressively easier as it goes along, even taking Act Twice into account. Buff your party to start, then use Glenn's Ultra Move to debuff the whole enemy team. Once that's done, and you've healed up any major wounds, go to work demolishing the Healer. She doesn't have a ton of health, and though she can't heal much damage it's still an annoying amount.
Once the Healer is out of the way, move on to the Magician and Alfreed. Both use AOE attacks that are fairly painful when used often. Try to balance your attacks between the pair, if you can, as the remaining enemies will use Act Twice on themselves once two of their buddies are gone. You can tell you're close to this when the Magician uses Lifethread to bind himself to one of your characters. Once both enemies are relatively low on health, finish them off (and make sure you switch the character who was hit by Lifethread so they don't go down with the Magician). You can then finish off the Tank, who, while durable, doesn't hit very hard.
You'll earn a Grimoire Shard for defeating Alfreed, the Tank, the Healer, and the Magician. Over yet? Of course it isn't...
Vaen
Strength: Light
Weakness: Dark
Steal: Nothing
Yep, that's final boss music, all right. An eldritch horror from beyond space and time, the Vaen has been badly mangled by the Grand Grimoire... but it's not done yet. You need to take it down once and for all. You can expect the following attacks from the Vaen:
- Normal melee attacks against three random characters
- Bing Bang, which reduces everyone's HP to 1
- You Shall Be As Gods, which buffs the boss' offensive and defensive stats
- Nirvana, an AOE Light spell
- Duplicate, which creates a Vaen Duplicate to attack the team from behind
- Act Twice
- Barrier Switch, which prevents either magical or physical attacks from affecting the Vaen
The Vaen will begin the battle with Bing Bang, reducing everyone to one HP, and you'll need to quickly heal back up before it gets another turn. From that point on the Vaen will typically alternate between buffing itself, pelting your party with Nirvana, and using normal melee attacks. Get far enough into the battle and the Vaen will use Act Twice to double its destructive output, and Duplicate will create a clone of the creature for you to defeat. Barrier Switch is a sign that the battle is slowly drawing to a close, and will prevent you from using your full array of attacks.
This battle is nevertheless not that different from your standard boss. The Vaen is a bit slow, and you can further debuff its Agility to give yourself a ton of actions between its turns. Use other debuffs to counteract the effects of You Shall Be As Gods, then go to town on the Vaen, walloping away at its health with everything you've got. Any character that can use Dark Skills (Ba'Thraz) can do a real number on this thing, though any powerful offensive Skill is also welcome.
This is a long fight, but much of it is scripted. The Vaen will use a number of attacks to devastate your party... and the effects will often immediately be counteracted. Just keep fighting. If you've come this far, you should be able to defeat the Vaen without a ton of trouble.
And... that's it! Defeat the Vaen and you'll have saved Valandis! Congratulations! Now you can sit back and enjoy the many cut scenes that comprise the ending. You might have brought this chapter to a close, but it's pretty clear that the story's not over... though you'll have to wait for a sequel to see more, 'cause Chained Echoes is done for now.
... except, of course, for all the optional side content that's still available to you. Wait for the credits to fully roll and you'll be placed back before the final boss rush, and you can take your newly-acquired Grimoire Shards off to fight other, more difficult prey. It's not over yet!
Main Walkthrough