Part 37: End of an Era - Hermit's Isle / Side Quests
Main Walkthrough
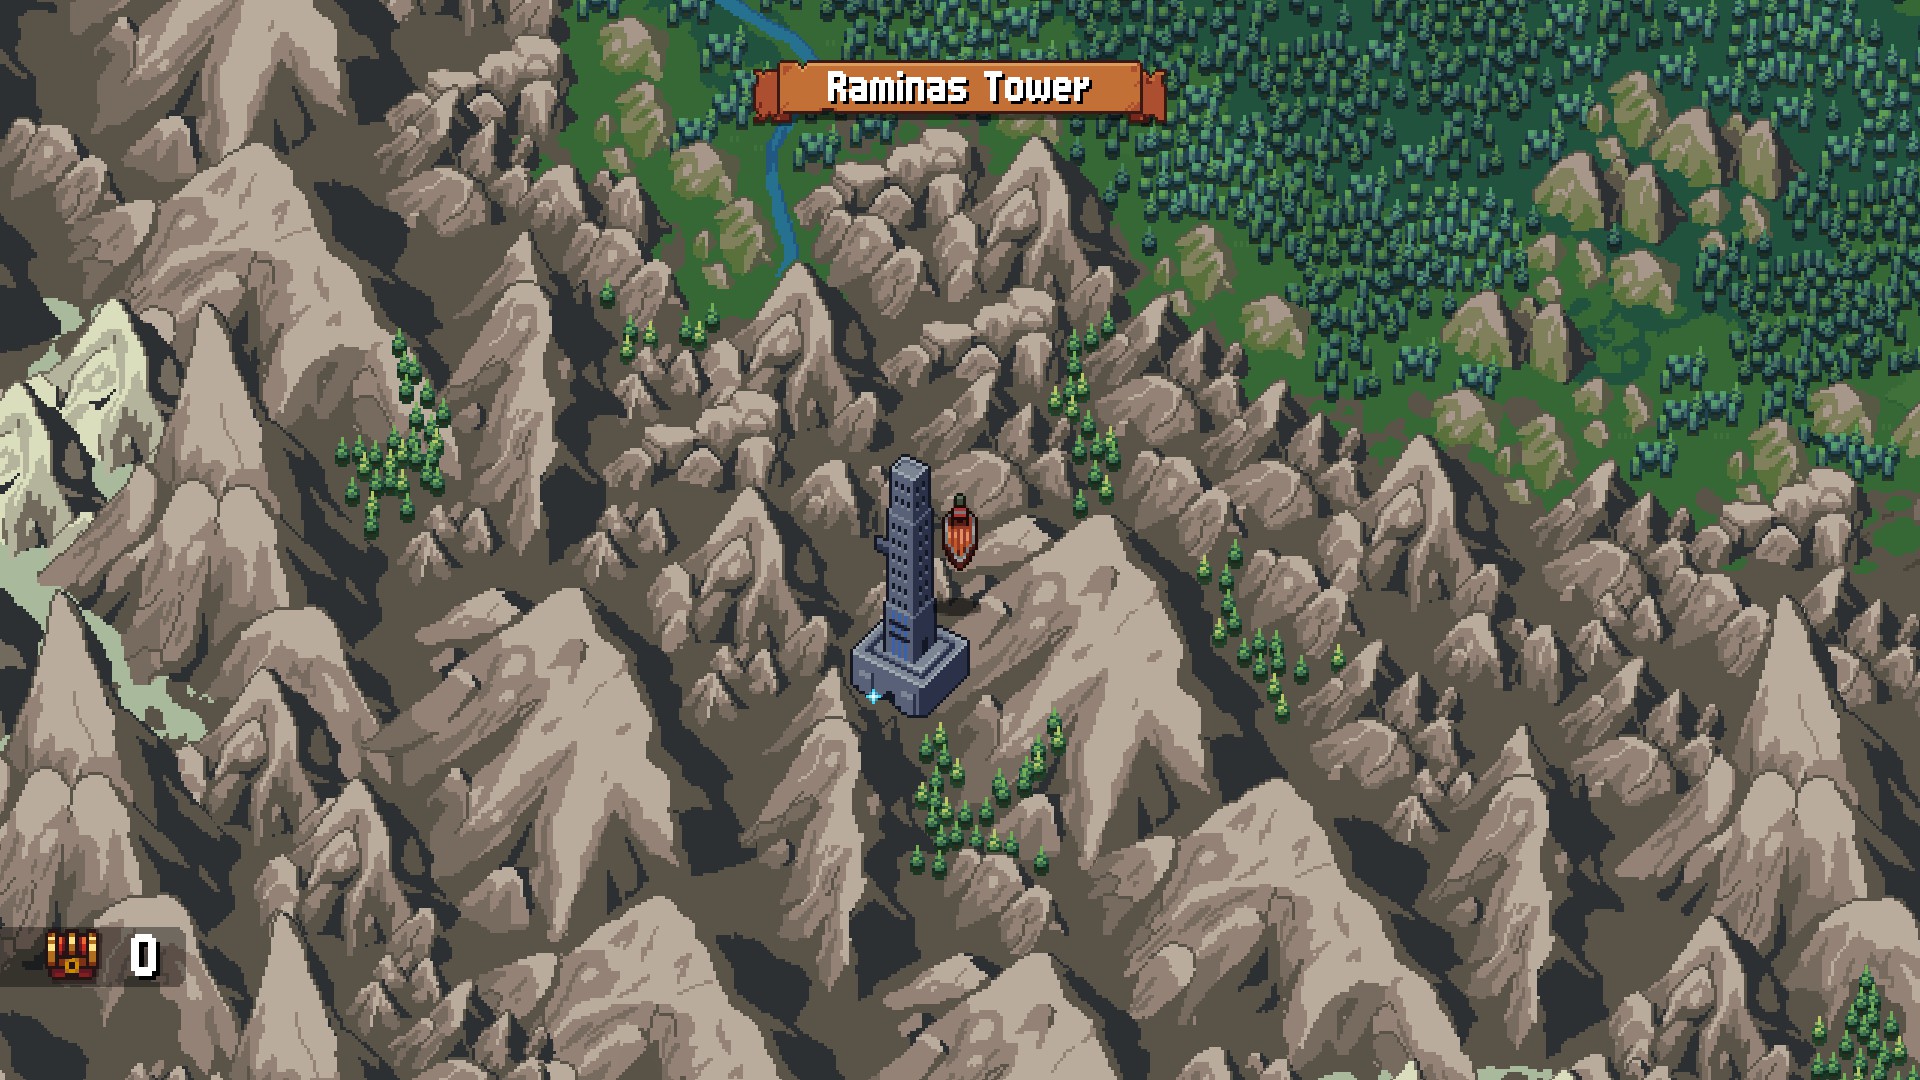
Raminas Tower
Enemies
- Baki Warrior - Strong to Water, weak to Earth - Drops Heart of the Baki, Pride of the Baki
- Ether Cannon Wielder - Strong to Earth, weak to Wind - Drops Scrap of Tough Iron
- Hammer Wielder - Strong to Earth, weak to Wind - Drops Scrap of Tough Iron
All of these enemies will also drop a wide variety of accessories for your Sky Armor.
Done side questing and expanding the Crimson Wings? Then it's time to get on with the plot, and that means making a fateful journey to Raminas Tower. A massive fortification located to the south of Tormund and the Fiorwoods, Raminas Tower is the final stronghold of Frederik, who has become both desperate and vicious. Time to bring the tyrant down for good.
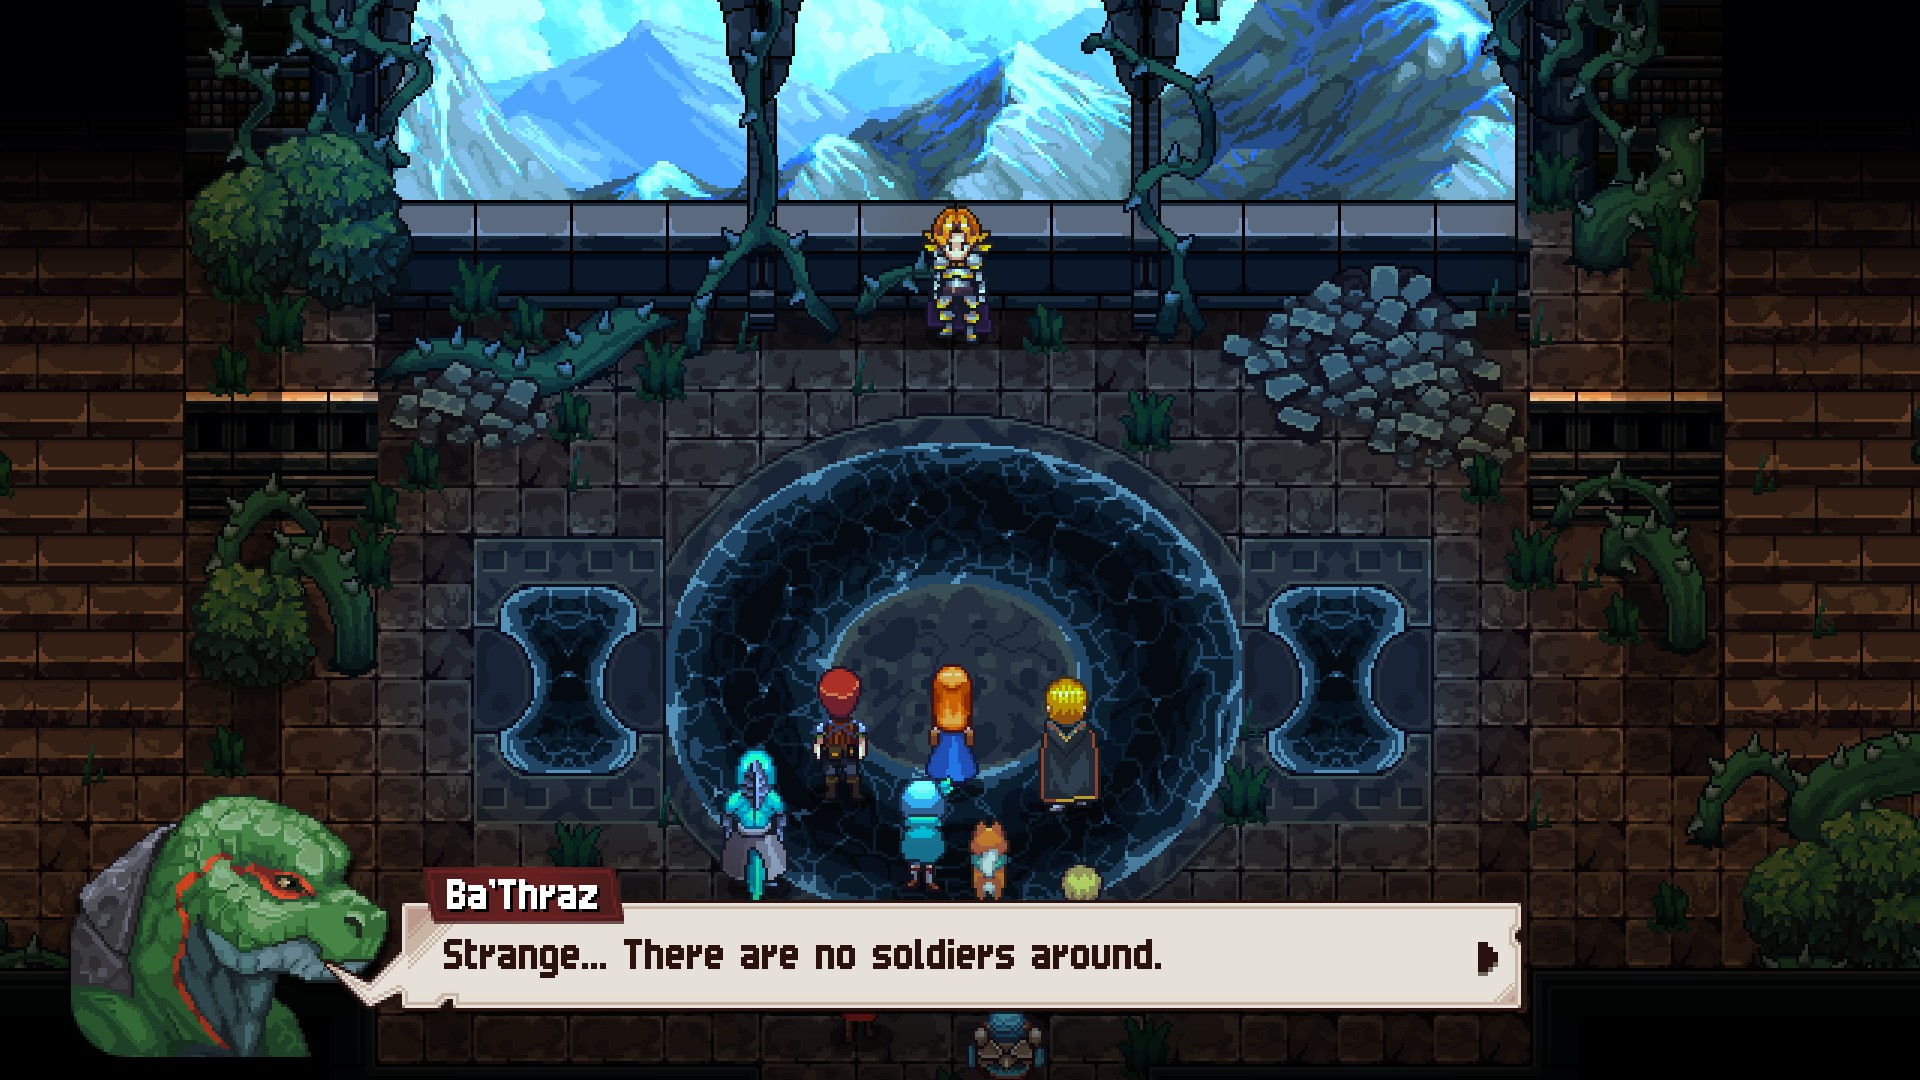
After a cut scene that will see the end to some persistent antagonists - several of them, actually - you'll be dropped onto the upper floors of Raminas Tower. Start by heading north. You'll find a room on your left with a metal box containing a Paris FP400, and if you go all the way north and west you'll find two more metal boxes. These contain a Merlin FM400 and an Elemental Cannon M400. Outfit your team with these items now...
... as you'll be running into Sky Armor when you head west of the entrance. Climb into your own Sky Armor and take them on. The Ether Cannon Wielder will immediately resist physical attacks, while the Hammer Wielder will immediately counter magic, so make sure you use your Skills wisely. If you don't have any magic Skills you'll need to run away and reequip your Sky Armor.
Beyond the Sky Armor you'll find stairs to the next floor, and beyond that an intersection. South of the intersection you'll find a metal box containing a Sword & Shield S400. East of the intersection you'll find another one, and if you go north and back west you'll run into two Hammer Wielders and an Ether Cannon Wielder. You'll take a lot of damage in this fight, so make sure someone stays on healing duty throughout. Behind these enemies you'll find a metal box containing an Ovelia F0400.
Head back east, then south. You'll run into a squad of three Baki Warriors. They can't take as much abuse as Sky Armor, but they hit harder. Inflict Blind to prevent them from landing too many hits. West of the Baki and down a southern side passage you'll find a metal box containing Offensive Drones 0400. Continue west to go up another floor.
East of the entrance to this floor you'll find a metal box containing a Kerberos FK400. Follow the main path south and you'll run into four Baki Warriors. Stay on the defensive for this one and work your way slowly through the enemies. There's a side path leading north near the Baki, at the end of which you'll find a metal box containing an Agamemnon FR400.
Northeast of the Baki you'll hit an intersection. If you head north you'll hit a Sky Armor squad consisting of two Ether Cannon Wielders and a Hammer Wielder. They're protecting a metal box that contains a Great Sword GS400. To the west of the intersection you'll find an elevator. Hop aboard, and...
Maria and Valkyries
Strength: Wind
Weakness: Water
Steal: Nothing
This fight was bound to happen, and yes, you do need to be in Sky Armor to survive. Maria and her Valkyries are quite tough, despite running around on foot, and would slaughter you if you fought likewise. You can expect the following attacks:
- Act Twice (Maria)
- A normal melee strike
- Falling Spears, an AOE physical attacks (Maria)
- Mirror Images, which allows the target to automatically dodge any attack
This fight isn't that difficult, but it is irritating. Maria and the Valkyries begin the battle with Mirror Image status, and will use it on themselves whenever it wears off. Each time you attack an enemy with Mirror Image active the attack will automatically miss. This will remove one tick from a counter on the status, and when they're all gone the enemy can be hit again. The fight is all about timing your blows so you launch your strongest attacks whenever Maria and the Valkyries are vulnerable.
Your first step is to take out the Valkyries, which isn't too difficult. Ignore Maria, healing away any damage she inflicts, and pick one of the Valkyries. You only need to work through two Mirror Images before you can do damage, and a few hits will take one out. Repeat the process with the other one. The Valkyries will occasionally attack you, but most of the time they'll be busy using Mirror Image on themselves or Maria.
Maria is tougher to fight, as she gives herself four Mirror Images - and can attack in the same turn, thanks to Act Twice. Use normal attacks to wear Maria down to one Mirror Image, let her take her turn, then get rid of the remaining Mirror Image. You should then have two or three rounds to dish out as much damage as you can befre Maria puts her Mirror Images back up. Blinding and Poisoning Maria when possible will make this fight easier, as she doesn't have a ton of health.
You'll earn a Grimoire Shard for defeating Maria and her subordinates. Head north once you reach the top of the elevator and you'll find Frederik, whose plan for the world comes to an end. Cut scenes will follow, and once you regain control of the team you'll be on the roof of Raminas Tower. There will also be a guardian of the gods wading through the seas on the east side of Valandis. Call your airship, prep your team, and fly over to meet the threat. (And yes, you can go do other stuff first if you want.)
Crystal Guardian
Strength: Dark (Crystal Guardian) / Light (Crystals)
Weakness: Wind (Crystal Guardian) / Dark (Crystals)
Steal: Nothing
Not quite the creature you'd planned on fighting, but fierce enough. Accompanied by four Crystals, the Crystal Guardian is quite the menace, and can quickly eat up your health if you don't approach it correctly. You can expect the following attacks during this battle:
- Act Twice
- A normal melee strike
- Otherworldly Claws, an AOE physical strike (Metal Crystal)
- Nirvana, an AOE Light spell (Magic Crystal)
- Heal, which restores 5,000 HP to the Crystal Guardian (Healing Crystal)
- Nothing (Broken Crystal)
Each of the Crystal Guardian's attacks is tied to a specific Crystal, noted above. If you destroy the Crystal the Crystal Guardian can no longer use the attack, and it will take 5,000 HP of damage in the process. Consequently, you want to destroy the Crystals in a specific order:
- Destroy the Magic Crystal first, as its Nirvana spell is the Crystal Guardian's most powerful attack
- Second comes the Metal Crystal, since Otherworldly Claws is also quite powerful, especially if used twice in a row
- Third is the Healing Crystal, to prevent the Crystal Guardian from healing itself
- Last... leave the Broken Crystal alone, as it will periodically force the Crystal Guardian to miss a turn
The Crystals don't take a terribly long time to destroy, which is good, since the Crystal Guardian will absolutely wallop your team in the meantime. Put one character on healing duty while the other three demolish the Crystals one-at-a-time, in Gear 2 if you can manage it. With each Crystal lost the Crystal Guardian will become quite a bit weaker, and once the Broken Crystal is the only thing left you can inflict Blind on the Crystal Guardian to avoid any incoming melee attacks. At this point it's just a matter of time before you emerge victorious, and the Broken Crystal will explode once the Crystal Guardian is defeated.

You'll earn a Grimoire Shard for defeating the Crystal Guardian. The team will end the immediate threat to Valandis in the aftermath of the battle... only for something far worse to appear in the sky. The final battle awaits, and it's located deep below the earth, in the Magic Academy of Nhysa.