Main Walkthrough
Need some quality headphones to connect to your PC? Try the JBL Tune 720BT, now available on Amazon! As an Amazon Associate I earn from qualifying purchases, at no additional cost to you.
Each of your characters Chained Echoes comes pre-equipped with a bunch of useful Skills, and there are plenty more to learn over the course of the game. That doesn't mean there's no room for improvement, however, and one of the options available to you are the many Class Emblems littered throughout the game. Equippable by any member of your party, Class Emblems can either amplify a party member's existing speciality, or open up new options that will allow them to perform new tasks.
This guide will detail the Class Emblems of Chained Echoes, and where you can find them. In each case you need to do three things to collect Class Emblems:
- Find a Sacred Water. These are found in chests throughout Valandis, though most Sacred Waters are collected by creating chains on the Reward Board
- Find a statue of a Hero of Leonar. These are typically located in the wilds of Valandis, and will require trekking off the beaten path to locate.
- Offer a Sacred Water to the statue. This will put you in a battle with some of the monsters local to the area. Win the fight and you'll earn the statue's Class Emblem.
You can find Sacred Water in the following ways:
- Create chains of a length of 4, 16, 32, 48, and 72 spaces on the Reward Board
- Via Sienna's scenario in Farnsport, at the beginning of the game
- In a chest on the second floor of the inn in Tormund
- In a chest along the twisting, southernmost passages of the Leviathan's Trench
- In a chest on the far east side of the Hooge
- In a chest in the western area of the Ograne Grottos - you need to leave and reenter the area until the Tadeyes guarding the entrance disappear
- In a chest in the middle of the eastern area of the Flower Fields of Perpetua - you'll need Sky Armor to fly over and grab the chest (which, fortunately, you don't need to fight enemies to get)
Action Class Skills: Awaken Spirit, Heal All
Passive Class Skills: MND Up, Silence Resistance
Test Battle: Four Sewerdivers
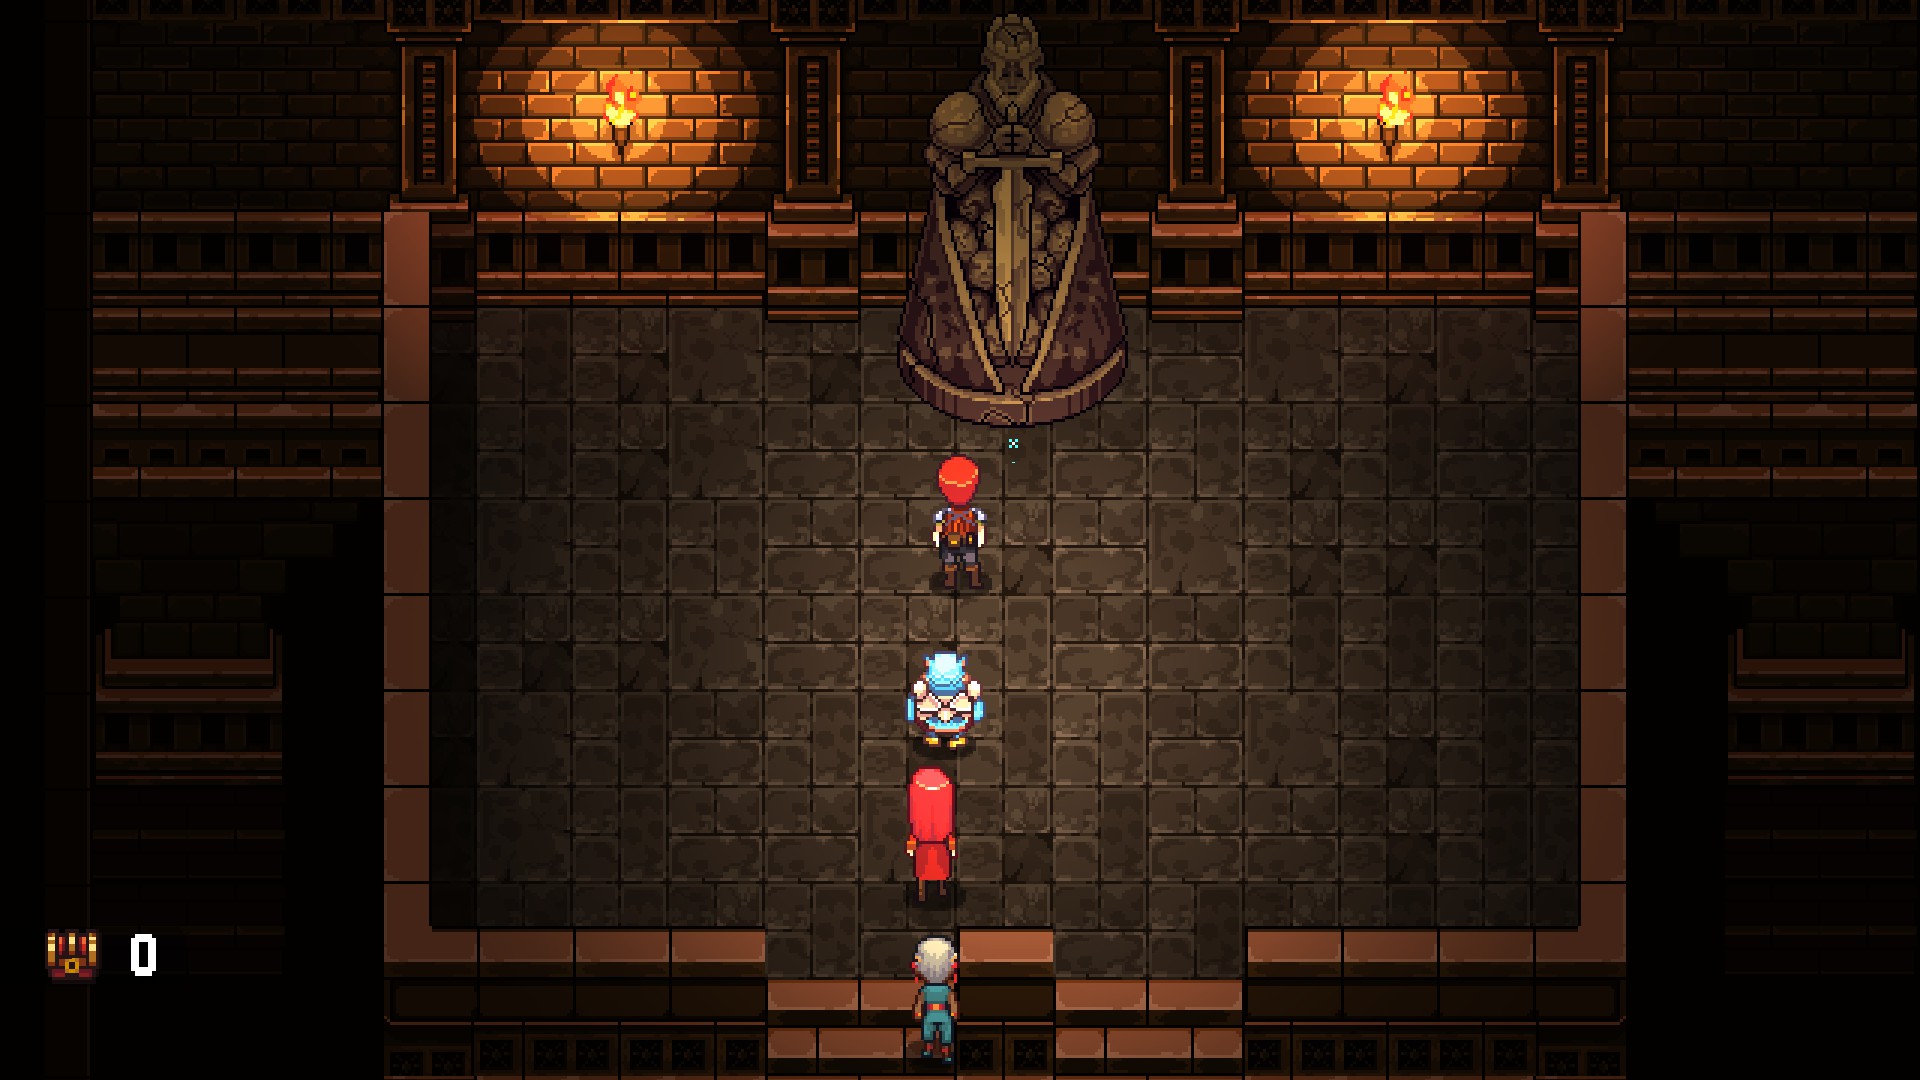
The first Class Emblem that you can collect is the Cleric Emblem. It's located at the end of the Narslene Sewers, during your escape from Farnsport Palace. You'll learn about Class Emblems from this statue. You'll already have a Sacred Water from Sienna's introductory scenario, so accessing it is no problem.
Clerics receive a large boost to Mind, as well as lesser bonuses to HP, TP, and Magic. This class is built for keeping the party healthy with Heal All, and Awaken Spirit is useful for reviving other characters in a pinch. Of the early Class Emblems, Cleric is arguably the most important.
Action Class Skills: Power Pierce, Power Swing
Passive Class Skills: ATK Up, Defend Gain HP
Test Battle: Four Slorses
Next up is the Warrior Emblem. You'll find this Class Emblem in the southwest of the Rohlan Fields, on the outskirts of the Seaside Village. To get to the statue you need to leave Basil to the southeast. If you take the correct path through the woods you'll come to a giant pit. Drop into it and you'll find the statue through the cave at the bottom.
Warriors receive good stat bonuses to everything except Magic and Agility, making them great all-around physical warriors. This Emblem's Skills are best reserved for characters that lack strong single- or multi-target physical attacks, and are somewhat wasted on characters like Sienna or Kylian that already have those options.
Vampire
Action Class Skills: Ether Sucker, Life Sucker
Passive Class Skills: Undead Killer, HP Sacrifice
Test Battle: Three Vin, one Gazer
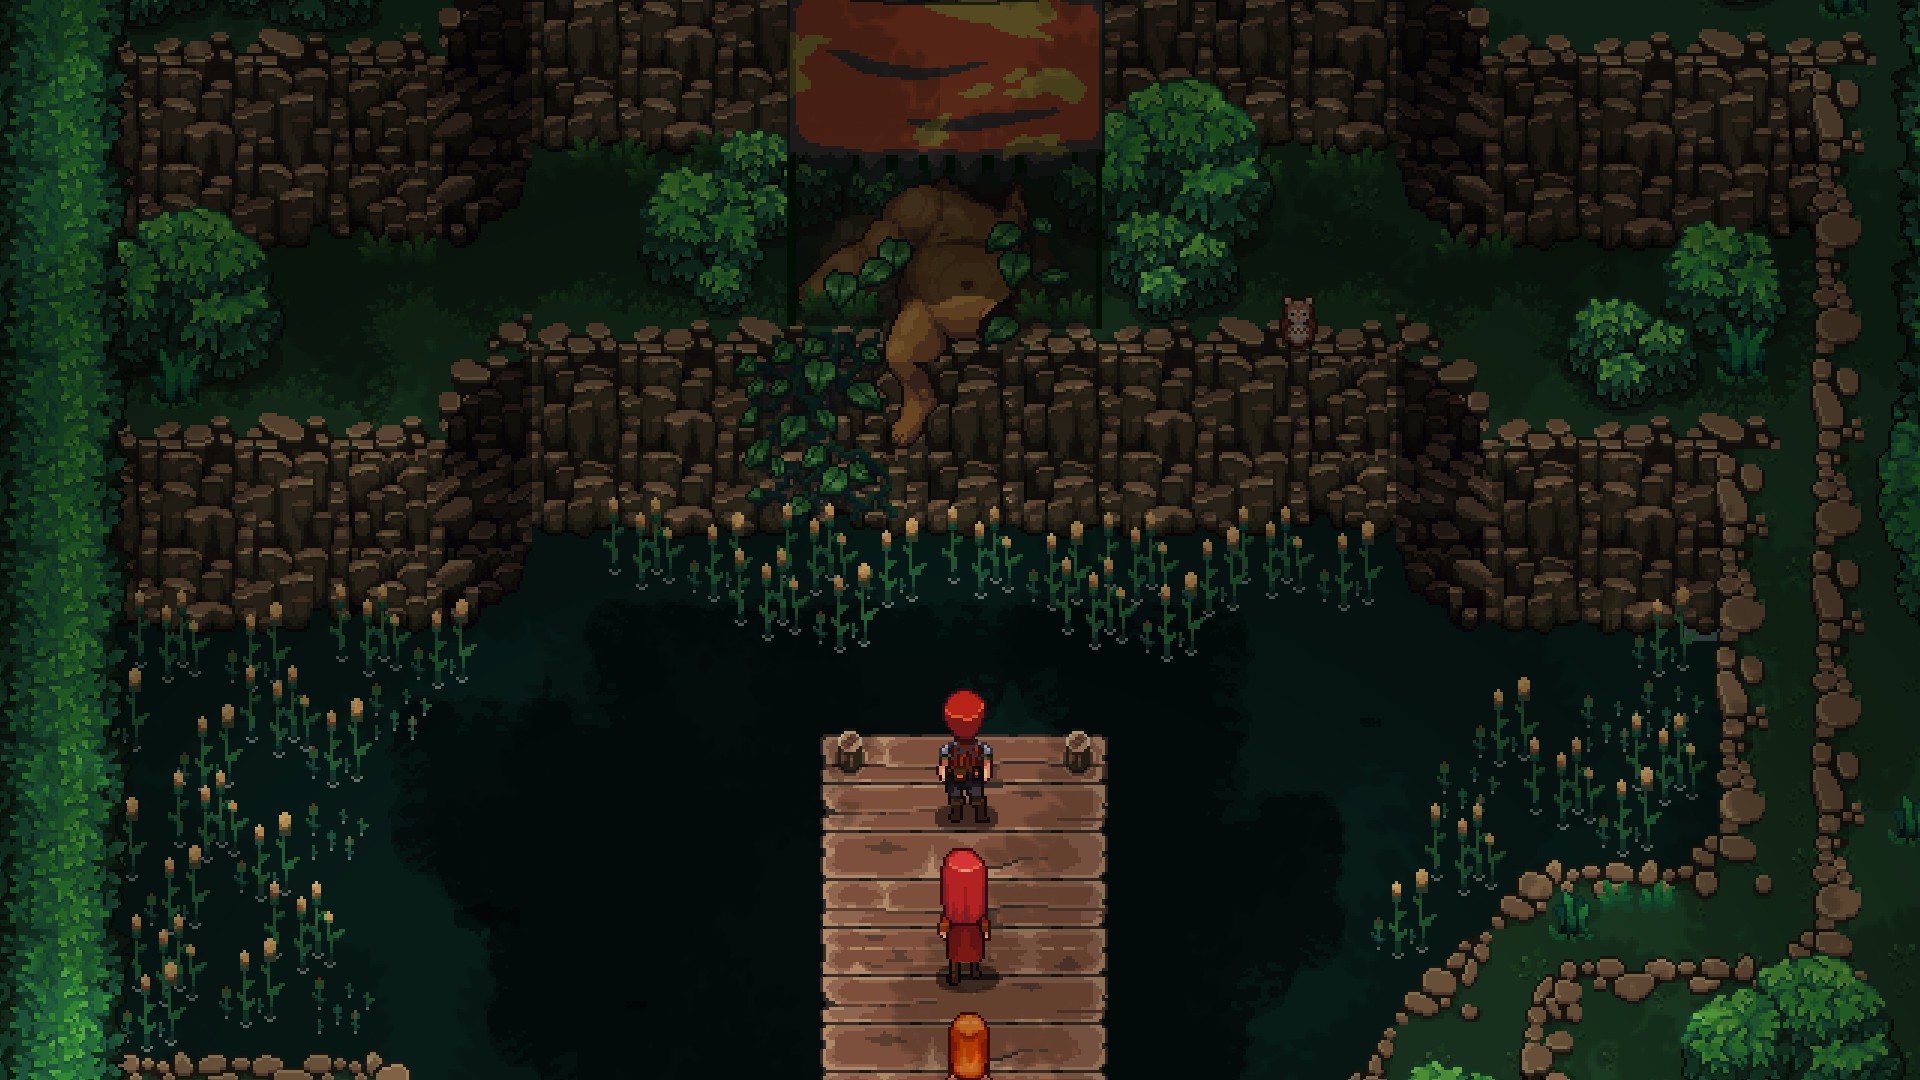
The third Class Emblem that you can collect is located in the Fiorwoods. Once you've dealt with the fiend at the White Rose Inn you can travel north of Iden and into the center of the Fiorwoods. Head west from the southern entrance, then south. On the next screen you can walk through the tree walls to reach the Camp, which is is staffed by Taryn scientists. On the west end of the Camp, accessible via a long boardwalk, you'll find the statue.
Vampires receive significant boosts to their HP and TP, allowing the character to make ample use of their HP Sacrifice-boosted attacks without getting too weak. Ether Sucker and Life Sucker allow Vampires to be quite self-sufficient. Still, you need to watch your character's health to make sure that their attacks don't eat up too much of their health.
Shaman
Action Class Skills: Dispel, Aqua
Passive Class Skills: MAG Up, TP Gain Up
Test Battle: Two Scorpions, two King Owls
The fourth Class Emblem is located in the Flower Fields of Perpetua. While you're trying to get rid of the barrier that blocks you from the east end of the region you'll need to travel north, and you'll need to activate several fungus bulbs to create paths through the swamp. Once you've activated enough of them to reach the point that will deactivate the barrier you'll need to head back south. Along the way you'll cross a boardwalk over the swamp, and some newly-risen fungus on your left will allow you to access the western sections of the land. The path over here will lead you to the statue.
Shamans receive significant boosts to their TP and Magic, and a sizable boost to their Mind. This is an all-around great Emblem for magic users, but doesn't do quite enough to make non-magic users into a threat with those Skills.
Monk
Action Class Skills: Herbal Brews, Drunken Master
Passive Class Skills: Counter Attack, HP Up
Test Battle: Two Seahorse Knights, one Red Wine Djinn, one White Wine Djinn
The fifth Class Emblem that you can find is on the roof of the Kindreld Monastery. Make your way to the second floor, until you're in a chamber with a central door and two sets of stairs. Go up the stairs and through the large gate on the roof. It will take you north, and you can walk west to find the statue.
Monks receive huge boosts to their HP, and an appreciable bump to their Agility. Their Skills make them great support characters for the rest of the party, and the Class is a good fit for anyone who's a little on the slow side. (Or you could put it on someone who's already fast and make them an absolute demon.) The bump to HP may be appreciated by casters with poor health growth.
Bandit
Action Class Skill: Easy Robbery, Flash Light
Passive Class Skill: AGI Up, Poison Hit
Test Battle: Four Terror Terriers
Found in a silly, hidden area, the Bandit Class Emblem is accessible once you have an airship and can return to the Kortara Mountain Range. Check the path in the north of Rockbottom that's leading to the northeastern area of the Kortara Mountain Range and you'll discover a side path through the trees on your left. This leads to the Crab Village, where, among other things... mainly crabs... you'll find the statue.
Bandits receive a heart bonus to Agility, as well as lesser bonuses to Critical, HP, and Attack. Though they make for decent melee fighters, the main reason to turn someone into a Bandit is to create a thief who isn't Sienna. Anyone with poor Agility can benefit from this class.
Summoner
Action Class Skills: Firestorm Split, Earthstream Split
Passive Class Skills: TP Up, Ether Killer
Test Battle: Ten Adamant Crabs
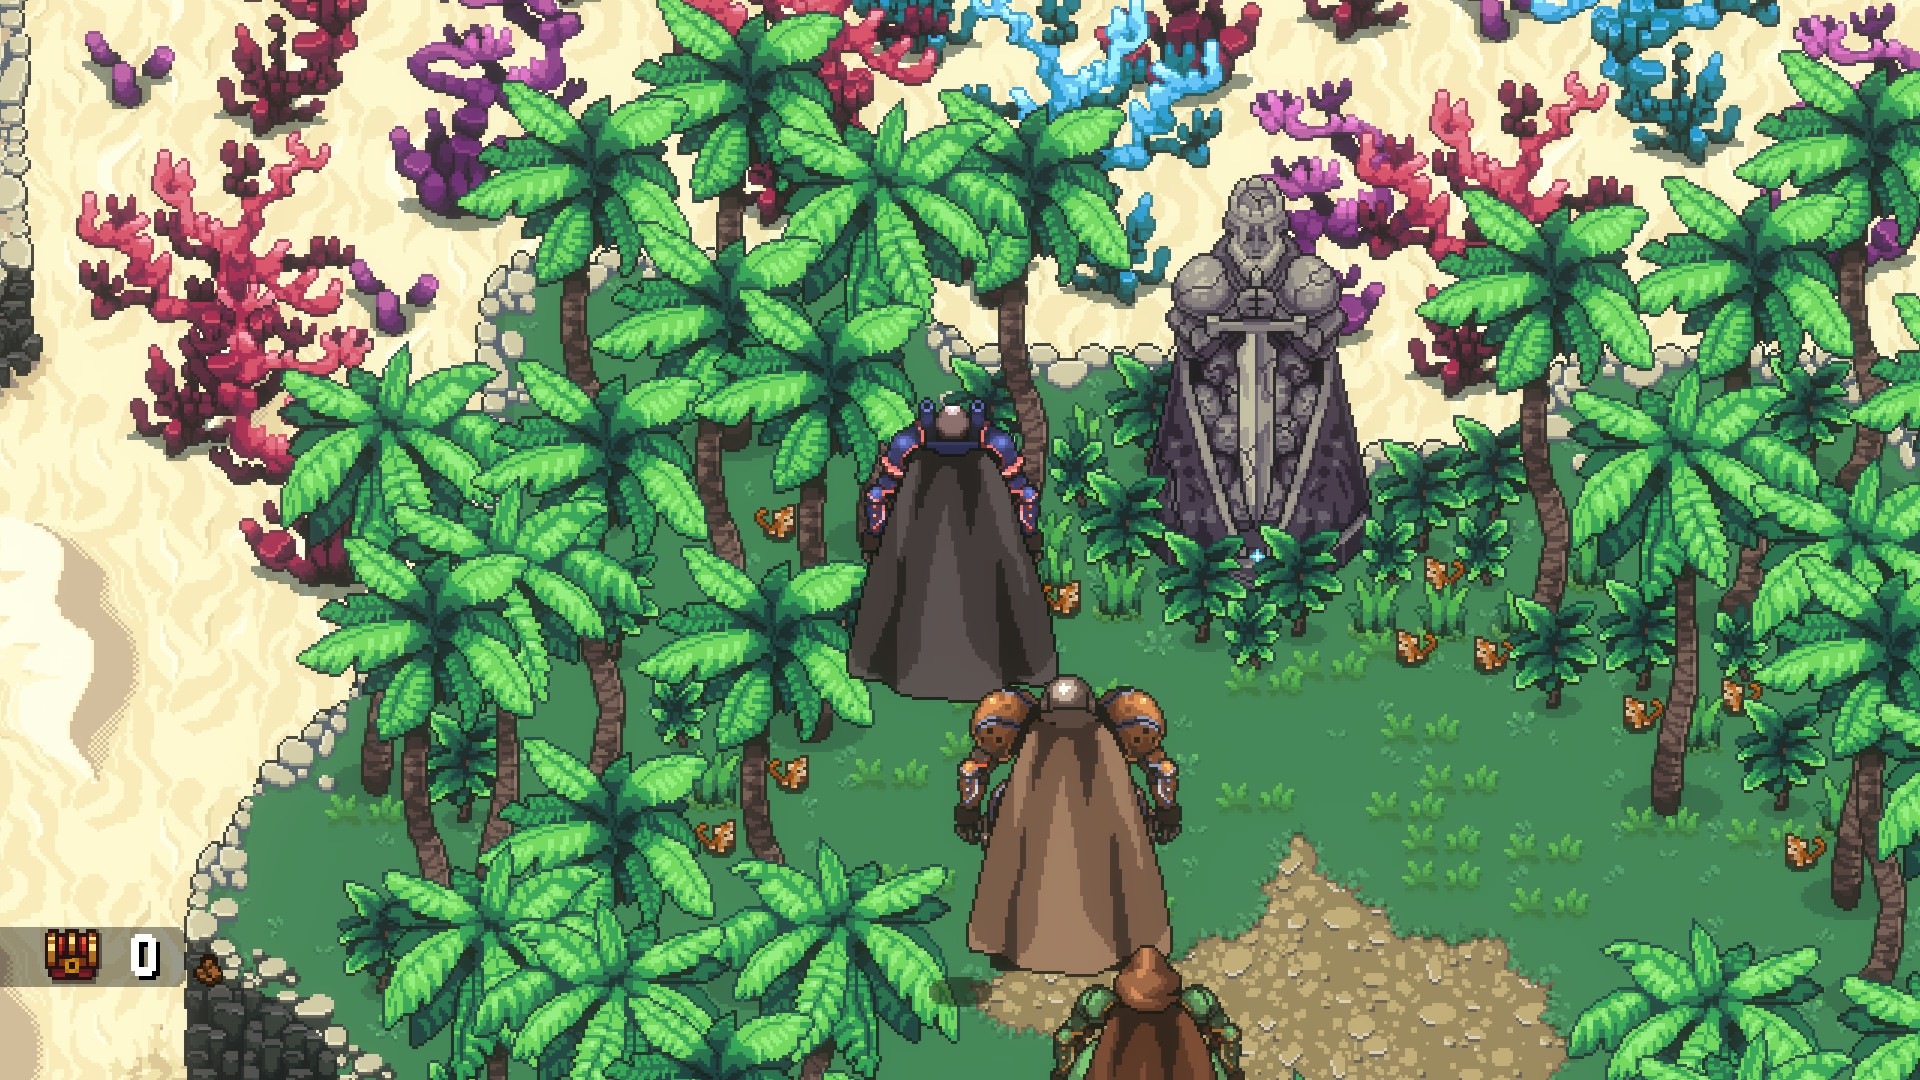
A little off the beaten path, the Summoner Class Emblem is located on the Arkant Archipelago, an area in the southeast of Valandis that you can't access until you have your own airship. Fly there and you'll find your Sky Armor limited to hovering until you deactivate four ASAC emplacements, spread throughout the region.
This guide will help you track down all four emplacements. The statue is on the south end of the large island in the southwest quadrant of the archipelago. Make sure your characters have AOE attacks ready, as these crabs are very difficult to defeat with single-target attacks.
Summoners receive a huge boost to their TP, as well as healthy boosts to their Magic and Mind. Any character can benefit from the TP jump, though the Magic and Mind bonuses make the Summoner Emblem a good fit for your magic users.
Chemist
Action Class Skills: Tinkering, Search
Passive Class Skills: Chemistry, Caretaker
Test Battle: Three Sky Monkeys, one Toucibri, one Ancient Turtle
The Chemist Class Emblem is located on Flying Continent Shambala. To reach it you must first deactivate the two ASAC emplacements found in the area, which is part of the main quest. Once you can fly in your Sky Armor, head to the southwestern section of the map. The statue is on the largest, northern-most island. This battle is a bit tough if you don't wipe out the lesser enemies quickly, so make sure you start off with four characters that can use strong AOE attacks.
Chemists receive appreciable boosts to their HP, Defense, Mind, and Agility. These stat boosts, combined with all of the item-oriented Skills, make Chemists ideal healers. You can either equip this Emblem on existing healers (likely Amalia) to further accentuate their existing abilities, or place it on someone else to make them a capable backup healer. Egyl is a good choice, as he's often taking damage from enemies, could use the Defense boost, and will need to heal himself from time to time.
Mage Warrior
Action Class Skills: Magic Smash, Physical Wonder
Passive Class Skills: Fire Attack, Water Attack
Test Battle: Four Tadeyes
The Mage Warrior Class Emblem is located in the Ograne Grottos. To reach it you'll need to use Sky Armor to fly to the second entrance to the grottos in northern Rohlan Fields, at the base of a waterfall. Do this as part of the side quest
The Gates of Nhysa, as you'll need an Incocybin Berry from that quest's NPC to get past the Tadeye monster guarding the innermost sections of the grottos. You'll need more berries to get past more Tadeyes blocking the statue, which you can purchase from the grotto's Goblin Village during the side quest
A Goblin's Dilemma. You'll also need four more Incocybin Berries to defeat the four Tadeyes that formulate the trial for receiving the Emblem.
Mage Warriors receive small bonuses to all of their stats, making them jacks-of-all-trades. Every character can benefit from this class, but... not that much. (You'll likely put this Emblem on the party member that you use the least.)
Rune Knight
Action Class Skills: Light Coat, Dark Coat
Passive Class Skills: DEF Up, Counter Mag Up
Test Battle: Five Blue Clock Spiders, four Red Clock Spiders
In order to access the small shrine where the Rune Knight Emblem is located you first need to get through the
Empyrean Ruins. In the final room, just before the boss, you'll find a Church Key. You can use the key to get into the abandoned church in the southwest of the Flower Fields of Perpetua. Check the picture of the tree inside the church to reveal a secret basement, within which you'll find huge stone tablets. Check the tablets to reveal the location of the shrine on the airship map. It's in the northeast of Valandis, on the border between the Flower Fields of Perpetua and the Fiorwoods.
Inside the shrine you'll find a puzzle to complete. It's just like the ones in the Empyrean Ruins, only harder. Here's the solution:
- Push the middle orb north once, to smash the grey block to the north, then push it north again so it hits a blue block.
- Push this same orb east, then south. It will smash a grey block.
- Push the orb on the left north, then east. It should now be sitting beside the first orb you were knocking around.
- Almost done with these upper orbs. Push the orb on the right south, west, north, and east. If everything went according to plan the two orbs will again be side-by-side.
- Moving those two orbs into place will allow you to push the third orb, down at the bottom of the puzzle, to the north. The side-by-side orbs will prevent the third orb from flying off into oblivion. Push the third orb east, onto the golden panel.
- Two orbs remain. Push the orb on the right north, so it's out of the way of the orb on the left. You can now knock the orb on the left onto the golden panel.
- Almost done. Push the last orb east, south, west, north, and east again. This will send it flying over to the golden panel, completing the puzzle.

Phew. Past the gate you'll find a red chest containing a Rusty Spear, as well as the statue of the Heroes of Leonar. You'll still have to fight enemies, though the puzzle was much more difficult than the Clock Spiders. Remember: The Red ones are vulnerable to physical attacks, while the Blue ones are vulnerable to magic attacks. Placing Egyl in your intial party will give you a nice, tanky buffer for dealing with them. Complete the trial to earn the Emblem.
Rune Knights receive small bonuses to every stat except Mind, which receives a sizable bonus, and Agility / Critical, which receive no bonus at all. It's an all-around decent class for anyone who has no options for targeting Dark and Light weaknesses (which is almost everyone), though most characters will benefit more from higher bonuses in fewer categories.
Gambler
Action Class Skills: Blindman's Bluff, Suspicious Darts
Passive Class Skills: Crit Up, SOS TP Regen
Test Battle: Five Golems
In order to access this shrine you need to follow the same steps listed above for the Rune Knight Emblem. Checking the giant stone tablets will also reveal the location of this shrine, along the northwest coast of Valandis.
This also means, alas, that you need to complete an orb-pushing puzzle to get at the statue. Here's the solution:
- Push the upper orb east, south, and west. It will destroy a grey block along the way.
- Push the lower orb north, east, and south. It will wind up beside a grey block and a blue block.
- Push the upper orb south and east. It will destroy the grey block beside the other orb.
- Push the orb on the right east, then north. It will destroy a grey block and wind up right beside the golden panel. Push this same orb west to destroy another grey block, then shove it back east and onto the golden panel.
- Push the remaining orb north, then east. Destroying the grey panel with the other orb will allow you to push this orb to the golden panel, completing the puzzle.
Completing the puzzle will grant you access to the statue room, but you'll have to face a trial to earn the Emblem. The battle against five Golems, which, despite being fairly hefty, shouldn't give you a ton of trouble. Water is your friend. Complete the trial to earn the Emblem.
Gamblers receive a huge bonus to Critical, and lesser bonuses to HP and Agility. Statistically you're basically making someone into a second Sienna (or making Sienna even better at what she does). Give this to a melee warrior who needs a good multi-hitting Skill.
Pyromancer
Active Class Skills: Ignis, Ventus
Passive Class Skills: Fire Resistance, Plant Killer
Test Battle: Two Red Clock Spiders, two Blue Clock Spiders, three Golems
In order to access this shrine you, once again, need to follow the steps listed beneath the Rune Knight Emblem. The stone tablets will also reveal the location of this shrine, in the northwest of Valandis (and further north than the shrine for the Gambler Emblem).
Shockingly, there will be an orb puzzle to solve. The solution is as follows:
- Push the orb on the left west, north, east, south, west, north, and east. This will destroy three grey blocks, including one penning in another of the orbs.
- Push the lowest orb south to destroy a grey block, then push the orb directly to the north of this first orb to the south, so the two are sitting beside one another.
- Of the two orbs sitting together, push the upper one east, south, west, and south. This will put it onto the golden panel.
- Push the lower orb west, north, east, south, west, and south. This orb, too, will now be in the golden panel.
- Push the final orb south, south, and east. This will destroy another grey block, put the orb on the golden panel, and complete the puzzle.
Completing the puzzle will grant you access to the statue room, where you'll find a red chest containing a
Rusty Amulet. The test will pit you against a cluster of Clock Spiders and Golems, all of which are vulnerable to Water attacks. Keep in mind that the Red Clock Spiders take more damage to physical attacks, while the Blue Clock Spiders take more damage to magic. Complete the trial to earn the Emblem.
Pyromancers receive a huge bonus to their Magic, as well as lesser bonuses to their TP and Mind. The Magic bonus is good enough to make anyone in your party a good caster, though you may find an existing caster better suited to the task. Victor is an excellent choice for Pyromancer, as it will allow him to fill in the Fire gap in his magic skillset while making his existing spells much more potent.
Main Walkthrough