

Part 20: The Kindreld Monastery - Flower Fields of Perpetua
Need some quality headphones to connect to your PC? Try the JBL Tune 720BT, now available on Amazon! As an Amazon Associate I earn from qualifying purchases, at no additional cost to you.
Monsters
- Red Wine Djinn - Strong to Fire, weak to Water - Drops Red Wine Bottle
- Seahorse Knight - Strong to Water, weak to Wind - Drops Old Puppet
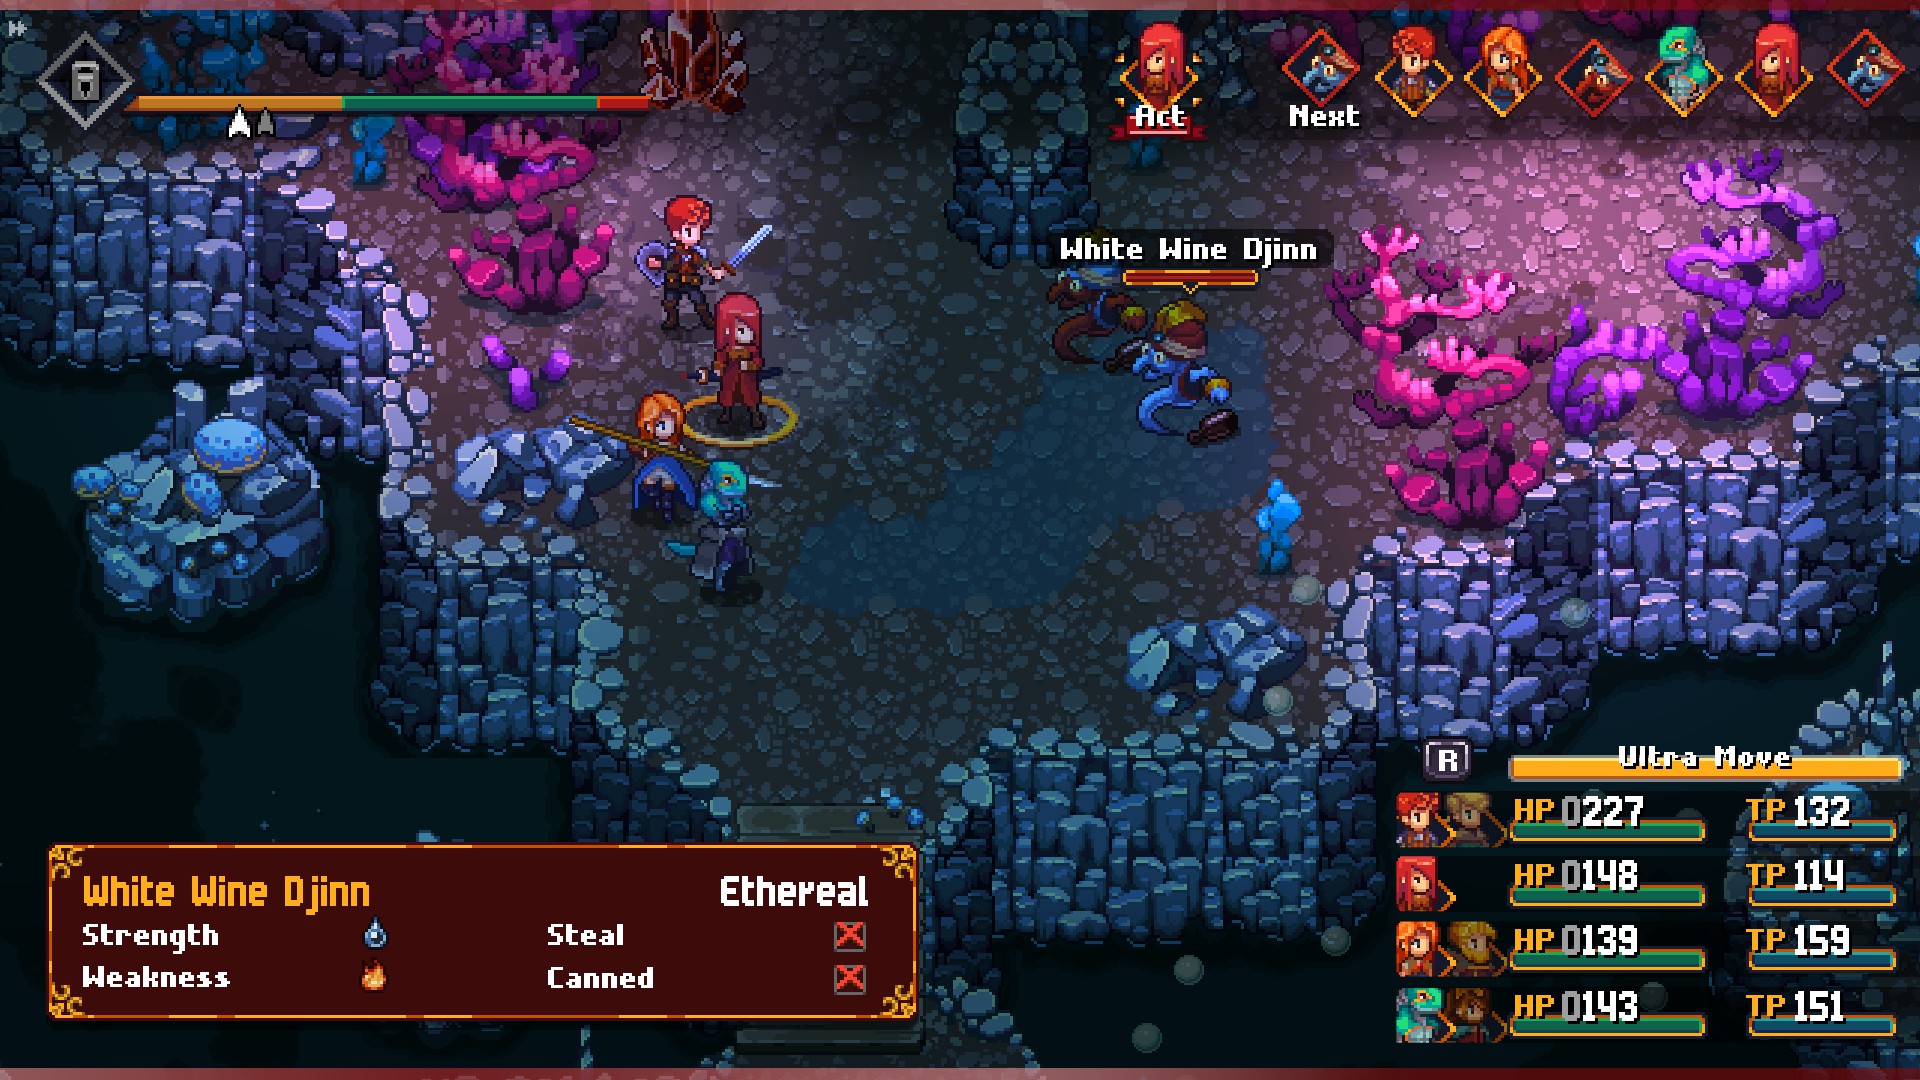
- White Wine Djinn - Strong to Water, weak to Fire - Drops White Wine Bottle
With the Flower Fields of Perpetua behind them, the group only needs to survive one more arrive before they arrive at the Kindreld Monastery, and that's the Leviathan's Trench. An underground passage to the monastery, this place is less alien than the Flower Fields, but that doesn't make it any less dangerous. Spend everyone's GS from the last boss fight if you haven't, then take the plunge.
Follow the first area south, until your surroundings start to look more colorful. You'll run into a Red Wine Djinn. These stubby spirits (get it?) use Fire attacks, no surprise, and are weak to Water. Not a big deal. A little further on to the southeast you'll run into a Red Wine Djinn and a White Wine Djinn, and the latter is the elemental opposite of the Red Wine Djinn. Also not a big deal. Near this second pair is an Amber Crystal.
North of the Djinns you'll find six connected rooms, devoid of anything of use besides an anvil and a chest containing 799a. The northeastern room is locked, and if you check the map you'll see a hint of a path entering into its right side. Ignore it for now and head east, where the two paths you can take will converge in an area guarded by two more Djinns, one Red and one White. East of them is a dead end, along with a chest containing three Silver Ores.
The path to the south of the Djinn will split. Both will converge again in the east, though you should stick to the southern path, as the northern path contains nothing of use. Down south you'll find a chest containing two Gold Ores, two Amber Crystals, and a Sacred Water. The paths will meet again in a room inhabited by two Djinns and a Seahorse Knight. The latter is a straightforward foe, though their Unparalleled Bravery attack can hit one person surprisingly hard.

East of this trio of enemies you'll find three storerooms. The topmost of them has a red chest containing a Shaman's Robe. North of the enemies you'll be back in natural tunnels, and if you check to the east you'll find three Amber Crystals. Through the coral a short walk to the west you'll find a Flatbow in a red chest.
Further west, once again, the path will split. If you take the northern path you'll run into two Djinns and a Seahorse Knight, whereas if you take the southern path you'll run into three Seahorse Knights - and the battle from the northern path. Whether you want to battle fighting both battles is up to you. West of the second battle you'll find the back door into the cluster of six rooms from earlier, and can use the anvil again. Use it if you need it, because when you head north towards the end of the trench...

Type: Ethereal
Strength: Fire / Water / Wind / Earth
Weakness: Water / Wind / Earth / Fire
Steal: Nothing
This place is all about the alcohol-based puns. The Gin is a pretty simple enemy with a pattern that's easy to pick out, and once you know what to expect you can counter its attacks without a ton of difficulty. All in all, not a bad boss, especially if your characters have good elemental resistances.
The Gin uses the following attacks:
- Water, an attack that hits everyone for Water damage
- Wind, an attack that hits everyone for Wind damage
- Earth, an attack that hits everyone for Earth damage
- Fire, an attack that hits everyone for Fire damage
- Keep using the Gin's weaknesses to push it around in a continuous cycle of elemental changes. This way it can't exploit the resistance decrease on your characters.
- Park the Gin on a single element that your characters are outfitted to resist, thanks to their armor, Skills, or Crystals, and rely on neutral attacks to do damage. Heal as necessary.

Defeating the Gin will earn you a Grimoire Shard. It will also force the team into a hasty retreat, as Sienna's pursuers suddenly catch up. It would probably be easier to just fight them at this point, but... whatever. One magical unsealing glyph later, the team finds themselves in the Kindreld Monastery, at long last.