Part 8: Last Preparations - Dancing City of Farnsport
Need some quality headphones to connect to your PC? Try the JBL Tune 720BT, now available on Amazon! As an Amazon Associate I earn from qualifying purchases, at no additional cost to you.
Monsters
- Boxfly - Weak to Wind - Drops Boxing Glove, Weathered Bone - Can steal Ashen Bone
- Crab - Strong to Water, Weak to Wind - Drops Antenna, Iron Ore, Snack - Can steal Tin Ore
- Pigear - Strong to Earth, Weak to Fire - Drops Ashen Bone, Pom-Pom - Can steal Thin Hide
- Saliva - Strong to Earth, Weak to Fire - Drops Flask of Saliva
- Seedling - Drops - Can steal Nectar
- Slorse - Strong to Fire, Weak to Water - Drops Angel Wing, Flask of Slime - Can steal Sterile Mucus
- Wool Turtle - Drops Coconut Fiber, Fine Wool, Wool Shell - Can steal Coconut Fiber
- Bitter Onion
- Capless Mushroom
- Dandepanther
- Dirty Wool
- Domestic Bug
- Fairy Wing
- Plain Stone
- Silk Thread
- Slimy Worm
- Succulent Fruit
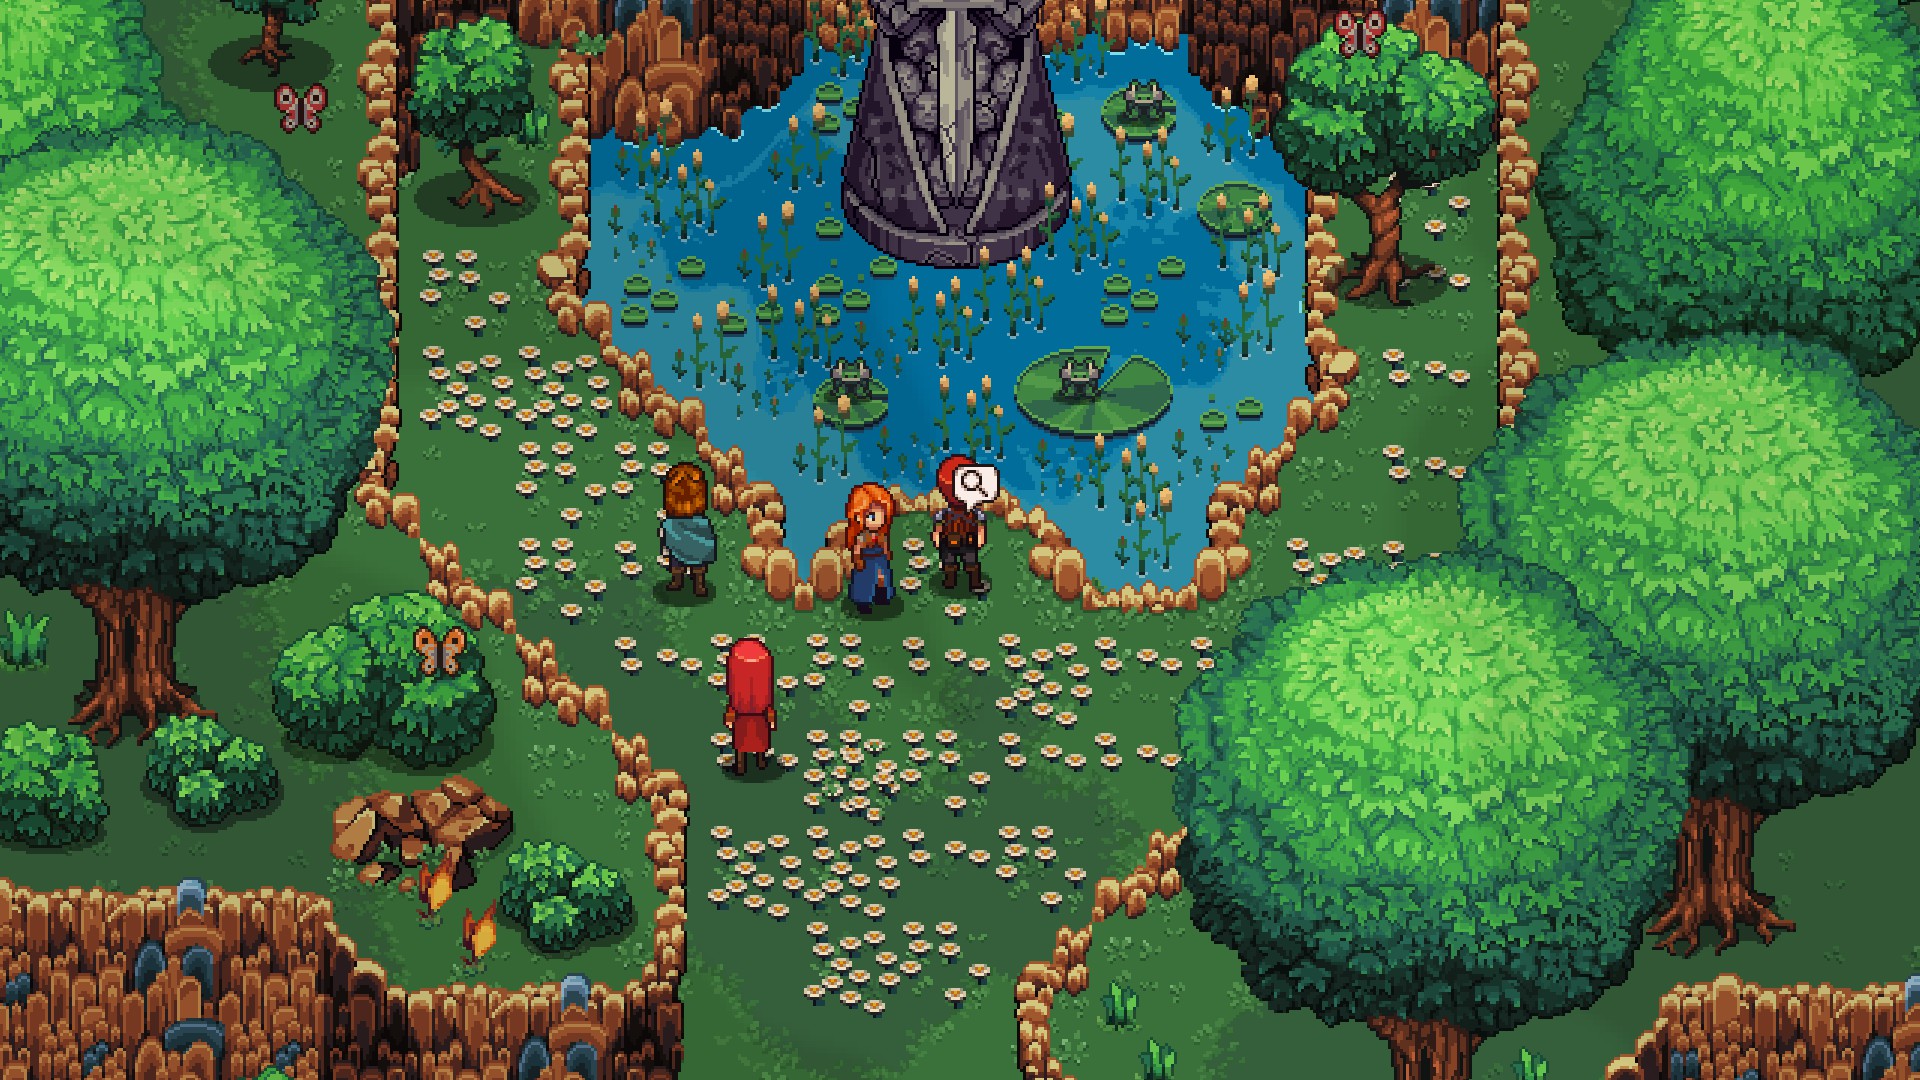
Now that you've got about a billion tutorials out of the way - okay, maybe it was closer to four - you can proceed towards Tormund. Official routes are closing fast, and the team will need to make a more unofficial trek across the border from Farnsport. The first step is a familiar area, the Rohlan Fields.
(You can revisit the earlier section of the Rohlan Fields by traveling west from the entrance to Farnsport, then heading south. The path along the walls will bring you to southeastern Rohlan Fields, allowing you to reexplore and pick up items you may have missed on your first visit. The only new thing you'll find over here, though, is in the Termina Caves, where you can snag 2,999a from a chest. It's located through the previously-locked door, past the area where you fought the Sandworm.)
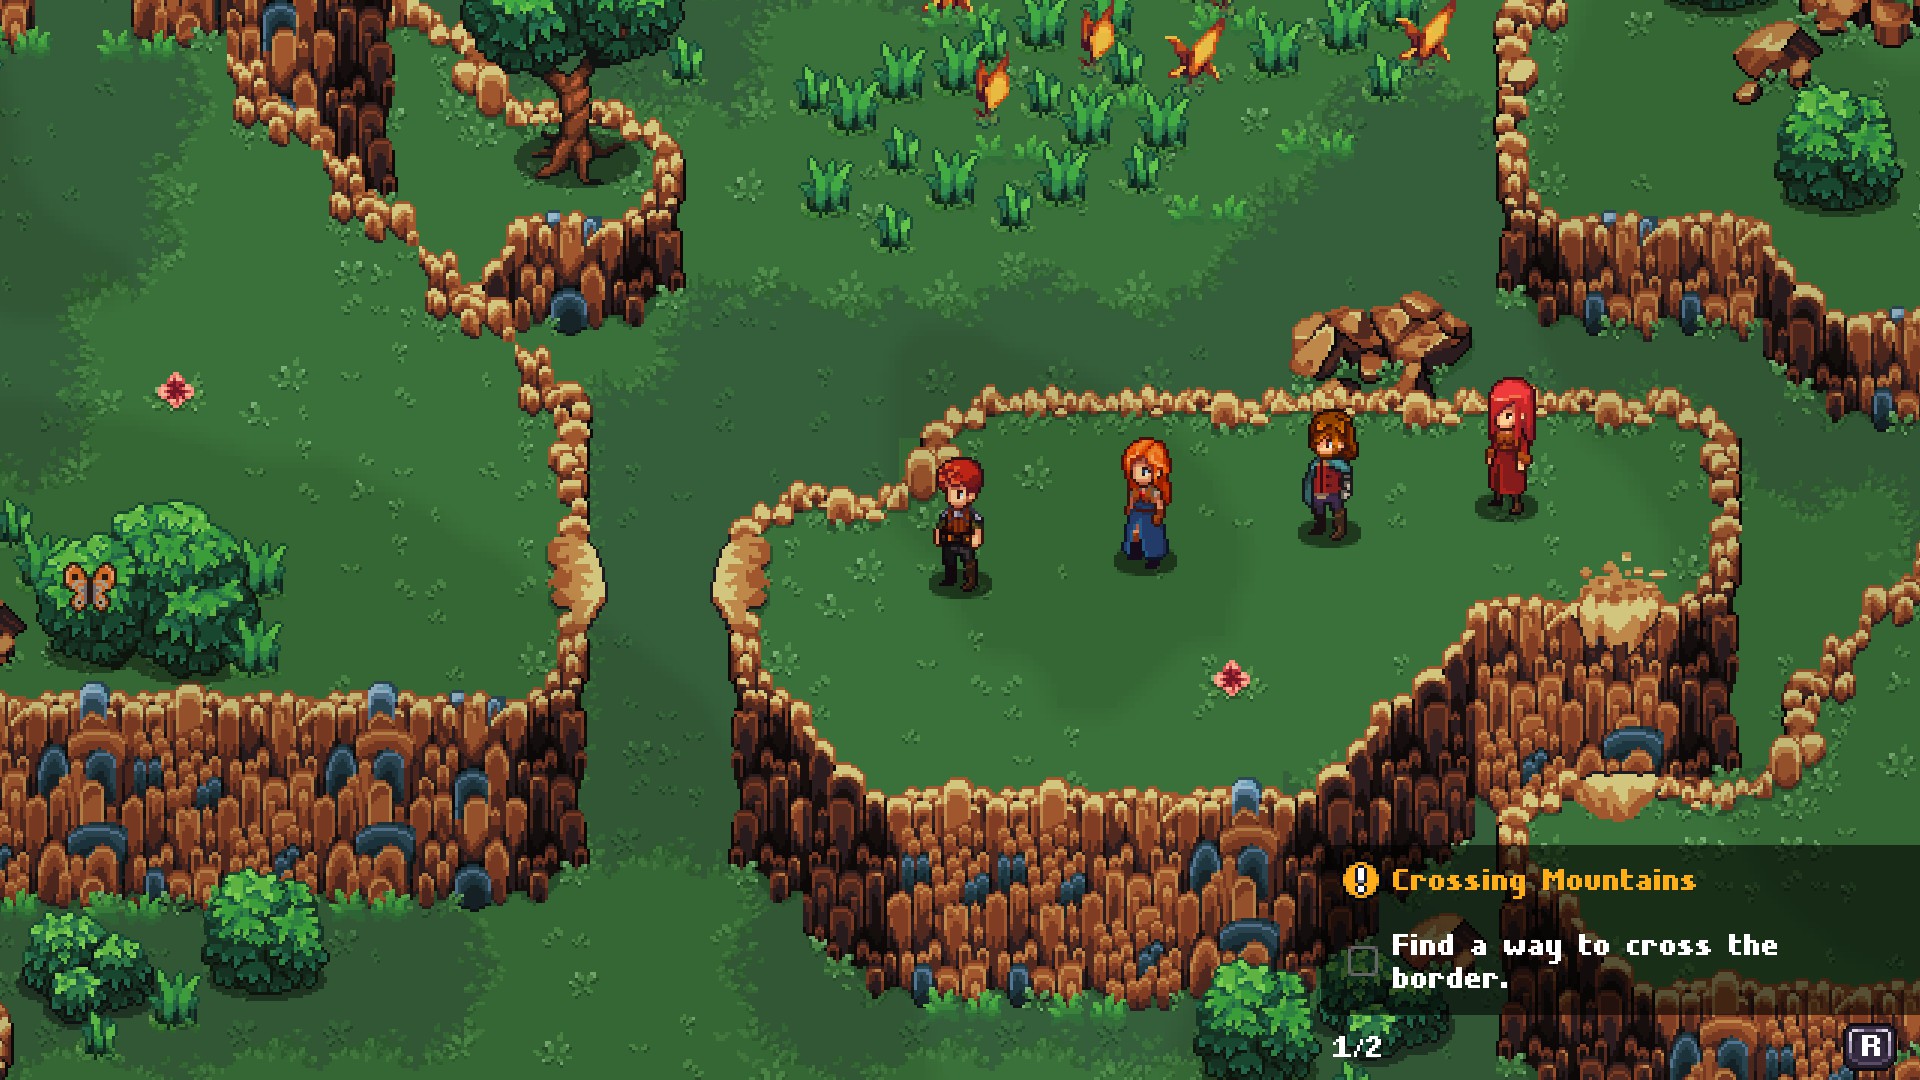
The Rohlan Fields are quite large, so we'll take this trip one area at a time, starting with the outskirts of Farnsport. If you aren't that interested in exploring then you can skip down to the Northeastern Rohlan Fields, where the quests pick up again.
Pleaase note that this guide will stop pointing out the locations of Loot from here on in. Loot is all over the place, respawns whenever you leave the screen, and is always easy to find. The Loot and Materials you can potentially pick up will still be noted at the beginning of each article, however.
Central-Eastern Rohlan Fields

- You likely tripped it already, but there is a Fast Travel Crystal a short walk west of the entrance to Farnsport.
- North of Farnsport you'll find the field of Tak the Yak. You were warned to stay away from it, and at this point in Chained Echoes your chances of beating Tak are pretty slim. Be sure to save if you decide to fight the beast. This guide will help you defeat Tak the Yak, if you decide to be bold.
- East of the bridge to Farnsport is a spot where you can jump into the moat surrounding the city. Follow the moat west and south, into southeastern Rohlan Fields. This pathway will eventually lead you to a small riverbank with a chest containing two Angel Wings.
- A short walk northeast of Farnsport you'll run into Wool Turtles. They're fairly minor nuisances that can put your characters to sleep. Alarm Clocks will wake 'em up again.
- North of the Wool Turtles is an Amber Crystal that will drop two random Crystals.
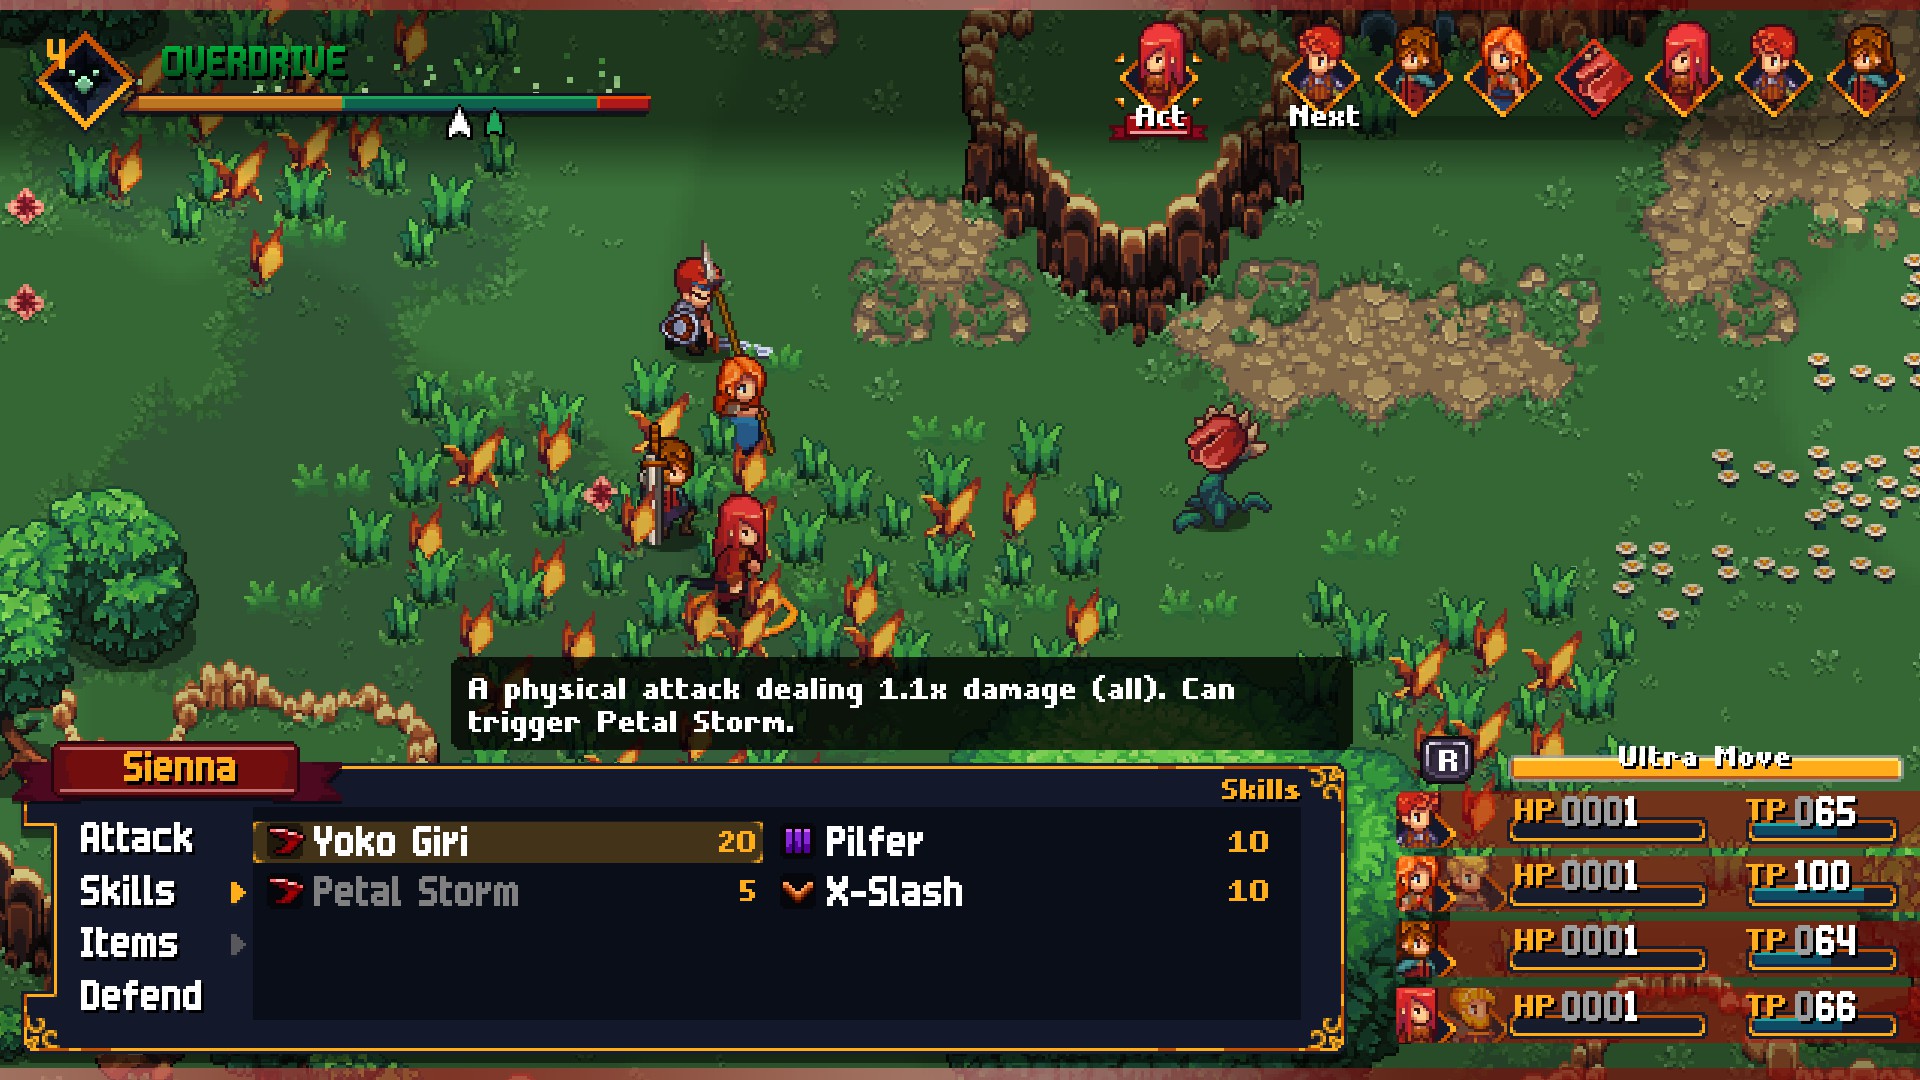
- Also north of the Wool Turtles you'll run into a Slorse, galloping back and forth through the grass. These things have fiery attacks and lots of health, but aren't too much trouble overall. A second Slorse roams to the northwest of the first.
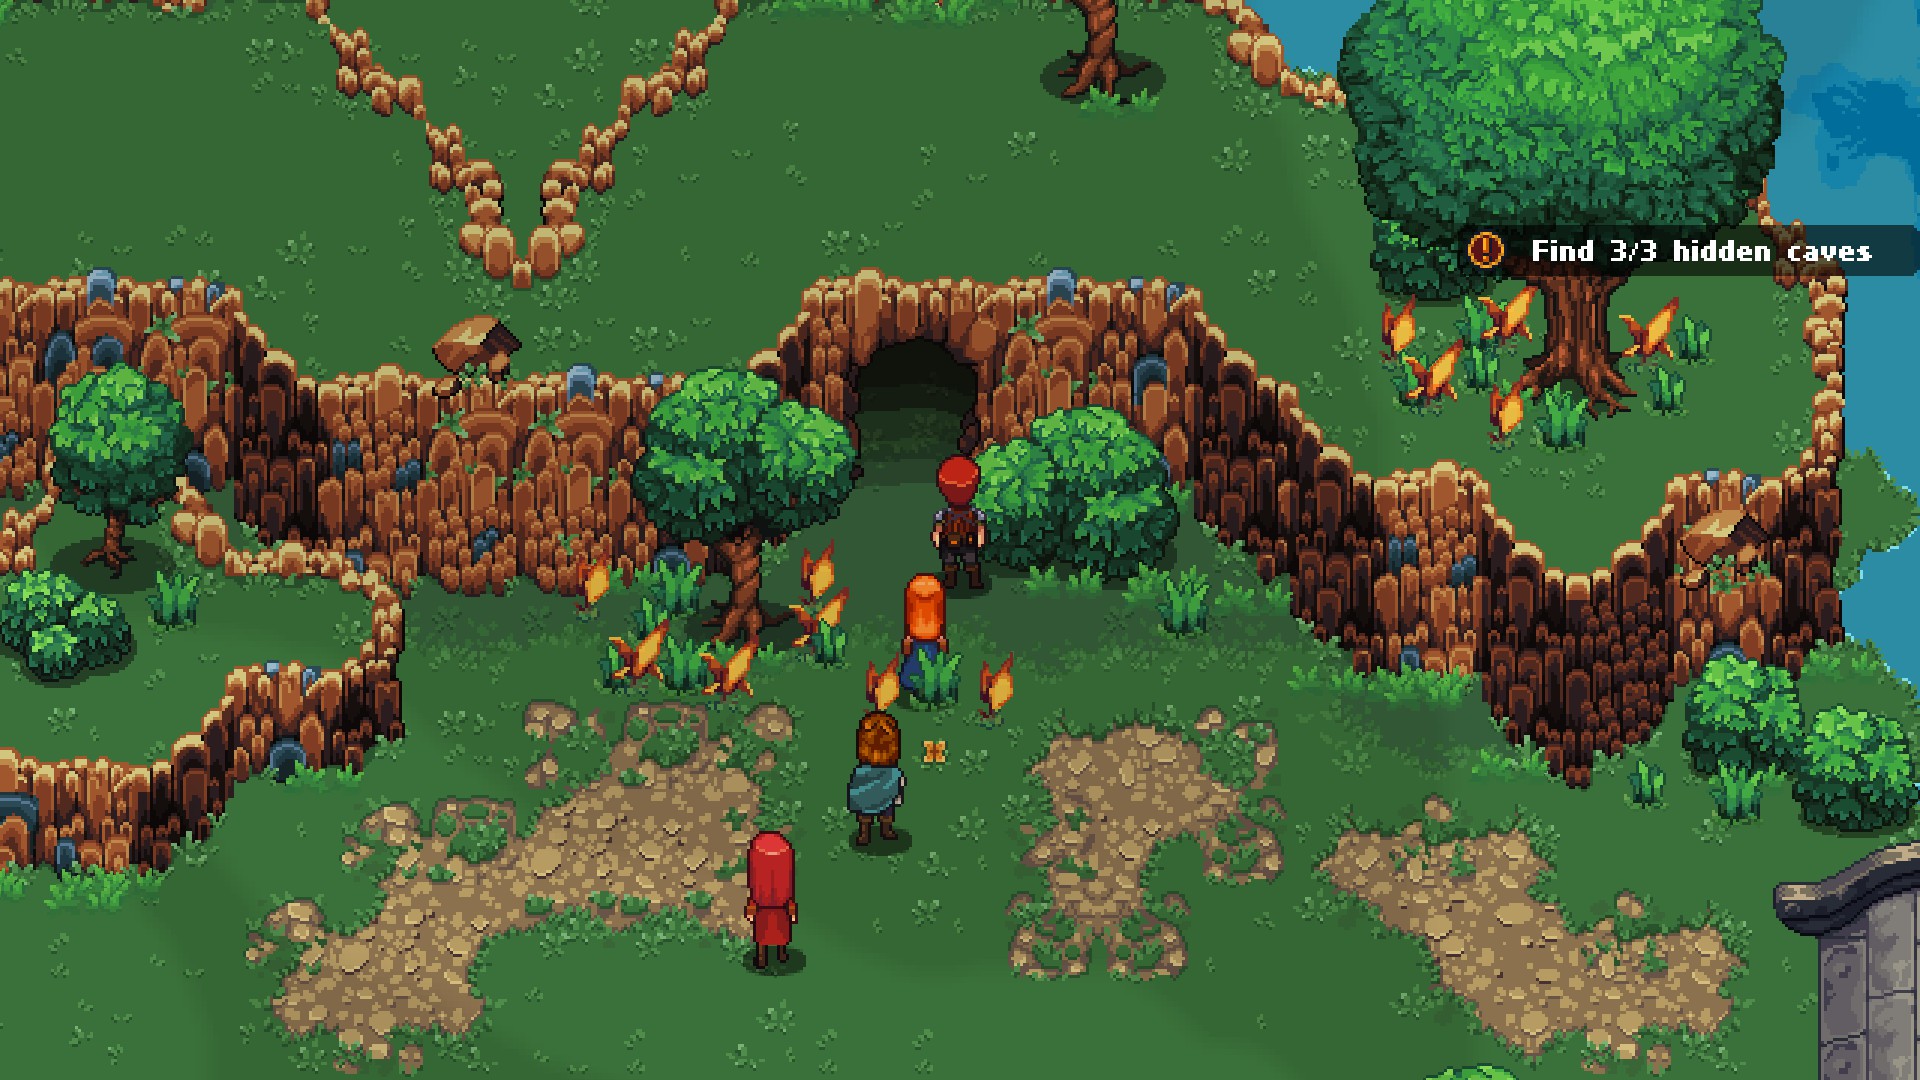
- Between the two Slorses is a deep gash in the ground. You can climb down into it to enter the Ograne Grottos, a side area with stuff to collect. We'll check it out in another article.

- North of Farnsport you'll find a curious fellow named Don Q who has been tilting at windmills. Pay heed to his babbling and he'll ask you to 'defeat' the windmill with the broken wheel. Check the west-most windmill and you'll discover that it's actually a Mimic. Take it down - quite easy - and Don Q will give you a Rapier, a weapon for Victor. Check the eastern windmills before you leave to find a chest containing a Snack. (Pop into the home to the northwest of Farnsport to see Don Q getting chastised for his bravery.)
- In the northeast of this area you'll find a woman being accosted by three Wool Turtles. Save her and you can question her with one of three characters. She'll invite you to visit her in Basil, where she can reward you properly.
- Northeast of the windmills you'll find an Amber Crystal that will drop two random Crystals for you. Check the path west of this formation to find a chest containing two Beast Pelts.
Northeastern Rohlan Fields
You'll find this section of the Rohlan Fields to the north of Farnsport, past the windmills. You need to go here to trigger a quest elsewhere on the map, so we'll check it out first, starting in the south.
- North of the entrance you'll hit a crossroads. Go west from here and you'll find a group of Pigears. Down a ramp to the left of them you'll find a chest containing two Panaceas. To the east you'll find a chest containing two Alarm Clocks, as well as a bridge leading further north that's guarded by a Saliva. These nuisance enemies will reduce everyone health to 1 if you hit them with fire attacks, and can summon Seedlings to finish your party off.
- Northwest of the Pigears you'll find a sign for buried treasure. There's another further northeast, and both of them are pointing to a pair of orange rock piles. The smaller of the two piles hides a Doublet.
- There are two Amber Crystals among the bluffs in the far north of the area, near the border walls. One is to the west, one is to the south. The western crystal is guarded by a Pigear and a Boxfly.
- If you check the east side of the border lineup you'll find a path leading west, along the bluffs. You'll need to jump from bluff to bluff several times before arriving in the northwest, where you'll find a red chest. It contains a Longbow for Robb. You can hop back to the lower path near the chest.
Quest Stuff Here!
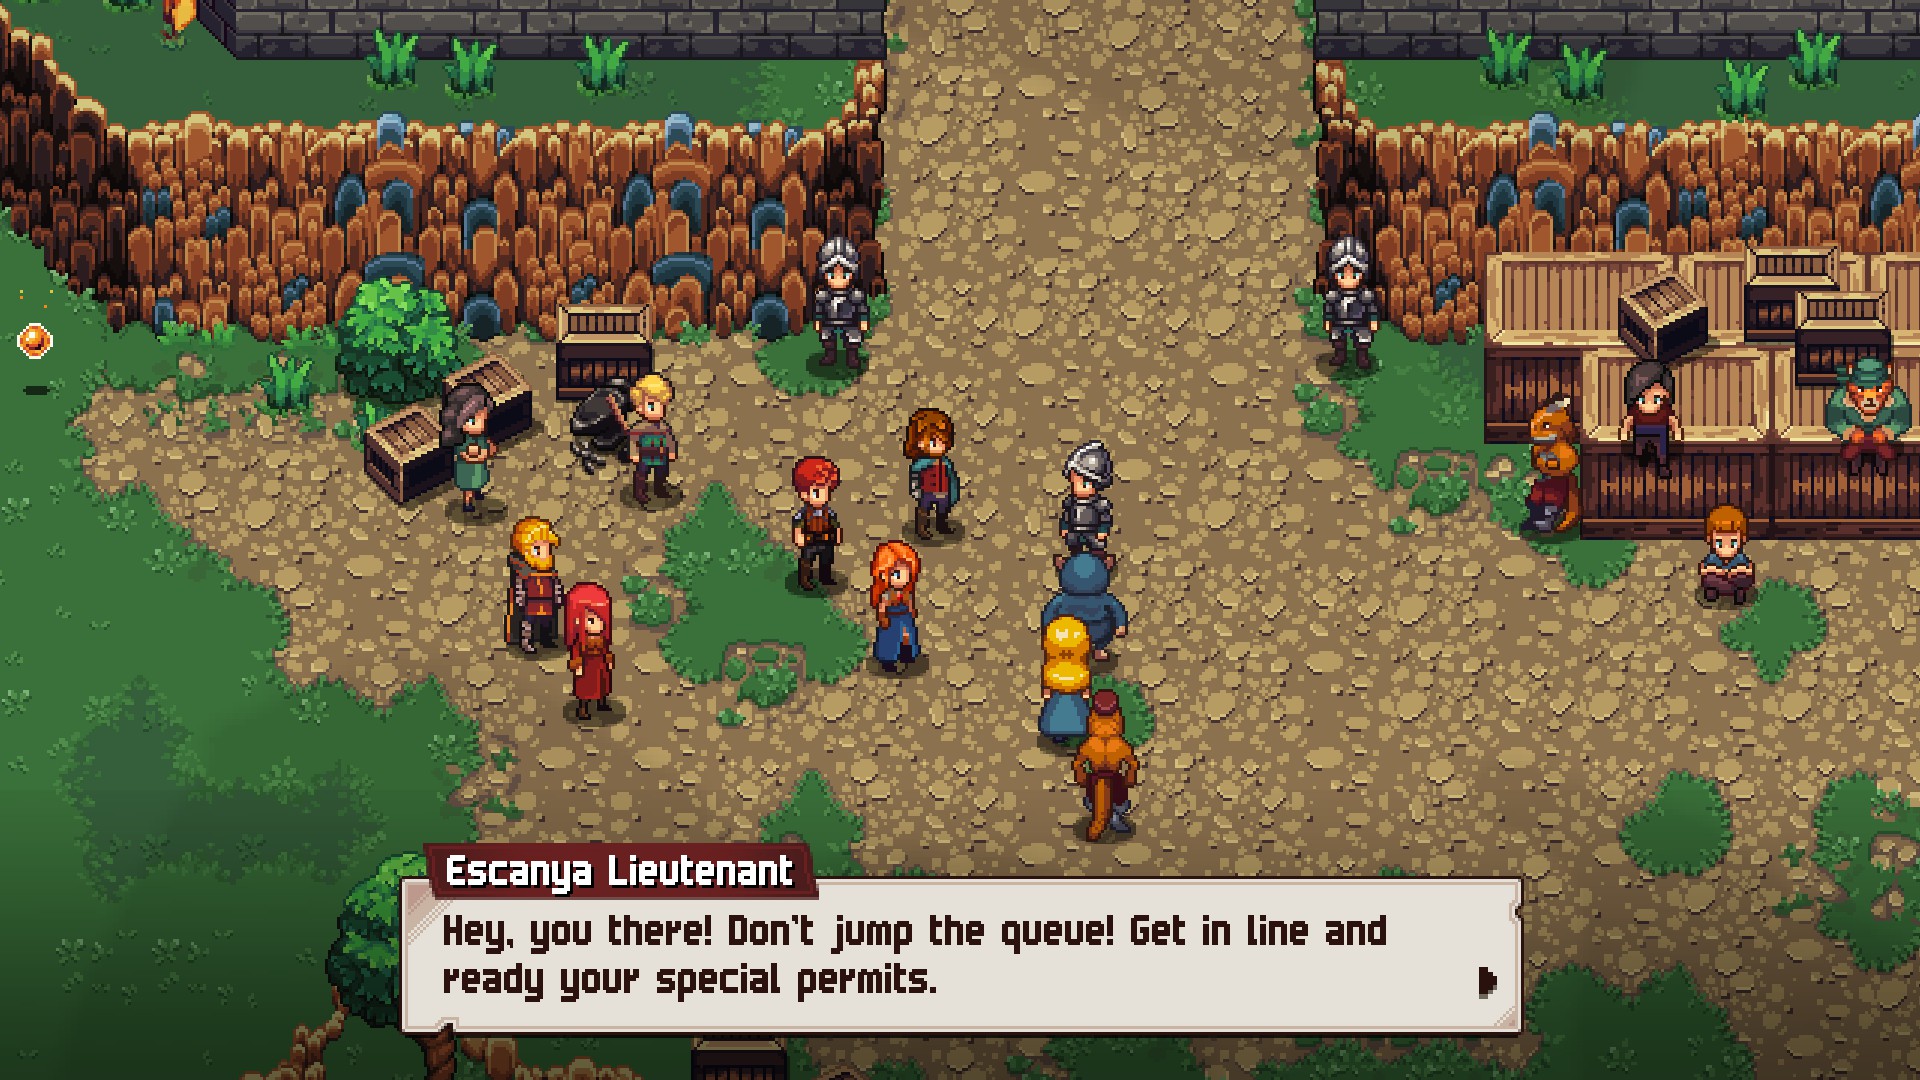
In the north of this section of the Rohlan Fields you'll find the border check. True to everyone's word, however, it is blocked by soldiers, and you need a Special Permit to get in. A shady fellow off to one side will tell you to visit Basil, a village on the west side of the Rohlan Fields, for more information. This will trigger the quest A Pass to Kortara. You'll also find a merchant and an anvil at the border check, and a Fast Travel Crystal will activate when you enter the area.
We'll leave the inspection of Basil for the A Pass to Kortara guide and continue west.
Northern Rohlan Fields
Aside from an island in the middle of a lake, the northern section of the Rohlan Fields consists of a fairly straightforward, if squiggly, path. We'll check this area out starting in the east and working our way west.
- Near the entrance to the area is a Saliva, sitting in the middle of the path. You can skim the edges of the path to avoid antagonizing it if you'd rather not fight.
- When you hit the north end of the path it will veer west. At the turn you'll find an Amber Crystal. Inspect it for some random Crystals.
- Along the westbound path, just before you hit a bridge, you'll run into some Crabs. They hit hard, but don't throw any curveballs. Down and to the left of the Crabs you'll find a chest containing a Glaive for Lenne.
- On the west side of the bridge you'll find an Amber Crystal to plunder. Near it is a bundle of rocks, tucked up against the cliff, that you can bust open. Inside are four Debuff Overdrives.
- On the west end of the path you'll find some wetlands guarded by Crabs. Check the cliffs to the southeast of the Crabs and you'll find handholds down to a narrow path beneath a bunch of small waterfalls. Follow the path long enough and you'll eventually find a chest containing two Sweets.

With a few exceptions, the northwest of Rohlan Fields is another squiggly path. We'll start on the east side and make our way southwest. This is one of the routes you can take into Basil.
- A Saliva guards the eastern area, though it's easy to avoid if you'd rather not fight. Standing near it is an Amber Crystal.
- South of the eastern entrance is a sign pointing to buried treasure. Check the cliff edge south of the sign to find three hidden bits of Sage.

- As the path opens up you'll come to the resting place of Leaping the Frog, another Unique Monster similar to Tak the Yak. Leaping is easier to beat than Tak, but it will still likely hand your butt to you if you come through here early in the game. Stay on the edges of Leaping's clearing to avoid provoking the monster. This guide will help you defeat Leaping the Frog, if you decide you're up to the task.
- West of Leaping the Frog you'll find several winding streams. Hop across them and continue west to find an intersection in the path. To the south of the intersection you'll find a chest containing three Horns. Further west and north you'll find an Amber Crystal, and, at the end of the path, an ominous door built into the cliffs.
- South of Leaping the Frog you'll find the path to Basil. Before leaving this area, check to the west of the exit to find a chest. It contains two Fine Wools.
- The path splits more or less right at the eastern entrance to this area. If you go north, then head back to the previous map, you'll find a chest containing 125a. Continue north in Central Rohlan Fields and you'll find an Adventurer who won't speak to you, a chest beside some ruins containing 103a, and a red chest down by the water that contains a Sturdy Aketon.
- If you head west towards Basil you'll see a sign on the ground before the first bridge, indicating nearby treasure. Look to the northwest and you'll see six bricks, neatly stacked beside a tree. Check them for a hidden Claymore for Kylian.
- After you cross the first bridge but before you cross the second you'll find a red chest, partially hidden behind a tree to the south. It contains a Kopis for Glenn.
- Just beyond the second bridge and between a tree and a bush you'll find a conspicuous pile of rocks. Bust them open to reveal a small cave containing 250a.

- Look to the west as you enter the area. There are several Boxflies near the entrance, guarding a chest that contains two Sweets.
- South of the entrance you'll enter the Seaside Village. In the center of town is a large, empty house. Enter it and grab the Counter Cure Crystal by the table. Exit this home by its eastern door and you'll pop out near a chest containing Bolas.
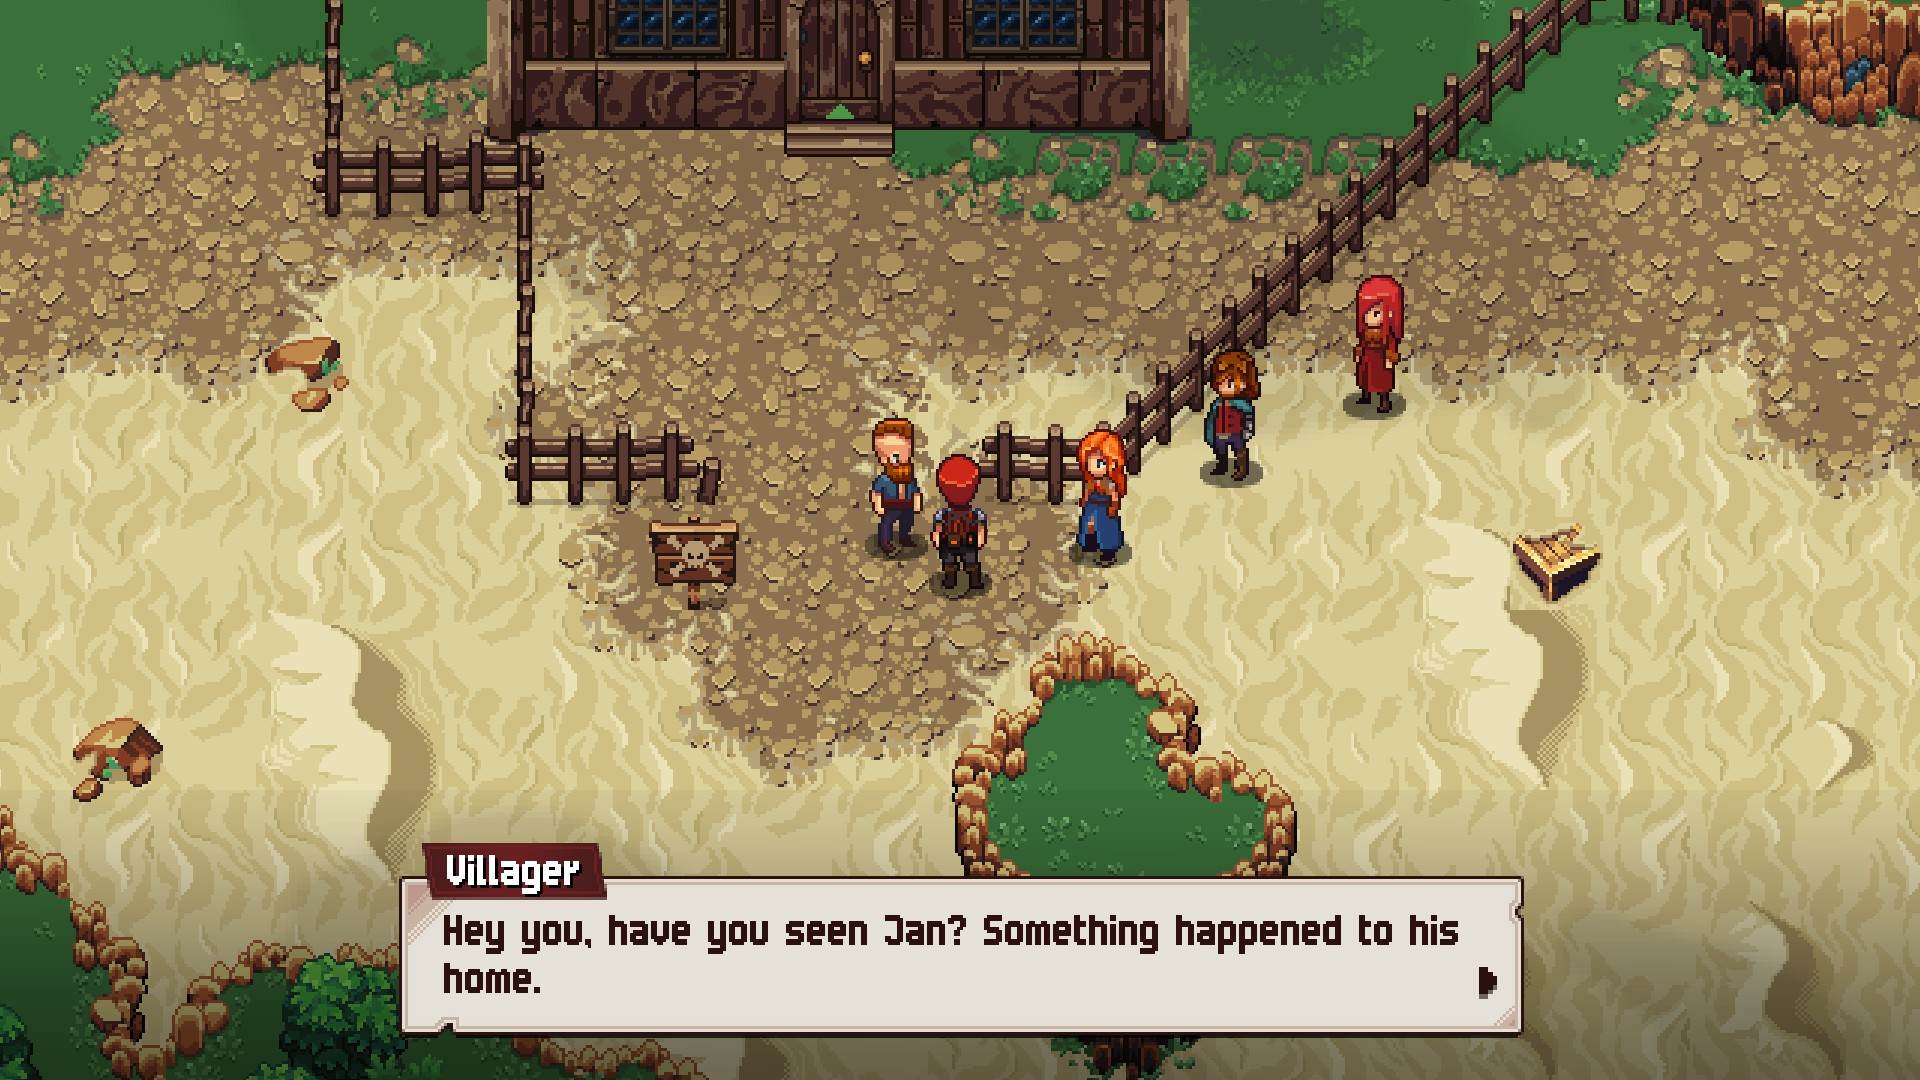
- On the west side of the beach you'll find a Phioran, wondering where her husband is. You can find him in the moat outside Farnsport. Track them both down and you'll unlock a spot on the Reward Board.
- South of the Phioran wife you'll find 27a, sparkling away in the sand.
- Check the east end of the beach and you'll find an exit to another area. Here you'll hit a dead-end stretch of beach with an Amber Crystal to plunder.
- On the south end of the beach is a dock. Check the end of it for a chest containing two Antidotes.