

Part 7: A Lovely Banquet - Narslene Sewers (2)
Need some quality headphones to connect to your PC? Try the JBL Tune 720BT, now available on Amazon! As an Amazon Associate I earn from qualifying purchases, at no additional cost to you.
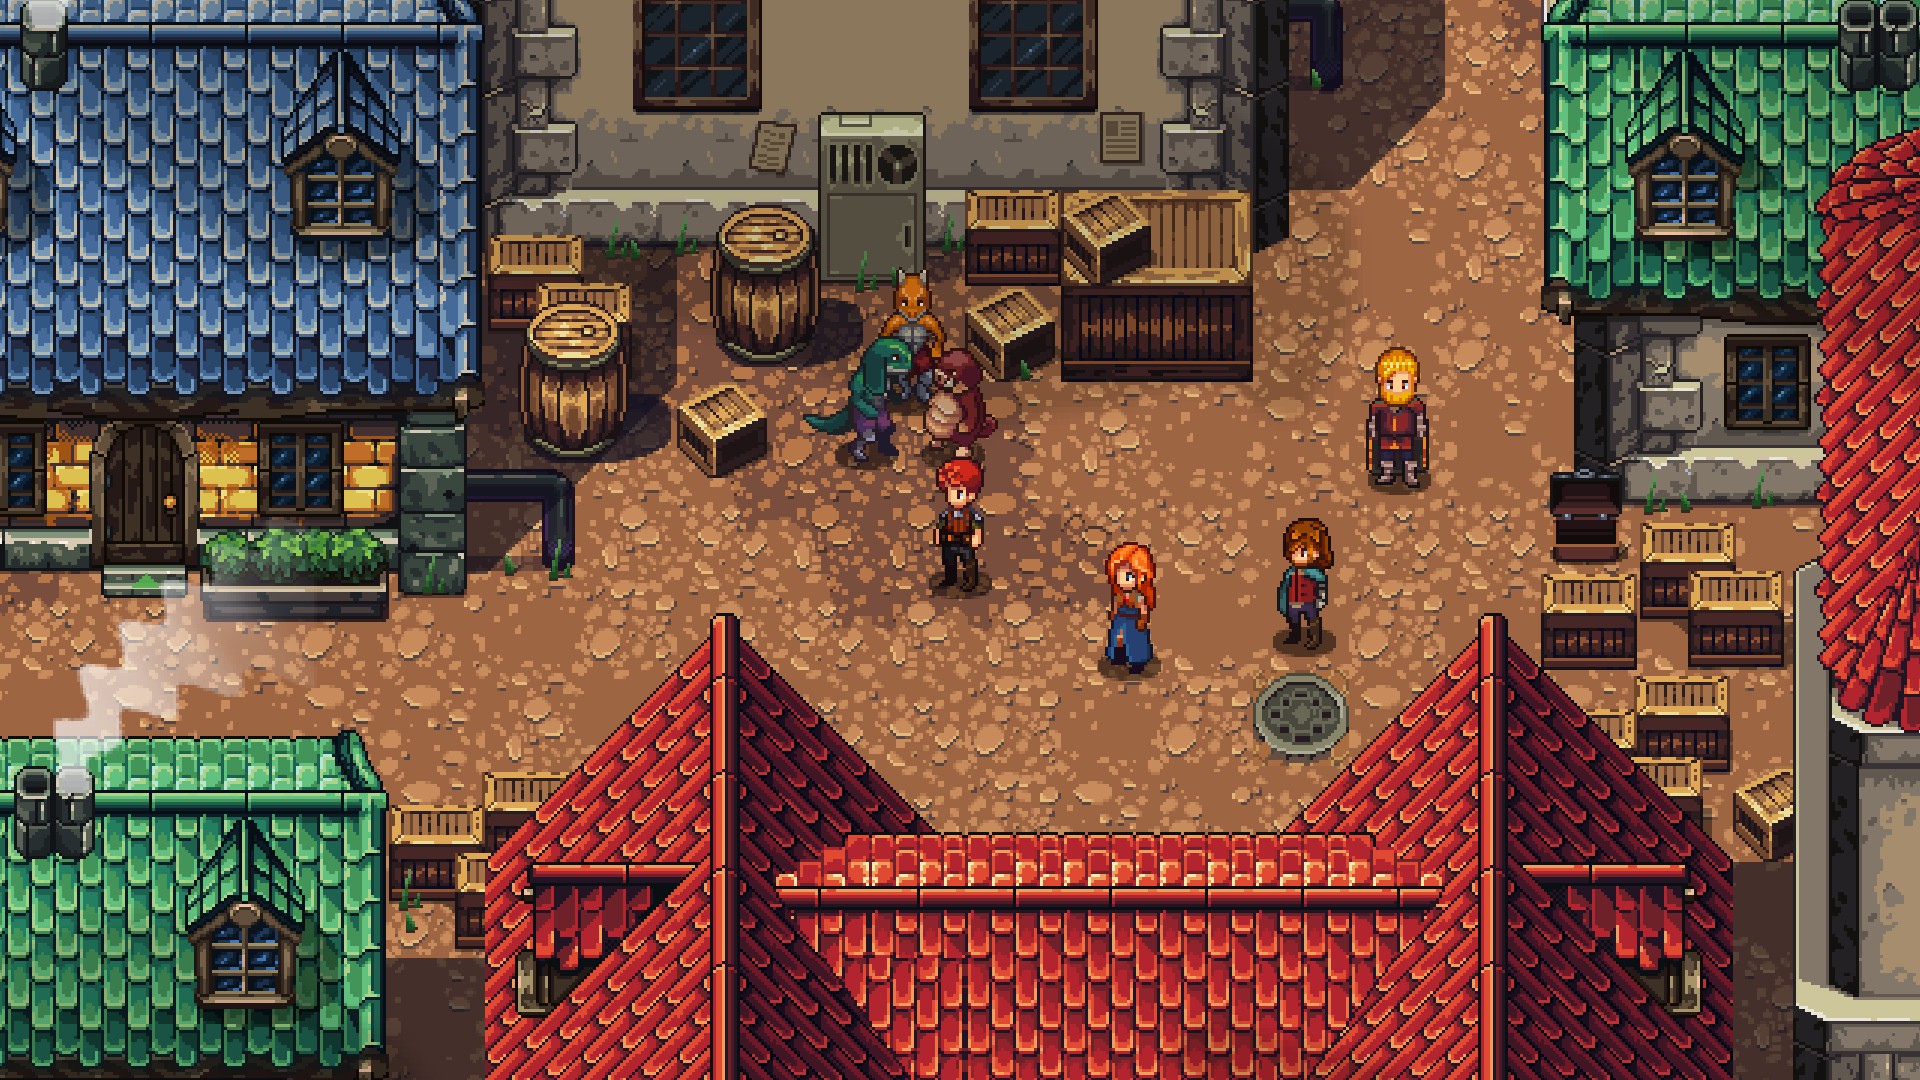
The group has found common purpose, and their next destination is the Kortara Mountains, on the way to Tormund. First, though, everybody needs to do some last-minute prep work in Farnsport, which includes introducing a few more mechanics to the game.
Before we get too deep into completing this quest, however, you may have noticed that more sections of Farnsport are now open to you. There are a few places you already visited that are currently locked away, but that still leaves plenty to see, do, and possibly plunder. We'll do a quick runthrough of each of these areas before proceeding with the quest.
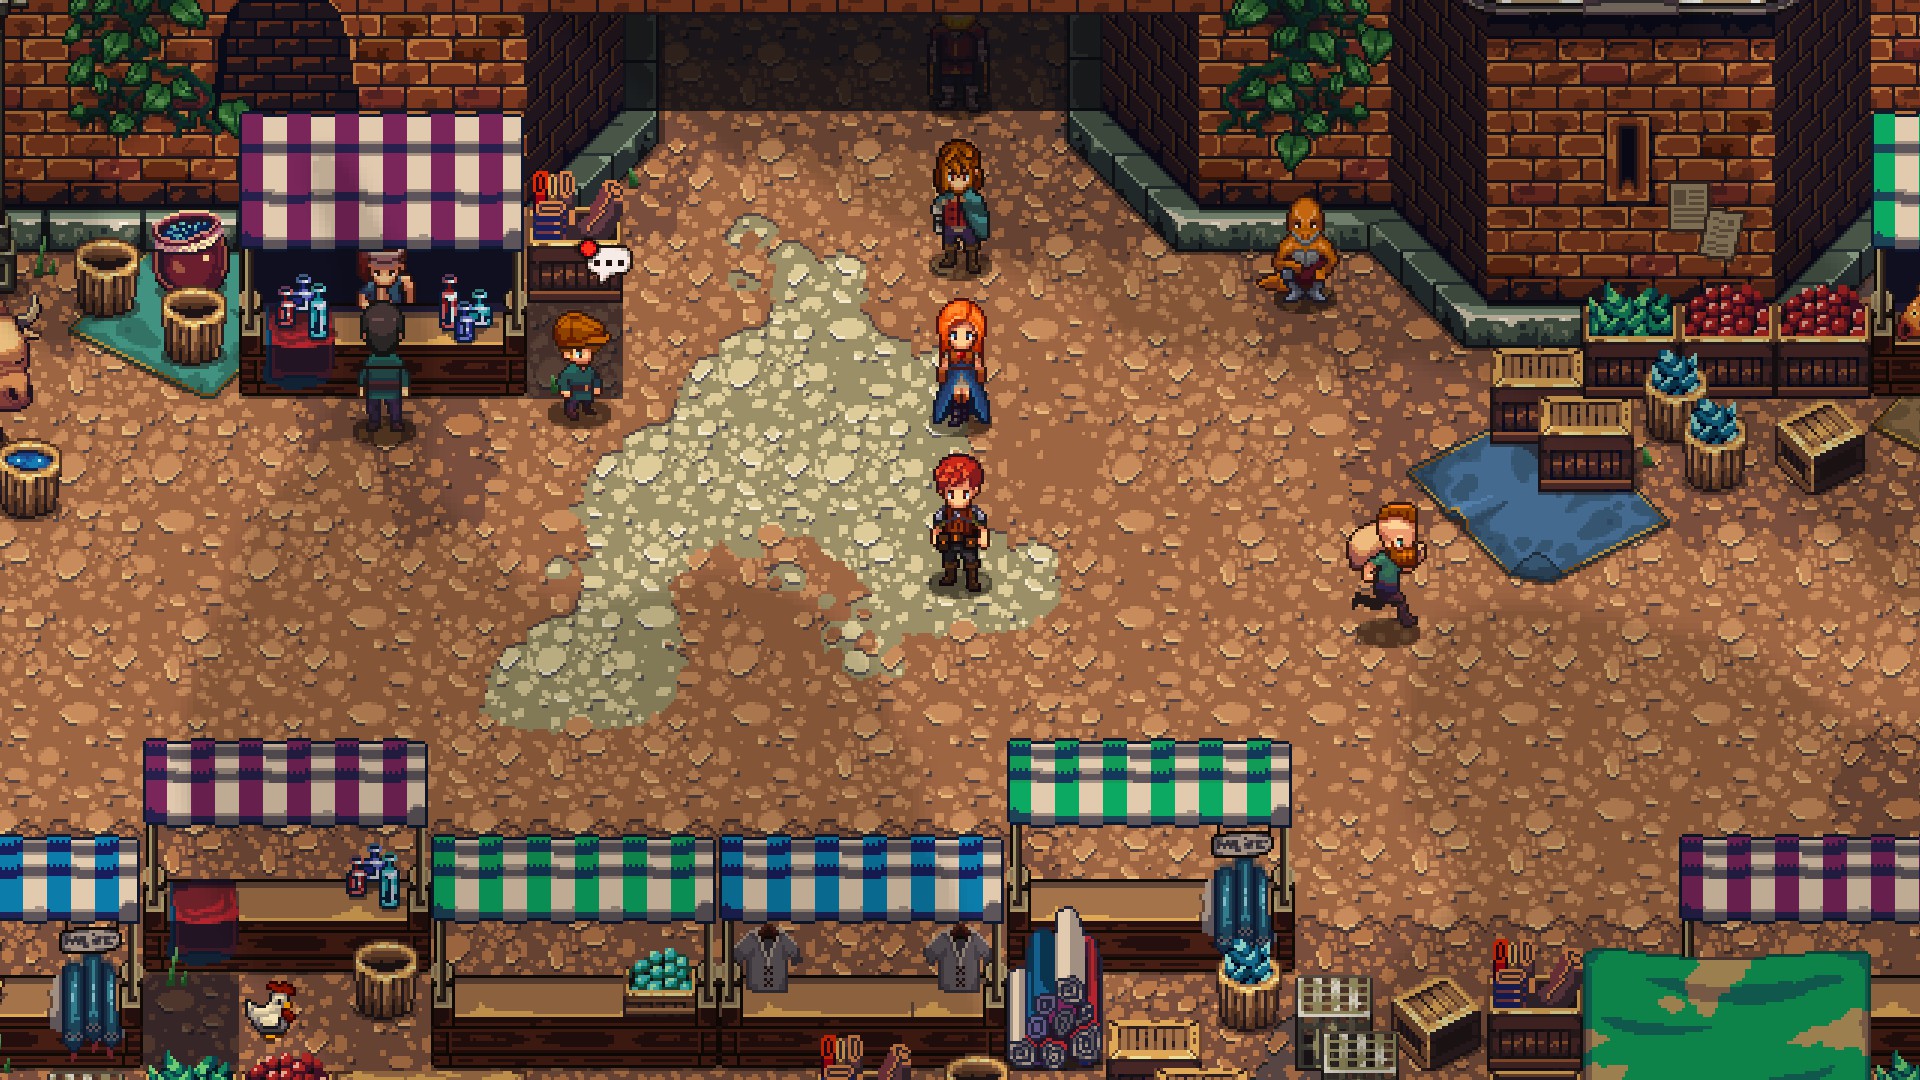
Bazaar
The Bazaar is the 'starting' area that connects with the Narslene Sewers.
- In the northwest of the Bazaar is a red-topped house. There's a couple inside that are... up to... something. See for yourself. Check the clock in the top-left of this home for an Antidote.
- Also in the northwest you'll find the Smith, who is part of the main quest in this area. Just south of his home is a chest containing two Sage.
- In the northeast is a red-topped house. Inside you'll find 75a, in a nightstand.
- On the east side of the Bazaar is a red-topped house sitting by itself. On its second floor you'll find a ladder into an attic space. Up here is a chest containing two Iron Ores. If you enter the basement you'll find an exit into a back alley, where you'll find a chest containing a Raven Cloak, a solid piece of equipment for Lenne or Victor.

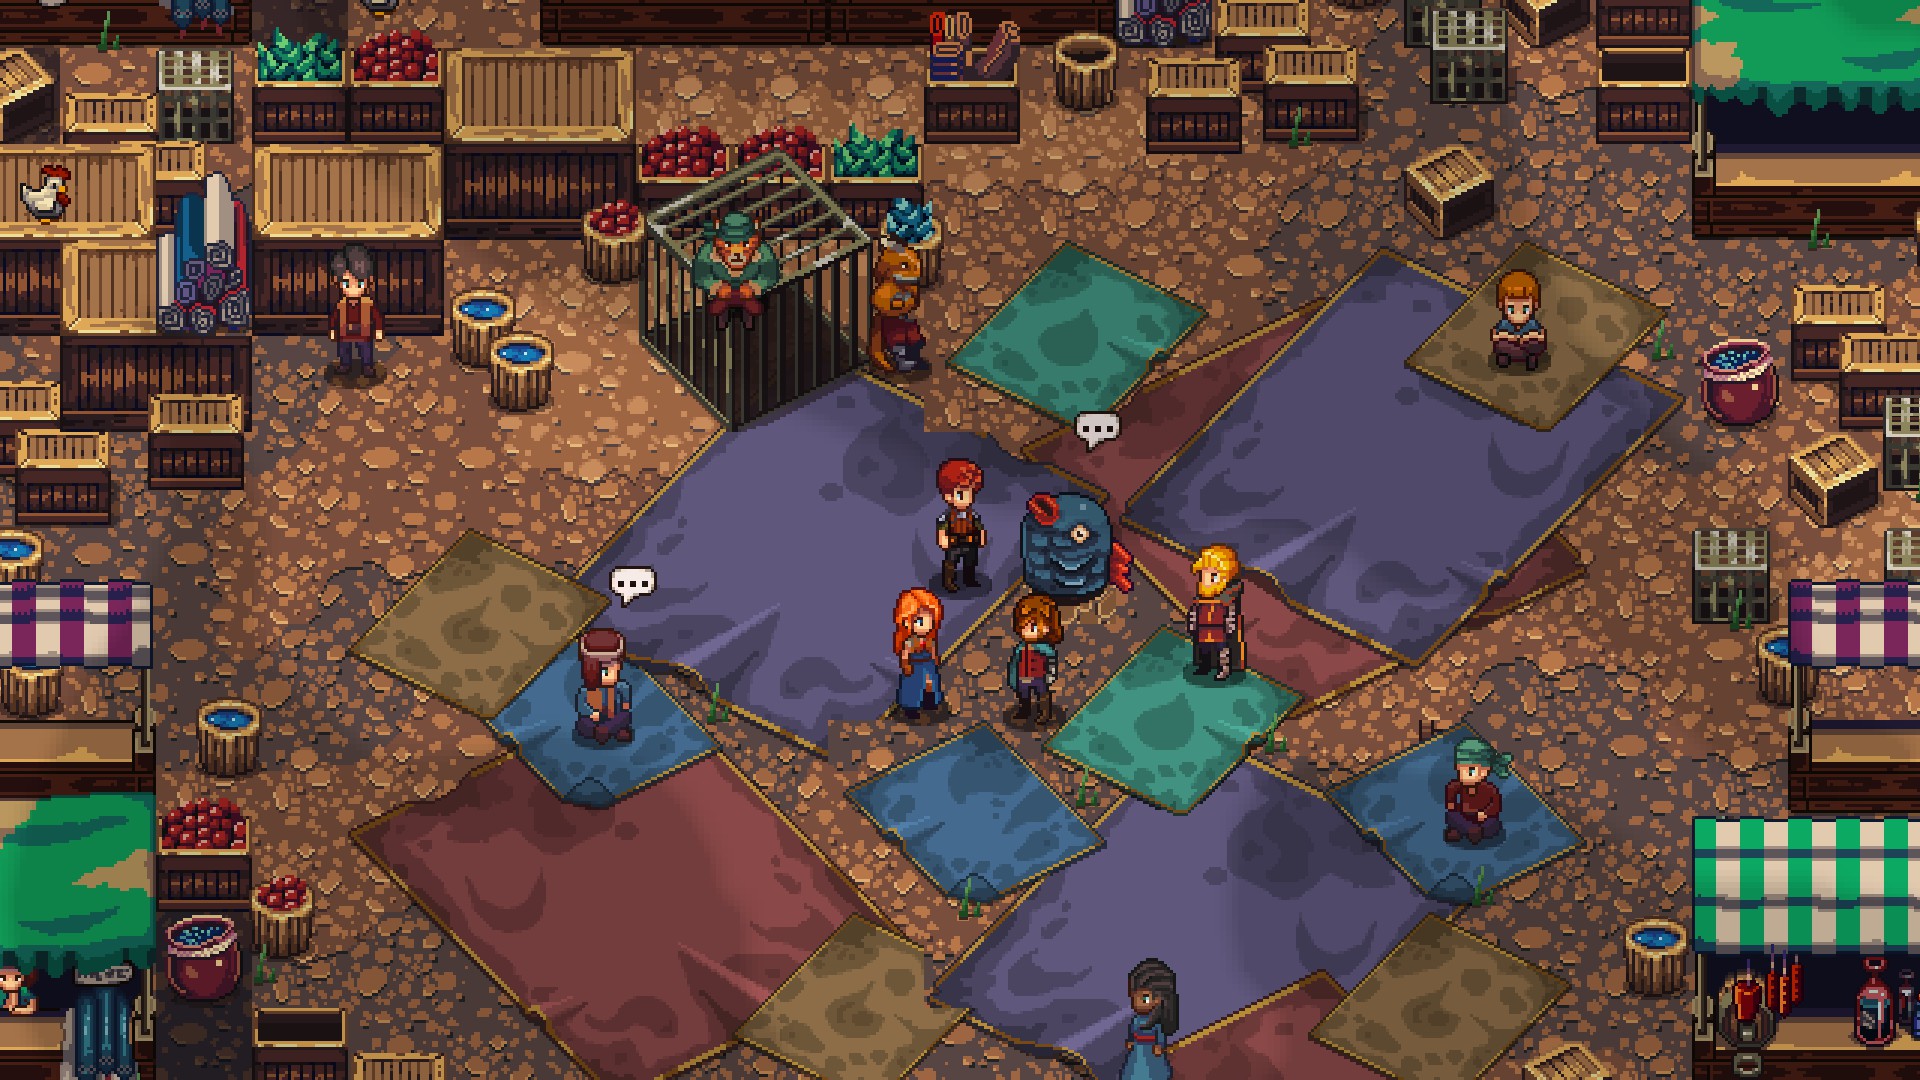
Port
The Port is located to the south of the Bazaar.
- Check along the dock to the southwest and you'll find a chest. It contains four Coconut Fibers.
- Check the large, central dock that leads to the southeast and you'll find a chest beside a huge ship. The chest contains two Alarm Clocks.
- In the northeast is the Floating Village, home to Farnsport's poorest. Follow the boardwalks and you'll wind up at a large house staffed by someone named Magnolia, as well as her helper, Alana. This place is filled with creepy-looking figures named 'Shells' that will, eventually, become important. On the east side of this house is an exit to a small pier where you'll find a red chest. It contains a Bokken, a weapon for Sienna.
- In the northwest of the Entrance you'll find a Fast Travel crystal. Approaching one of these will allow you to zip back to Farnsport from other parts of the world.
- Also in the northwest you'll find a small, green-topped storage building. Inside is a chest containing two Beast Pelts.
- On the west side of the area you'll find a blue-topped house. Inside you'll find a small store room containing a chest. Inside it are four Utility Overdrives. Down the alley to the east of this home you'll find a chest containing two Fine Wools.


Visit the Blacksmith - Crafting
You'll find the final NPC you need to visit, the Smith, in the northwest of the Bazaar. He's too busy to upgrade your equipment, but he'll allow Victor to do so if the playwright is willing to pass a little test. This will unlock an extensive tutorial on Crafting. Go through the Smith's shop and into the backyard. Here you'll find a large, amber crystal. Inspect it to receive two HP Up Crystals.
Head back to the Smith and use the shining anvil nearby. This will allow you to do some Crafting, which is not as complicated as it seems. There are two components to upgrading your equipment:
- The equipment itself, which can be upgraded using Materials gathered while exploring
- Crystals, which can be fitted into the equipment to bestow combat bonuses

- The number of slots on a piece of equipment indicates the level of Crystal equipped on it, not how many Crystals you can equip. If you wanted to equip a level V Crystal on a weapon, for example, the weapon would need five slots.
- Combined Crystals are lost for good. Give the matter some consideration before combining Crystals into a single, stronger Crystal.
- You can remove Crystals from equipment, but they will lose all of their purity. This means that you can no longer combine them with other Crystals to make them stronger. Don't slot a Crystal into equipment until you're content with the end results.
Doing all of this will convince the Smith that Victor is more than capable of handling the anvil, and he invites you to use it any time you like to Craft. This will allow you to upgrade everyone else's equipment, as well, which is a good idea given that you can't buy new stuff just yet.
And that's Farnsport! Phew. There are soldiers blocking the southwest of the Entrance, and the taxis don't seem to be operating at the moment, so you can't explore any more of the city. Head to the northwest of Entrance, and...
Complete the Cartographer's Tutorial
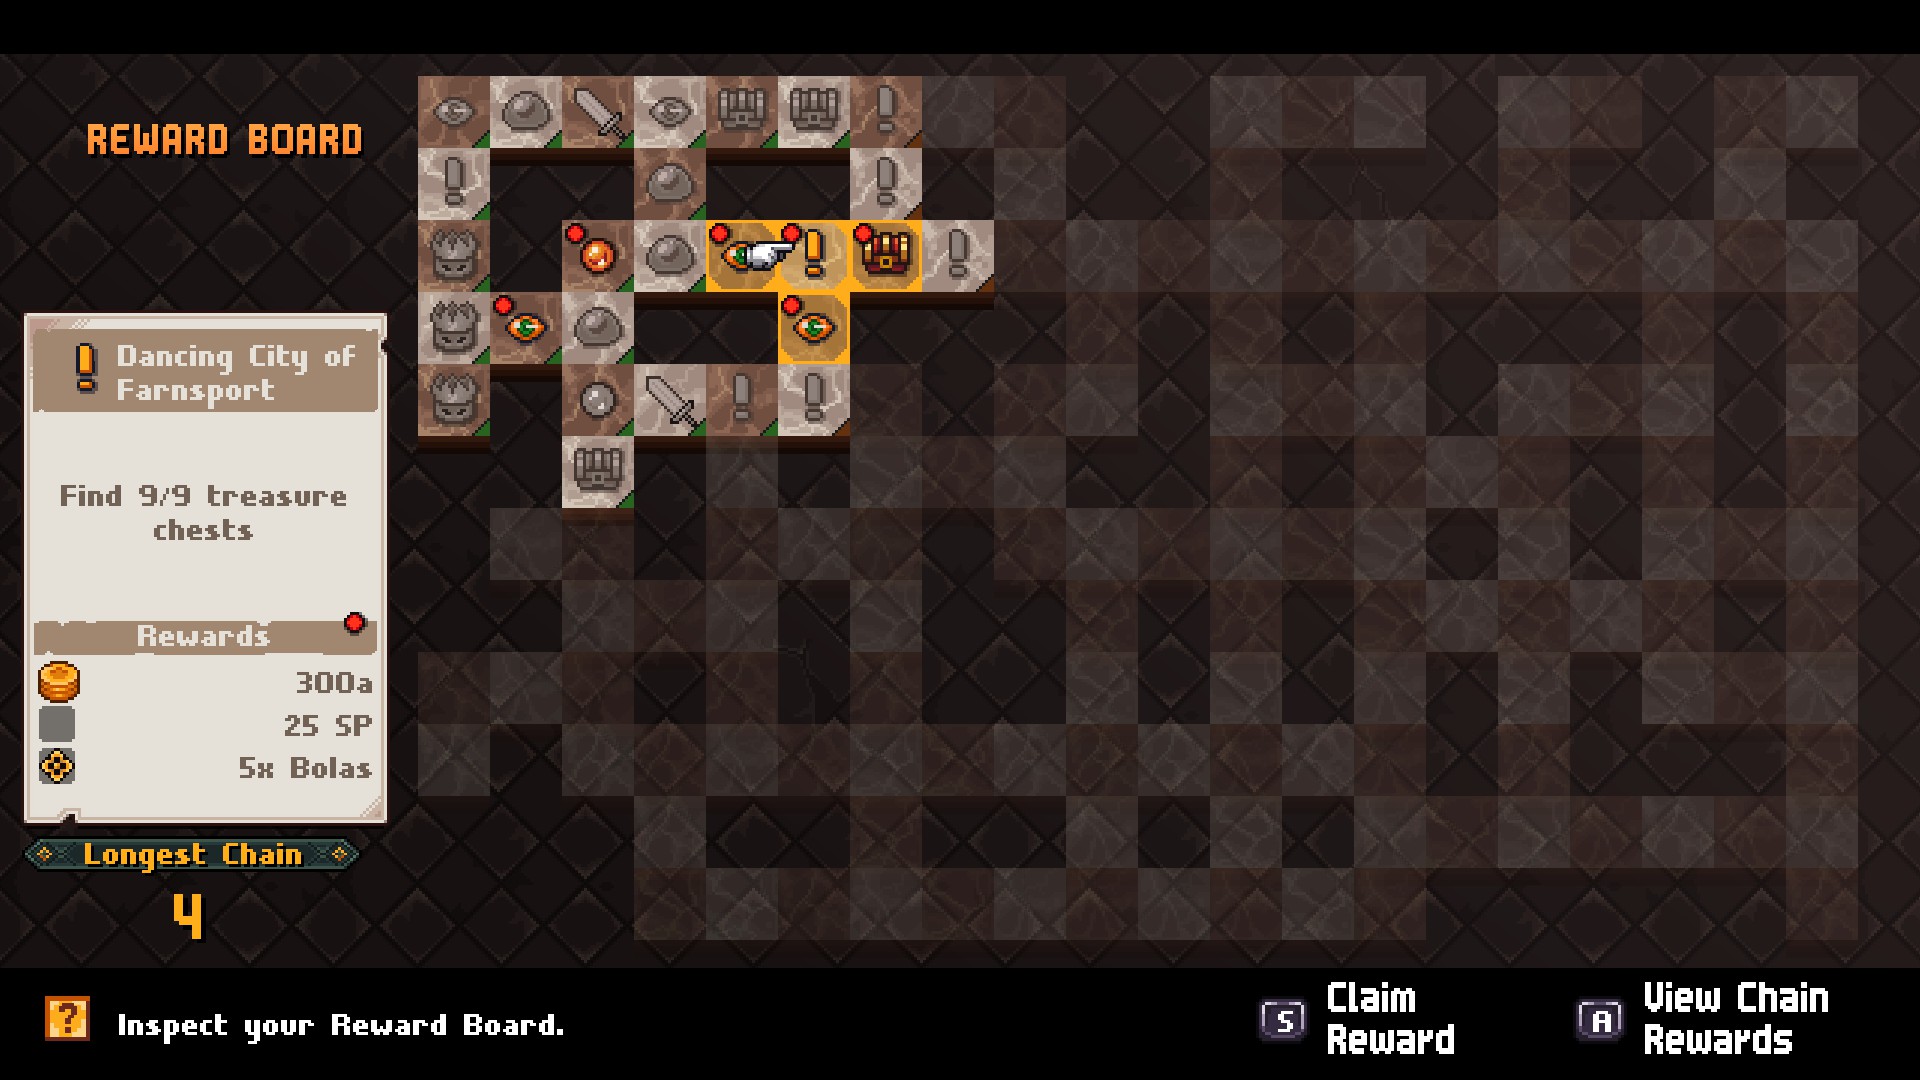
Ah, beans. Not done yet. Before leaving Farnsport you'll meet Vesta, Victor's cartographer buddy. Vesta will introduce you to the Rewards Board, another mechanic that concerns your adventures into the wide world. By completing fields on the Reward Board (pulled up by pressing a button) you can earn rewards. There are many ways to do this, such as completing quests, finding all the treasure chests in an area, defeating specific enemies, and more. Many of these tasks will be completed just by going through Chained Echoes, so you might as well snap up some rewards.
Of particular note on the Reward Board are the Chain Rewards. If you complete several tasks in a row on the board you'll create a chain, and if you create a chain long enough you'll earn Chain Rewards. These include powerful items such as Sacred Waters and Grimoire Shards, both of which are crucial to powering up your team. Don't miss out on this easily-ignored section of the Reward Board!

Follow Vesta out to the Rohlan Fields and you'll receive brief lowdowns on three more tasks you can complete, as well:
- First, outdoor areas will usually have Unique Monsters on their maps. Vesta's example is Tak the Yak, which is lounging north of the entrance to Farnsport. These monsters are very powerful, and usually can't be defeated right away.
- Second, outdoor areas will occasionally have areas with symbols pointing towards buried treasure. You need to puzzle out which arrows point to the treasure and which are fakes, based on whether or not multiple arrows point to the same spot. Check the smaller orange rock to the north of these symbols to find three Ashen Bones.
- Third, Vesta will point out a conspicuous clump of rocks heaped against a wall. If you inspect the rocks you can smash through them to find a chest containing 250a. There will be more such treasure hidden throughout the game.