

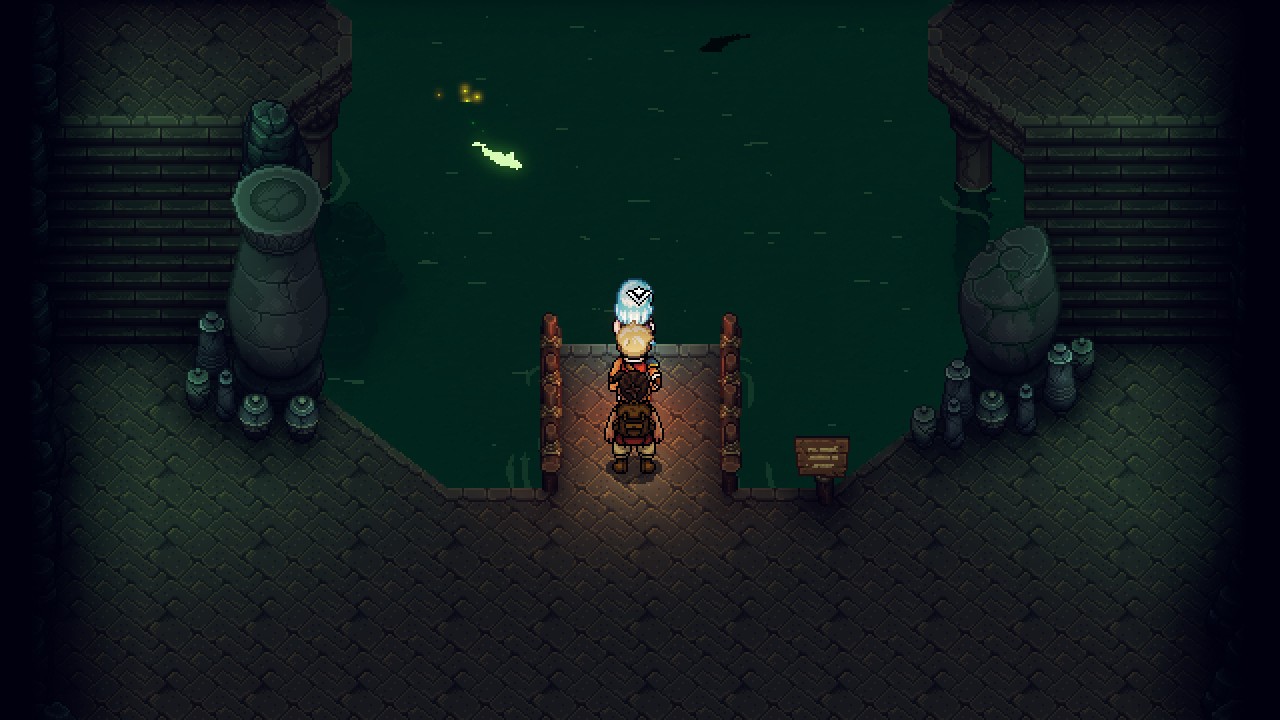
When you complete Sea of Stars for the first time you'll be treated to a lengthy ending. You'll also be teased with multiple hints that the game isn't over, and this is indeed the case. There's more for you to do before you set this game down, and the first massive clue is a shot of a familiar set of ruins.
As you explored the latter half of the Moorlands, just before reaching the Stonemasons Outpost, you probably discovered the Stonehenge-like set of ruins as you were heading towards the exit. Follow the main path west from the last campsite in the area and you'll find it again. Unless you've stuck strictly to the game's main path it is likely that several of the menhirs that comprise the ruins are lit up. If you check the menhirs that aren't lit you'll receive a vision that hints at what you need to do to set the menhir aglow.
There are seven tasks you need to complete to activate the 'mysterious device' in the ruins:
- Finish building Mirth
- Investigate The Queen That Was
- Compete in Dweller's Fall Arena
- Complete all of the Sunken Docarri Ruins
- Complete all of the Solstice Shrines
- Free Duke Aventry
- Find all sixty Rainbow Conches
It is unlikely that you managed to complete everything on this laundry list before completing Sea of Stars, so... get to work.

Travel to the Moorlands once you've completed the seven tasks. Inspect the device and B'st will hint at its purpose. Use the Cookie Jar on the device once the conversation is over to open a portal. Only Valere, Zale, and B'st will step through. A miracle will follow...
... and when it is done, you'll receive the New Garl + Achievement - and get Garl back in the party! Huzzah! Cut scenes follow, and you'll wind up camping on the Mountain Trail. Speak to Garl twice and he'll give you the Hook of Time. Speak to him again and he'll point out the fish-shaped island in the south of Home World as a point of interest.
Break up camp and have a look at Garl. He's all caught up with the rest of the party... though, alas, you didn't get to pick any of his level bonuses between his death and now. Ah well. On the plus side, he comes back with two new items equipped: The Mooncradle Boy's Lid and Garl's Apron, the best stuff Garl can get. He also has his own Ultimate Attack, and it can hit every element in a single go. Not bad at all.

Leave the Mountain Trail and fly east, to Stillpond Island. There's a mystery Fishing Lake on the island with no fish. There is, however, something glinting in the water. Cast your lure to the north and land it on the glint, then start reeling. You'll dredge up the mouth of a fearsome-looking set of ruins. Hop into the water and head inside.
You're now inside a small dungeon. Defeat the two Shrimp Knights to the north, then hop into the water on your left and go down the vortex. It leads to a chest containing a Fishing Dungeon Key. You'll need to fight three Mangler Fish to get out of this chamber. Return to the previous chamber and use the key on the door in the north.
The next room contains a Fishing Lake, and a glowing fish is flitting about in the water. Don't bother trying to fish it out with your rod - just jump into the water and swim over to the fish. It turns out to be a Fish Key. Use it on the sparkling fish sculpture in the north to reveal a passage in the rear wall of the room.
A Shrimp Knight and a Mangler Fish are waiting in the next room. Leave them alone. You'll see why in a minute. Head north to find one final room. There's another Fishing Lake, and a huge shadow is roaming around in it. Reel the fish in - this might take some effort - and you'll meet Chef Bass. After a bit of conversation he'll give you the Gilded Invitation.
(As of this writing it is possible to accidentally scare the shadow out of the Fishing Lake if you jump inside, and it will never return to the water. If that happens you'll basically be stuck here. Stay out of the water!)
Use the enemies in the previous area to grapple back south, then leave the Fishing Dungeon.
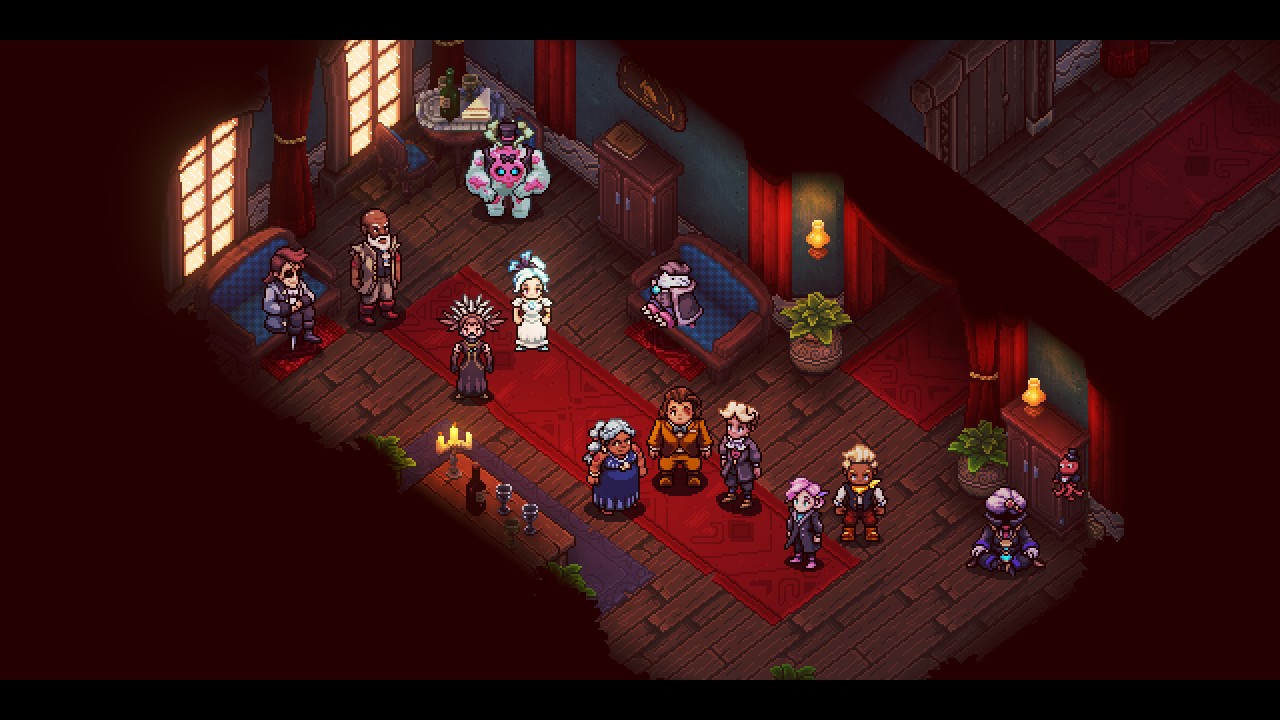
Fly over to Brisk and head to the north end of town. Northwest of the fountain you'll find the Golden Pelican, an upscale restaurant that requires a reservation - such as your Gilded Invitation. Everyone will get fancied up for the occasion, and the lengthy cut scene that follows is heartwarming. You'll learn the Legendary Feast Recipe, and receive Question Pack #11, when all is said and done. You'll also earn the Wholesome Food Achievement.
All this leaves is the final controntation. Return to the Fleshmancer's Lair, teleport to the area with the Cultists, and climb the stairs up to the top point, where you fought Elysan'darëlle. (I also recommend making some time, as this fight takes a while. Give yourself an hour at least.) The confrontation with the Fleshmancer starts off the same, but... Garl's presence changes things just a tad.

Aephorul
Resists: All (Seed)
Yep, you're fighting the Fleshmancer himself. Aephorul is a tougher opponent than the previous 'final' boss, and you'll need to pull out all the stops to win this battle. Aephorul uses the following attacks:
- A melee chomp (Appendage)
- A quick, single-target beam attack that hits very hard (Aephorul)
- Maw, a five-Lock AOE attack (Aephorul)
- A six-Lock absorption attack against one target that creates one or more Seeds (Aephorul)
- Throne of Flesh, a five-Lock move that turns a Seed into an Appendage, protecting Aephorul from all attacks (Aephorul)

