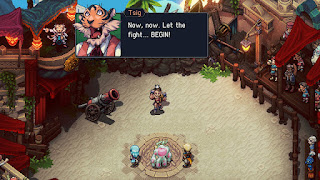
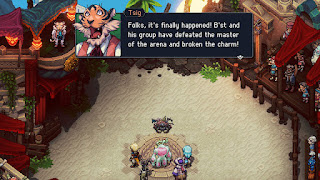
Late in Sea of Stars - just before you depart to battle the Fleshmancer, in fact - you'll unlock a series of side quests. Speak to B'st in a camp or on the Vespertine before heading to the Fleshmancer's Lair and he'll ask for a chance to test his new body by visiting the Dweller's Fall Arena, over in Brisk. You'll find the entrance a short walk northeast of Brisk's central fountain.
Pop inside and speak to the attendant. They will partially explain the rules, which are as follows:
- Whenever you enter a tournament you need to choose a Rank. The higher the Rank, the more difficult the opponents. You'll need to start from the bottom and work your way up.
- You can only enter three of your five party members. B'st himself will choose the participants, which differ from one Rank to the next.
- Injuries carry over between battles, and there is no time between fights to heal your party members.
- You can't use items in the arena. Conserve MP on your healer in case of an emergency.
- Lose a fight and you'll need to start that Rank over again from the first fight. (Fortunately, there is no Game Over, and your health is immediately refilled, so you can walk right up to the counter and try again.)
Bronze Rank
B'st will choose to fight with Valere and Resh'an for this series of battles. You'll be facing the following enemies:
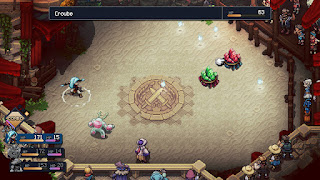
- Clawless Crab Crew - Two Croubes, one Training Croube. Pretty basic battle. The Croube with the red crystal can heal their party, so you may want to take it out first.
- Bomb Bouncing Brothers - Three Srowers. They're all normal enemies. Do your best to break Locks so they can't use their AOE attacks.
- Gulgul Goof Group - One Gulgul and two Lonzons. Watch out for Chomp Chomp! The Gulgul has a chance of attacking the Lonzons, so leave it for last.
You'll receive Sapphire Ore for completing the Bronze Rank.
Silver Rank
B'st will choose to fight with Zale and Seraï for this series of battles. You'll be facing the following enemies:
- Prickly Pirate Party - One Melee Matey and two Ranged Mateys. The Melee Matey is vulnerable to magic, so smasing it with Zale's Sunball and B'st's Power Smash should crush it, as well as inflict considerable damage to the Ranged Mateys. Finish them off with normal attacks.
- Fancy Fencing Force - One Anointed, one Revenant, one Grassassin. The Grassassin is weak to Sun, so Zale's Sunball is a good starting move to weaken the whole group. Leave the Revenant for last and try not to hit it until then, as it gets a sizable attack boost when it pulls out its two-handed sword.
- And last...
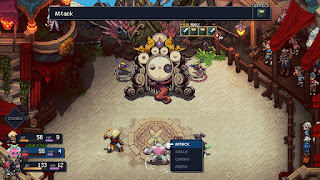
Yikes. The Watchmaker has churned out one truly ugly creation. The Clockwork Abomination uses the following attacks:
- A whipping melee attack
- Time for a snack!, a two-Lock move which restores some of the Clockwork Abomination's health
- Time for Friends!, a four-Lock move which summons up to two Clockwork Zombies
- Time for... MAYHEM!!!, a five-Lock, multi-shot AOE attack
- Big Buggy & Bad Bunnies - One BigBunny and two SlingRabbits. The SlingRabbits are quite dangerous with their Pebble Arc attack, so do what you can to break their Locks. The SlingRabbits resist physical attacks, so try to stick to magic. Sunball is, as ever, a solid choice. Try to save the Mending Light Combo for the end of this fight, as the next one is hard.
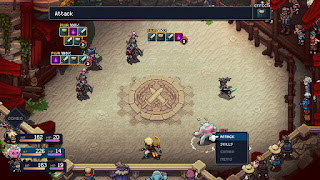
- Basic Basement Batch - One Shroomy Shroomy Knight, one Scout, one Mermofwizquard, and one Owlsassin. The whole quartet is quite dangerous if you don't take one or two of them down quickly. Have Valere use Lunar Shield earlier to tank some hits. Try to fend them off until you get get in some strong AOE attacks, and don't take Zale off healing until you've killed a few enemies. Mending Light can really save your butt here, so don't use Combos unless you know you're safe.
- And, last...
- A single-target uppercut
- Selapeleshot sur le Jelakelestrap, a four-Lock, single target attack with a silly name
- Super Sclout, a five-Lock, single-target attack
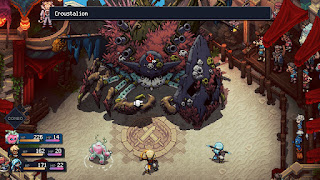
- A single-target anchor toss (Croustalion)
- Summons a Measure Chest (Croustalion)
- Kondo Throwdown, a five-Lock AOE smash (Croustalion)
- Petarade, an eight-Lock, multishot attack against random targets (Croustalion)
- Bubble Drop, a four-Lock AOE spell (Measure Chest)
- Thunder, a four-Lock AOE spell (Measure Chest)
- Heal, a four-Lock, single-target restorative spell (Measure Chest)


