

Enjoying Octopath Traveler? Try out Octopath Traveler 0, the newest game in the franchise, available now on Amazon for the Nintendo Switch! As an Amazon Affiliate I earn from qualifying purchases, at no additional cost to you.
The final Side Story of Octopath Traveler - or at least the most consequential - At Journey's End is also one of the game's greatest trials. Even accessing it will require you to complete a substantial portion of the game:
- You need to complete the Side Stories involving Kit. His first Side Story, Kit, the Traveler, begins outside the starting town of your first character. The other two - In Search of Father (I) and in Search of Father (II) - take place in Noblecourt and on the Moonstruck Coast.
- You also need to complete the Side Stories involving Lyblac. They're known as Daughter of the Dark God (I) and Daughter of the Dark God (II), and are found in Bolderfall and Saintsbridge.
- Once you've completed all five of the previous Side Stories you must travel to the West S'warkii Trail. Here you can complete Alphas and the Impresario.
- Sound easy? Here's the tough part: You need to complete the storylines of all eight characters, chapters one through four. Eesh.

- Try to get all of your party members into the 60 to 70 level range. You will need to use all eight for the final two battles.
- Make sure you have every secondary job unlocked. This includes the four advanced jobs found in shrine challenges: Starseer, Warmaster, Sorcerer, and Runelord.
- Ensure that all of your party members are as well-equipped as you can manage. Exploring optional dungeons, Purchasing / Stealing from important NPCs, opening all the purple chests with Therion, and completing the other Side Stories should set your party up for success. Getting all the Battle-tested equipment in particular is highly recommended.
- Equip the Hunter Skill Patience on most of your party members. This will give you a one in four chance of your characters getting to go twice in a round, and given the length of the battles to come Patience will go off a lot. You will quickly come to appreciate just how useful this is when trying to repair your team or break an enemy, even if it means sacrificing some attack power.
- Bring a full complement of healing items. At a minimum you should have a ton of Healing Grape (M)s, Healing Grape Bunches, Inspiriting Plum (M)s, Inspiriting Plum Baskets, Olive of Life (M)s and (L)s, and all of items that restore status ailments. Preferably you'll also have a ton of other recovery items picked up from hours of adventuring. The Gate of Finis is a slog, and you'll need staying power to get through the gauntlet.

All set? On to the challenge. Before you can proceed to the 'final' boss battle of Octopath Traveler you'll need to defeat eight bosses, each pulled from the third and fourth chapters of one of your characters:
- Darius? - Bottom-right, left flame.
- Dragon? - Bottom-right, right flame.
- Mattias? - Top-left, left flame.
- Miguel? - Bottom-left, right flame.
- Simeon? - Bottom-left, left flame.
- Venomtooth Tiger? - Top-right, left flame.
- Werner? - Top-right, right flame.
- Yvon? - Top-left, right flame.
- Both parties should have a Cleric, meaning Ophilia is in one party and another strong magic user is in the other. They'll handle much of the healing, and can use Aelfric's Auspices to give your primary attacker three turns of doubled Skill use in a single turn.
- Both parties should have an Apothecary, landing Alfyn in one party and a fast character in the other. Therion and H'aanit are good candidates. Your Apothecaries can use Dohter's Blessing on themselves, allowing the use of items on the whole party for three turns. For the most part the Apothecary on each team should focus on refreshing everyone's BP with Energizing Pomegranates, though they can also use a Double Tomahawk on the first battle to quickly break the boss. More on that below.
- The first party should have at least one strong, offensive magic user with the Sorcerer job. Cyrus and Primrose are both good candidates.
- The second party needs one powerful offensive character - likely Olberic - to act as Warbringer. It's the best job for inflicting a lot of damage, to a lot of enemies, very quickly.
- Both parties can use a Runemaster, though you'll probably find the Runemaster more useful in the second battle thanks to Transfer Rune. Tressa is your ideal candidate for this role. More on why below.
Weakness: Dagger, Axe, Staff, Lightning, Light
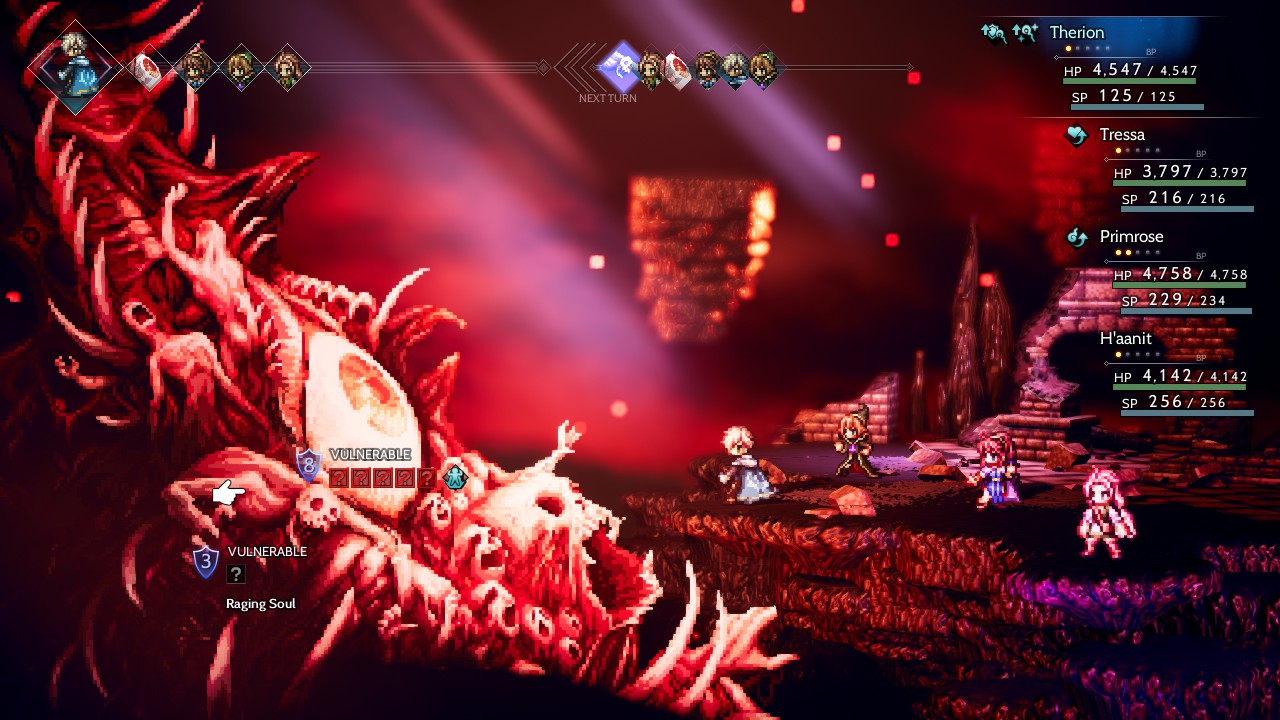
Weakness (Raging Soul): Light
Weakness (Screaming Soul): Polearm, Dagger, Bow
Weakness (Wailing Soul): Sword, Dagger, Ice, Wind
Oooooh dear. That's a big eye. The Omniscient Eye is the most durable enemy in Octopath Traveler, with a whopping 500,000 HP. Favoring Skills, the Omniscient Eye is capable of attacking directly with magic, and will either strip your party of buffs or employ auras that can lower everyone's accuracy, inflict poison that does SP and BP damage, and increase elemental damage for everyone on the field (including your party). Once the Omniscient Eye takes enough damage it can also place death timers on your party, and when it gets really desperate the Omniscient Eye can use Evil Eye to petrify a character. Unless you have an Herb-of-grace Potion left over from H'aanit's story any petrified characters will be out of the battle permanently.
In addition to the Omniscient Eye's own attacks it can - and often will - summon help, in the form of Souls. The Raging Soul favors physical attacks, the Screaming Soul uses elemental Skills, and the Wailing Soul will inflict status ailments on everyone. The Screaming and Wailing Souls can go into a sort of Boost mode, and if you don't break them they'll use Self-Immolation to inflict a ridiculous amount of damage to everyone in your party, usually enough to wipe everyone. Suffice it to say that you need to break them before this happens.
This is a long, long battle. The Omniscient Eye will start off by summoning a Raging Soul that will lock all of its weaknesses, making any attacks against the Eye itself useless. Focus all your power on breaking and defeating the Raging Soul. After that the Omniscient Eye will call in a Screaming Soul and a Wailing Soul, both of which you'll need to defeat. Watch out for any delayed attacks, and promptly break the Soul responsible to avoid excess hurt. Try to keep the health of the Souls you're attacking even, as killing one Soul and leaving another alive for too long will allow a replacement for the dead one to spawn. Very annoying.

After you've destroyed the Souls the Eye will be vulnerable for a time, and you can break and deplete its health as much as you like. This phase is a good opportunity to heal up, buff your party a bit, and prepare for what's coming. Having your Runelord use Transfer Rune and Light Rune will allow you to quickly eat up a ton of the Omniscient Eye's HP, as well as keep it broken, though your Runelord may ultimately prove more useful in the second half of the fight. A Sorcerer blessed with Aelfric's Auspices is the best alternative, and can hit all of the Souls when they're active to boot. Equipping someone with a Double Tomahawk will allow you to quickly get the Eye broken again, though it will likely do almost no damage.
Eventually the Omniscient Eye will call in all three Souls, and their weaknesses will change to five of the six elements. Which element is unlocked changes each time the Soul takes damage. If you can manage it, aligning the Souls so they have the same weaknesses will allow you to pummel them simultaneously with your Scholar, breaking them all at once. You can then lay down your harshest attacks and kill them all more or less at the same time. If you can't manage that then at least try to align two of them and break them so they're not targeting your characters. If the Omniscient Eye summons them again after this it should immediately kill them to regain health, which marks the beginning of the end for the battle. Keep chipping away at the beast the way you have to this point and it won't last too much longer.
Although... that doesn't mean you're finished...

Galdera, the Fallen
Weakness: Polearm, Knife, Bow, Ice, Light
Weakness (Abyssal Maw): Sword, Polearm, Bow or Dagger, Axe, Staff
Weakness (Lyblac): Sword, Dagger, Fire, Light or Axe, Staff, Ice, Dark
Weakness (Blade of the Fallen): Ice, Lightning, Wind or Fire, Light, Dark
What, you thought you were done? You ain't seen nuthin' yet. Galdera consists of four 'parts', each of which has a plethora of moves that complement one another:
- Galdera, the Fallen is your primary target. For much of the fight the main body of Galdera will assist the other parts, but otherwise not get in the way. Once you eliminate the other three parts it will move down to nine defensive shields and start to smash you with physical, Fire, and Dark Skills, as well as a very short countdown to an insta-death.
- The Abyssal Maw is Galdera's head. It uses a combination of buffs / debuffs and hard hits against your party. If the Abyssal Maw is the last enemy left on the battlefield it will use Toxic Rainbow, an aura that drains health from the maximum HP of your characters each turn it's active.
- Lyblac is, well, Lyblac. She has a few elemental Skills, but most of her moves will buff other parts of the body, most notably the Blade of the Fallen, allowing it to inflict status ailments with its attacks. Her most annoying move is Soul Healing, which restores three defensive shields to one of her allies. If Lyblac is the last enemy left she will use Auspices of the Fallen, granting herself a significant buff in virtually all areas.
- The Blade of the Fallen is Galdera's left arm. It sticks to strong physical attacks, and with Lyblac's help they can inflict status ailments. If the Blade of the Fallen is the last part of the body left it will gain an additional move per round.

- Take out the Blade of the Fallen first. Though both it and the Abyssal Maw are capable of dealing out plenty of pain, the Blade of the Fallen seems to hit harder in most cases.
- Go for the Abyssal Maw next. Its weaknesses are fairly common, and it's pretty dangerous with or without the Blade of the Fallen backing it up.
- Leave Lyblac for last. She becomes more of an offensive opponent after the other two parts are gone, though she's still the least dangerous of the lot - and the fact that she just buffs herself as retaliation for defeating the Blade and the Maw is much more desirable than what they can do.
