Part 10: Find Crocodile - Rain Dinners Casino
Main Walkthrough
Desert Near Alubarna
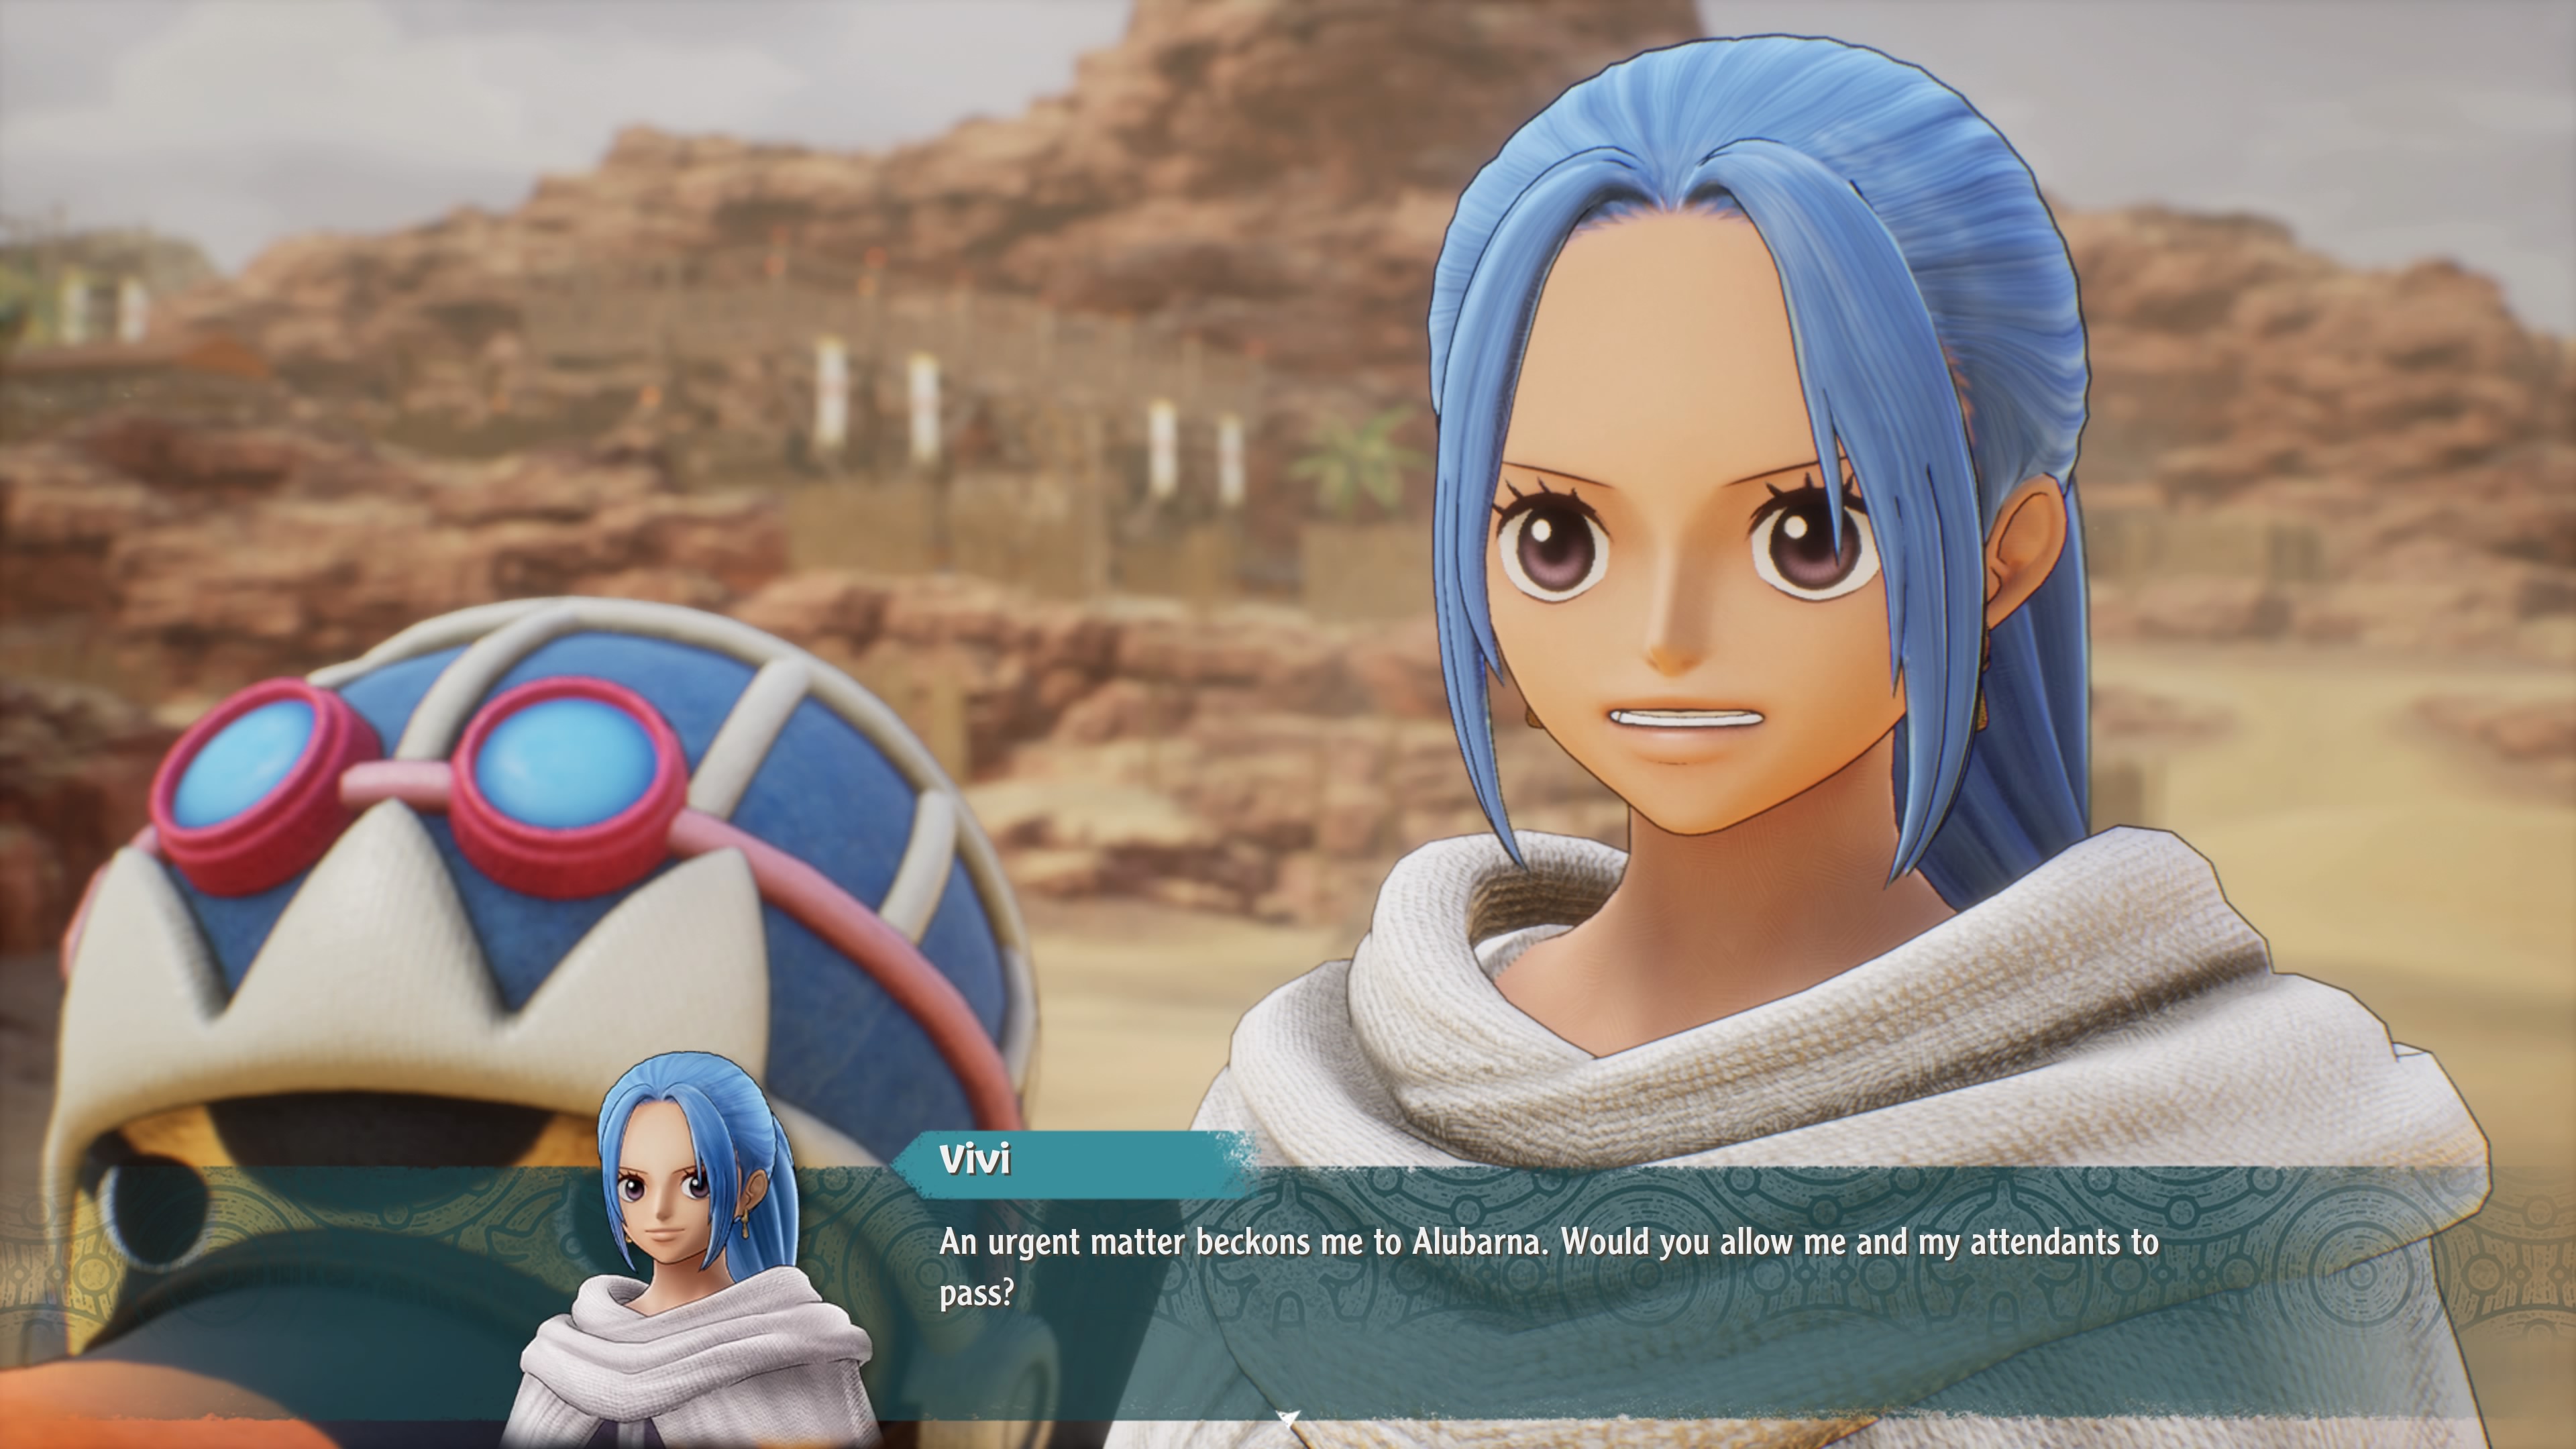
With Vivi rescued and Robin gone, the team finds themselves headed to Alubarna, the capital city of Arabasta. This means trekking through the desert once again. Use the nearby save point, then head northeast to trigger a cut scene. Things are not well in Alubarna right now.
Trigger the nearby Yoisa Sign once the scene is over, then continue north. More bad times ahead. Look to the northwest when the next cut scene is done and you'll see a Chopper's Cube Fragment sitting on a cliff's edge. Luffy can grab it. To your left is a wooden barricade that only Chopper can cross, and on the other side is a chest containing an ATK +114 Ring. If you've accepted his bounty you'll also find Godspeed Fasti on the other side of the barricade.
To the east you'll find The Royal Army Garrison.
Royal Army Garrison
The Royal Army of Alubarna is busy battling the Rebel Army of Alubarna, and you'll see plenty of troops fearing for the worst here. You should nevertheless search their camp and grab anything of value.
- Just beyond the first set of barricades in the west of the garrison you'll find a large gate that you can climb via a pair of ladders. Climb the northern ladder and you'll find a chest containing 13,000 Berries. Climb the southern ladder and, assuming Sanji is leading your group, you'll find three Bo Bo Bird Breasts on the ground.
- Northwest of the campsite in the middle of the garrison is a row of three tents. Check around the middle tent with Nami in the lead to find 130,000 Berry.
- Northeast of the campsite you'll find a long table, surrounded by soldiers who appear to be having a meeting. Next to them is a chest containing Chaka's Necklace.
- On the east side of the garrison is another watch tower. At the top of it you'll find a Zoro's Cube Fragment.
That's all for the garrison. Camp out, if you like - everyone has a very stern party this time around - then head north. Luffy will give a rousing little speech about friendship, and everyone will be ready to go. Head west out the northern gate. You'll start running into monsters again once you're back in the field, so be ready to fight.
Alubarna Ravine
Monsters
- Achisa - Weak to Technique
- Ambling Stonecrop - Weak to Power
- Black Brothers - Weak to Speed
- Fake Sailor - Weakness varies
- Pirate - Weakness varies
- Silver Bat - Weak to Power
- Unripe Banana Gator - Weak to Technique
A cut scene in the middle of the field near the garrison will reveal a huge number of Marine sailors on the horizon. Once the scene is done you'll need to mosey west, and there are plenty of things to see along the way:
- There's a bridge for Franky to fix in the north of the first clearing, just outside the garrison. This will create a shortcut in the future, meaning it's not terribly important to repair.
- Check on the ridge in the southwest of the clearing near the garrison. You'll find a chest guarded by a Black Brother. The chest contains two Gator Melons.
- Cross the bridge to the west of the garrison. Beside it you'll find... sigh... the Kung Fu Dugongs, yet again. Speak to them to begin the Side Story Master and Student Final. Beside the Dugongs is an Usopp's Cube Fragment.
You can't enter the Rebel Army encampment in the west, so you're forced north. As you head towards Alubarna Vivi will speak to the sailors, who, it turns out, are Fake Sailors. You'll need to fight a Sailor With Powerful Eyes and a Sailor Proud of His Whiskers along with the regular joes, though they're primarily different thanks to having more health. Not a difficult battle. You'll earn a Sailor Impostor's Power for winning.
Alas, despite your victory the fake Marines will abscond with Vivi, and you'll need to hunt them down and get her back. Alubarna will have to wait a little longer. Head east and you'll find a sloping path into a new area.
Desert Byway
This thin passage through the Desert Near Alubarna is filled with Pirates, and unless you have some good moves you'll need to fight a lot of them as you make your way south. Activate the Yoisa Sign at the entrance, then head into the canyon. You'll find a Yoisa Shop along the path that's stocked up with several exclusive accessories (Yoisa Commerce Bureau's Exclusive Ring, Vivi's Hairpin, Mr. 3's 3, Water from Toh-Toh), and they're all worth buying.
There are a few things of note along this straightforward path:
- You'll need to bust up a few rock piles to progress. They're pretty easy to notice.
- Past the rock pile by the Yoisa Shop but before the second rock pile is a pit you can peer into. There's a Luffy's Cube Fragment atop the bones at the bottom of the pit that only Luffy can grab.
- There's a save point just before the end of the path. A sign? Probably. You should use it...
... because a battle is upcoming.
Fake Soldiers
Weaknesses:
- Power (Fake Alabasta Soldiers)
- Technique (Baroque Works Agent C)
- Speed (Sailor Proud of His Whiskers, Sailor with Powerful Eyes, Baroque Works Agents A and B, Fake Sailor A)
That's quite a collection of enemies. This fight is notable primarily because you're battling no less than nine combatants, and they can quickly overwhelm your party if you don't start things off with a strong offense. Bring out Nami and have her use Thunderbolt Tempo to badly injure more than half the field, then have one of your Power fighters (likely Luffy) take out the two Fake Alabasta Soldiers. Pick off enemies until Nami's turn comes up again, then zap the field with another Thunderbolt Tempo. Finish off any survivors.
You'll receive a Royal Soldier Impostor's Power for defeating the horde of fakes. Once they're gone you're meant to head back to the surface... buuuut you should have a quick look at their hideout first:
- Approach the hideout and Zoro will 'learn' how to cut up metal boxes. You can use him to slice open one near the stairs for a random item.
- On the first floor of the hideout is a chest containing an Energy Apple. Near the chest you can find 39,000 Berries on the floor, if Nami is in the lead.
- Climb to the second floor of the hideout via the ladder to find a chest containing Sazae Kancho Pescatore. The ladder on the third floor...
... leads back out to the Royal Army Garrison. Surprise! That explains a lot. Head back north, towards Alubarna. The screen of Marines is still waiting, and they're a mix of Sailors and Fake Sailors. Luffy has it right: Punch them all out. The first fight against them is easy enough, but the second...
Smoker and Tashigi
Weaknesses:
- Power (Sailors A and B)
- Technique (Smoker)
- Speed (Tashigi, Sailors C and D)
More familiar faces. The Sailors are no big deal, regardless of their typing, but Smoker and Tashigi can inflict a fair amount of pain on your party. Smoker favors hard melee strikes, and uses his White Launcher attack to inflict heavy damage on one target. His ATK will go up once the Sailors are defeated, and again when Tashigi goes down. Tashigi can't do as much damage as Smoker, but she uses her one AOE attack, Slash Gale, quite frequently, hitting everyone who's in the same area as her.
Start by having either Usopp or Nami wipe out all but one of the Sailors from a distance with their Skills. This will ensure that Smoker doesn't get his attack boost, and a single Sailor won't be able to do much damage. You can then focus on whittling down Smoker, as taking him out next will ensure that he doesn't get his attack boosts. You may want to put Usopp and Nami on the sidelines until he's gone, as his attacks leave them hurting quite badly. Leave Tashigi and the remaining Sailor for last.
It's worth noting that Smoker will frequently say that your power does not work on him. This refers to normal, physical attacks by your Power characters, namely Luffy, Chopper, and Sanji, all of which will whiff when aimed at Smoker. Their Skills will still work on him, however, which becomes important when you're instructed to take Smoker down with Luffy. Preserve some TP on Luffy to make sure he can deliver the knockout punch.
You'll receive Smoker's Jacket and Tashigi's Power for defeating Smoker, Tashigi, and their contingent of Marines. You'll also clear the path into Alubarna.
Main Walkthrough