Part 11: Stop Crocodile's Plans - Desert Near Alubarna
Enemies
- Fake Alabasta Soldier - Weakness varies
- Fake Rebel Soldier - Weakness varies
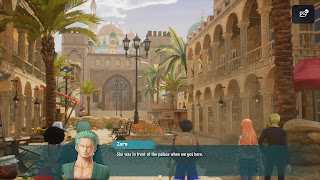
The capital city of Alabasta has seen better days, and when the Straw Hats arrive in Alubarna they find a war zone. Activate the Yoisa Sign by the entrance of Alubarna, claim Grand Log: Alabasta, Part 5 for competing the Reach Alabasta Objective, and set off into the city. There are Fake Alabasta Soldiers prowling the streets who will attack you on sight, so be ready to battle.
Check the side streets to your left to get around the intial few barricades. You'll find five Sandy Shells just before heading north into the alleyways if you deploy Sanji. There are a few Fake Alabasta Soldiers prowling the alleys, and along the northern-most street you'll find a Sanji's Cube Fragment on the side of the road. Check the northern walls near the fragment and you'll also find a climb point. At the top is a chest containing Koza's Sunglasses. Five Sazae Kancho Livers are hidden near the climb point if you send out Sanji.
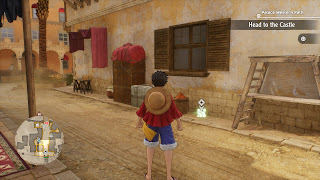
Head back to the main street and head north. Aside from enemies there are two things to see before you reach the gate at the far end of the street:
- On the east side of the street is a General Store. Stock up here if you're low on restorative goods.
- On the west side of the street is a tavern called the Mountain Dog. This serves as a campsite if you feel like partying during these dour times. There's also a Bounty Board here, if you haven't been keeping up with your Bounty Hunts, though you can't access the majority of the targets until you've finished up in Alabasta.
- Also on the west side of the street, just south of the tavern, is a crate containing a Yaya Cube.
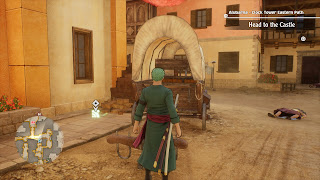
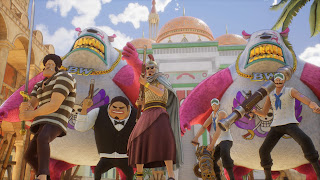
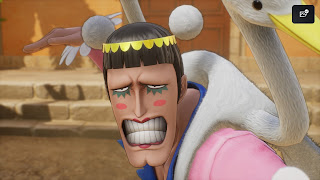
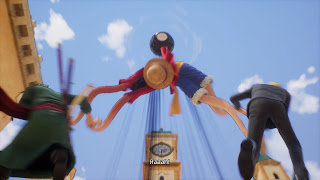
You'll next need to head to the Clock Tower. Before you leave the area, check the line of buildings to the west of the palace to find a Sanji's Cube Fragment, behind some pillars and hidden by stacks of wood. Ignore everything else to the west of the palace - you'll get there soon - and head south. Before you can get far you'll run into another face that should be familiar to long-time One Piece fans, and they want to scrap.
Bon Clay
Weaknesses:
- Power (Bon Clay, Baroque Works Billions B, C, D, E, F)
- Speed (Hairy Man Disguised as Royal Soldier, Scruffy Man Disguised as Royal Soldier, Baroque Works Billions A)
Love the outfit. Bon Clay is a melee fighter, and will use two different moves: A normal attack, then Swan Bombardier Arabesque. If they hit someone who is weak to Speed attacks you might be in trouble, and Bon Clay attacks often enough that they eventually will. The assorted goons stick to their usual attacks, either melee or at a range. Most of the mooks have guns, allowing them to shoot at you without changing areas, which can be a pain.
Everyone in this fight is at a minimum neutral to Speed damage, making this a natural fit for Nami's Thunderbolt Tempo. Position her near some Technique attackers to downplay the damage she'll take. Your Power and Speed attackers can then sweep up everyone who survived Nami's initial strike. Give Bon Clay a Power attacker that he can hit for minimal damage, then swap everyone to attacking him once everyone else is off the field. Bon Clay hits hard and has high defenses, but he can't last too long against the combined power of Luffy, Sanji, and Chopper. Finish Bon Clay off with Sanji for additional experience.
You'll receive the Baroque Works Billions' Record Cube and Bon Clay's Power for defeating Bon Clay and his cronies. The Straw Hats will prevent a tragedy, and you'll have a new destination: The Royal Mausoleum, in the west of Alubarna.

