

Part 12: Get Vivi Back - Alubarna
Enemies
- Fake Alabasta Soldiers - Weakness varies
- Fake Rebel Soldier - Weakness varies
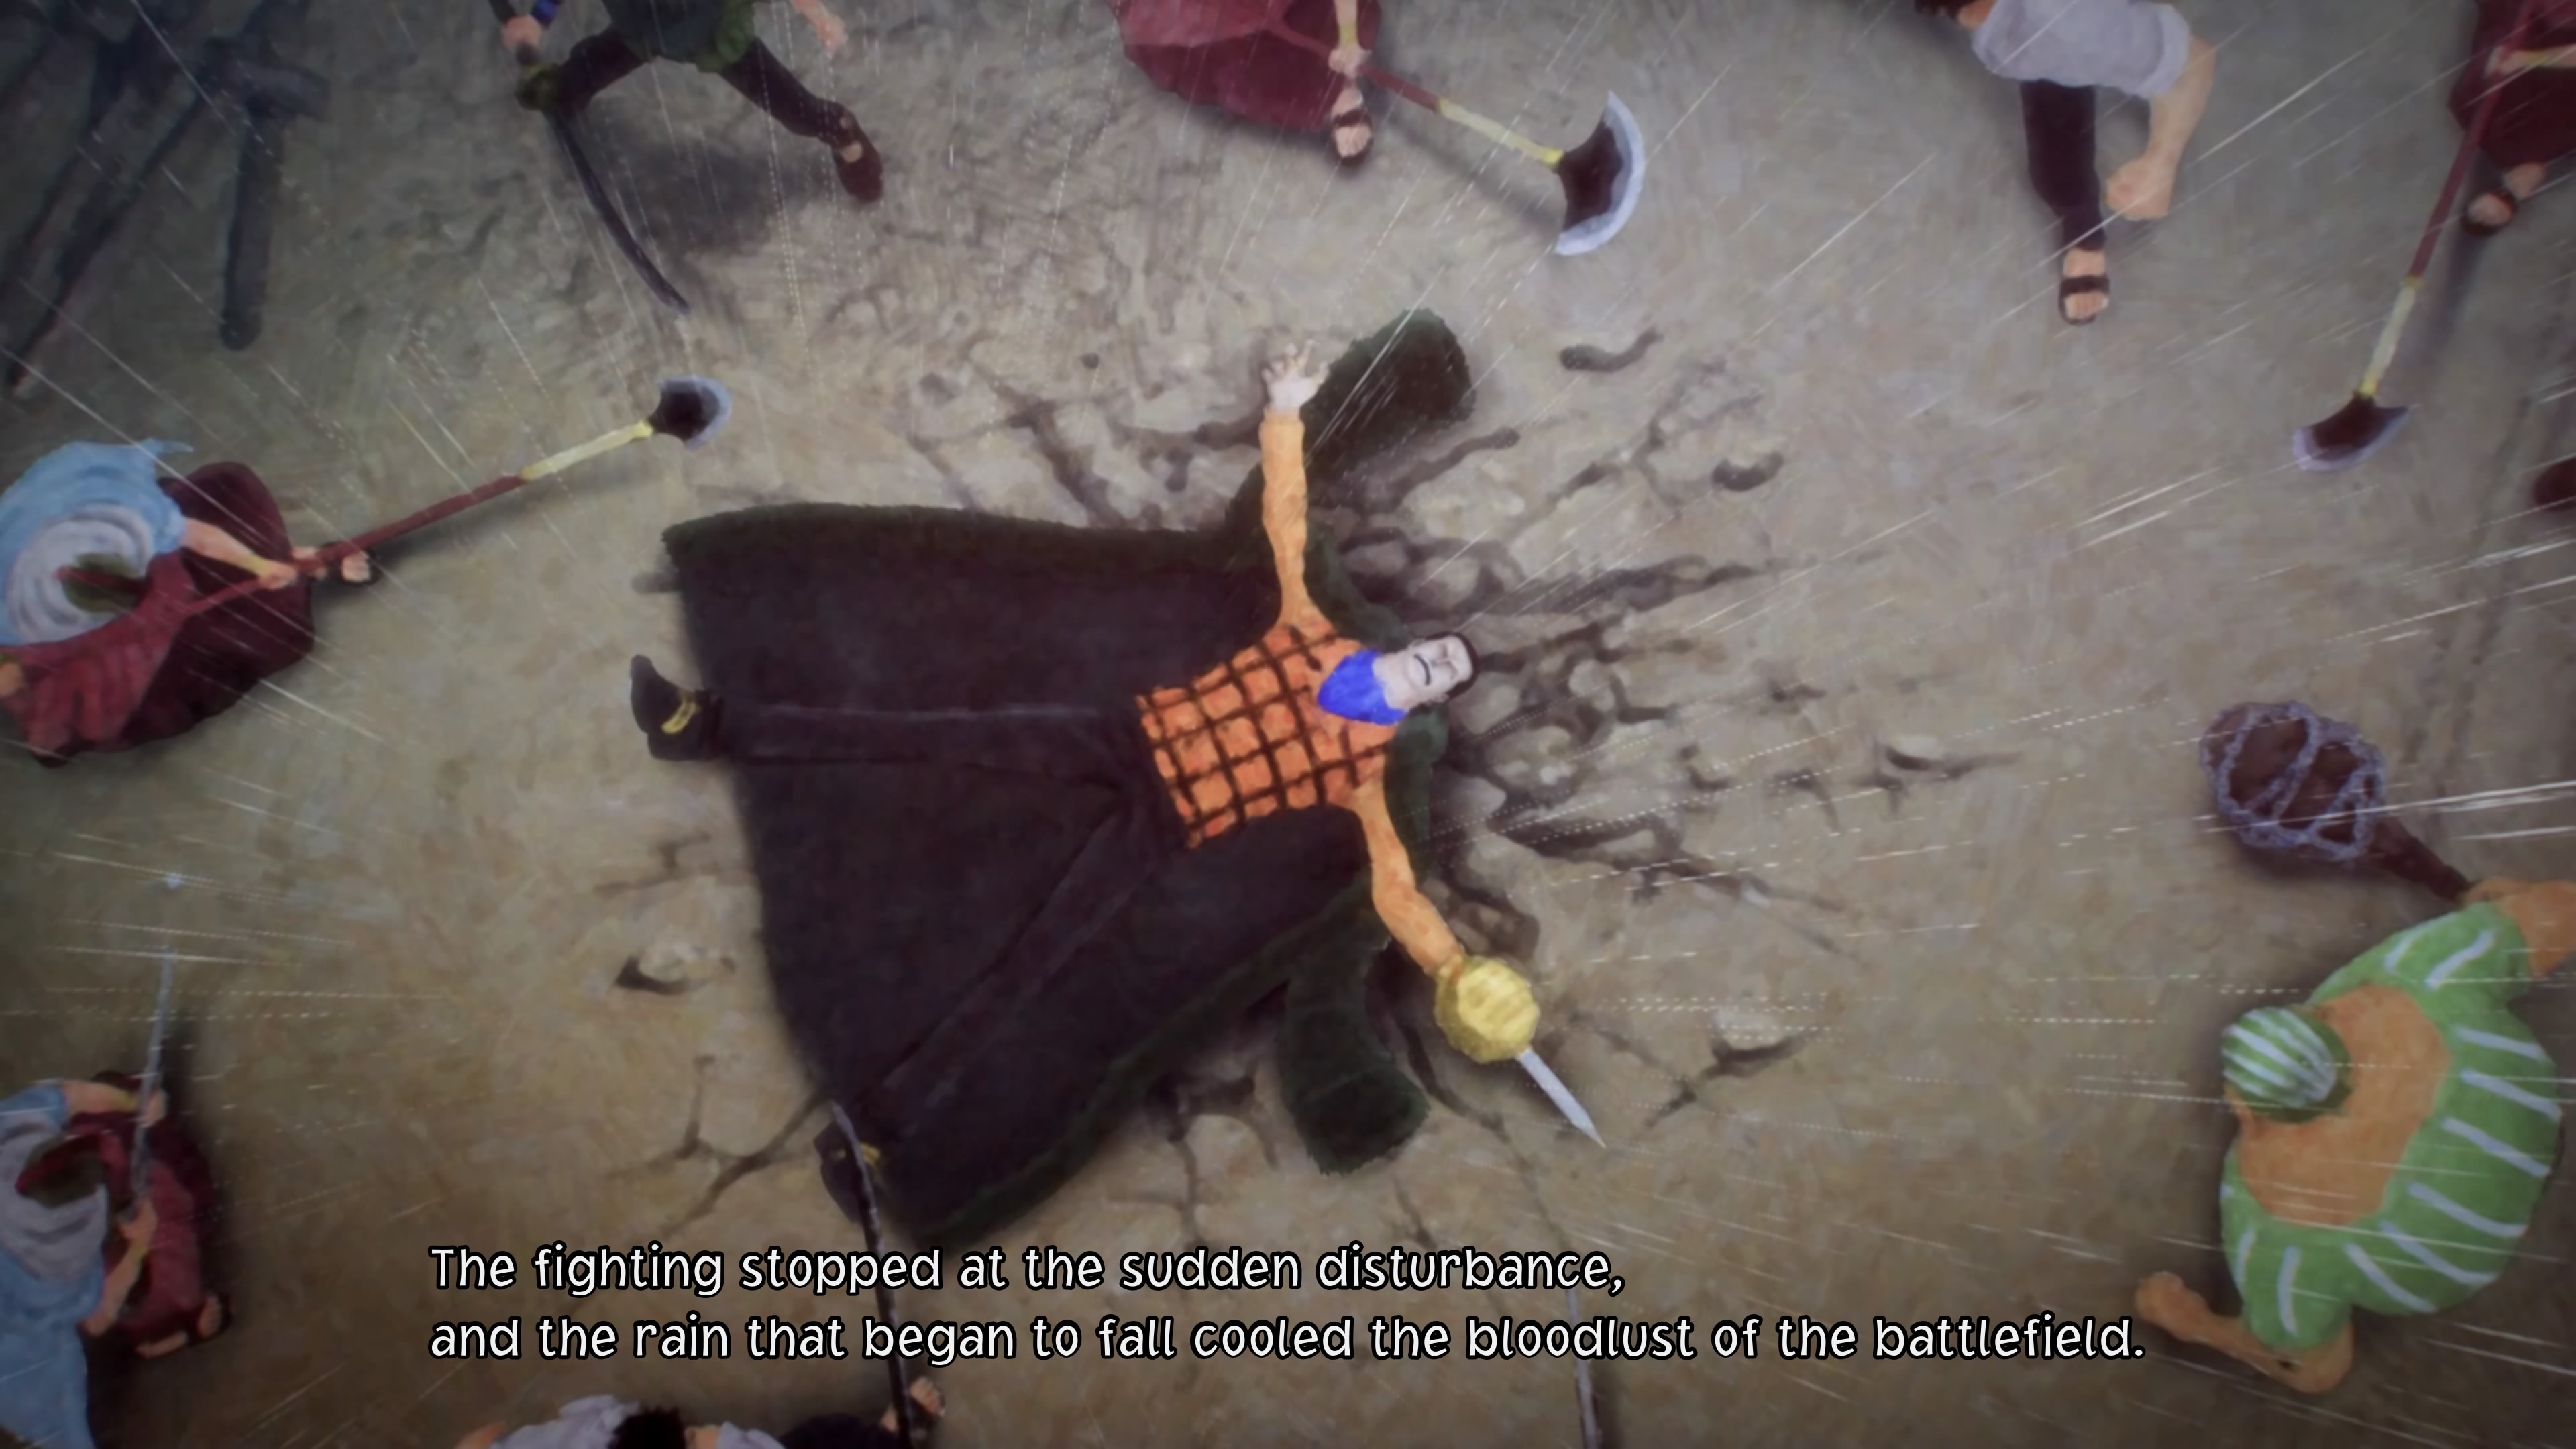
The fighting continues to rage in Alubarna, and with a bomb out of the way the Straw Hats come to an easy conclusion: Cut the fighting off at the source. Crocodile. He's at the Royal Mausoleum, west of the entrance to the palace. Fight your way down the street to the west of the palace and you'll find the mausoleum in no time. Feel free to claim Grand Log: Alabasta, Part 7 for completing the Reach the Royal Mausoleum Objective.

The area surrounding the mausoleum has a few things of note before you head inside:
- Near the entrance to this area is a General Store. Stock up if you need anything.
- Check beside the stairs on the west side of the raised platform where you enter the mausoleum. You'll find a Robin's Cube Fragment.
- Head north of where you found the fragment. You'll hit a dead end, and if you look to your left you'll find a chest containing a Pell's Hat.
- In the west you'll find an area guarded by Royal Soldiers. Beyond them is the Sea Cat, a tavern. It offers the usual services of a tavern. Just outside the tavern, across the square and behind some pillars on your left, you'll find a chest containing a GUTS +81 Necklace. Also out front of the tavern are 45,000 Berries, which only Nami can find.
Fight your way up to the entrance of the mausoleum to watch a quick cut scene. Vivi will take off, and your party will enter the Royal Mausoleum...

Alubarna Royal Mausoleum
Monsters
- Fake Rebel Soldier - Weakness varies
- Kung Fu Dugong - Weak to Technique
- Silver Bat - Weak to Power
- Unripe Banana Gator - Weak to Technique
B1F
... where Robin will rejoin the party! About time. Robin will be well behind everyone else in levels if you've spent most of her absence fighting, so make sure you give her some good accessories to compensate. She'll catch up with everyone again eventually. You meet up with Robin by a locked door, and you can't open it without going deeper into the mausoleum. Use any of the stairs to the east or west to get started.

B2F
At the bottom of the stairs you'll find a hallway with two small side rooms. Check the southern room for a chest containing Banana Gator Pie. Next, head west. You'll find a floor plate that will open the door ahead, taking you deeper into the mausoleum. Enemies begin to spawn past this point, but they shouldn't be a big deal for you.
To the north you'll find a floor plate that will activate torches on the other side of this spacious room. Have Luffy grapple along the ceiling rings in the north of the room to reach the east side, where you can trigger another floor plate and create a path to the middle of the room. Check south of this second floor plate and up some stairs to find a chest containing an HP +220 Necklace before you proceed.
Go down the stairs in the middle of the room, and check to your left at the bottom to find a box Zoro can slice open to receive five Blue Peppercorns. Further down you'll enter a new area.

B3F
This place has seen better days. The path splits to the south. Take the southeastern path first and grapple across the gap in the floor. Put Chopper in charge and he can slip through a wall on your left. Inside you'll find a Yoisa Shop with some new items to grab (Left Arm Bandage, Karoo's Goggles), an Usopp's Cube Fragment, and, at the top of a nearby ladder, a chest containing Burst Brew.
Head back to the previous room and go southwest from the entrance. As you grapple your way down ledges Chopper will catch the scent of a Lil' Mover in the pit below this room, and you can use a long set of vines to climb down into the sand. The Lil' Mover will give you a Burst Brew, and if you check the rear of its chamber you'll find a chest containing Cobra's Necklace.
Grapple your way back up and head south, through the room filled with pillars. New area.

B4F
(Quick note: This area is patrolled by a number of Silver Bats, and when you get into a fight four of them will clump up around your lead party member. They frequently trigger Dramatic Scenes, and if you put Luffy in the first position he can demolish all four bats with Gum-Gum Gatling on his first turn. Easy experience.)
In the next enormous room you'll find a series of floor panels with icons on them. Ignore them for the moment and check down the eastern stairs from the entrance. You can grapple your way to a chest containing a GUTS +81 Necklace. Grapple south from the chest and you'll find a floor plate with a snake on it. Step on it to activate one of the panels by the entrance. That's one down.
South of the snake plate you'll find stairs leading to a lower level. Follow this path and you'll come to a small room containing a floor plate with a jackal on it. Activate this plate, then check the corners of the room for a box Zoro can slice open. It contains three Bo Bo Bird Breasts.
Head back to the snake plate. You can grapple west of here to a central platform, where Robin will find some suspicious drawings. No conclusions, though. Also here is a meta box for Zoro to open, containing two Gator Strawberries, and a gator floor plate.

Almost done. Finish grappling west to find the scarab plate. Activate it, then go up the stairs to the north. You can grapple once to get to a ledge near an Usopp's Cube Fragment, then grapple again to return to the entrance. Hit the floor plate activated by turning on the panels and you'll reveal a bridge straight down the middle of the room.
Check the central platform for a metal box for Zoro containing 17,000 Berries, then carry on south to the end of the room. Another floor plate awaits, as well as a save point. Before you go through the door, go down the stairs to the right of the save point. They lead to a pair of jail doors that Zoro can slice through. On the other side of them is a chest containing Mr. 1's Haori. Head back the way you came, but before you go up the stairs be sure to grapple west. You'll wind up near a Chopper's Cube Fragment, and you can grapple one more time to the north of here to find a chest containing a Burst Brew.
Climb back to the floor plate, save, and pop the door open. Beyond is a chest containing a History Key. On your way back north Fake Rebel Soldiers will crawl out of the stonework and begin prowling around. You'll need to fight and / or flee your way back to the beginning of the mausoleum, the same way you came in. Use the save point by the locked door on B1F, then pop open the locked door. On the other side...

Crocodile
Weakness: Power
Crocodile is a bit of a powerhouse. He uses normal melee moves that can Poison your characters, Crescent Cutlass, a Speed move with power enough to badly damage even your Power attackers, and Desert la Spada, which strikes everyone in his area for heavy damage and can inflict Bleed. He also has a similar ability to Smoker that prevents normal Technique attacks from working on him, making Zoro and Robin less-than-optimal members for the fight. Do enough damage and Crocodile will use Ground Erosion Cycle, hitting everyone in his area for even higher damage than Desert la Spada.
The solution? Put all your Power fighters up front. Luffy, Sanji, and Chopper can put some serious hurt on Crocodile, and Chopper can heal away any damage he inflicts. Usopp makes a good fourth member since he can attack from the sidelines without exposing himself to Crocodile's attacks, though Nami works fine as well. As long as your frontline attackers stay above 1,000ish HP you shouldn't be in any severe danger from Crocodile's attacks. Every now and then you may find that your Skills simply don't work on Crocodile, but just keep hammering him.
Alas, that's not the end for Crocodile...

Crocodile
Weakness: Power
Your second battle against Crocodile is more or less the same as the first, only he seems a bit more powerful, a bit more durable, and faster than before. He also starts the battle using all of his moves, so you should expect to be hit by Erosion Cycle early on. It's nevertheless pretty much the same fight as before, though you should use a strong healing item - Bronze Bat Soup works nicely - to heal away damage from the first fight before doing anything else. You may need to keep using these if your team gets grouped up around Crocodile, as he uses AOE attacks more often. Finish Crocodile off with Luffy for additional experience.
You'll receive Crocodile's Coat for defeating Crocodile, and in the (cinematic) battle that follows Luffy will learn the Gum-Gum Storm Skill. Claim Grand Log: Alabasta, Part 8, because you've completed an important objective: Defeat Crocodile. Civil war over!
Alubarna Aftermath
Once Crocodile is out of the way Alubarna will settle down to normal, and Luffy will be left to gather up his friends. They're loitering in various parts of Alubarna:
- Robin is out front of the Royal Mausoleum, but she won't go with you. You still need to speak to her, however.
- Chopper and Usopp are straight ahead when you exit the palace grounds, heading south into the Market District.
- Sanji is in the southwest of Alubarna, standing beside some stairs near Lovely Spring Plaza and attended by three women.
- Zoro is in the east of Alubarna. He's standing on the balcony you can use to get around the large barricade blockading one of the streets.
- Nami is in the south of the Market District, looking at a market stall. You'll find her if you hear towards the save point just north of the gate leading to the entrance of Alubarna.