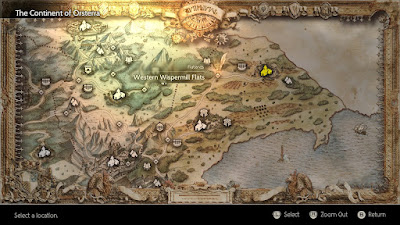
Located in the northeast of Orsterra, the Western Wispermill Flats are a fairly straightforward path to the little town of Wispermill. You can reach them via the northern exit of the Western Noblecourt Flats, the rural highway connected to the city of Noblecourt. Given the beeline path you can take it's one of the easier areas you can reach at a low level, though the enemies are risky enough that coming here early could spell your doom.
And speaking of said enemies:
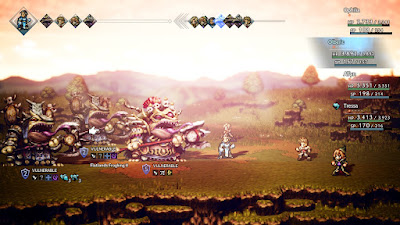
- Flatlands Frogking I - Weak to Dagger, Staff, Ice, and Dark. Can buff itself, but is otherwise just a strong melee enemy.
- Flatlands Frogking II - Weak to Dagger, Staff, Ice, and Dark. Support unit that buffs and inflicts silence on your party.
- Flatlands Frogking III - Weak to Dagger, Bow, and Lightning. Sort of a compromise enemy between the other two Frogkings that can buff, inflict status ailments on your characters, and just hit hard. Priority target.
- Furious Fungoing - Weak to Dagger, Staff, Lightning, and Dark. Weird enemy that can blind your characters and call in reinforcements. A middling foe.
- Mortal Mushroom - Weak to Axe, Lightning, and Light. An annoying fungoid that can inflict several status ailments. It is, mercifully, very easy to stun if you have the right jobs on hand.
- Raging Rhino - Weak to Sword, Axe, Lightning, and Dark. A powerful melee unit that can do a ton of damage if given a chance to use Extreme Charge. Prioritize stunning these things before they get a chance to rev up.
- Plains Drake - Weak to Polearm and Bow. Can debuff your party and hit with Thousand Scythes. Primarily a pain since it has few weaknesses, though both allow it to be stunned quickly if you have the right party.
Since the only way to come through here is via the Western Noblecourt Flats, we'll explore the area from that western entrance. Note that there are two NPCs in this area only after you've completed Ophilia's fourth chapter, which takes place in Wispermill.
Follow the winding path north until you see a road sign. It appears to point only south and east, but it's also a hint that there's something to the west as well. Take a left at the sign and the camera will pan abruptly as you reach the edge of the screen, revealing a side path. This will take you to the Forest of Purgation, a Danger Level 58 dungeon that is one of the most dangerous areas in the game. Don't enter unless you're sufficiently powerful to meet the Danger Level. (Or unless you want to get your butt kicked.)
Head east. Just as the path veers south you'll see a chest on your right. It contains an Energizing Pomegranate (M). Go south and you'll find another chest on the side of the road, this one containing a Cat's Eye. Just east of here is a Trembling Merchant who speaks of a terrible beast. You can receive the Where the Direwolf Prowls info from him, which is part of a Side Story. You can also, among other things, Purchase / Steal an Empowering Necklace from the man.
Keep following the eastbound path. There's a chest containing an Olive of Life (M) on your right as the path swings north. Follow the path and you'll come to a save point. There's a red flag to the right of the save point, and it slyly signifies that there's something hidden behind the rocks. Go past the two flowers in the middle of the wooden fence and you'll find a hidden path leading west. This will take you the Shrine of the Starseer, a Danger Level 50 dungeon that will grant you a new job... if you can defeat the boss, that is.
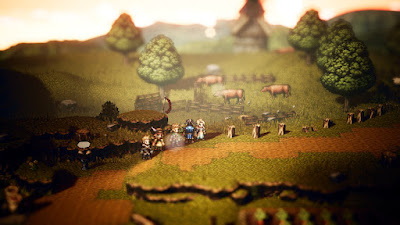
Almost done. Head east from the save point and you'll come across a Carefree Shepherd. He's part of a Side Story, and if you Inquire / Scrutinize him a Refreshing Jam will appear outside Wispermill's Inn. He's also conveniently standing just west of the entrance to Wispermill, which is where we'll end the guide.


