Danger Level: 50
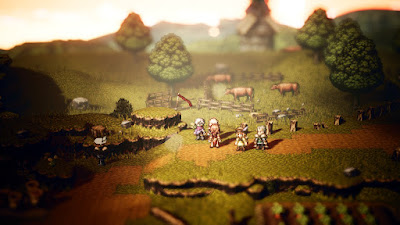
Location: Western Wispermill Flats, west of the exit to Wispermill - look for a red flag just as the path turns south; you can walk onto the grass and around a rock on your left to get into the shrine
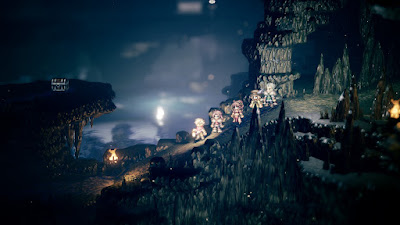
The shrine protecting one of Octopath Traveler's four advanced job classes, the Shrine of the Starseer is a nasty place to visit at low levels, and unless you really know what you're doing you should consider avoiding this place until you're at least level 50. You'll run into the following monsters inside the shrine:
- Animated Armor - Weak to Axe, Staff, Ice, and Light. Buffs its party, and can use Horrific Claw to inflict terror and lock away Boosting. A significant pain in large groups.
- Wind Remnant Mk. II - Weak to Sword, Polearm, Axe, and Lightning. Strong melee opponent with a Wind leaning. Try to get them stunned first.
- Wind Revenant - Weak to Sword, Bow, Staff, and Lightning. Powerful golem that buffs itself and hits hard. Get it stunned as quick as you can.
- Light Remnant Mk. II - Weak to Sword, Polearm, Axe, and Dark. Light version of the Wind Remnant Mk. II.
- Light Revenant - Weak to Sword, Bow, Staff, and Dark. Light version of the Wind Revenant.
- Shadow Remnant Mk. II - Weak to Sword, Polearm, Axe, and Light. Dark version of the Wind Remnant Mk. II.
- Shadow Revenant - Weak to Sword, Bow, Staff, and Light. Dark version of the Wind Revenant.
You won't win this fight if you a) Can't survive Steorra's Shooting Star attack, which she uses all the time and typically does around 2,000 points of damage, and b) Can't target Dark. Steorra changes her weaknesses after each break ends, and if you get stuck with only Dark as a weakness you'll be done for if you can't target it. Have at least one Dancer in the party - two if you like Primrose - and make use of Shadow Soulstones to get rid of Steorra's defenses. Alfyn's Shadow Powder Concoction (Injurious Seed plus Essence of Pomegranate) is also great for getting through this phase. Every other phase can be dealt with as normal, though all of your characters should be able to eat up at least two of Steorra's shields, or you'll risk falling behind and getting hit one too many times. Buffs are good for lowering the damage Steorra does with her magic, but she'll also use Restore Balance to mess with them, so equipment that deadens elemental damage (particularly Light) is recommended. Given Steorra's damage output, a healer who can Heal More for over 2,000 each turn is a must. Make sure you save BP for the end of the fight, as Steorra gets very nasty once she can hit three times in a row. Be careful swinging weapons at her, or there's a chance Physical Reflection will punish you badly. (Sidestep is a good way to get rid of this.)
You'll receive a Refreshing Jam for defeating Steorra, Starseer. Bringing the god down will also earn you her favor, and your party will unlock Starseer as a powerful secondary job. Well done! She's hard!


