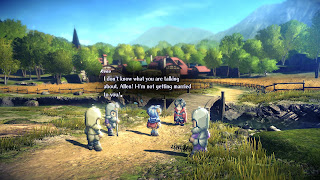
After some pastoral relaxation - and a rather significant misunderstanding - the plot of Star Ocean The Second Story R leaps into action with a kidnapping. Claude and Rena's paths diverge quite a bit once Rena is nabbed, and you'll need to jump through some hoops before they're reunited. We'll look at both paths.
Claude
If you're playing as Claude then this scenario begins just after you return from Salva, the town to the north of Arlia. You'll need to immediately trek back - though if you prefer, you can use Fast Travel, via the world map, to zip straight there. Gaining a level or two on the world map isn't a terrible idea, but you can also get by in the next dungeon without doing that, so... it's your call.
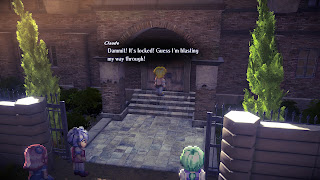
Check out the northeastern mansion in Salva - you visited here on the last trip - and Claude will use his Phase Gun to blast his way inside. This saps the gun of its energy, so you can't use this particular Special Art again. (For a while, anyway. Eventually Claude recharges it.)
After this point Claude's scenario follows the same route as Rena's, so have a look below. The only difference is that you'll find Rena's Hairpin in the eastern room.
Rena
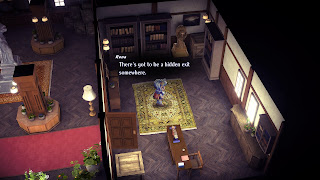
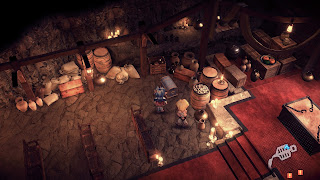
You'll regain control of Rena inside Allen's Mansion. The front door is locked, so you'll need to find another way out. Check the chest in the room where Rena begins for a Talisman, in the west wing of the second floor - might want to equip this on Rena right away - then climb down to the main floor. Check the dining room in the west for a chest containing Fried Egg.
Enter the study in the east of the main floor. There's a suspicious statue in the north of this room that will open a secret exit. Head inside and you'll find a carpenter from Arlia. He'll direct you onward, into the Salva Mines.
Salva Mines - Enemies
- Kobold - 255 HP
- Lizard Axman - 135 HP
- Thieving Scum - 100 HP
- Vorpal Bunny - 330 HP
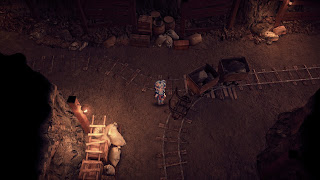
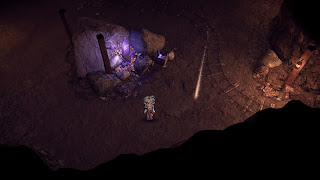
The first dungeon in Star Ocean The Second Story R, the Salva Mines aren't too complicated. The path through here is identical for Claude and Rena alike, though Rena has a slightly more difficult time of it since she isn't a great fighter. (Very slight. This area's pretty easy.)
The primary enemies of note in the Salva Mines are the Vorpal Bunnies. They're not at all difficult to defeat, but they can jump. This makes them airborne for a short period of time, and if your character attacks them while they're airborne your character will leap into the air. Aside from some Arts, this is the only way for your characters to jump. These attacks take longer and are often less accurate, so be careful when leaping.
The Salva Mines are straightforward. Start by trekking west from the entry point. Along the way you'll find the 'main' entrance to the mines - which you can't use, since they're being guarded - and if you go far enough west you'll find a dead end. At the dead end are chests containing Blueberries and an Anklet.
Return to the entry point in the east. Head north until you hit an intersection, go right to find a chest containing Blackberries, then go back to the intersection and take a left. (The north loops around and doesn't go anywhere terribly useful.) Going west will bring you to a central area of the mines, where you'll find a few things of note:
- There's a Unique Spot here, Quietly Gleaming Minerals, that you can inspect via a glowing point to the east of the heap. You'll receive Rubies and Silver for checking it out.
- In the northeast of this central chamber is a side path leading to a chest. The chest contains a Buckler that you should equip.
- To the northwest of the central chamber is a pathway to a side area. There's a small rest spot up here with a chest containing a Resurrection Elixir. A sign to the north warns of 'dragons', and you won't be allowed to go any further in this direction. (You can recruit a character down this path, though not for a few more hours.)
North of the central chamber you'll find another clearing, this with a Save Point. Check the west side of the clearing to find a monster guarding two chests. The chests contain Blueberries and Spectacles. Use the Save Point, then head north to find the deepest part of the mines, where a cut scene - and your first boss - await.
Allen Tucks
Elements: Weak to Light, resists Shadow
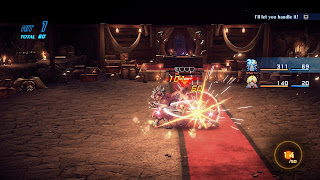
That's a big of a change. Allen has turned into a vicious monster, and he'll spend the battle trying to beat or bite your party into submission. He's pretty good at it, too, and can quickly defeat either of your party members if you don't move quickly.
This battle serves as the tutorial for switching party members, though that is not the ideal approach. How you fight depends on your main character:
- If you're playing as Claude then you should take on Allen alone, while Rena uses Crush and Heal from the sidelines. Get in front of Allen and pummel him with sword swipes and the Air Slash Special Art. Counterattacks also work. As long as you keep Allen well away from Rena the fight should be easy.
- If you're playing as Rena then you'll want to rush in behind Allen while he's fighting Claude and smack him from behind. If you can successfully catch him in a pincer attack Allen will be unable to lash out at either Claude or Rena. Move quickly, as Claude begins this fight at level 1, and won't last long.
- In Claude's playthrough you need to reenter the Mayor's Home and listen to a chat about Rena. Afterward Rena will call Claude outside. Check the bridge in the north of Arlia to find her.
- In Rena's playthrough you have to try and leave Arlia, then head to the bridge in the north of town. Claude is waiting.
- If you come back to the Salva Mines after this first visit you can open the chest that's in the room where you fought Allen. It contains a Robe. (Not worth the trip. At all.)
- Upon visiting Harley you'll hear about a dragon back in the Salva Mines. Travel back here at that point, before sailing to the next continent, and you can recruit a new character, Ashton Anchors, to the party. Note that recruiting Ashton will prevent you from recruiting Opera or Ernest. We'll look at the inner area of the Salva Mines in another section of the guide.

