

Part 32: Trek to the Center of the World
After defeating the Guardian - and learning more about Seraï than you ever might have expected - you'll be back in the overworld. Sail west and into the vortex to find yourself on a new ocean, with a bunch of new locations. You can poke around, revealing spots on the map (which works down here), but the only place you can properly explore is the Derelict Factory, in the east. Note that you can return to the regular world via the vortex near the center of the map.
Derelict Factory - Enemies
- Drone - 132 HP
- Hoarsemech - 155 HP - Weak to Arcane, Blunt
- Turret - 129 HP
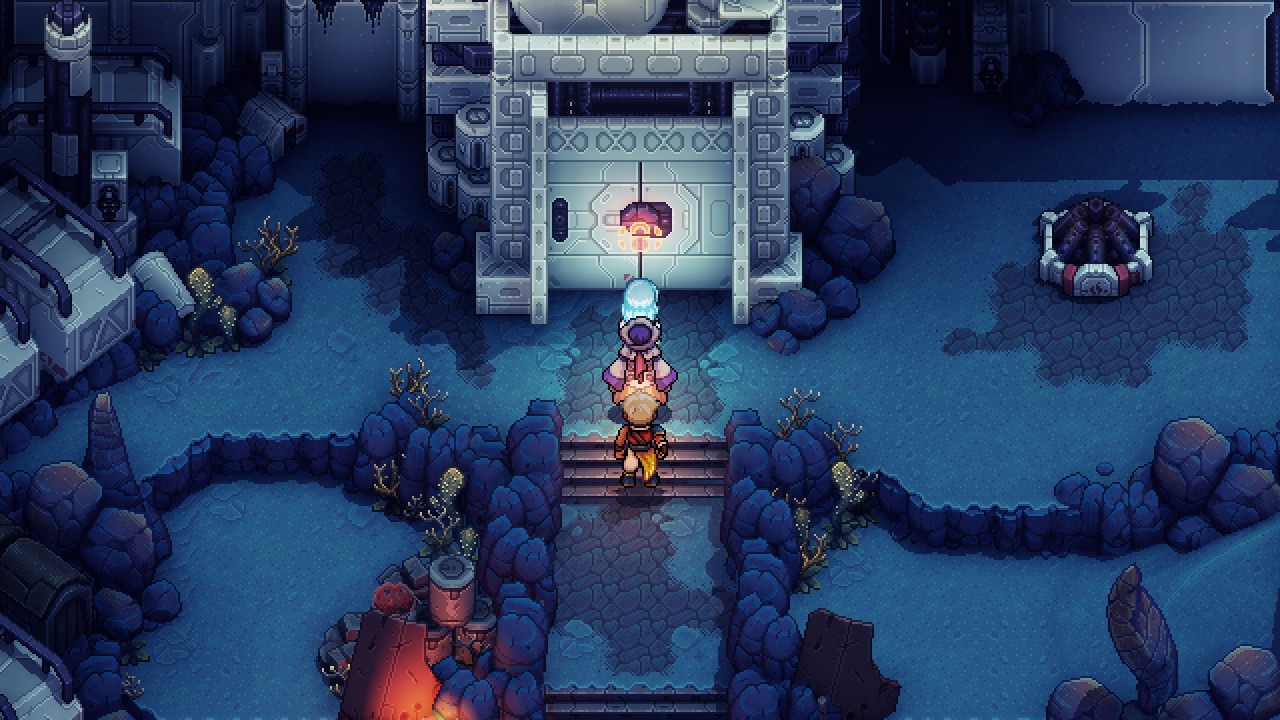
Head up to the front door of the Derelict Factory and you'll find it locked. There's no getting in this way, though if you look to the left of the front door you'll see ledges leading up to the roof. Use the campfire and save point on the right, if you wish, then start climbing. At the top is a damaged sunroof, and you can smash into it by jumping off of the red-lit ledge in the north.
You'll land on some thin walkways. Look to your right and you'll find a chest (they look different down here) that contains the Recipe for Sashimi. To the west is a circular control panel that will activate another panel, which in turn opens the way back to the entrance, as well as the way north.

To the north is an intersection. Interact with the computer to the northeast and you'll activate a teleportation pad. A red security spotlight floating on the other side of the teleportation pad will trigger when you appear, activating four Turrets. These things have a few annoying attacks, but won't tax you too much. (And yes, you can use Abeyance to cluster them together.)
Check the console on your left to change the destination of the teleportation pad, then use the ledges near the console to return to the south. Hop on the pad again and you'll jump further north in this chamber. Check on your right when you reappear and you'll find a path to a chest, which contains Wireplate Armor. Throw it on Valere or Zale, then head back west and go through the northern door.

There's another campfire on your right in the next area. Save up, then head north. If you check the console up here it will tell you that you need to use a laser crane to install something called a Kybermesh Battery. Check the larger console further north and it will demand an ID Card before you can use the crane. Activate the console on your left to trigger a teleportation pad that will take you to the next platform to the north.
The next area to the north contains several security spotlights. Step in one and you'll get in trouble with local security. (I recommend doing this for experience.) The spotlights to the east will trigger a battle with a Turret and a Hoarsemech, the latter of which can hit your whole party with its charged attack. The spotlights to the west bring in two Hoarsemechs.

In both directions you'll find a console with a lightning bolt icon that you need to activate. (You'll also find some Dairy in a wall panel to the east, and Meat in the wall panel to the left.) Activate both to extend a bridge to the north. There are two more Turrets and a Hoarsemech, and when you take them out you can activate the central console to learn that you need a laundry list of items. Check the wall panel on the left for the Crane Operator ID Card.
Head back to the laser crane controls. Now that you have the Crane Operator ID Card you can move the crane around the room. Whenever the crane hovers over something it can pick up the light beneath it will turn green. Simple enough.

For the most part you'll use the laser crane to pick up the northern teleportation pad, hauling it to red-tinged indentations elsewhere in the room so you can teleport to the chamber's other doors. First, though, look in the northeast. You'll see a chest sitting by itself.. Pick it up, then bring it over to the little hole in the floor on your right. Open the chest to receive a Rainbow Conch.
There are two doors to check. Let's have a look.

Eastern Door
Take the eastern route and you'll find a room with three roaming security spotlights. They will summon in two Turrents and a Drone, the last of which is a returning enemy from the Guardian boss fight. The Drone will use Hex Shield to protect other enemies, so take it out first. Check the wall panel up and to the left of the battlefield for an Onion.
This room contains a large, inactive laser. Climb up the ladder on the right and activate the panel to put a grapple point in place, then swing northeast. Another panel here will activate a third panel to the north. Swing back southwest, then trigger the first panel again to move the grapple point. Zip over to hit the third panel. This will activate the laser, carving a hole in the northwestern wall.
Slip through the hole. At the end of the tunnel inside you'll find Kyber Ore. Grab it and return to the laser crane room.

Western Door
Haul the teleportation pad to the west and you'll find a room with three doors. Each is important:
- The northeastern door leads to a fight with two Drones. Take them out and you can access four wall panels. They contain gold, Sashimi, Eggs, and a Blueprint Disc.
- The northern door contains large boxes that you can blow around. Get them out of your way - you can blow them off the screen to the east - to get at several wall panels. The wall panels contain Kybersteel Daggers for Seraï, a Wireplate Sheet, and Adamantite Ore. Push the left and right boxes up, then the middle box to the side, or you'll risk blocking the center wall panel. If this happens you'll need to leave the Derelict Factory and reenter to reset the puzzle.
- The northwestern door contains a battle with two Drones and a Turret. Insert the Wireplate Sheet into the amber console in the north and you'll create a Power Unit in the northern enclosure, accessible by the door on the left.
All done. Return to the main area.

Reorient the teleportation pad so you can access the northern door in the crane room, then teleport over. Insert the Kyber Ore, the Blueprint Disc, and the Power Unit into the northern console to create the Kybermesh Battery you need. The factory will sweep it back to the crane room, and you can grab it from the little track in the northwest using the laser crane. Drop it into the hole in the floor to the southwest, not far from the southern computer console.
Doing all of this will activate the elevator, to the right of the inserted battery. Check the console to set it in motion and it will take you out of the Derelict Factory.

You're now back on the world map. You have a few options:
- First up is Repine, a town. We'll go here next.
- Next is the Cerulean Reservoir, a Fishing Lake. Short on supplies? Go here. Swim to the north end of the lake to find a chest containing a Data Strip.
- Last is the Cerulean Expanse, a desert area to the east. We'll check it out after Repine.