The Free Cities of Kanver - Enemies
- Akashic Gandfreyr
- Akashic Osfreyr
- Akashic Sveithvaldr
- Akashic Tognvaldr
- Orcish Fodder
- Orcish Mesmerizer
- Orcish Warlord
- Revenant
- Royal Mastiff
- Specter
- Wraith
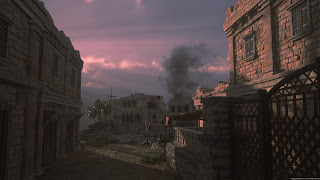
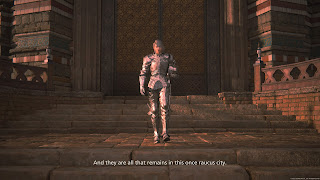
Upon arrival in the Free Cities of Kanver Clive and his party meet up with Gav, Mid, and Byron, all of whom are running scared. Kanver is overrun by Akashic, and there are few other survivors left. The party decides to split up, and Clive is left with only Torgal for company.
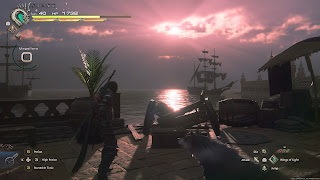
You'll start off by the docks. Take the first right and you'll see city guards being overrun by orcs. Take out the orcs, then cross the bridge nearby to fight a group of Akashic. One of them is a Tognvaldr, so be prepared for some resistance.
At the top of the nearby stairs and on your right is a Potion. A bit further down the street are two chunks of Wyrrite, and beyond them a courtyard filled with more enemies. They will be joined by reinforcements partway through the battle. It's not a difficult fight, though the magic users will cast Protect, so be ready to take them down first. On the left side of the courtyard you'll find three spools of Steelsilk, and on the right are three Bloody Hides.
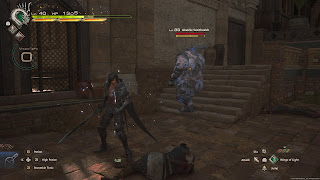
Open the gate on the far side of the courtyard. On your left is a chest containing ten spools of Steelsilk, ten Bloody Hides, and ten Sharp Fangs. To the right is a Sharp Fang, next to stairs you need to climb. Snag the Potion at the top, then get ready to fight some Royal Mastiffs and an Akashic Sveithvaldr. The Sveithvaldr uses the following attacks:
- A series of melee slices
- A heavy overhead chop
- A rushing charge attack
- A whirling, AOE spin attack
- Crea y Cwm, an upward slice that will send Clive flying if it connects
The Sveithvaldr is a heavy, aggressive opponent who likes to rush you, so be ready to dodge. Parrying works well here, especially if you activate your Limit Break. The rushing attack is the Sveithvaldr's most dangerous move, so staying close to prevent it from going off is your best bet. Check the nearby walkways for some Magicked Ash and a Potion.
Continue down the street and you'll find a legion of Akashic, backed by some Orcish Mesmerizers. The magic users, as ever, should die first. Check the railing on your right for a Potion, and look along the right wall near said railing to find a chest that contains 2,000 gil. Your destination is through the gate the enemies were guarding.
There's another courtyard beyond the gate, as well as some simple enemies. Take them out and they will be replaced by an Orcish Warlord, a teleporting magic user that you've fought before. Its only new move is Rictus of Horror, an enormous beam attack that isn't too difficult to avoid. Stay close, dodge or Parry its staff attacks, and just keep chipping away at its health.
On the other side of the gate at the end of the courtyard is the city's Agora. There's a Potion and a High Potion in plain sight, and if you check to your right after you walk through the gate you'll find a chest containing The Favor of Light (Flare Breath). Head through the door at the top of the steps and you'll get into a brawl with a bunch of Wraiths, then some Revenants and Specters, and then...
Sleipnir
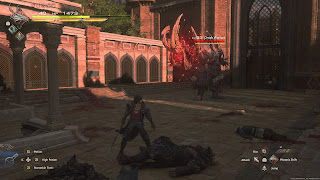
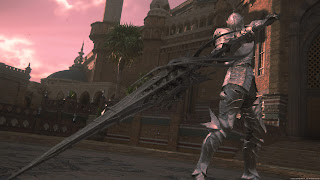
It's about time this guy got his commupence. Sleipnir is a swift, canny fighter, using his rapier and his teleporting skills to sneak in damage. You'll need quick moves to avoid getting brutalized. Sleipnir uses the following attacks in the first phase of the battle:
- A series of melee combos and thrusts, often accompanied by teleportation
- A long stab followed by a quick melee combo if you dodge and attack
- A red orb that partially tracks Clive's movements
- A red aura, cast beneath Clive's feet, that will follow your movements and erupt after Sleipnir completes his next attack
- A stabbing melee combo that ends in a rushing thrust across the arena at Clive
- An enormous shockwave
- A swift beam attack
- Scar of Nibelung, which creates three shockwaves
- Dead Man's Bier, which creates dozens of marks on the ground to avoid, then moves into shockwave AOEs that you need to jump to avoid, then ends with shockwaves similar to Scar of Nibelung
- Ratatoskr, which combines the AOEs from Dead Man's Bier with the wide shockwave attack
- Creeping Darkness, which creates a field of explosive orbs that move towards Clive

