

Enjoying Octopath Traveler II? Try out Octopath Traveler 0, the newest game in the franchise, available now on Amazon for the Nintendo Switch! As an Amazon Affiliate I earn from qualifying purchases, at no additional cost to you.
Danger Level: 52
One of a handful of dungeons accessible only by sea, the Curious Nest is located in the bay between Canalbrine and Conning Creek. In order to reach the Curious Nest you'll need access to On the Water, an area explorable by having a boat. Partitio can help you get a boat via his Scent of Commerce quest, specifically the one in Tropu'hopu.
Once you're On the Water you'll also need to defeat a Battle-Worn Shark that is guarding the bay between Canalbrine and Conning Creek. The On the Water guide covers this battle. Once the shark is gone you can say north of the channel it was guarding to reach Curious Nest.

Enemies
- Cetus Maximus - Weak to Polearm, Staff, Fire, Dark - Drop / Steal Strengthening Serum
- Davy Bones - Weak to Axe, Staff, Wind, Light - Drop / Steal Bottle of Blinding Dust
- Reaper Crab - Weak to Polearm, Dagger, Axe, Fire - Drop / Steal Inspiriting Plum (M)
- Sea Anemone - Weak to Sword, Polearm, Axe - Drop / Steal Dreamy Flower
- Tyrannodrake (must defeat area boss) - See below for weaknesses - Drop / Steal Revitalizing Jam
- Vagrant Frogking I - Weak to Sword, Staff, Wind, Dark - Drop / Steal Healing Grape (M)
- Vagrant Frogking II - Weak to Sword, Staff, Wind, Dark - Drop / Steal Enfeebling Flower
- Vagrant Frogking III - Weak to Dagger, Bow, Ice - Drop / Steal Healing Grape Bunch
- Winged Landwalker - Weak to Sword, Axe, Lightning - Drop / Steal Olive of Life (M)
The Curious Nest is, indeed, curious, at least from the point of view of a dungeon. Rather than taking you around a twisting, turning area the Curious Nest consists of a northbound path with a single side path, this leading to a chest containing an Herb of Serenity. On the second level of the nest you'll find a save point, and if you continue up the stairs you'll find a room full of treasure chests... and something guarding them.
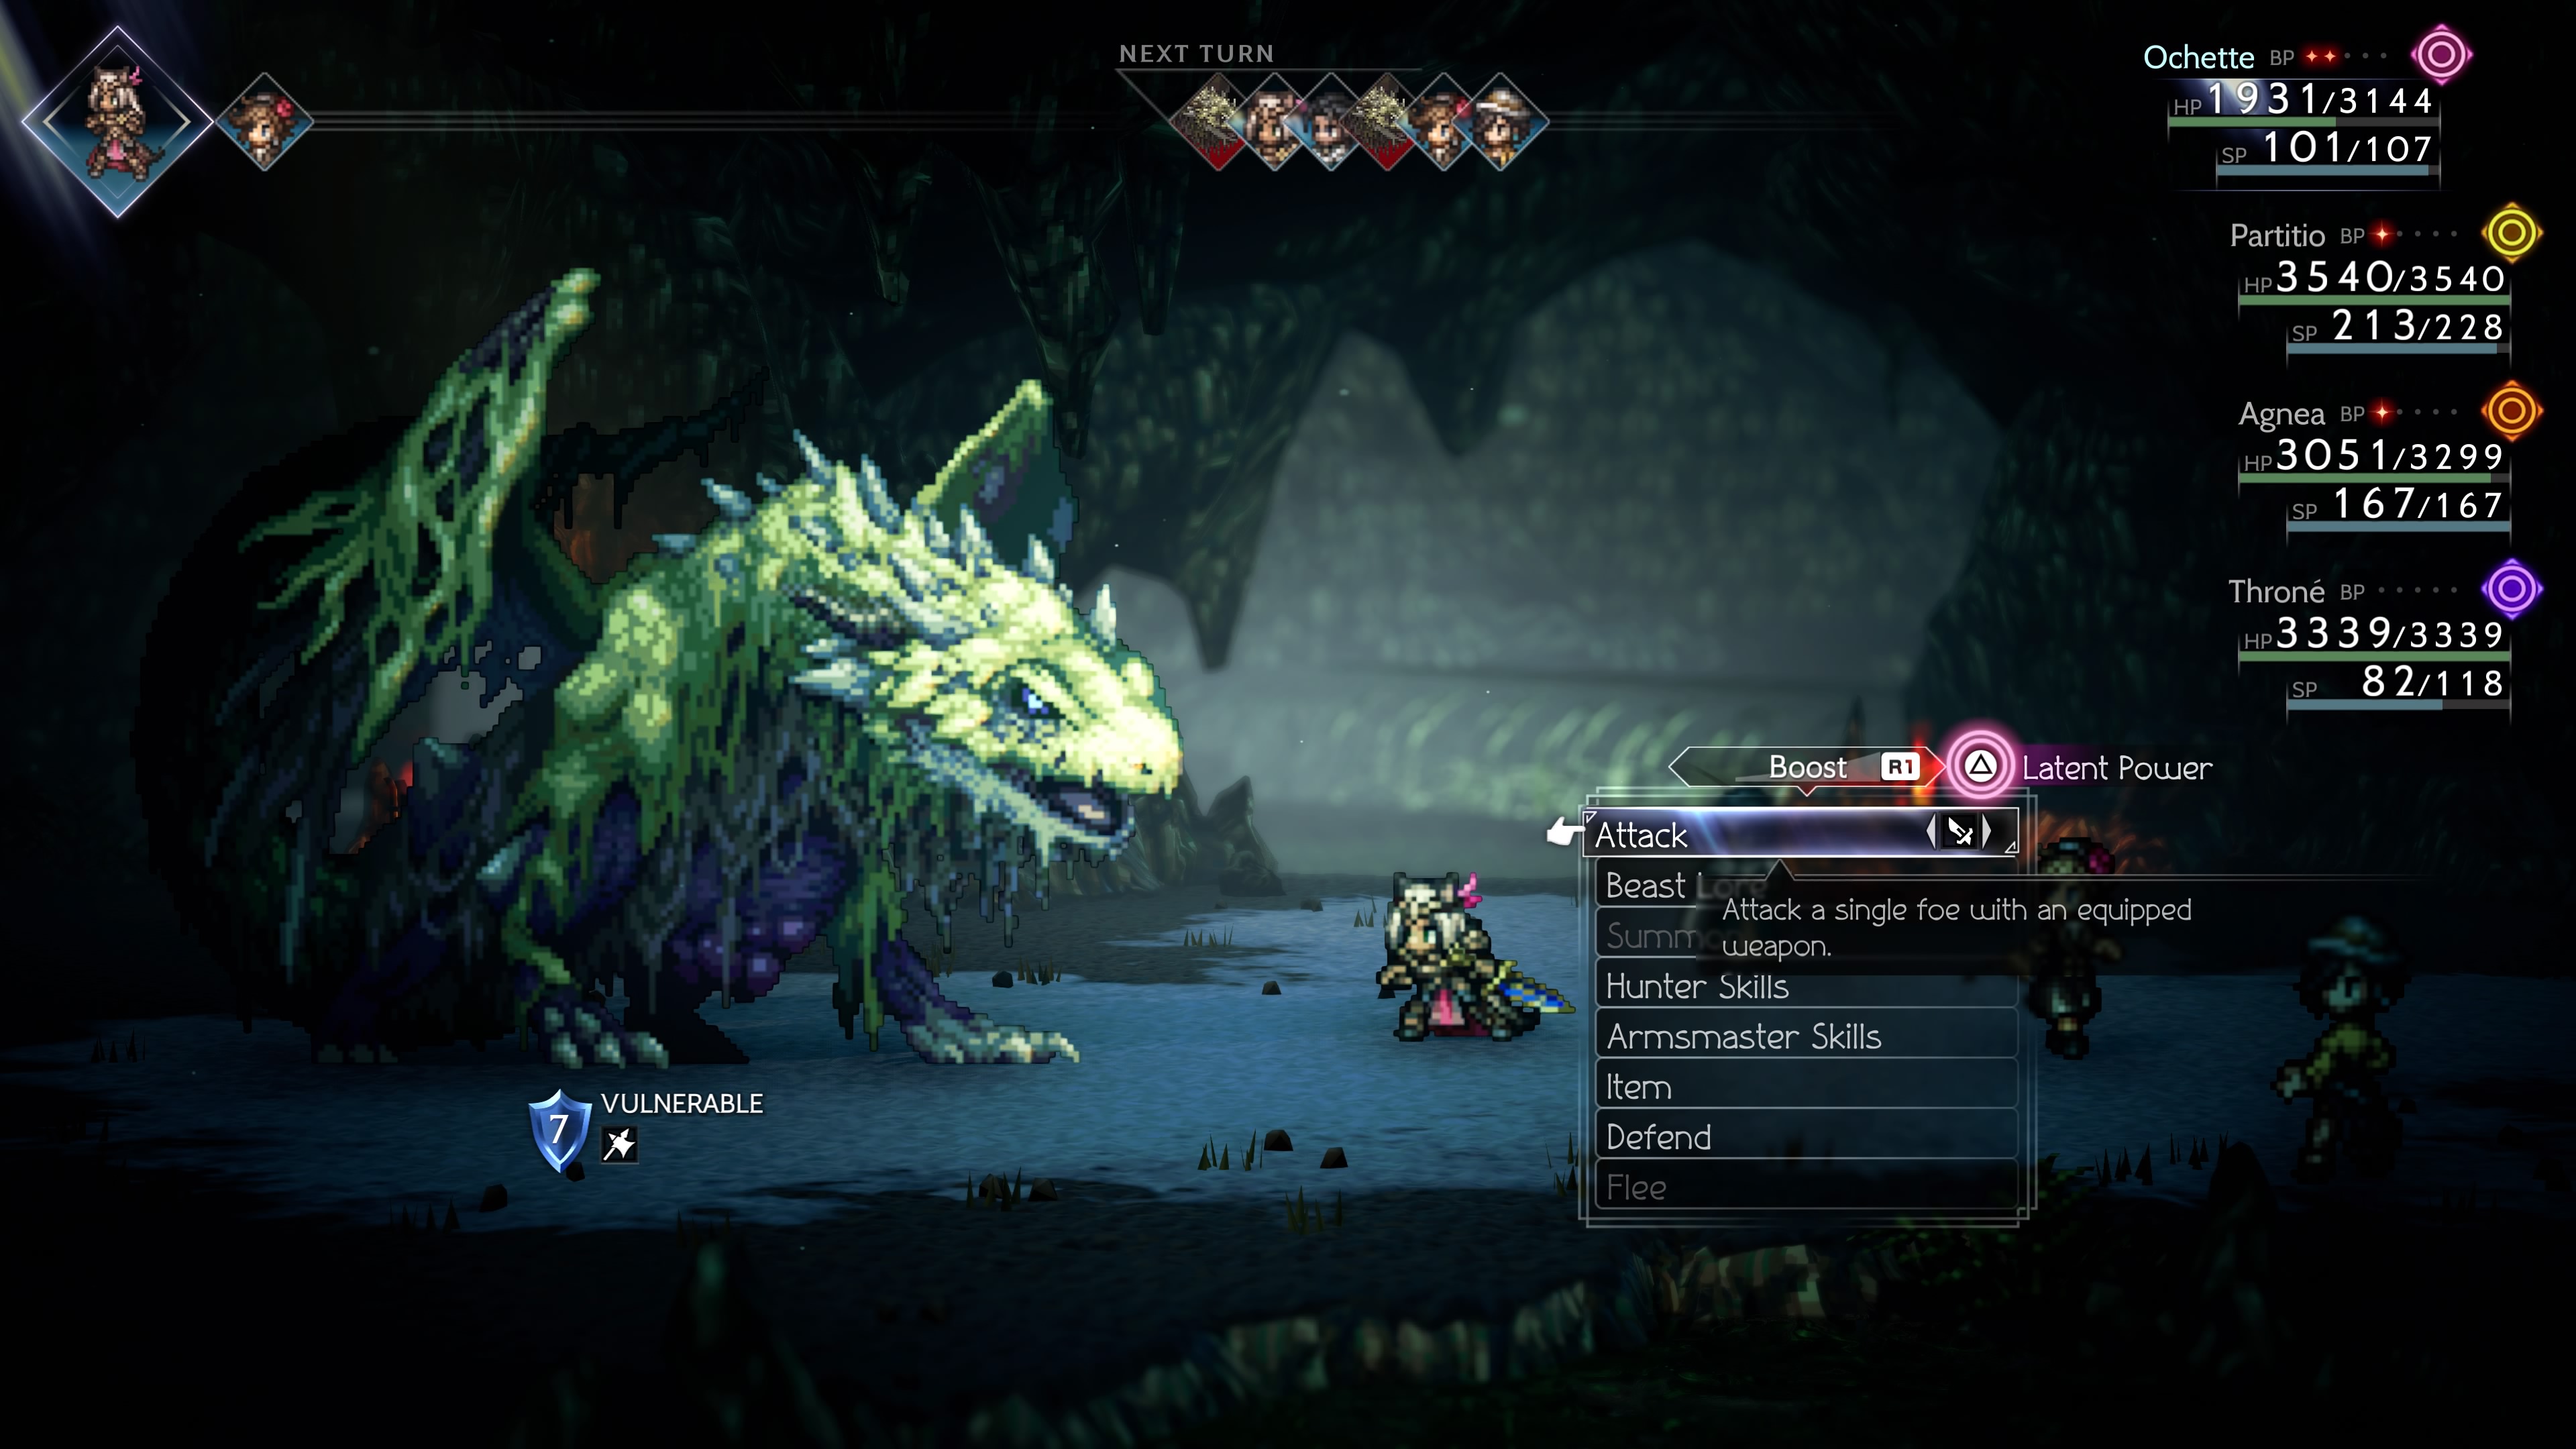
Tyrannodrake
Weakness:
- Sword, Polearm, Dagger, Axe, Bow, Staff (first phase)
- Polearm, Dagger, Axe, Wind, Light, Dark (second phase)
Steal: Nothing
- Adaptive Evolution, which removes a weakness from the Tyrannodrake every time it is struck by a weapon until there is only one weakness left
- Physical Degredation, a debuff to everyone's physical attack and defense
- A normal melee attack
- Charge, a heavy melee attack against a single character
- Blinding Claw, which damages and Blinds a single target
- Horrific Claw, which damages and inflicts Terror on a single target
- Bestial Roar, a physical attack against the whole party
- Eclipse, a Dark attack against the whole party
- Rotting Breath, a charged attack that damages everyone and reduces their maximum HP by 500 for the duration of the battle
- Mutation, which restores several weaknesses and brings in three elemental weaknesses
- Put Temenos in your party. His Latent Power allows him to knock off shields regardless of the weapon or spell he's using. Feed him BP and keep his Latent Power gauge filled.
- Have Agnea / Dancers use Ruinous Kick over and over. It also ignores weaknesses and gets rid of shields.
- Use Osvald's One True Magic EX Skill, which, once again, ignores weaknesses. You'll need to complete Osvald's story to learn One True Magic.
- Forget about the weaknesses and just fight the Tyrannodrake straight. Debuff the heck out of it - particularly its speed - and use a combination of powerful spells and EX Skills to demolish its HP. True, you won't do as much damage as you would if it were Broken, but with the right powerhouses in your party it's a feasible tactic.