Part 35: Steel Beach Freighter - Relay Point A
Main Walkthrough
Get your own copy of Breath of Fire III on Amazon! As an Amazon Associate I earn from qualifying purchases, at no extra cost to you.
Despite a disturbing U-turn back to Steel Beach, the team has managed to connect all of the Portal Drives and open the way back to the wastelands where God apparently dwells. There's only one location they haven't visited via the Portal Drive, and that's Dragnier, a location that sounds suspiciously like the word 'dragon'. Might be important.
Set a course to Dragnier via the Relay Point A control console and step onto the pad. You'll be zipped to Dragnier, where, after some delighted shock, the team will be informed that this is the home of the Brood... or what remains of them, anyway. Depowered and old, they've been waiting for someone to come along and defeat their foe, the Goddess Myria. Hm.
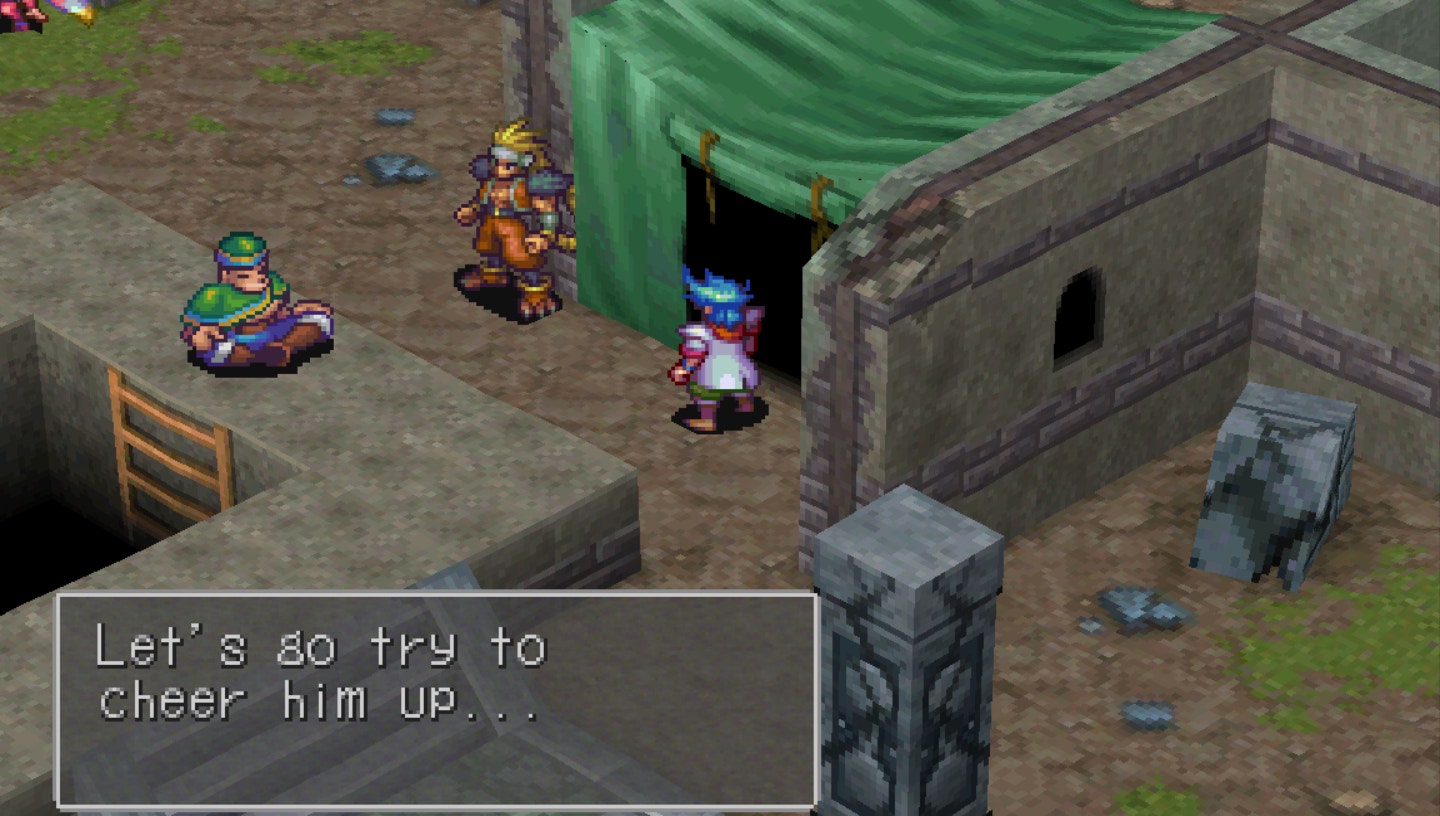
After a trippy dream Ryu will wake up alone, and you can explore Dragnier. Rei will join you once you leave the tent where Ryu awakens. There's stuff to check out before you proceed with the story.
- One of the shelves in the dining room where Ryu wakes up contains Skill Ink.
- On the west side of Dragnier is a small tent with a woman who will sell you weapons and items. The Damascus Sword and Damascus Mail are pretty decent purchases if you have the money.
- On the east side of Dragnier is the inn. Momo and Peco are in here now. Once you reassemble the party you can use the inn for, you know, sleeping. Check the beds to sleep for free.
- Northeast of the entrance to the Portal Drive is a small tent. Inside is a statue to Ladon, the god of the dragons, that you can use to save. This is one of only two in the game. (The first was way back on Mt. Glaus.)
Look for Garr in the northwest of Dragnier. He'll ponder the wisdom of his being in Dragnier, though Rei will shut the conversation down with some plain talkin'. One of the elders will then summon Ryu to go see the elder of Dragnier, who apparently lives at the bottom of the well in the center of town. At this point you can leave Dragnier and explore the outside world a bit, though you need to speak to the elder before you can do much.
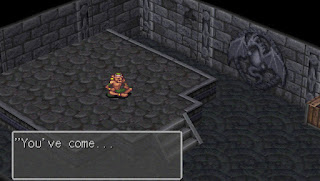
With Garr still in your party - and Nina, if you want to speed things up - descend into the well. Inside you'll find a familiar wall tapestry, and beyond that a hallway with several side rooms. Check the shelves inside the first room on your right for Ivory Dice. In the third room you'll find Jono, the elder, and he'll chat a bit about the mural. He'll then ask to see your party members:
- Garr is first
- Nina is second (though if you bring Momo instead of Nina you'll get a pretty hilarious scene)
- Ryu comes last...
... and when you bring Ryu down, make sure the party's ready to fight. Flame and / or Thunder protection is recommended.
Elder
Steal: Dynamite
Drop: Nothing
Learn: Double Blow
So that's where all that Brood power went. Jono is quite powerful in his dragon form, using a combination of strong physical attacks and Flame / Thunder magic to dole out damage. Ryu's dragon powers are locked during this fight, making Accession useless and forcing you to battle normally. If you've been relying on Accession as a crutch up to this point, well... be ready for a rough time. You can expect the following attacks from Jono:
- Physical melee strikes
- Double Blow, which hits a single target twice
- Inferno, a strong Flame attack against your whole party
- Sirocco, a strong Flame / Wind attack against your whole party
- Myollnir, a strong Thunder attack on a single target
- Bad Back, which wastes Jono's turn - happens every third turn
Jono isn't particularly weak against any element, so your best bet will either be your most powerful Skills and / or magic. Ryu will have to stick to his sword for the fight, and can dole out plenty of damage with physical Skills learned from Masters, such as Double Blow, Shadowwalk, or Super Combo. Garr is a good choice for this fight since he has a higher-than-average resistance to Flame attacks - and, on the flip side, Peco is not a good choice for this fight, since he's weak to Flame. Your third character should handle healing, making Momo a solid candidate for the final slot. She can also cast Shield to protect the party, if you decide to use Ryu's AP elsewhere.
There's a better-than-average chance that Jono will OHKO your party members with Myollnir if you haven't protected them from Thunder damage. If this happens - or a character gets knocked out for some other reason - try to time a revival with Jono's Bad Back, which is a wasted turn. You can then heal away their damage on the next turn and resume your offensive. Trying to revive a character when you know Jono is about to attack will usually get them knocked out again instead.
Speak to Jono again after the battle and, satisfied, he'll disappear - and leave behind the Inifinity Gene. When used during Accession Infinity will allow Ryu to assume the form of a Kaiser Dragon, which is how he looked when he vanished from Angel Tower. You'll need to splice it with the Failure Gene to make the Kaiser controllable.
Head back to the surface. One of the elders will tell you that the team will need to cross a place called the Desert of Death to reach the home of the goddess. Sounds... great. Speak to Horis, the guy in green, and he'll ask if you're ready to go. Reply in the affirmative and he'll join the party on the trip to the desert, appearing in camp with everyone else. Gear up in town, then head out.
The Desert of Death is located northwest of Dragnier. Before you can enter it, however, you'll need to pass another little dungeon: The Factory. Take heart, as all of your money problems are about to go away.
Ladon
Before you leave Dragnier, there's one last thing you should check. Assuming you've collected every Dragon Gene in the game - if you've been searching high and low, the Infinity Gene would have been the last - you can check the wall mural above the Portal Drive to summon Ladon, the god of the Brood. Ladon is willing to serve as a Master to your party so long as Ryu possesses every Gene.
Ladon is quite a powerful Master, and aside from his Skills his apprentices will receive significant boosts to all of their stats... except HP and AP, which sink like a rock. Don't take on Ladon as a Master unless your characters are already high level, and receiving few HP or AP boosts already.
Main Walkthrough