

Monsters
- Black Brothers - Weak to Speed
- Burning Stonecrop - Weak to Power
- Desert Bandits - Weakness varies
- Lesser Brothers - Weak to Speed
- Sandora Dragon - Weak to Speed
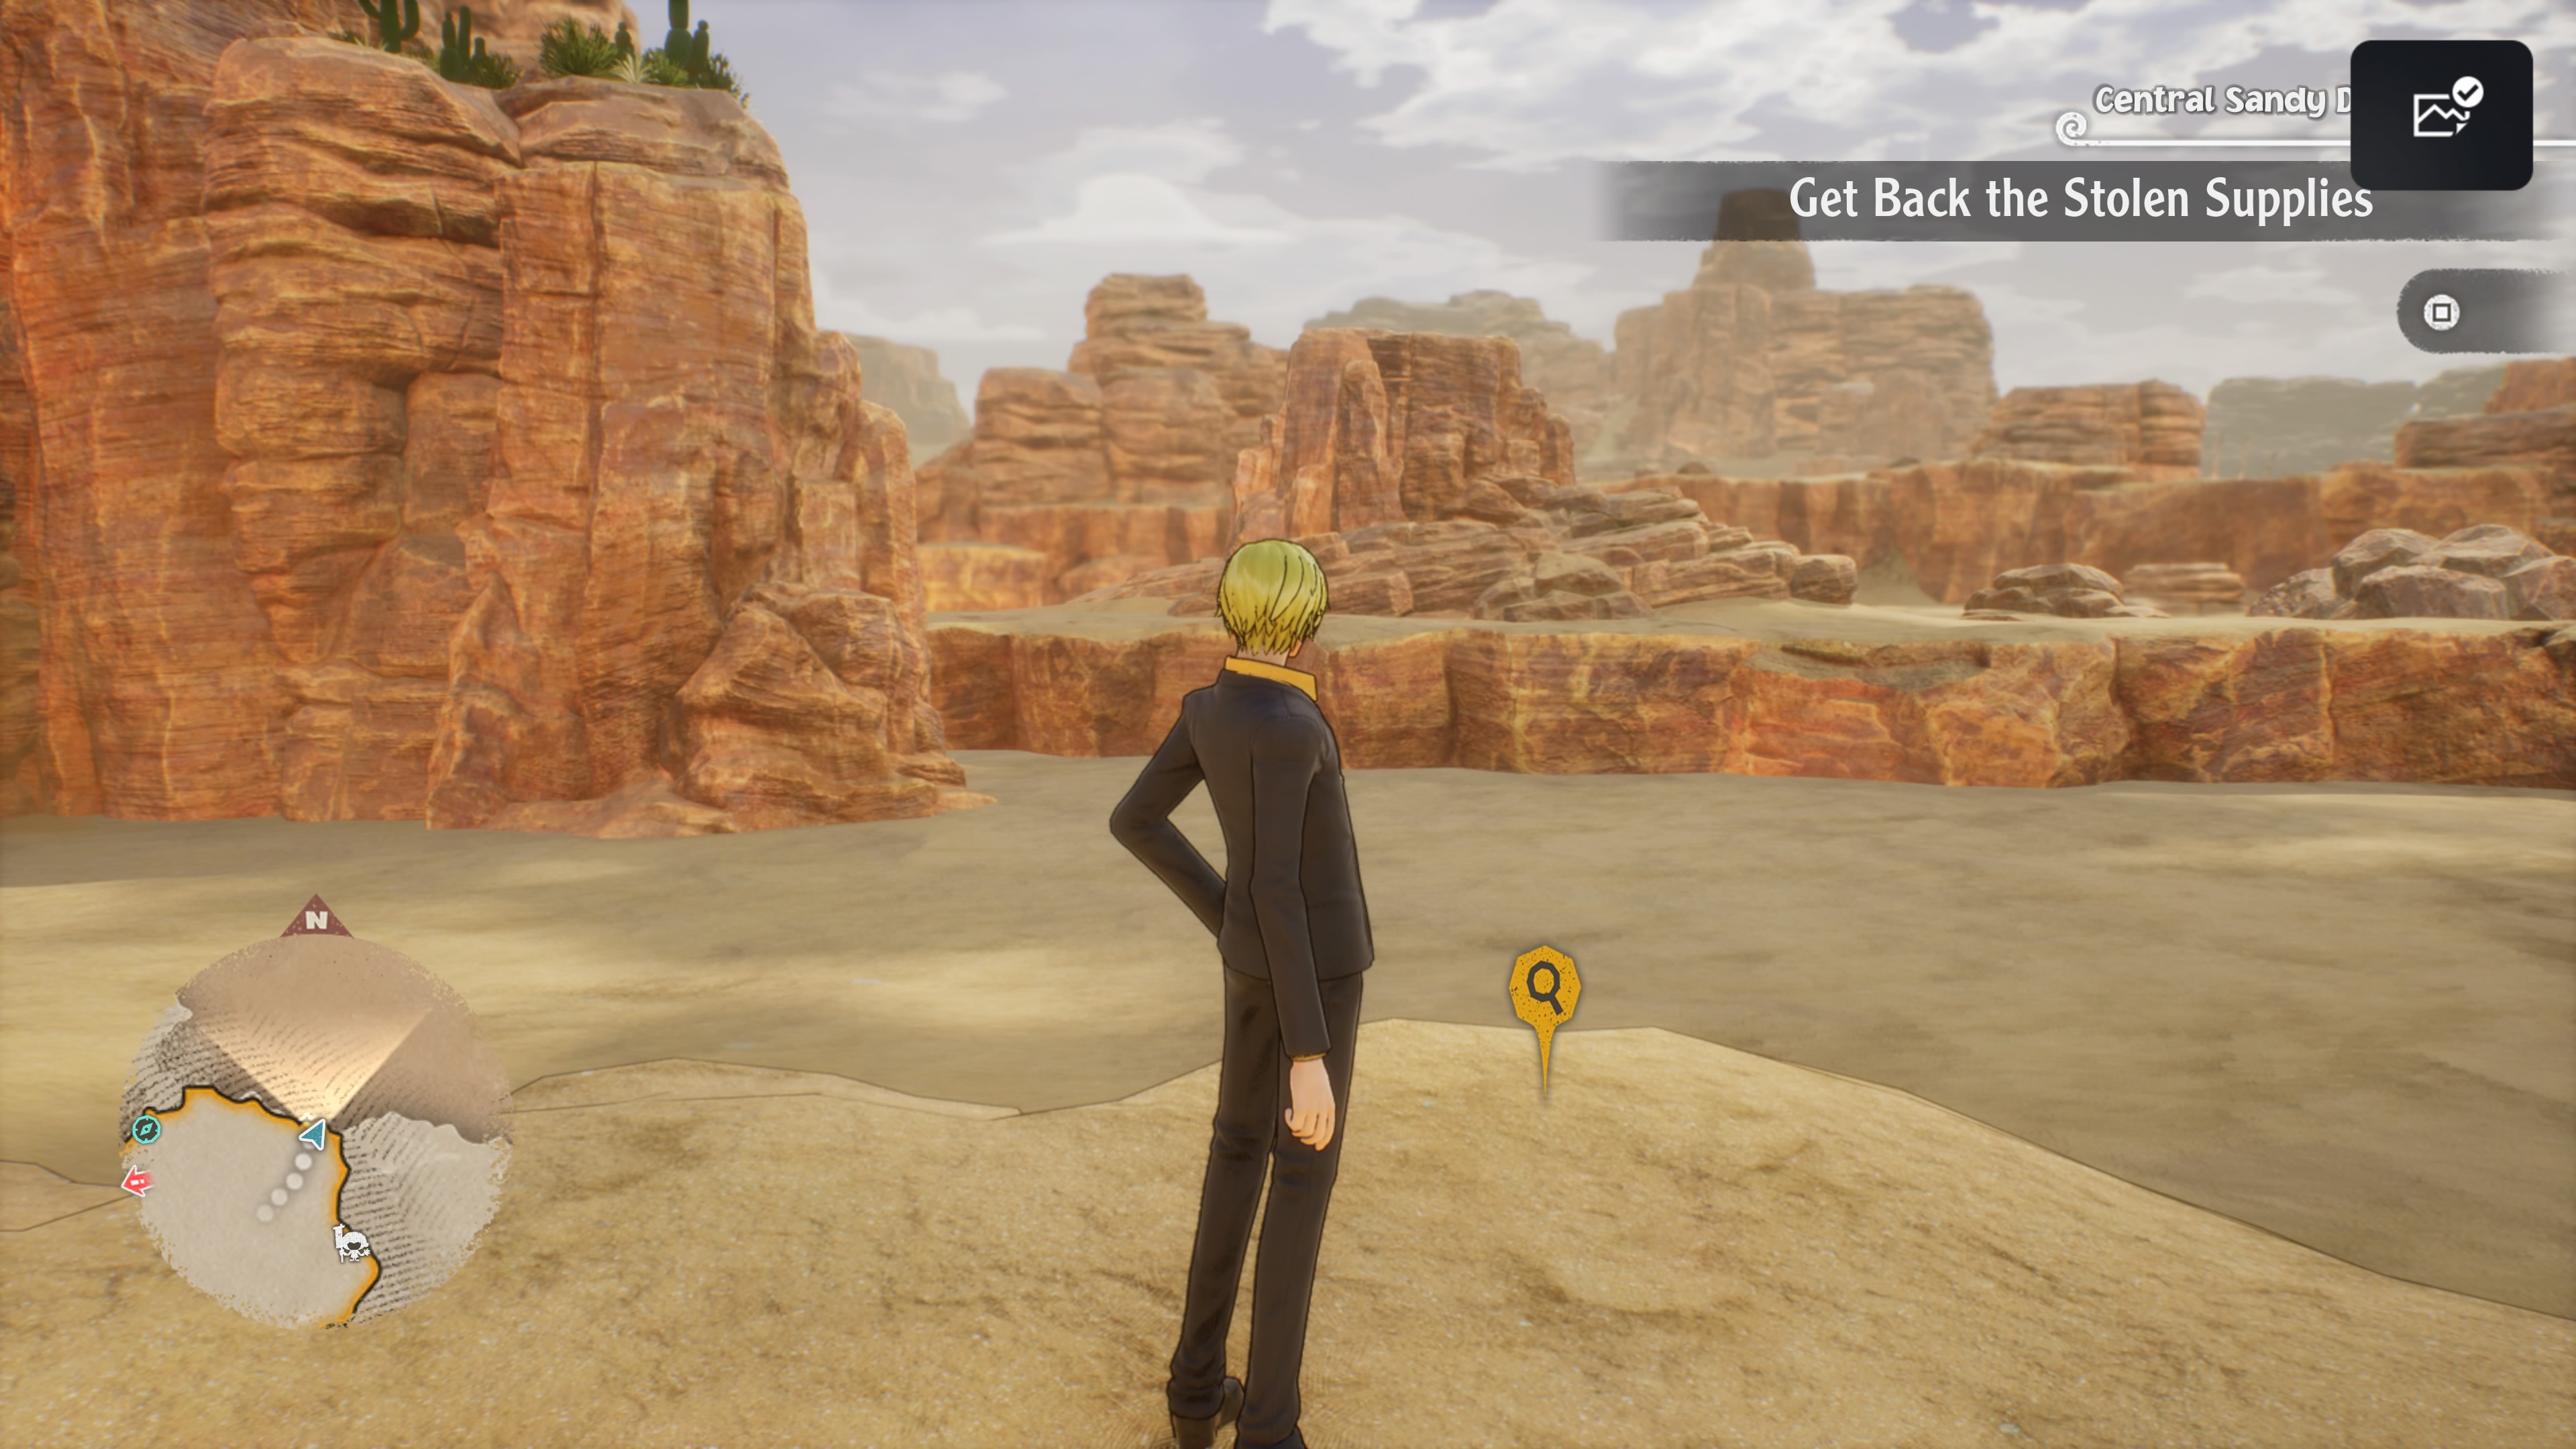
Ahh, freedom. After a harrowing (but short) trip through the Ravine of No Return the Straw Hats have emerged in the Great Sandy Desert, a dusty, open-air section of the desert. You'll complete the Reach Sandy Desert Objective, and can claim Grand Log: Alabasta, Part 3.
Upon entering Great Sandy Desert a helpful man named Zalaza will greet the party... and everyone will immediately be attacked by Desert Bandits. Your Power fighters will be of most use in the battle. Zalaza will disappear with the party's food and water once the fight is over, and a guy nearby will more or less confirm that Zalaza and the bandits were working together. You'll need to track him down. Check the half-buried mine cart near the second traveler with Sanji in the lead for some Electric Dragon Meat.

Your next destination is in the northeast of the Great Sandy Desert's southern section, and you're blocked off from doing a number of things in the region until you get this done, so cross the dunes to the northeast. You'll find a Desert Bandit who is somehow shocked that you found him. You'll need to fight the indecisive fellow, as well as a pair of Black Brothers, to get him to talk. Defeat the whole lot and the Desert Bandit will tell you that the rest of his team is in the west of the Great Sandy Desert. You can now explore this section of the desert without getting stopped.
- Near the Desert Bandit is a Yoisa who will sell you accessories. They're much smaller than many of the accessories you found earlier in the game, and buying a number of them for your party is a good idea.
- Also near the Desert Bandit is a man named Saien who's looking to give the team a job. Agree and you'll begin the Side Story The Truth About Eye-lashes. There are two guys standing near Saien, and behind them is a crate containing a Yaya Cube.
- Just west of where Saien is sitting is a patch of the desert's sandseas. Follow it west a little ways and you'll see a Zoro's Cube Fragment, sitting on a small ledge beside the rushing sand. You'll need Luffy to grab it.
- In roughly the center of the desert is a small camp. Beside the sandbags sitting around the camp is a chest containing 10,000 Berries.
- On the east side of the Great Sandy Desert is a small pathway called Donut Canyon. It's filled with Burning Stonecrops that will go after you if you try to avoid them, so it's enerally best to just attack them head-on so you don't get ambushed from behind. At the rear of the canyon is an Usopp's Cube Fragment.
- In the southeast of the desert, just south of Donut Canyon, you'll find a slumbering Sandora Dragon. Defeat it and you'll discover that it was guarding a chest. The chest contains Toh-Toh's Shovel.
- There are more travelers near the second save point, north of the first. Sanji will find some Shock Kabuto Meat near the travelers.
Trekking over to this last group of people will bring you to a heap of bones surrounded by colorful mushrooms. You can't approach it yet, but you can cross through a hole in the rocks beneath the skeleton. Check behind the stack of stones just west of the entrance to this little canyon to find a chest containing a DEF +60 Ring, then check to the south to find a small pathway to a second chest containing Sandora Dragon Meat.
To the west of here you'll run into Zalaza, who is, unsurprisingly, the leader of the Desert Bandits who stole your stuff. He'll whistle up some help to deal with the Straw Hats.

Desert Banana Gator
Weakness: Technique (Desert Banana Gator) / Varies (Desert Bandits)
Seven enemies? That hardly seems fair. Accompanied by a contingent of Desert Bandits, the Desert Banana Gator can wear your team down with numbers alone. They all use normal melee attacks for the most part, though the Desert Banana Gator itself will occasionally use AOE attacks to hit its entire area.
Your first step is to wipe out the Desert Bandits so they're not haranguing your characters. Have Nami use Thunderbolt Tempo to strike every enemy on the field to start, likely Paralyzing a significant chunk of the bad guys. You can then send out other characters to target weaknesses and bring the Desert Bandits down with single-hitting or AOE Skills. Zoro and Robin can handle the Desert Banana Gator on their own, with some help from any Power attackers you want to bring in.
You'll receive a Gator Banana for defeating the Desert Banana Gator. Nami will 'negotiate' with Zalaza after he's defeated, and in the process you'll unlock her specialty: Finding hidden Berries. Similar to Sanji's ability to sniff out food, Nami will alert you when you're close to Berries. You can find an additional 27,000 Berries with Nami if you hoof it back east after this and check the dig site in the south of the Great Sandy Desert.

Food and water are yours once more. At this point you can backtrack a bit and cross Bone Bridge Canyon, which you passed earlier... or you can check out the last section of the south of Great Sandy Desert, to the west of here. There are things to see among the rocks:
- There are four towering rock formations near the spot where you fought the Desert Banana Gator. Beside the upper-right formation you'll find 45,000 Berries if Nami is in the lead.
- You can use Luffy to grapple up onto the rock formations. Atop the upper-right formation is a Usopp's Cube Fragment, and atop the bottom-right formation is a chest containing three Sazae Kancho Ogre Livers.
- West of the rock formations you'll enter a large clearing. In the southwest of this clearing is a wagon, and next to the wagon is a chest containing four Bedrock Salts. If you inspect the wagon you can trigger a battle with Garuda Pirate Gardar, assuming you've accepted his Bounty Hunt.
- In the north of the clearing you'll find a broken bridge. Franky can repair this... though not until he's back in the party. In the meantime, you can find 90,000 Berries near the remains of the bridge by putting Nami in the lead. Check near the rock heap a short walk southeast of the bridge.
All that puts you at a dead end, so you'll have to trek back east. Head up to the colorful, bony bridge you spotted before. You'll discover that it's broken. Use Luffy to grapple your way west along the tops of the rocks until you come to a blue, unnatural scar in the air. This is a Memory Link, and though these are usually optional this one, A Boy's Desire, is mandatory. Complete it to reunite the team and move on.

Bond Arts
During your dip into the Memory Link you'll unlock a new combat option known as Bond Arts. Bond Arts are combo moves that bring together multiple characters from your party to pull off especially-powerful joint attacks. As you progress through battles you'll build up Bond Charge by using specific types of attacks - striking enemies from different areas, for example - and you can use Bond Charge to power your Bond Arts attacks. You do not need all three characters in your active party to use a Bond Art. (Though they do need to be in your party period.)
The Bond Arts tutorial sort of glosses over another option available to every party member, however, and that's the Bond Move. Also useable via Bond Charge, Bond Move allows a single character to move from area to area whether there are enemies in their original area or not. This allows non-ranged characters to strike foes anywhere on the field, and move over to help friends who are in trouble. Bond Move is quite handy in situations with lots of enemies, especially if any of your characters are stuck facing a slew of enemies who don't match their combat type.