

Part 27: Survive the Paramount War - Marineford
After reliving the terrible events of Marineford, the Straw Hats have returned to Waford. The overarching plot is closing in - which, apparently, means that it's time to go looking for mushrooms. Sanji is the culprit in this case, and once you regain control of the rest of the party you'll have to go looking for him.
(Note that, despite the Straw Hats' hasty retreat from Marineford, you can revisit the location in Memoria. There's a town with Side Stories to do. We're going to check it out in the next section of the guide, however, as we have someone else to recruit onto the team who could benefit from Marineford's quests.)
Head north of Adio's hut to the Lake Shore Cave, the first indoor dungeon you visited in One Piece Odyssey. The monsters along the way have changed, and are scaled up to your level, but you shouldn't have any trouble beating them down.

Lake Shore Cave
Monsters
- Bronze Bat - Weak to Power, Fire
- Death Squirrel - Weak to Technique, Fire
- Kaen Kabuto - Weak to Speed
- Lip Squirrel - Weak to Technique, Fire
- Hoisa - Weak to Power
- Smiley Squirrel - Weak to Technique, Fire
- Strawberry Gator - Weak to Power
- Watermelon Gator - Weak to Technique
Sanji will rejoin the party a short distance into the cave, and will partially explain why he wants mushrooms: This particular breed of blue mushroom can be used to create cola, Franky's chosen form of energy. They can use it to power Shark Submerge III, the Straw Hats' submersible, and finally retrieve Brook's body. You'll need to explore the cave and find mushrooms.
There are a two new things to note as you re-explore Lake Shore Cave:
- As with outside the cave, the monsters inside have received a power-up. They're still not much of a match for your party, though.
- Look to your left as you climb the ramp near the entrance of the cave. There's a Wandering Clan's Journal stuck to a rock formation near the save point.

At this point you need to move through the dungeon and find Bubble-Bubble Mushrooms. They're marked on the map, and the only thing getting in your way is the geography. Put Luffy up front and that won't be an issue, as he can stretch all over the place to get around. The mushrooms are in the following locations:
- Look above the rock formation where you found the Wandering Clan's Journal. You'll find a series of grappling points. Go up two of them, then head north to find a point of interest. Investigate it to receive a .mushroom.
- Head north of the first mushroom and climb ledges until you're overlooking several broken pillars. Grapple down one level, then over to the central pillar. The next mushroom is one pillar north of here.
- Grapple your way south, to the clearing with the line of breakable walls. The mushroom is south of the line of walls.
Three Bubble-Bubble Mushrooms is enough. Head back to Adio's hut and climb to the second floor. Speak to Adio in his little study and he'll give you a barrel for fermenting cola. Speak to Brook by the campsite to trigger a cut scene. It appears that Brook is still in contact with his body, and it's doing... something.
Head to South Beach. Sure enough, Brook's body has surfaced... after a fashion... though you'll need to do some fighting to get it back.
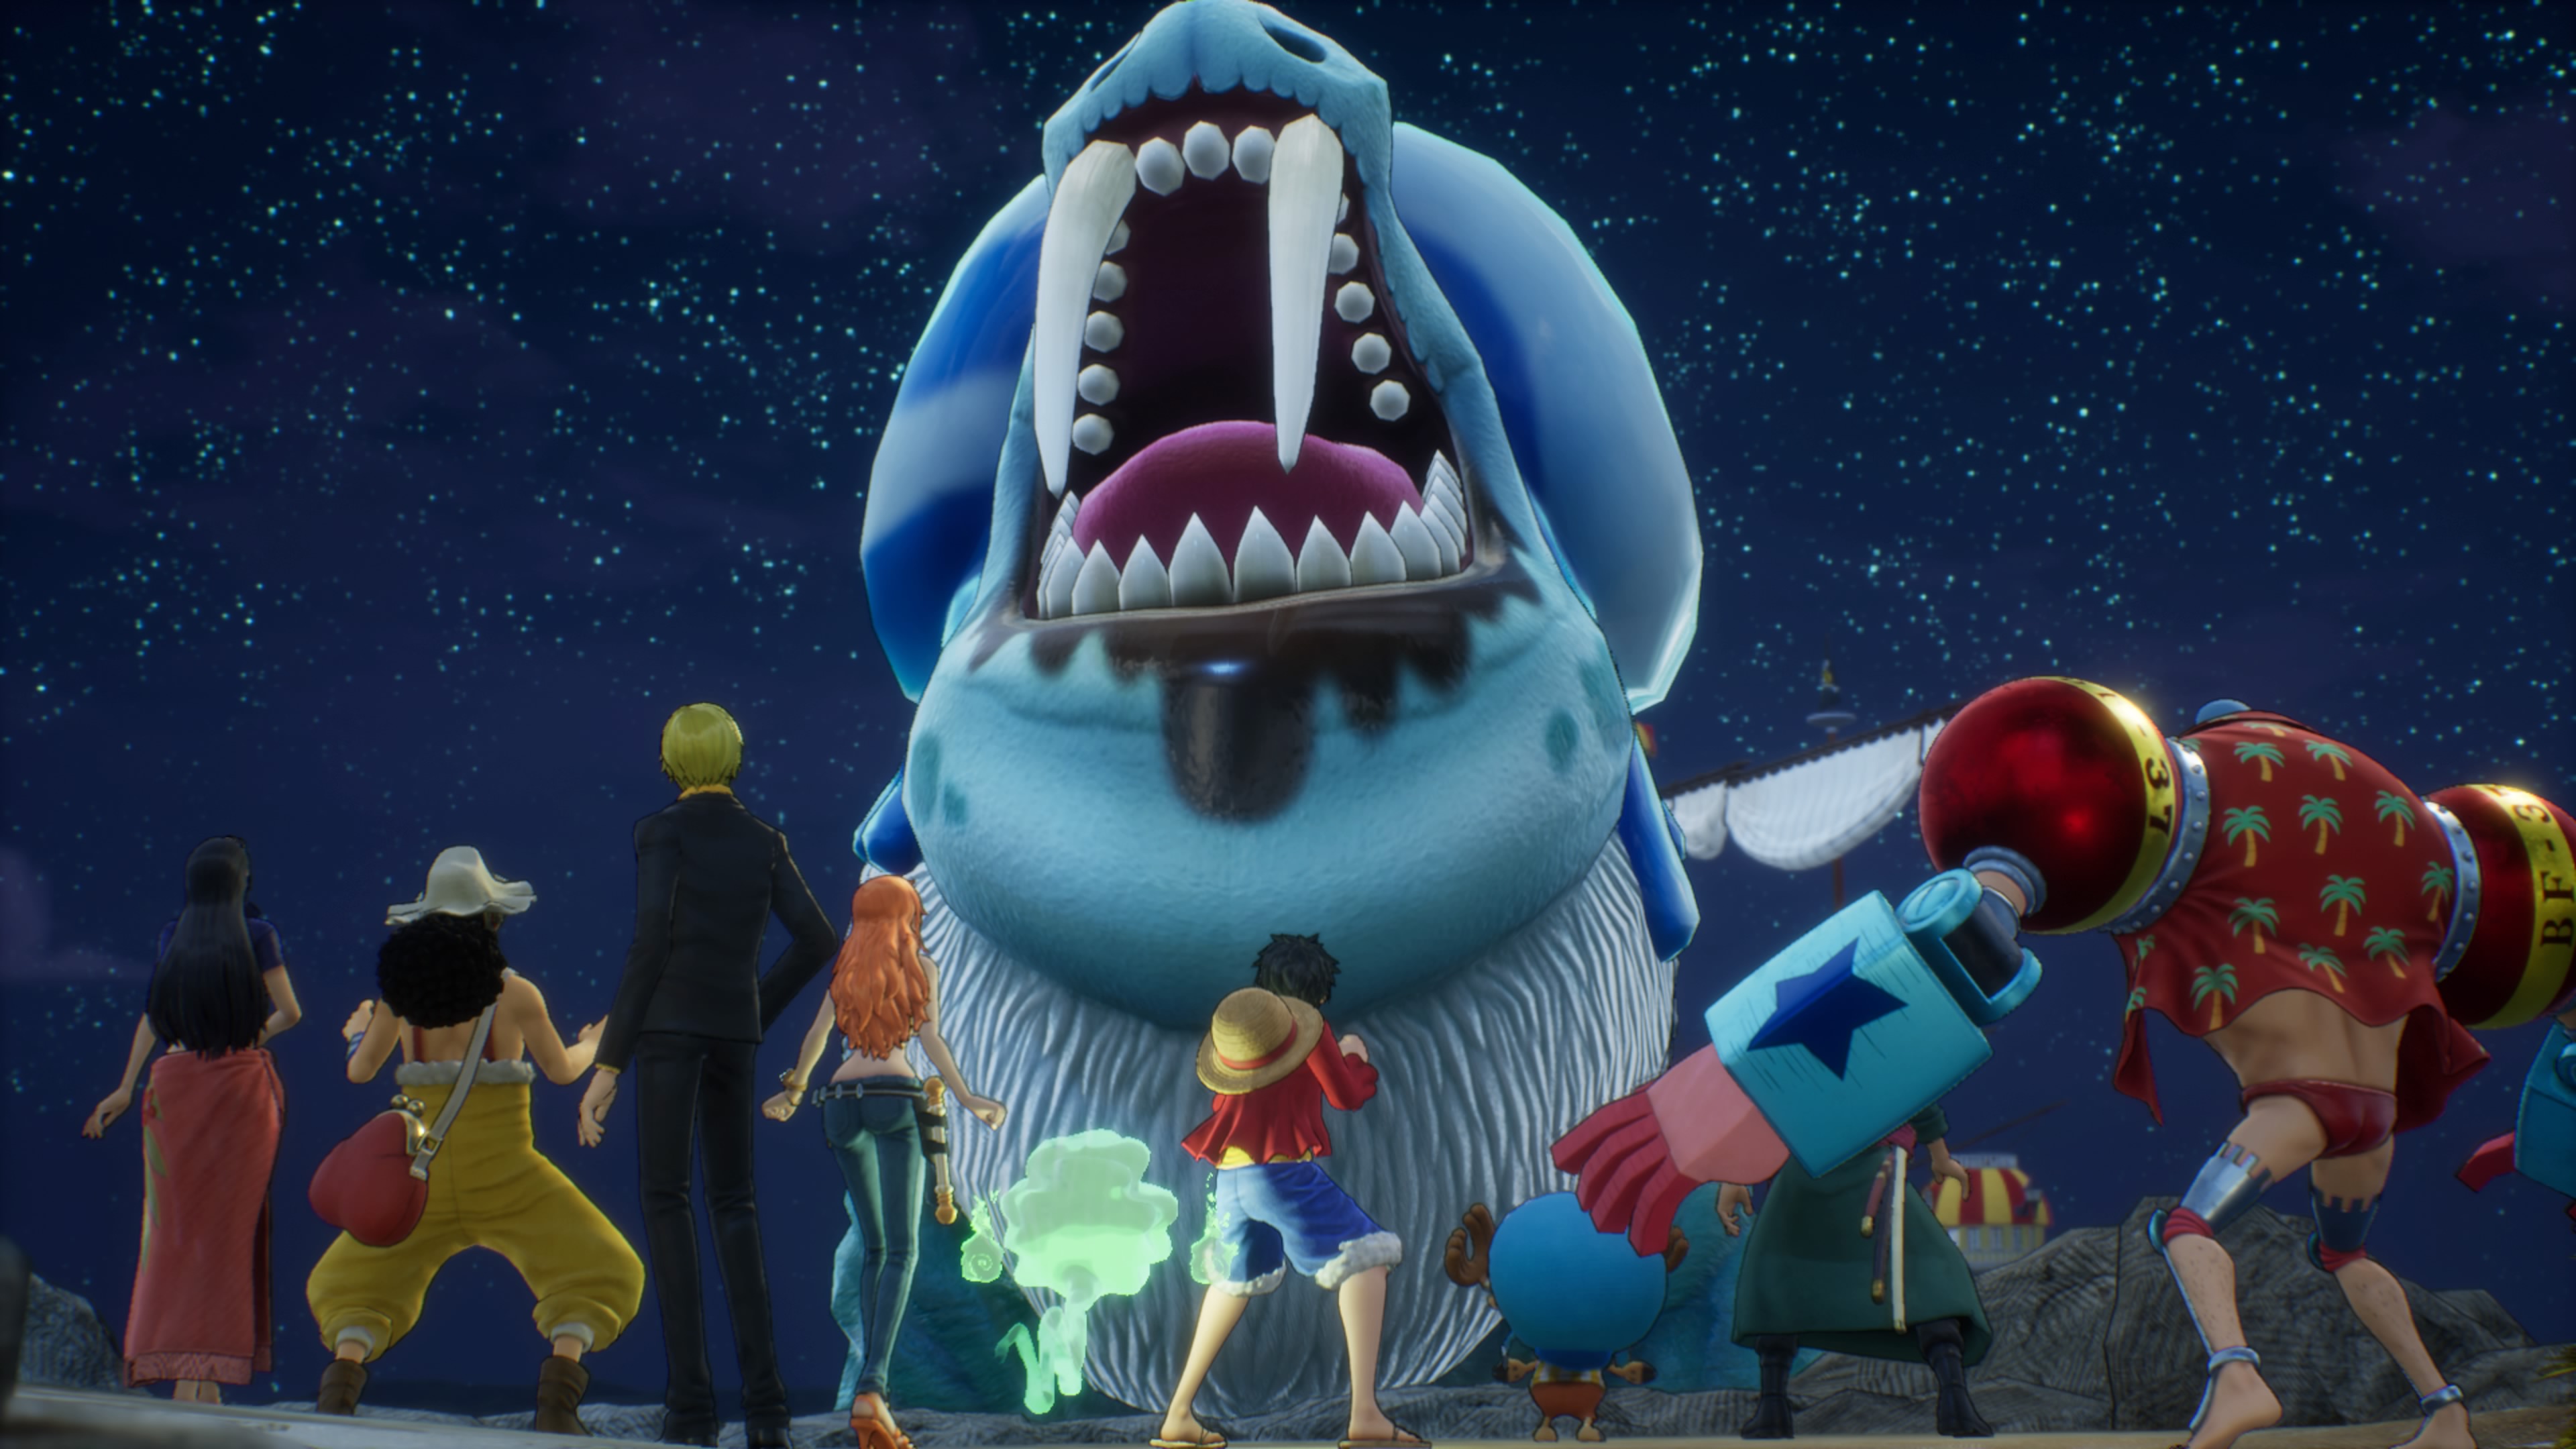
Merchant Walrus
Weakness: Technique, Fire
Despite its size, and... interesting... appearance, the Merchant Walrus is a pretty easy foe if you've been upgrading your party. It has a melee attack that can inflict Confusion on a character, which can make things chaotic, but it's a bit slow and doesn't have a ton of health. Zoro and Robin can do plenty of damage here, and Sanji is good backup with his Fire-based Skills.
You'll earn the Merchant Walrus's Record Cube, the Merchant Walrus's Power, three Luffy's Cube Fragments, and a Nami's Cube Fragment for defeating the Merchant Walrus. And then, as a complete surprise...

Fire Colossus
Weakness: Technique, Ice
Huh. Bet you weren't expecting that. The Fire Colossus is as imposing now as it was during your first battle, only this time you're fully prepared to take it on. It can use Burning Truth on a single character, inflicting damage, Burn, and a DEF drop, and after a while it will use Solar Heat Wave to hit everyone in a single area. Do enough damage and it will use an AOE attack on the entire field.
For the first part of this fight you just need to wallop the Fire Colossus with your two Technique fighters. Do enough damage and you'll receive a surprise in the form of Brook, who finally, finally joins the party. Brook knows the move Soul Solid, and it targets both of the Fire Colossus's weaknesses. (Though he's pretty weak without accessories equipped. Don't be surprised if Brook gets dropped several times.) Between Brook, Zoro, and Robin, with Chopper providing healing support, you shouldn't have too much trouble ending this battle in your favor.
You'll receive the Fire Colossus's Record Cube, the Fire Colossus's Power, three Usopp's Cube Fragments, and two Nami's Cube Fragments for defeating the Fire Colossus. Sweet revenge.

Hoof it back to Adio's hut. Lim is waiting, and if you speak to her now she'll give you the option to head to your final stop in Memoria. First, though, we need to make a side trip to an old area with new stuff to see: Marineford. Yes, it's accessible, and no, it's not just a battleground.