

Located in the southeastern mountain range that surrounds and contains a number of settlements, the West Everhold Pass is an obligatory visit if you wish to complete Primrose's storyline. Located to the south of the West Stonegard Pass, a crossroads for two other passages, the West Everhold Pass is a fairly straightforward road to Everhold. We'll explore the area by starting from the northern entrance, leading out of the West Stonegard Pass.
The mountains are ever treacherous, so of course you'll run into baddies along the West Everhold Pass. They include the following:
- Highland Ratking I - Weak to Polearm, Staff, Lightning, and Light. Beefy enemy that likes melee attacks. Worth stunning.
- Highland Ratking II - Weak to Polearm, Staff, Lightning, and Light. Stronger version of the Highland Ratking that a Warrior or Scholar can stun without much trouble.
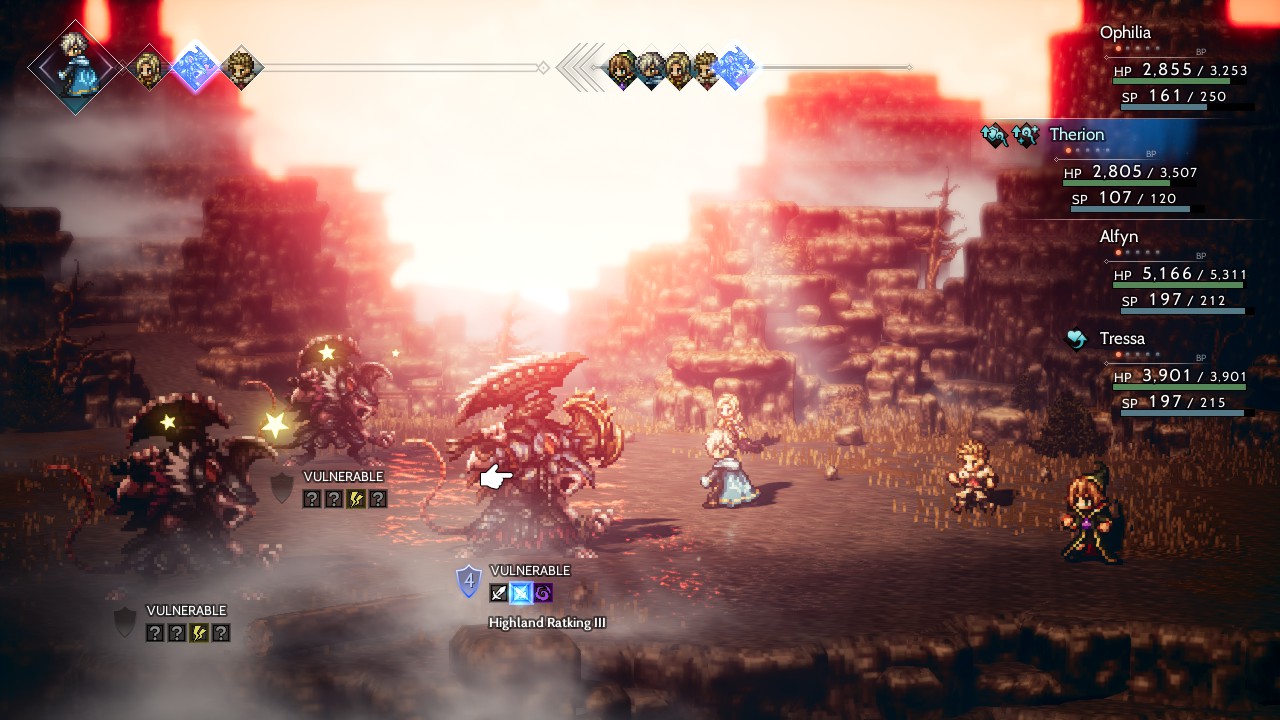
- Highland Ratking III - Weak to Sword, Dagger, and Dark. Yep another step up on the Highland Ratking line. Quite dangerous, even compared to the other Highland Ratkings, and should be dispatched with haste.
- Shadow Raven - Weak to Polearm, Dagger, Bow, and Wind. Likes to blind your party. Can be quite the nuisance, but can also be stunned rather easily.
- Animated Armor - Weak to Axe, Staff, Ice, and Light. Uses buffs, then comes at you with melee attacks. Annoying mainly because they have so many defensive shields.
- Winged Serpent - Weak to Polearm, Bow, Fire, and Wind. Powerful enemy that can poison and otherwise batter your party. A higher-priority target.
- Demon Goat - Weak to Sword, Polearm, and Light. Hits relatively hard and can put your team members to sleep. Of middling concern at best.

You'll start out on the west side of the map. There's a banner fluttering in the foreground on your right, and if you look behind it, just off the main path, you'll find a chest containing a Light Soulstone (L). Follow the main path south a bit, then keep going south to find another chest, this one containing a Silver-filled Pouch.
Cross the bridge running to the east side of the map. There's a save point ahead, and some stairs leading up the slopes. Ignore the stairs for a moment and walk to the right of the save point. You'll find a save path leading north, to a chest containing an Energizing Pomegranate (M). If you go down the slope to the left of the chest you'll find a path to the Everhold Tunnels, a Danger Level 55 optional dungeon. Check the rock wall on your right as you make your way back to the main path and you'll find a hidden passage to the Shrine of the Runeblade, a Danger Level 50 optional dungeon that can get you another job - assuming you can defeat the boss at the end.
Go up two sets of stairs, then check along the ledge to the southeast for a chest. It contains a Fire Soulstone (M). Get back on the main path and follow it west, then south, then west again. Near a banner and off the main path you'll find a chest containing an Inspiriting Plum (M). If you keep following the main path you'll shortly be in Everhold, the end of the line for this branch of the world map.