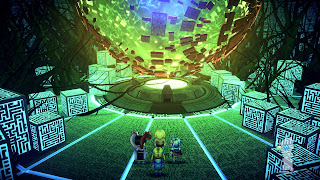
Part 17: Lacuer Front Line Base
Eluria Tower Region - Enemies
- Defender - 14,400 HP - Weak to Light
- Elder Witchette - 12,000 HP - Resists Fire, Wind
- Goathead - 21,5000 HP - Weak to Light
- Timekeeper - 14,400 HP - Weak to Fire
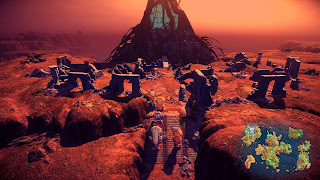
After a great deal of exploring, the group has finally managed to reach the continent of Ell - albeit in the least-dignified manner possible. Their final stop is Eluria Tower, a massive structure built atop the former kingdom of Eluria. The continent is worth exploring before you head for the tower, however, so we'll have a quick look around. Remember to rest at Eluria Settlement if you ever need refreshment.
- In roughly the middle of the continent is a massive crater, likely the spot where the Sorcery Globe landed. In the middle of the crater, accessible by using the Bunny Call Super Specialty, you'll find a chest containing a Searing Sword for Claude or Dias.
- In the west of Ell is a mountain with a waterfall. You can use Bunny Call to get up to the top of the waterfall, where there's a chest containing a Gale Earring+.
- If you check the northeast coast of Ell you'll find a beach. On it is a chest containing four pieces of Meat.
- On the east side of Ell is a Unique Spot called The Claw Marks of Calamity. (It's a sunken town. Seems to happen a lot.) Inspect the spot for a Moonlight.
- There's a fishing spot on the southwestern coast, down by a beach. There's another one to the south of the massive crater, also on a beach.
- If you use Bunny Call you can climb onto the cliffs to the north of Eluria Settlement. Up here you'll find a Raid boss. You won't win, so don't bother unless you have a death wish.
That's all for the continent. Your next step is Eluria Tower, in the north of the continent and northeast of Eluria Settlement. You cannot enter Eluria Tower without an ID Card, and you'll get it by entering the armory in Eluria Settlement. If you skipped that building - it's on the left side of the settlement - you'll need to go back now.
Eluria Tower - Enemies
- Darth Widow - 27,100 HP - Weak to Fire
- Defender - 14,400 HP - Weak to Light
- Elder Witchette - 12,000 HP - Resists Fire, Wind
- Frost Lizard - 54,000 HP - Weak to Fire, resists Water
- Goathead - 21,5000 HP - Weak to Light
- Orange Gelatin - 11,000 HP - Weak to Fire, resists Water
- Timekeeper - 14,400 HP - Weak to Fire
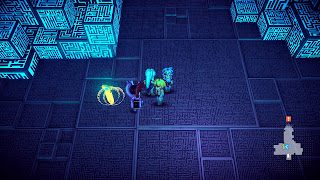
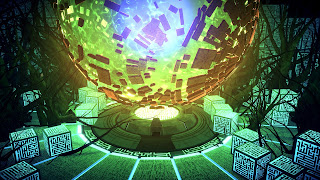
Very spooky. Eluria Tower is shockingly high-tech, from the looks of things, and the ID Card you picked up in Eluria Settlement is the only way through the front door. The enemies inside are a mixture of the creatures you fought on the world map, as well as some newcomers. A few notes:
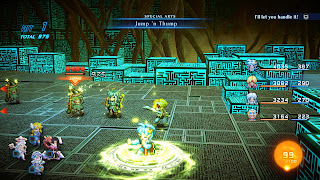
- The Elder Witchettes and Goatheads use Thunder Cloud, a powerful Spell that will fry all of your party members. Characters with low HP and poor resistance to magic can get taken out in a single hit. Prioritize smacking any enemy that's surrounded by an aura to disrupt their Spells.
- Defenders need to be attacked from behind by most moves. They're a bit slow, so you shouldn't have too much trouble getting behind them.
- Darth Widows have good defenses, hit hard, and can basically teleport. Try to surround them so they can't get away.
- The Frost Lizards are beefed-up versions of the Salamanders from earlier in the game. In addition to being just as bulk and dangerous, Frost Lizards can Petrify your characters. Catch them in a crossfire whenever possible.
- Orange Gelatin aren't terribly dangerous, and spend their time replicating. If you find a big batch of them you stand to earn a loooot of experience. They will occasionally explode, so try to take these things out in a hurry.
The most prominent weakness in the tower is Fire. Equip this on one of your characters and you'll get by just fine.
Eluria Tower - 1F / 2F
The first section of Eluria Tower consists of the remains of the human-built castle. There are four chests near the entrance, and they contain a Pixie's Bracelet, a Crested Shield, a Holy Mist, and a Light Cross+. Climb the stairs to the second floor and you'll discover a Unique Spot on the left side as you climb: Where Monsters Rule. Inspecting it will earn you The Scream.
On the second floor you'll find four more chests, containing an Amulet of Freedom, a Steel Helmet, a Meteor Ring, and a Music Editor. The Pixie's Bracelet is the most notable, as it randomly puts items in your inventory as you walk around. Equip this thing on one of your party members, stat. The Music Editor is a nice addition if you want to make anything musical.
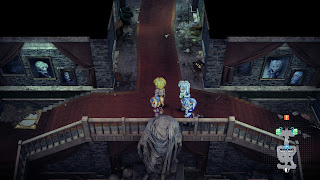
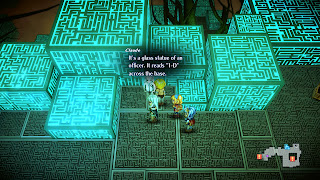
On the second floor of the tower you'll find two glass statues. Inspect them to find inscriptions: '5-H' and '3-A'. These are needed for a passcode a bit later in the tower, so don't forget these letter combinations. North of the statues you'll find a Save Point, and it's sitting in front of an elevator. Climb aboard.
Eluria Tower - 3F / 4F -A
Did Eluria Tower seem kinda quiet? Well, not anymore. There are enemies all over the place, and every time you switch floors every enemy you defeated will come back to life. Annoying. The path splits in three directions, with elevators to the north, east, and west. The northern everlator has a Minister Statue out front that demands a password, and it's not one you know. (Well, you can know it now, but... well, skip down a bit if you just want the answer.)
You'll need to find more glass statues by going east or west. They both connect, so it doesn't really matter which route you choose. We'll arbitrarily go east. Over here you'll find a chest containing Fists of the Giant, though opening the chest will summon enemies to attack you. Use the elevator to go up to 4F - A.
To the north of the elevator is a chest containing a Dream Bracelet+. Near the chest is another glass statue, and it reads '1-D'. Head west to find an intersection, then go north. There are chests up here containing five Star Rubies and five Crystals, as well as a statue that reads '2-E'. Return to the intersection, then go west to find the other elevator. The nearby statue reads '4-T'.
The elevator on the west side leads back to the third floor. Look on your left and you'll find chests containing ?ARMOR (Appraise it for Blessed Plate Armor+) and Fruit Syrup. All that done, make your way back to the Minister Statue. The codes you discovered indidate the letters of the word it wants, in the desired order. In other words, the password is 'DEATH'. How cheery. Supplying the password will earn you a Key Card.
If you're playing as Claude, and you've specialized in Pickpocketing, you may want to go save your game before going any deeper. Otherwise, hop onto the elevator.
Eluria Tower - 4F - B
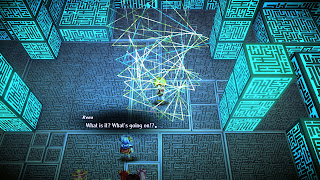
On the next floor you'll find a wall to the east that accepts your Key Card. Slide it in to reveal an elevator. Before you can climb aboard, though, Claude's communicator suddenly beeps to life. Run to the west end of the floor and Claude will be teleported out. If you're playing as Rena, you - in theory - should have no idea what's going on, and Claude will return a short time later. The game continues.
If you're playing as Claude, however, you'll be beamed back to the Calnus, Claude's ship. The cut scenes that follow reunite Claude with his father, and you'll have one chance - one chance - to have a look around the ship. This includes Pickpocketing as many crewmembers as you can. The crewers of the Calnus have some goooood stuff on them, and you don't want to miss this opportunity. (At a minimum, grab the Battle Suit off of the Cadet by the left door.) Speak to Ronyx, Claude's dad, when you're done plundering everyone.
Regardless of how things when down, you'll be headed back to the elevator to proceed with the mission up the tower. (Watch out for enemies along the way.)
Eluria Tower - 5B
The tower suddenly looks a bit different up here, and you'll discover a Save Point. Make sure you use it before heading north. There's a score to settle with a certain someone up here, and he'll intercept you before you can go any higher.
Cynne
HP:
- 216,000 (Cynne)
- 50,000 (Stone Statues)
- Light (Stone Statues)
- All elements (Cynne)
- Dark (Stone Statues)
- A sort of headstand on one character
- Vampirism, which steals health from one character
- Fohn Wind, which heavily damages all characters and can inflict Paralysis

