

Now that Resh'an is a part of the team the time has come to open up Mesa Island... or the parts you haven't already visited, anyway. Travel to the west end of the enormous island - it is in the northeast of the world map - and you'll see a giant's head sticking out of the side of the cliffs.
Debark at the nearby dock and you'll find a location called Mesa Hike a short walk to the north. Here you'll find a vantage point where you can speak to Khukharr, the giant. A cut scene will see Khukharr removing the barrier on his island, which also creates a path deeper into Mesa Hike. Khukharr is also added to Yeet and X'tol's fast travel network, and you can zip to one of the other two golems by sailing into Khukharr's mouth.
Climb the cliffs to the right of the golem and you'll be headed back to the world map. Your next stop is to the east.
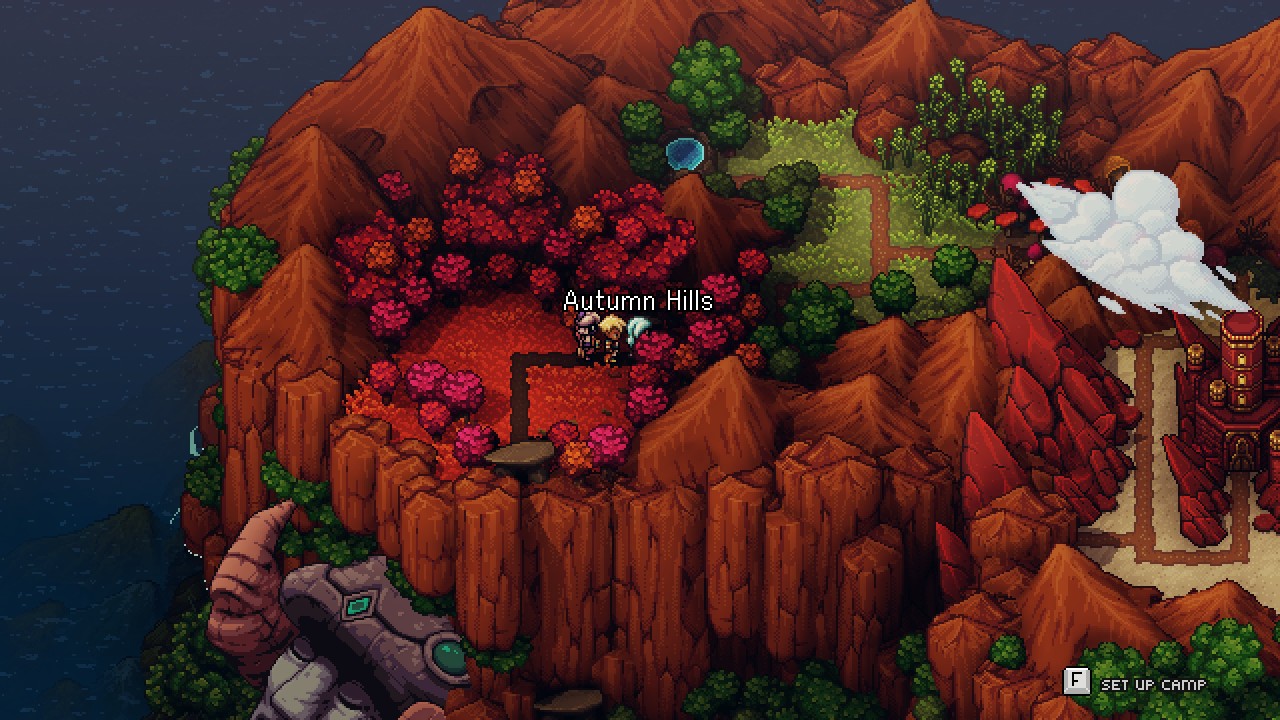
Autumn Hills - Enemies
- Grassassin - 122 HP - Weak to Sun
- Rochecrossidere - 90 HP
- Tock - 144 HP - Weak to Poison
How picturesque. Head east from the entrance to find a save point, and a bit further than that for Maple Syrup and Berries. Use the tree trunks and grapple point to get to higher ground, where you'll run into a pair of Tocks. They can use the Quillshot charged ability, which is a little painful, but... not a big deal.
The path splits past the Tocks. If you climb down the ladder as you head east you'll hit a dead end, but there's also a chest containing Oaken Armor for Valere or Zale. If you go up and across the wooden platforms you'll be on the main path. Follow it to the next clearing and you'll run into two Grassassins. Their Mirror Attack ability is a bit of a pain, but otherwise they're not that difficult.
Climb the next tree stump to the east, then grapple over to the next. Your Graplou will snag the handholds. Hop to the ground and collect the Maple Syrup from the bases of the stumps, then grapple back to the first log and repeat the process until you can hop off the third log.

A bit further east you'll find a light crystal puzzle with four diamond tracks. Blow the leaves off of the diamonds with your Mistral Bracelet, then twist time so the light is charging up the diamonds. Charging up the top diamond tracks will reveal a scroll that teaches Valere and Resh'an the Arcane Moons Combo, while charging up the bottom diamond tracks reveals a lever. Do the paired diamonds one-at-a-time, as there's no way to charge all four at once.
Pull the lever to bring a floating platform over. Pull the lever on the platform to ride further east. Two Grassassins and a Tock are waiting on the other side of the pit. Defeat them and enter the cave to their right. Inside is a weirdly-placed Merchant who sells the Ornate Bo for Valere, another suit of Oaken Armor, some food items, and Music Sheet #4. If you have the money you might as well stock up.

Head east through the cave to emerge back outside. There are two Grassassins and a Tock waiting in the next clearing. Take them out, check the west side of the clearing for Maple Syrup, then climb back up the western ledge. Use the higher ground in the north to grapple east, then southeast, to a ledge with a rope ladder you can unspool.
At this point it looks like you're stuck, but the answer is fairly simple. In the north is a grapple point atop a rock, and you can use your Mistral Bracelet to blow the rock along. Start by blowing it all the way along the track to the south. Climb the rope ladder and you can now grapple over to a chest containing a Maple Cork for Desh'an. That done, blow the rock right and up. This will bridge the gap between the rope ladder platform and the cliff on the right.

You're now below some treehouse paths. Climb up onto the tree on the right and you can grapple to the left tree. Climb and grapple to the top of the trees and you'll see a chest containing a Rainbow Conch on your left. Cross the tightrope on the right to find your way out of this area.
You'll see some Grassassins up the eastern ledges in the next section. Engage them and you'll also engage two Rochecrossideres, which are in hiding. They may look different, but these guys fight the same as the ones on Glacial Peak. Given how spread out these enemies are, you may want to use Resh'an's Petrichor Skill to pull them together for AOE attacks.
Head east to find some water with a vortex. Sink down to find some Seafood, as well as a vortex leading into a cave. There's a chest in here containing the Recipe for Parfait. Keep following this straightforward path to receive more Seafood, and to find the way back to the surface. Climb to the scaffolding above the water and push down the rope ladder on the left to create an easier route, should you come through here again later.


You'll become trapped in the next chamber, and an odd Minstrel will say a few cryptic words before vanishing. You need to find a way out. Use your Mistral Bracelet to blow the five little leaf piles sitting around here into the heap of twigs. That done, change time until the moon is on the sky on your left. You'll see glyphs around the leaf pile, and...

Leaf Monster
Surprise! This battle is more of a puzzle than an outright combat challenge, and shouldn't tax your brain too much. The Leaf Monster uses the following attacks:
- A melee claw swipe
- Paincone, a two-Lock AOE attack
- Throw Leaves, a two-Lock, single-target attack that robs the Leaf Monster of its leaves for one round - watch out for the boomerang effect on its next turn
The Leaf Monster follows a fairly predictable pattern. First it will use a normal attack, then its Paincone charged attack, and then Throw Leaves. Throw Leaves will remove the Leaf monster's leaves until its next turn. The only time you can inflict damage on the Leaf Monster is during this short duration, so save your Combos and Live Mana for Throw Leaves, then go nuts. Heal up and wait for it to happen against one the leaves come flying back, and repeat the process until the Leaf Monster is toast.

You'll receive the Detritus Fallen Achievement for defeating the Leaf Monster. You'll also open the way back to the campsite, as well as to the exit of Autumn Hills. An unexpected series of cut scenes will hint at what's to come in the near future. Once you're on the world map again you'll find Lake Turqoise, a Fishing Lake, a short walk away. You'll also find your next destination, Songshroom Marsh.

Before we head to Songshroom Marsh, however, there's one little place to check. Look east of the exit from Autumn Hills and you'll find a little side area called Bamboo Creek. It's a peaceful, single-screen spot with two chests. The one on land contains a Bamboo Slicer for Zale, while the one in the water contains a Rainbow Conch.