

Antsudlo - Enemies
- Clone
- SeraÏ - 85 HP
- Valere - 95 HP
- Zale - 90 HP
- Garnooy - 225 HP - Weak to Poison
- GooGoon - 12 HP - Negates Moon, Sun, Poison
- Sharksensal - 165 HP
- Shrimp Knight - 132 HP
A massive tower that is partially submerged, Antsudlo is your next stop after Docarria Village. Located through the village temple's waterfall, Antsudlo is part shrine and part underewater cavern. Expect to do a lot of swimming.
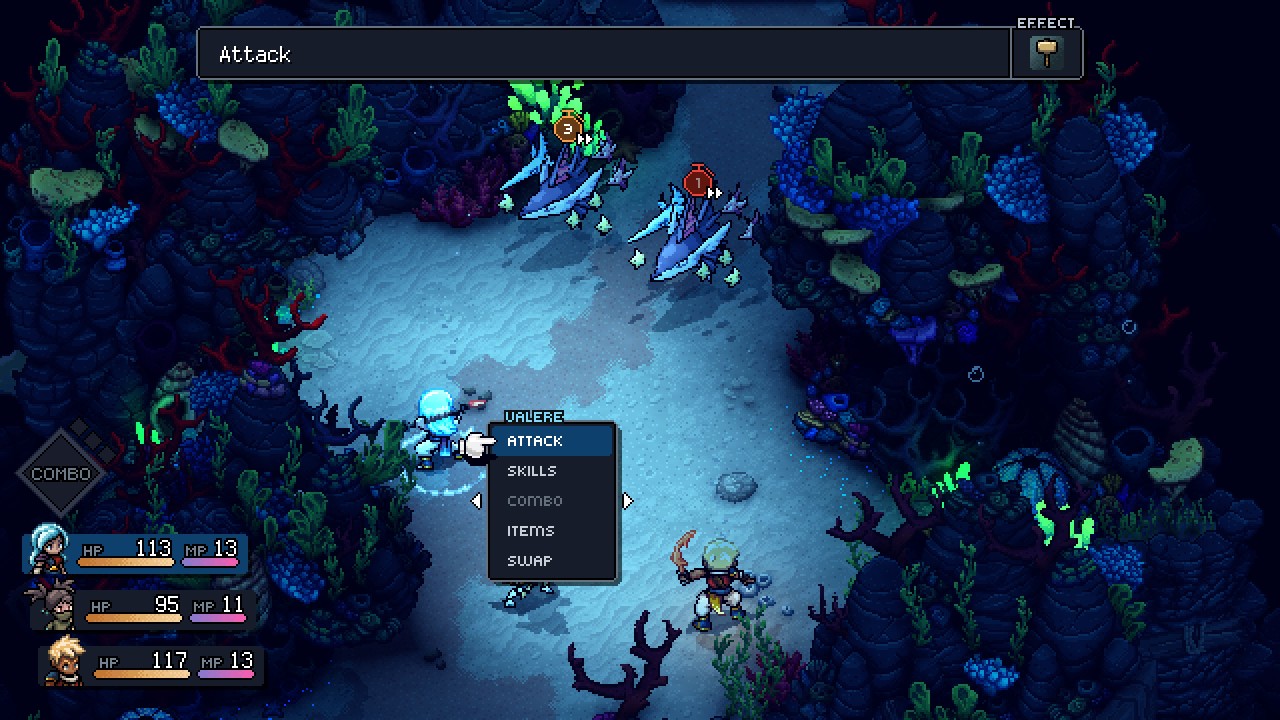
North of the entrance you'll find some sort of device with an indent on top. If you keep going north you'll find a little pedestal with a Sapphire Key on top. Use the Sapphire Key on the device to activate a jetstream gateway on your left, which will shoot you over to a new area. Here you'll face two Sharksenals, your first enemies in Antsudlo. Their slow melee attacks are difficult to time, so try not to jump the gun.
North of the Sharksensals are more jetstreams. Follow the path until you come to door, guarded by a pair of Shrimp Knights. These annoying customers will make clones of your characters. The clones aren't monumentally powerful, but they do prolong the battle. Do what you can to break the Locks so the clones don't appear.
To the northwest of the gate you'll find a bell that you can ring with the Coral Hammer. West of here is another Sapphire Key, and you can use it to activate a jetstream to the southeast of the gate. On the other side of the jetstream is a second bell, as well as a chest containing Sapphire Ore. Ring both bells and you'll open the gate into the base of the tower, where you can turn a wheel to lower the water.

Beyond the tower's front door is a campfire and save point. Check the east side of the room for some Seafood, then enter the tower's main area. You'll run into another Shrimp Knight, and it is accompanied by two GooGoons. The GooGoons have very little HP, but they also take very little damage from melee attacks - and no damage from magic attacks. Stick to well-timed normal hits.
In the north of this chamber is a large device with three colored gems and two recesses for items. There are two exits, to the east and to the west, so you can probably guess what needs to be done.

Eastern Passage (1F)
There's another wheel in the first eastern chamber to regulate water level. Spin it to open the way further east. You'll emerge in a large room that is one-third filled with water. Climb the ladder and ledges in the northeast to reach the uppermost walkway, then jump down next to the lever in the southeast. Pull the lever to lower a gate to the west, releasing some monsters.
Climb back up the ladder, then jump down next to the Yellow Pearl in the north of the room. Remove it to lower the water level completely. Leap down to the bottom level, check to your right for some Seafood, then go through the door you opened in the south. You'll have to fight more Shrimp Knights in this little area. Check the spot they vacated for some Seafood.
The Yellow Pearl is what you needed. Climb the ladder near this enclosure and return to the main area. Place the Yellow Pearl in the central device's right recess.

Western Passage (1F)
This area is a bit larger than the last. Go through the water-changing room, then jump into the pool to the west in the main area. The Pink Pearl is at the top of the ladder, and grabbing it will, again, lower the water level. Jump - don't climb, jump - down into the now-emptied pit below this platform, then pull the lever at the bottom.
This will lower two gates to the southwest. Walk through the wall to find a hidden passage south, then go up the ladder to the northwest. At the top is another altar where you can place the Pink Pearl. Do so, then get down into the water and swim east, until you return to the entrance. Use the bridge down the middle of the room to reach the Shrimp Knight and the Ganooy in the southwest. Take 'em out.
Pull the lever to the southeast of the enemies. This will lower a barrier in the northwest, allowing you to climb up and reclaim the Pink Pearl. With this in hand you can return to the main area and plug the Pink Pearl into the left recess in the large device. Press the red button once both pearls are in place...

... and, voila! This is an elevator! Sorta, anyway. The rising water will put you on even 'ground' with two more passages, to the... east and west... and there are two more recesses to fill in the northern device. Well, here we go again. If you want to return to the lower level, press the left button on the elevator.

Eastern Passage (2F)
This area is a sizable lake. Hop in and swim to the northeast to start. A ladder over here will take you over to a waterwheel, which when turned will extend a bridge elsewhere in the room. There's another waterwheel a little ways northwest of here, and you can get at it by jumping down to the platform between the two wheels and climbing another ladder. Spin it as well.
Swim to the south and use the ladder here to get back on dry land, near the entrance to this area. Run out to the central platform with the green light in the middle. Cross the southeastern bridge to find a chest containing a Thalassic Cloak for SeraÏ, then head across the northwest bridge. There are ledges up here that will get you to a third waterwheel. Spin it.
Activating all three waterwheels will raise three starfish-shaped devices. Interacting with them will raise and lower three blocks beneath the central platform. You need to match the red line on the blocks with the water level, so you can just barely see the red. Raise the left starfish to the highest point, raise the middle starfish to the middle point, and raise the right starfish to the highest point.
Do all this and the Green Pearl will emerge from the central platform. This will also lower the water on the lowest level, allowing you to claim some Seafood from the north of the room... though it is protected by a Ganooy. You'll have to fight some GooGoons on your way back to the southern ladder, as well. Place the Green Pearl in the right recess once you're back by the elevator.

Western Passage (2F)
Grapple to the west from the newly-raised walkway and you'll find yourself facing a raft in the next puzzle chamber. There's a fan right next to the raft, and you can use your Mistral Bracelet to spin it, opening the barrier to the south. Guide the raft south and you'll find the rest of the area to be a test of your steering, as you have to wedge the raft into some tight spaces to activate two more fans, one in the east and one in the west.
Getting two fans will drop two barriers in the west. Go north past the former barrier points, then northeast, until you see a ladder. Pull the lever at the top of the ladder to drop a barrier to the west, which protest the Purple Pearl. Grab it to lower the water in this area.
Drop down to the lowest level and look along the west wall. There's a lever between two walls that will drop one final barrier, back by the pedestal where you picked up the Purple Pearl. Behind the barrier is a chest containing a Phosphorite Lid for Garl. Walk back east towards the entrance to find some Seafood, then climb the wall to the northeast of the entrance. This will allow you to grapple over to a newly-revealed post, taking you to the entrance. Place the Purple Pearl in the left recess.

There's no immediate change this time, though if you press the right button in the elevator the water will rise to its highest point. Climb the ladder on your left to find some Seafood, and a door.

Eastern and Western Passage (3F)
The next area connects to the eastern puzzle area, though you won't realize how until you climb into the watery tube on the west side of this room. It will shunt you to the east, where you'll land in a pool. Climb out and you'll be facing two Shrimp Knights and a Garnooy. They're guarding a Valve, which you should grab. You can also grab some Seafood from a platform to the northeast.
Hop in the water tube to the northwest of the battle site and you'll be sent back to the western room. On your left is a conspicuous floor panel with two pipes. Stick the Valve in one of the pipes, then give it a spin. It will change where the water pipe on the west side of the room leads. Shift the pipe so the replacement has no curve and leads up, then jump into the western tube.
The water will dump you out beside a lever. Pull it to lower a barrier beneath your feet, then jump down and check up the ladder to find the Blue Pearl. Per usual, grabbing the pearl will lower the water in this room. Jump down into the pit you've just empted to find another Valve, to the southeast.

Put the Blue Pearl back where you got it to raise the water again, then make your way back to the western room and plug in the second Valve. Turn it and the western water pipe will create an upward path. Hop in and zip back to the eastern room, where you'll come out on the top level, near a lever. Pull the lever to raise some barriers down on the lowest level.
Jump back down and grab the Blue Pearl again. Now that you've lowered the barriers you can walk through the western doorway on the lowest level. It will lead you back to the main hallway, where you'll find the recess for placing the Blue Pearl, not far from the door. This will activate a nearby water tube, which, if entered, will take you to the end of the dungeon.
All done? Not quite. Hop in the water of the main room and swim west, to the western room of this joint puzzle. Use the water tube to zip back to the top level of the eastern room. Look southwest of where you come out for some Seafood, then drop down to the floor. Note floor, not into the lower pits. From here you can drop into the pit in the south that is blocked by a barrier. The chest in here contains a Rainbow Conch. Pull the nearby lever to lower the barrier. Now we're done.

Climb the ladder near the Blue Pearl's final resting place and hop in the water tube at the top. It will take you up to a save point and a door. If you desperately need to heal you may want to drop into the water and return to the lowest floor so you can use the campsite. Otherwise, interact with the door. You'll trigger a cut scene, discover where you really are, and get shunted somewhere wholly unexpected.