Kiln Mountain - Enemies
- BigBuggy - 225 HP - Weak to Arcane, Moon
- Firecracker - 115 HP - Resists Arcane, Moon
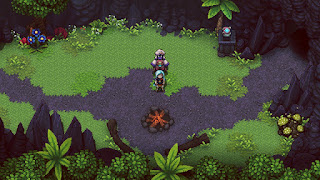
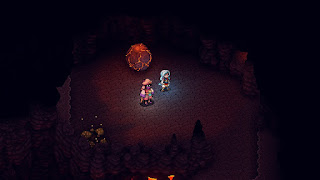
Zale, Seraï, and two of the Resh'ans have done their part. Now it is Valere and the third Resh'an's turn. You'll start off in a small campfire out front of Kiln Mountain. Save your game, then head into the cave in the east.
Follow the main path as it twists through the mountain until you come afoul of the first of its enemies, a pair of Firecrackers. These things resist your most useful elements, so stick to normal attacks. Do enough damage and Firecrackers will detonate on your party, taking themselves out and infilicting appreciable amounts of damage. Note the flashing crystal on their heads as a sign of an imminent explosion.
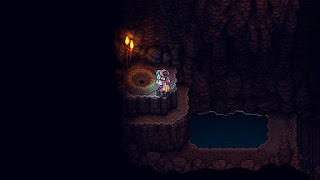
Carry along down the passage to the west until it brings you to a climbing wall in the east, which leads into a hole. Step forward in the next chamber and jump. You'll fall a looooong way into a pool of water. Climb the ledges on your right to get at a geyser, which will launch you up to a ringed path with some Mushrooms. Keep using geysers until you're flung up to a chest, which contains an Igneous Staff for Valere. Jump back to the bottom and head east.
You'll find some crumbling ground in front of a climbing wall at the bottom of the next set of stairs. If you climb the wall to your right and go up the ramp to the east you'll find a boulder at the top. Blow it west with your Mistral Bracelet and will smash through the crumbled ground. Follow it down and descend to the next level.
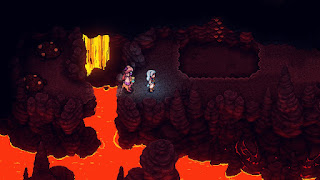
Beyond the BigBuggies is an exit to a new area, where you'll find a save point. East of the save point you'll find a group of stalagmites blocking your route. Head west of the stalagmites and you'll see two boulders, in pits with more stalagmites. Blow the lower boulder around a bit to clear stalagmites and you can claim a chest containing a Rainbow Conch. Blow the upper boulder south and you'll find a track leading east, which will allow the boulder to destroy the rocks that were barring your way earlier.
Grab the nearby Mushrooms after the battle, then look east. There's a small light in the right wall that indicates a passage. Check it out to find a chest containing a Magic Pocket. This excellent accessory essentially allows you to use one free item without expending a turn. That done, head back and roll the boulder southeast, south a little ways, and then down the ramp to the west. It will smash through a wall, turn a trickle of water into a torrent, and create a new island to walk on.
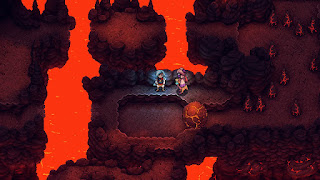
Head back south, to the lower level, then use the platforms to the northwest to travel west. On the other side of the still-gushing water is a hidden pathway to the next area. Follow the path and it will bring you to a campsite, a save point, and a Molekin Merchant. He has some useul items for sale, though nothing you've never seen before. Rest up, restock, save, and use the geysers in the east to fly waaaay up the cavern. Something waits at the top.
Toadcano
Weakness: Moon
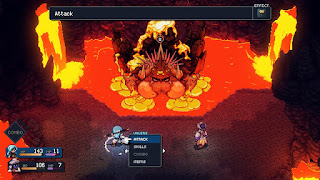
Well isn't that cheeful-looking. The Toadcano is a rather grotesque boss, but nothing Valere and Resh'an can't handle. It uses the following attacks:
- Spits lava at one target
- Summons two Firecrackers
- Tremor, a four-Lock attack that randomly spits rocks at every character but the Toadcano
This fight is more annoying than it is difficult. The Toadcano starts off by summoning two Firecrackers. It will then occasionally spit lava at your characters... but more often it will begin charging up to Tremor. As far as charged moves go Tremor is easy to block and not terribly painful - but because it hits (and usually doesn't kill) the Firecrackers, it will trigger their suicidal explosions. Expect to weather a lot of these. Do enough damage and the Toadcano will summon four Firecrackers rather than two.
You can try to knock out the Firecrackers to prevent their explosive finales, but for the most part I found it best to ignore them and focus on the Toadcano. It's the only opponent that matters, and Valere's Moon attacks are great at beating its HP down. Boosting Resh'an and using Ebb is a great way to get rid of Tremor's Locks, though you can also just keep him using Petrichor to restore everyone's HP. Save Resh'an's Ultimate for wiping out the waves of four Firecrackers and you shouldn't have too much trouble finishing the battle.
You'll receive the Fight Fire With Lunar Achievement for defeating the Toadcano. A loooong strech of cut scenes follow, and once it is done you'll receive the Warrior Cook Achievement, as well as unlock Valere and Zale's Ultimate Skills. You'll also be down a party member, and that really sucks.

