

Abandoned Wizard's Lab - Enemies
- Arcane Sentry - 52 HP - Weak to Blunt, Sword, resists Moon, Sun
- Croube - 38 HP
- Crystal Tulip - 1 HP - Resists all, must undo Locks to defeat
- Wanderer - 39 HP - Weak to Blunt, Sword
How ominous. Upon entering the Abandoned Wizard's Lab the pirates tailing your pirate will open the way forward - and then two of them will ditch you. Only Keenathan, he of many eyepatches, will stick around... and he won't be participating in any battles. Oh well. Pop through the hole in the lab's facade and begin the trek.
Immediately inside the dungeon you'll find some sort of crystalline contraption to the north, a campsite with a save point to the northwest, and a purple cube that you can climb. Start by pushing the cube to the north by using your Mistral Bracelet. Above the northern gateway is a chest containing a Green Crystal.
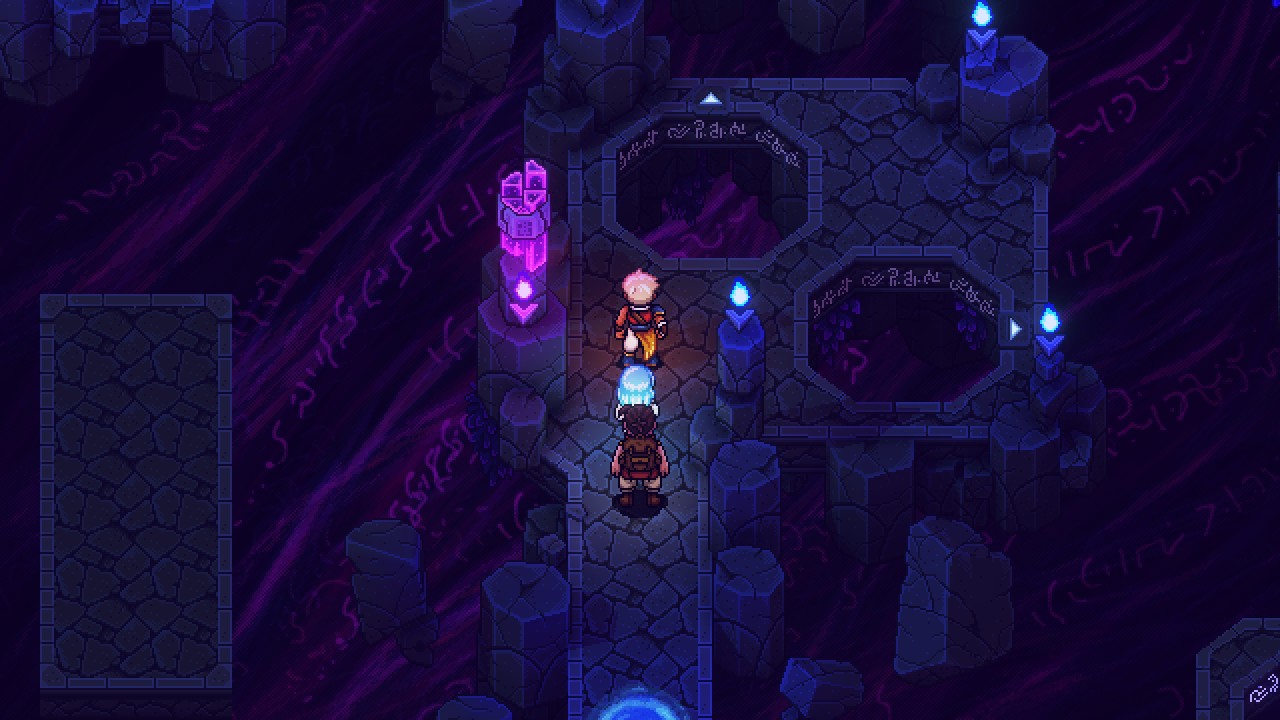
Step onto the central altar and interact with the small, white-topped device on your right. You can insert the Green Crystal into the device to create a beam of light, activating a portal to the north. Using crystals by themselves, or combining them to create other colors, will open different areas for you to explore. There are two more crystals located elsewhere in the lab, and you'll need to find them - and use different combinations of the crystals - to find your way to the end of the dungeon.
Green Crystal Path
The first section of the dungeon contains a clearing with three Arcane Sentries, which are no big deal, aside from their little fakeout hop which can throw off your Timed Blocks. Head north after wiping out the enemies and step onto the lit floor tile with the pink rune. This will lower a section of the floor. Head back south and hop / climb your way to the west. On the higher ground you'll find a blue floor tile.
Press the blue floor tile to reactivate the pink tile, then hop your way east and use the other side of the upper floor to drop down to the pink tile. Touch it again to restore the flooring and reveal a chest in the northeast. Check the chest to receive a Blue Crystal. Once you have this item you can return to the entrance of the Abandoned Wizard's Lab.
Blue Crystal Path
Heal and save at the campsite, if you feel the need, then head back to the crystal altar. Swap out the Green Crystal for the Blue Crystal to create a new gateway in the north. The next area contains a series of pits that will ferry you elsewhere in the room. Small white arrows beside the pit indicate which way you'll travel.
Hop into the northern pit from the entrance, then climb the ledge to the northwest of where you land. You'll find two Wanderers you can fight. Check to the east of the Wanderers to find a ledge above a pit. Hop into the pit and it will ferry you to a northbound path, where you'll find two Arcane Sentries.

Drop down the ledge to the east of the enemies, head south, and take a left. You'll find a ladder, which leads to a series of stepping stones, which then leads to another pit. The pit will drop you down near a blue floor tile. Activate it to raise an enemy-covered section of floor in the southeast. Double back around to this new area, wipe out these enemies - Moonerang is quite handy in this fight, given their numbers - and hit the pink floor tile that appears once your foes have been wiped out.
This will activate a pink-tinged pit to the northwest. Hop inside and you'll head back towards the entrance. Climb up to the spot where you fought Wanderers earlier and look to the south. A path has appeared that will guide you to a lever. Pull the lever to raise another pit near the entrance. Return to the first pair of pits, north of the entry portal, and if you use the pit on the right this time you'll drop down near a white diamond to your north. Interact with it, then return to the portal via the pits and leave.
Light Blue (Blue and Green) Crystal Path
Heal and save, then approach the crystal altar. You've now activated a second white-topped device. Insert the Green Crystal into the new device and you'll green a light blue portal to the north. Head inside.
The next area stands atop a pond rimmed with waterfalls. Start by jumping down into the water. If you look beneath the wooden boardwalk in the west you'll find a chest containing a Rainbow Conch. Grab it, then use the ladder in the east to climb back up. Hop your way to the west (watch where you jump or you might end up back in the water) and you'll find a white diamond device. If you interact with the device you'll spawn a group of enemies to the north. Take them out. These enemies include Crystal Tulips, which will Detonate and kill themselves to damage your party, so go after these things first by targeting their Locks.
Northeast of the enemies is a purple cube that you can move with your Mistral Bracelet. Slide it west and you can get at another white diamond device, which also spawns enemies. Kill these as well. Push the cube north and then east to create a path up to a third white diamond device, which, unsurprisingly, spawns more enemies. Defeating these will reveal a chest behind a nearby waterfall, and inside the chest is a Red Crystal.
You now have all three colored crystals. Head back to the portal and return to the entry hall. You now have three choices for your path forward. You only need to take one, though if you want to make the most of this dungeon you should try out all of them.

Yellow (Green and Red) Crystal Path
This area contains jumping blocks across pits, some of which will fall out from under you. You need to only jump onto the blocks that have yellow lights. The first set of blocks to the north demonstrate this, as you can only use the center block. Enemies wait on the other side.
There are many more blocks ahead. Take a left at this clearing and go up the stairs. Step on the tile at the top and it will reveal the path across the blocks: Bottom left, middle left, middle, middle right, upper right. There are yet more enemies waiting for you to the north.

There's another cluster of jumping blocks up here, though there are far more - and there are two runes to activate, each of which will show you only part of the path across the blocks. Take this route to get across the blocks:
- Start with the right-most block
- Hop north two blocks
- Hop west three blocks
- Hop north two blocks
- Hop east three blocks
- Hop north to the end
On the other side of the blocks you'll find a white diamond that will activate the last of the crystal devices. Use the lever on your left to activate a floating platform back to the entrance.

Red Crystal Path
This route will earn you a bit of treasure. Plug in the Red Crystal only and it will bring you to a large room filled with pushable purple blocks, colored gates, floor runes that deactivate the gates, and a pair of switches to activate in the north. Your goal is to push two of the purple blocks onto the purple tiles in the north, using the Mistral Bracelet.
You can fiddle with this puzzle for a while and eventually get to the goal - or just do the following:
- Push the southwestern block to the right and up to deactivate the blue gates
- Push the northeastern block down, left, and down to deactivate the white gates
- Push the southeastern block right and up to deactivate the green gates
- Push the western block that's on the blue rune to the left, up, and left to warp it to the other side of the room, then push it up, left, and down so it's beside one of the blue gates
- Push the southeastern block that's on the green rune right, up, and right to warp it to the other side of the room, then push it down, left, down, right, and up to deactivate the blue gates again
- Push the northeastern block to the left and up onto one of the purple tiles
- Push the middle block that's on the white tile right and up, onto the other purple tile
Do all this and you'll reveal a chest in the north. It contains Mage-Knight Armor, equipment that's great when battling magical opponents. That's all for this area.

Pink (Blue and Red) Crystal Path
This route will also earn you a bit of treasure. Pop through the portal and you'll be facing a cliff that you can climb. Do so, heading gradually northwest, until you see a white diamond device on your left. This will reveal a final stretch of climable rocks further up the cliff.
At the top of the cliff is a Fishing Lake. Next to the water is a well, and inside is a mystery person who lost their watch to a fish. They want you to get it back. The fish with the watch has white sparkles floating off of it, and moves around more - and more quickly - than the other fish. You'll likely have to try a few times before it grabs the lure rather than the normal fish.
Hand the Golden Watch to the person in the well once you've snagged it. They'll thank you by giving you a chest. The chest contains a Rainbow Conch. Grab it and drop back down to the portal.
With that you've explored all of the Abandoned Wizard Lab's areas, save for one. If you combine all three crystals you'll create a white portal that will take you to the final area - and the dungeon's boss. This thing is tough, so make sure you equip all the items you've found, heal, stock up on curables via Cooking, and save.

Chromatic Apparition
Weakness: Sun, Moon (normal form) / Physical attacks (alt form)
Resists: Physical attacks (normal form) / Magic attacks (alt form)
This thing is a bit of a doozy, considering it's an early boss. Sporting two forms and a wide arrange of attacks, the Chromatic Apparition can slice your characters down to size if you don't take a careful approach to this fight. It uses the following attacks:
- Shapeshift, which changes it to a different form
- A melee slam (normal form)
- Summons in a Crystal Tulip (normal form)
- A multi-shot orb attack against a single target that deals heavy damage (alt form)
- Arcane Singularity, an AOE attack (alt form)
This fight takes part over two phases, and switches back and forth between them every now and then. The Chromatic Apparition starts off in its normal form, where it either smacks your characters or summons in Crystal Tulips to blow you up with Detonate. In the second phase the Chromatic Apparition will take on a magically-inclined alt form, and here it either uses a high-damaging orb attack or Arcane Singularity, which hits the whole party.

The Chromatic Apparition's weaknesses switch between forms, so you want to use Sun and Moon Skills during its normal form and normal attacks during its alt form. Try to conserve some MP for the alt form, as Arcane Singularity can rip your party apart if unleashed at full power. Combos and Boosting will help you get through the Locks. Dealing with any Crystal Tulips summoned in is of relatively high priority, though not if Arcane Singularity is in play.
Your characters should focus on the following:
- Valere will be your primary Lock-picker via her Moonerang Skill, as it can hit Chromatic Apparition multiple times if your deflection skills are up to snuff. Try to keep Valere on the offensive as much as you can.
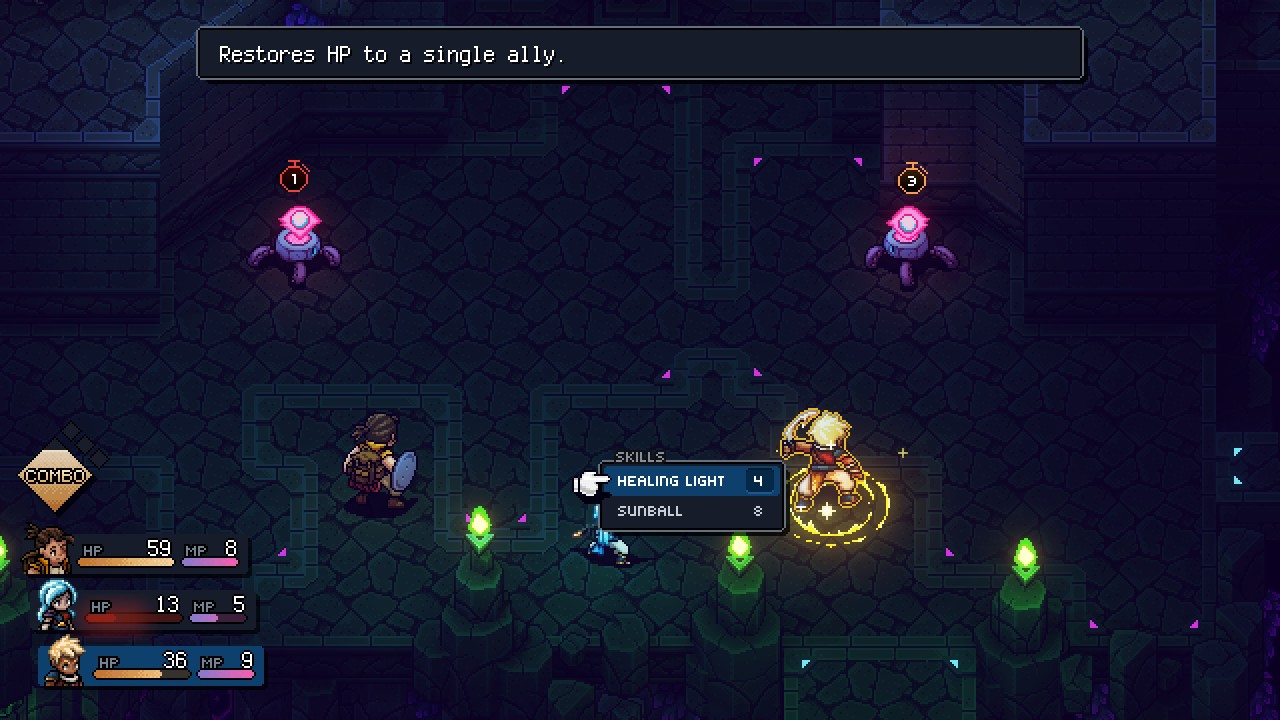
- Zale can do decent damage with Sunball, though his MP is better saved for Healing Light if you find you're struggling to stay healed. He's also your go-to for slicing up Sword Locks, and an altogether good candidate for Boosting.
- Garl is a great solid for the alt phase and can take out Blunt Locks, though he's also a great healer with Nourish. He's a good choice for dishing out Combos with the other two, as well. Garl is not great at surviving magic attacks unless you've been giving him bonuses geared in that direction, so be ready to heal often when fighting the alt form.
This fight isn't that bad as long as you weaken Arcane Singularity. At full strength it will hit everyone in the 50s, which is more than enough to take down weakened characters. Save your Combos for taking out Locks, use Mushroom Soup to heal, and keep on attacking.

You'll receive the Stretch Quest Achievement for defeating the Chromatic Apparition. The party will also find the Coin of Undeath Accord, which is what you came here for in the first place. There's nothing else to find in the Abandoned Wizard's Lab, so take your leave and return to Brisk. The rest of the pirates are waiting by their, uh, 'ship', near the save point, and you can speak to the captain to begin the trip to Wraith Island once you're stocked up on provisions. Set sail!