Reverie - Enemies
- Defense Node
- Fallen Bug
- Fallen Guardian
- Fallen Hunter
- Purobolos
- Purple Bavarois
After a bit of a trek through Waloeder territory Clive has arrived at Reverive, the enormous tower home of Barnabas. This place looks and plays similarly to the ruins beneath the Phoenix Gate - just harder - so you should be right at home with most of the enemies.
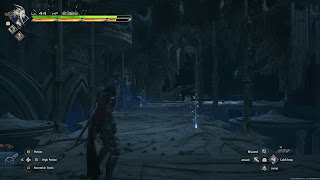
Follow the main path and you'll find a reception committee consisting of Fallen Hunters and Defense Nodes. The Defense Nodes cast Bravery on the Fallen Hunters, so you may want to take out the nodes first. On your left is a door leading to a larger room, and here you'll find five pinches of Magicked Ash. Step onto the plate in the middle of the floor and it will rise up several levels.
At the top of this elevator you'll get into a scrap with three Purobolos. They fight just like Bombs, and shouldn't stand a chance against your Eikonic Abilities. Go through the nearby door and you'll find a bridge with a Potion and four spools of Steelsilk. The bridge leads to a clearing protected by a Fallen Guardian and two Purobolos. The Purobolos are a nuisance while you fight the Guardian, so use Clive to take down one of them and leave the other to Torgal. With them gone this is a standard Fallen Guardian battle.
Take a right from this battlefield to find five Sharp Fangs beside a door. Inside is another floor elevator. It will take you up to a room with an adjoining bridge patrolled by Fallen Bugs and a Defense Node. Snag the Potion by the door, then head out and fight the Bugs. At the other end of the bridge are four Bloody Hides and a door... though before you reach the door you'll get into a scrap with a Purple Bavarois. It's your typical Flan, though lightning-elemental - and seemingly more aggressive than the other variants, to boot.
Head through the next door and you'll find a small hallway with five pinches of Magicked Ash and a chest. The chest contains The Favor of Ice (Ice Age). Head through the door at the other end of the hallway and you'll find a larger room containing a Potion and a High Potion, and beyond it is an elevator. The elevator takes you up to a room guarded by three Fallen Hunters, and containing three chunks of Wyrrite.
The next chamber has two lifts that bring two waves of enemies down:
- First are Fallen Bugs and Defense Nodes. Not a big deal. Rush them before they can split up and use an AOE attack.
- Next are Puroboloses and Fallen Hunters. Go after the clustered Fallen Hunters and leave the Puroboloses to Torgal.
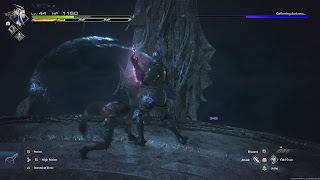
Soultaker
A revamp of the Undertaker from earlier in Final Fantasy XVI, the Soultaker, unsurprisingly, presents more of a challenge. Its moves are familiar, but almost always ramped up in one way or another. The Soultaker uses the following attacks:
- A sideways punch
- A backhand (if you're behind Soultaker)
- A rushing, full-body charge
- A fist slam that triggers an AOE explosion
- A stomp that triggers a small AOE burst
- A jumping attack that unleashes a shockwave
- Spirits Within, an enormous beam that is aimed up, then down, then to the Soultaker's left
Despite the improvements, the Soultaker is about as difficult as the Undertaker. Its attacks are slow and predictable, and aside from its backhand attack you can flank the creature without much fear. Chip away at the Soultaker's sides, watch its body language for incoming punches or stomps, and wait for the stagger. After it is staggered once the Soultaker will begin using its aerial shockwave attack, though as long as you back off and hop over the shockwave you'll be fine. All in all, an easy battle.
You'll receive Wyrrite and Meteorites for defeating the Soultaker. Climb onto the curved ramp at the side of the battlefield and you'll find a Potion, as well as the way forward. Keep climbing the ramp to find four spools of Steelsilk and a High Potion. At the top you'll find a doorway leading to a bridge, where you'll battle some Fallen Hunters.
Cross the bridge to find three chunks of Wyrrite on your left, and, a bit further up, a chest containing The Will of Ice (Mesmerize). Go through the door on your left to find another elevator, and stepping onto it will lead to a cut scene. Time for another boss already?
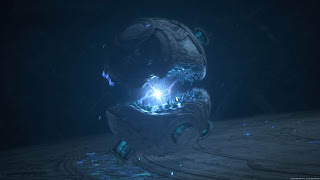
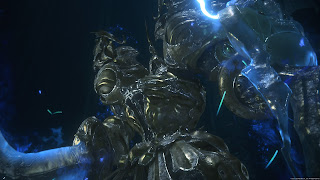
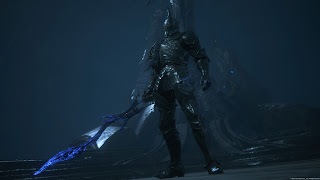
Control Node
An upscaled version of the Defense Node, the Control Node is also quite a bit more dangerous. It is far swifter than the others, and doesn't need to hide behind mooks to put up a fight. The Control Node uses the following attacks:
- A swift rushing attack
- A crushing attack where the Control Node splits apart, then tries to clamp back together around Clive's body
- A cluster of energy darts that fly at Clive
- A beam that it sweeps across the room, either horizontally or vertically
- An AOE field attack
- Short Circuit, a flurry of beams that erupt out of all sides of the Control Node
- High Voltage, a charging attack that hits Clive for heavy damage regardless of where he is in the room
- A slicing sword combo that can be executed at a long range, thanks to a starting jump
- A thrust with its shield that can come as part of a combo with the sword
- A sideswipe with its shield
- An AOE stomp that can come as part of a combo with the sword
- A sword-dragging charge attack that can send Clive flying into the air
- A three-part, long-range shockwave slice
- A long-range shockwave that leaves behind a damaging trail for a few seconds
- Golden Section, which conjures an enormous sword for a horizontal swipe that leaves behind a field of exploding energy patches
- Aetherial Assault Cannon, which creates a field of marks that get bombarded by lasers after a few seconds
- Teleporting melee combos
- A wide AOE sword slash
- Quick shockwaves from great distances
- Swift lunging stabs that carry Barnabas across the battlefield
- A sword slash that creates an AOE field of smaller slashes in front of Barnabas (think Malenia from Elden Ring)
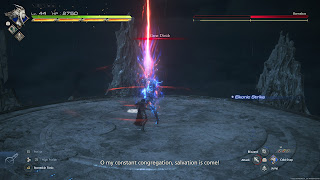
- The Lord's Measure, which creates a cross pattern in the air that you need to avoid
- A teleporting attack that puts Barnabas above your head for a second before he slashes downward
- The Lord's Measure, which covers a great deal more of the terrain than before
- Blinding Steel, which creates a huge, nigh-unavoidable wave of energy for several seconds
- Quieting, which forces Clive to the edge of the battlefield while Barnabas transforms
- The Great Divide, which makes Barnabas's sword enormous and prompts him to make vertical and horizontal chops towards Clive
- The All-wielder, a huge downwards chop after Great Divide that leaves Barnabas vulnerable for several seconds
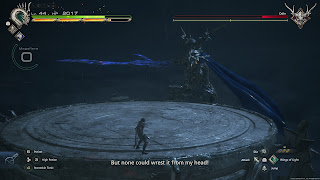
- Circle of Malius, a whirling attack that turns Barnabas into a flying wheel that will sweep towards Clive
- An overhead downward chop and a forward slice, immediately after Circle of Malius ends
- The Lord's Measure, which now covers the vast majority of the battlefield - albeit with holes in the pattern where you can hide

