Part 11: Monstro Town and Jinx's Dojo
Sky Troopa Climbing
Once you've reached Monstro Town, spoken to Monstermama, spoken to the 'star' on the second floor of her house, and then spoken to Monstermama again, you'll unlock the path to Bean Valley, the next stop on your trip. Unfortunately, getting up to Bean Valley is no mean feat, thanks to what comes next.
Return to the desert section of Land's End. You can do this either via the main map, which means you'll have to walk through the entire area again, or you can go through Belome Temple and pay the guy on the springboard 100 coins to jump up to your destination. Either way, you're looking for the area just before you entered Belome Temple, where there's an exit in the north of the map.
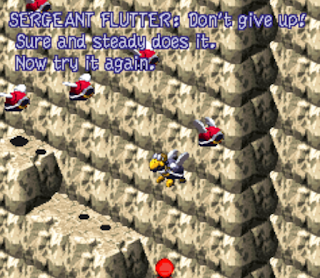
Upon arrival a Sky Troopa named Sergeant Flutter will deploy his troops along the edge of a steep cliff. Your job is to jump from one Sky Troopa to the next, all the way to the top of the cliff. The Sky Troopas will move slowly to the next one in line whenever you jump on one, so if you're careful and aim your jumps properly this section isn't as bad as it looks. Just make sure you've cleared any shells above you before you try to jump, or you'll knock your head and fall.
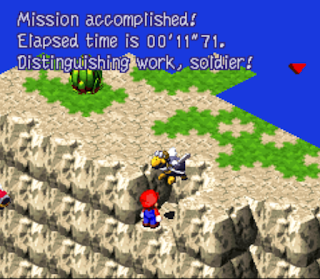
Whenever you make the trek up Sergeant Flutter will time you. If you manage to get to the top quickly enough he'll give you a prize:
- 12 seconds or less: Troopa Pin (one only)
- 12 to 11 seconds: Frog Coin
- 11 seconds or less: 5 Frog Coins
To get any of these prizes you'll need to perform some careful, well-timed, well-executed running jumps, staying on each shell only as long as is absolutely necessary. Unless you're a jumping savant this will require some practice. That said, if you do get this down to a consistent 11 seconds or less, hopping up the Sky Troopas is easily the best way to mine Frog Coins in Super Mario RPG. At the very least you should try for the Troopa Pin, as it will multiply its wearers' attack values by 1.5 times, as well as boosting their speed.
Bean Valley
Enemies
- Box Boy - 900 HP - Weak to Jump
- Chewy - 90 HP
- Chomp Chomp - 150 HP - Weak to Lightning
- Fautso - 420 HP - Weak to Jump and Ice
- Fink Flower - 200 HP - Weak to normal attacks
- Geckit - 100 HP - Weak to Ice
- Kriffid - 320 HP - Weak to Ice
- Octovader - 250 HP - Weak to Fire
- Shy Away - 140 HP - Weak to Ice
- Spinthra - 230 HP - Weak to Ice
- Stinger - 65 HP
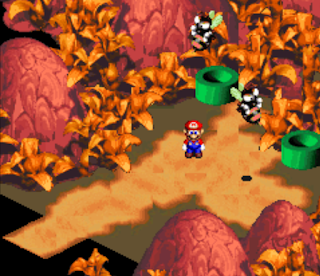
The majority of the enemies in Bean Valley are the same as what you fought in Land's End, so you won't be running into any huge surprises here. Right at the entrance you'll run into a choice between two pipes, though the upper pipe just leads to a dead end. Go down the pipe to the right to emerge in another small clearing with another pipe. Check the west end of the clearing for a hidden chest containing a Frog Coin before you go down the pipe.
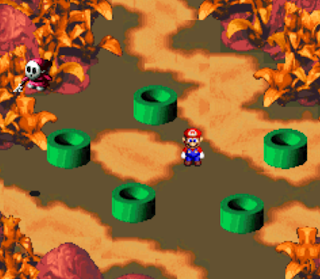
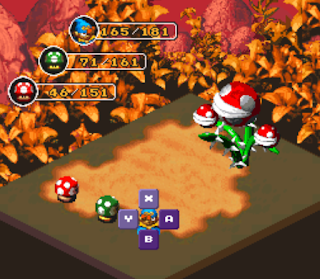
Beyond the pipe you'll find yet another pipe, as well as an exit to the north. The pipe will take you to a dead-end with a chest containing a Flower. Backtrack once you've got the Flower and go through the northern exit. In the next clearing you'll find a Shy Away watering some Pirahna Plants. If you wait for the Shy Away to grow the plants, then defeat the resulting enemies, you can enter the pipes and find some items:
- Northern Pipe - Enemies, exit to Grate Guy's Casino - we'll discuss this in another section of the guide
- Eastern Pipe - Chest containing a Box Boy (use Jump attacks), springboard leading to a Frog Coin chest, hidden chest containing a Red Essence (check along the eastern wall, just south of the yellowed stairs)
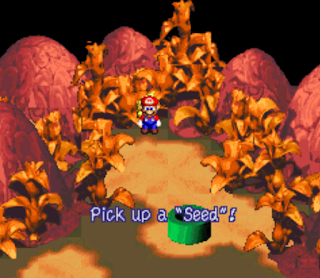
- Southeastern Pipe - Randomized chest (see below), hidden chest containing a Kerokero Cola (check the air southwest of the randomized chest)
- Southern Pipe - Randomized chest (see below)
- Western Pipe - Randomized chest (see below)
- Three matching symbols - Frog Coin
- Two Mushrooms - Full heal
- Two Flowers - Flower
- Two Stars - Rock Candy
- No matches - Box Boy battle
- 1,000 HP (Megasmilax)
- 200 HP (Smilax)
- A normal chomp attack
- Drain, a single-target magic attack
- Flame, a single-target Fire attack (Smilax)
- Spore Nap, a single-target attack that can put a character to sleep (Smilax)
- Petal Blast, an attack that can turn the whole party into Mushrooms (Megasmilax)
- S'crow Dust, a single-target attack that can turn one character into a Scarecrow (Megasmilax)
- Fire Wall, a Fire attack against your whole party (Megasmilax)
- Birdy - 150 HP - Weak to Ice
- Heavy Troopa - 250 HP - Weak to Jump
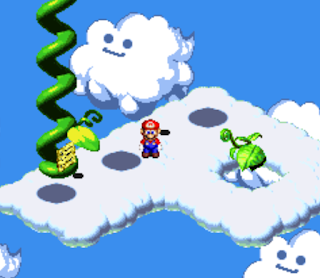
- The first area is three vines. Hop between each. Near the top of the screen is a Frog Coin that you'll need to leap off of the side of a vine to get.
- The second area has two vines at the bottom. Go up the red vine on the left to find a chest containing a Flower. At the top of the blue vine in the middle you'll face two other vines, and the golden vine on the left has a Frog Coin attached. Carefully leap over, climb the vine until you're face-to-face with the leaf partway up, and then jump back towards the blue vine to grab the Frog Coin.
- The third area has four vines. Climb up until you see a Frog Coin beside a red vine. Get up near the top of the vine before leaping over to grab it. Once on the small, central vine, hop into the air to reveal a hidden platform. Get back on the red vine, use it to jump onto the platform, and then use the platform to reach the green vine on the left.

