- Armored Interloper
- Imperial Astrologer
- Imperial Captain
- Imperial Legionaire
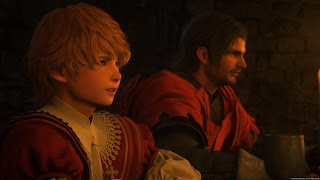
After braving the bogs of Stillwind Clive and his little band will be forced to Phoenix Gate, where they'll meet up with the archduke and his men. Many cut scenes will unfold, and by the end of them trouble will be a-brewin'.
Once you regain control of the game you'll be leading Joshua around, with Clive nowhere to be found. Joshua is much less nimble on his feet than his brother, though you can still perform basic evasive moves. Joshua also commands a slow, fiery slice as a melee attack (no combos), and he can use Curaga to instantly restore all of his HP. He's much more powerful than you may have thought.
Follow Wade out into the hallway from Joshua's chamber, and keep walking until you reach a door. Wade will charge at an Armored Interloper in the next room, and you can blindside the man with Joshua's melee strike. Keep going and you'll run into Imperial Legionnaires who will prove just as easy to defeat.
Eventually you'll hit a string of cut scenes, and before long you'll be done playing as Joshua. Back to Clive, and this time he has Lord Commander Murdoch on his side. Enter the room ahead when you regain control and you'll find a Stoneskin Tonic on a barrel, next to a door. Go through this door and you'll be facing down a roomful of enemies. They're nothing special, aside from the single magic user.
In the next hallway you'll find a Potion and a High Potion. This hallway leads outside, where you'll run into another squad of soldiers. Take out the spellcaster, then help Murdoch wipe out the rest. Be ready, as you're about to run into a much nastier enemy when this fight ends.
Knight of the Blinding Dawn
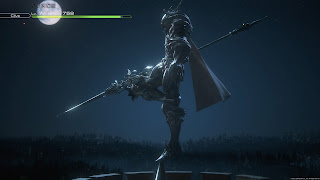
Entering the fray with a painful dive that you had better dodge, the Knight of the Blinding Dawn is a dragoon with style. You'll need to take him out to escape the Phoenix Gate. The Knight of the Blinding Dawn uses the following attacks:
- A dashing thrust
- A whirling spin of his polearm
- A leaping stab
- An upward, hopping spin, usually used if you dodged an attack and then immediately went in for your own strike
- A three-part combo that ends with the knight chucking his polearm at the ground towards you
- Jump, a high-flying slam into the ground
- Double Jump, a two-part, high-flying slam into the ground
- A few cinematic attacks that you can counter
This is a slow, precise fight. The Knight of the Blinding Dawn is much more careful with his attacks than the enemies you've fought up to this point, and if you rush at him madly you'll get punished. You need to be economical with your attacks, watching for the knight to attack a few times then sliding in with a few hits of your own before backing off again. Spend too much time near the knight and he'll knock you around.
Start off by peppering the knight with Fire attacks. This will usually goad him into coming after Clive, either with his long-distance thrust or one of his whirling attacks. With enough distance you shouldn't have much trouble dodging either attack, and if you time things correctly you can Parry the knight's whirling polearm attacks. Wait until he is facing away from Clive during the spin to Parry and you'll usually catch him. Once he's Staggered you can get in the knight's face and smack him around until he recovers.
Partway through the battle the knight will begin using Jump. Jump will send the knight flying far into the air, and a small, blue marker will appear on the ground. You need to immediately dodge away from this marker or risk getting a polearm to the head. Double Jump will place two of these markers, one after the other, and you just need to dodge the second one as well. Get to this point and, aside from a new combo attack, the Knight of the Blinding Dawn won't change his patterns again.
Cut scenes follow. After that...
Eikon of Fire
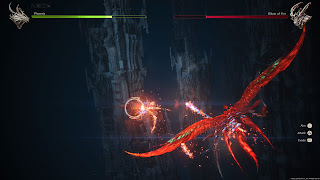
For this most part this is a cinematic battle, and saying too much would spoil the matchup. Just aim at the Eikon and fire relentlessly. Whenever it appears to be charging at you - it will be coated in flame, not just 'fiery' - use R1 to dodge out of the way. If you get hit, don't worry too much - this fight is largely scripted, though there is one big attack at the end that can give you a Game Over if you take too long depleting the Eikon's health. Once it ends, well... a lot changes.


