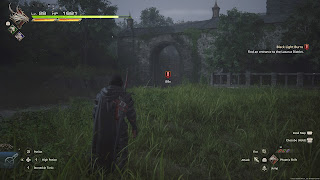
Clive and Jill have walked the length of Hawk's Cry Cliff to get into Port Isolde, only to get stopped at the front door. Fortunately, Clive has an alternative - a sort of side entrance that only nobles know. Retreat northeast up the Silken Strand and you'll find a gated approach to a new area. Head inside.
You're now in a little area called the Lazarus District. Start by heading up the slope to the south of the gate. Check the southeastern corner of the landing and you'll find a chest containing ten spools of Steelsilk. That done, return to the lower level and follow the path. You'll soon be surrounded by Lazarus Bandits, some melee, some spellcasters. Immediately use one of your wide-ranging AOE attacks to catch them off guard - you are surrounded, after all - then move around the area and wipe them out.
You'll receive Steelsilk and a Gil Bug for defeating the Lazarus Bandits, who, it turns out, are led by an old friend: Sir Wade. After a bit of chatter Clive and Jill will join forces with Wade to deal with the Black Shields. Check to your right once you regain control to find a chest containing ten pinches of Magicked Ash, then head north. There's a Guardian Quartermaster out here who will sell you two new items: Desert Rose, a crafting item, and Elixirs, very pricey restoratives.
Speak to Wade. This will set a new sub-quest in motion. It will also put Wade in the party, and you'll get a message regarding party members. (Though at this point Wade is just a guest.)
Black or White
Reward: 80 Magicked Ash, 1 Meteorite, 20 Renown, 800 gil
Head back to Bewit Bridge. You'll find a squad of Black Shields, including a Captain and a spellcaster, waiting. They're all clustered together from the start, so a few AOE attacks will take them down.
Defeat the first round of Black Shields and reinforcements will show up, including an Imperial War Wyvern. You've fought plenty of these swooping menaces before - though be careful, as several War Wyrms will show up after the fight begins to help. Pluck them out of the sky so they don't distract you from the main threat.
Wipe out the second squad and a new threat will appear, though, again, it is familiar.
Knight of the Lasting Dark
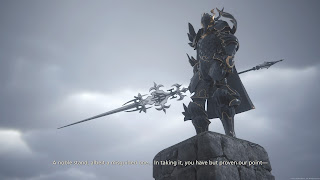
Great, another dragoon. The Knight of the Lasting Dark is virtually the same as the last knight you fought, with the only difference being his choice of allies - and when they show up. The Knight of the Lasting Dark uses the following attacks:
- A swift thrust that sends the knight flying across the field
- An overhead slam of the knight's polearm that sometimes carries through into a whirling combo
- A swirling AOE arc of the knight's polearm
- A combo that ends with the knight charging up his polearm and throwing it at the ground in front of him
- Jump, where he marks a spot and then plunges down on it a moment later
- Double Jump, which marks two spots for two consecutive plunging attacks


