

Danger Level: 34
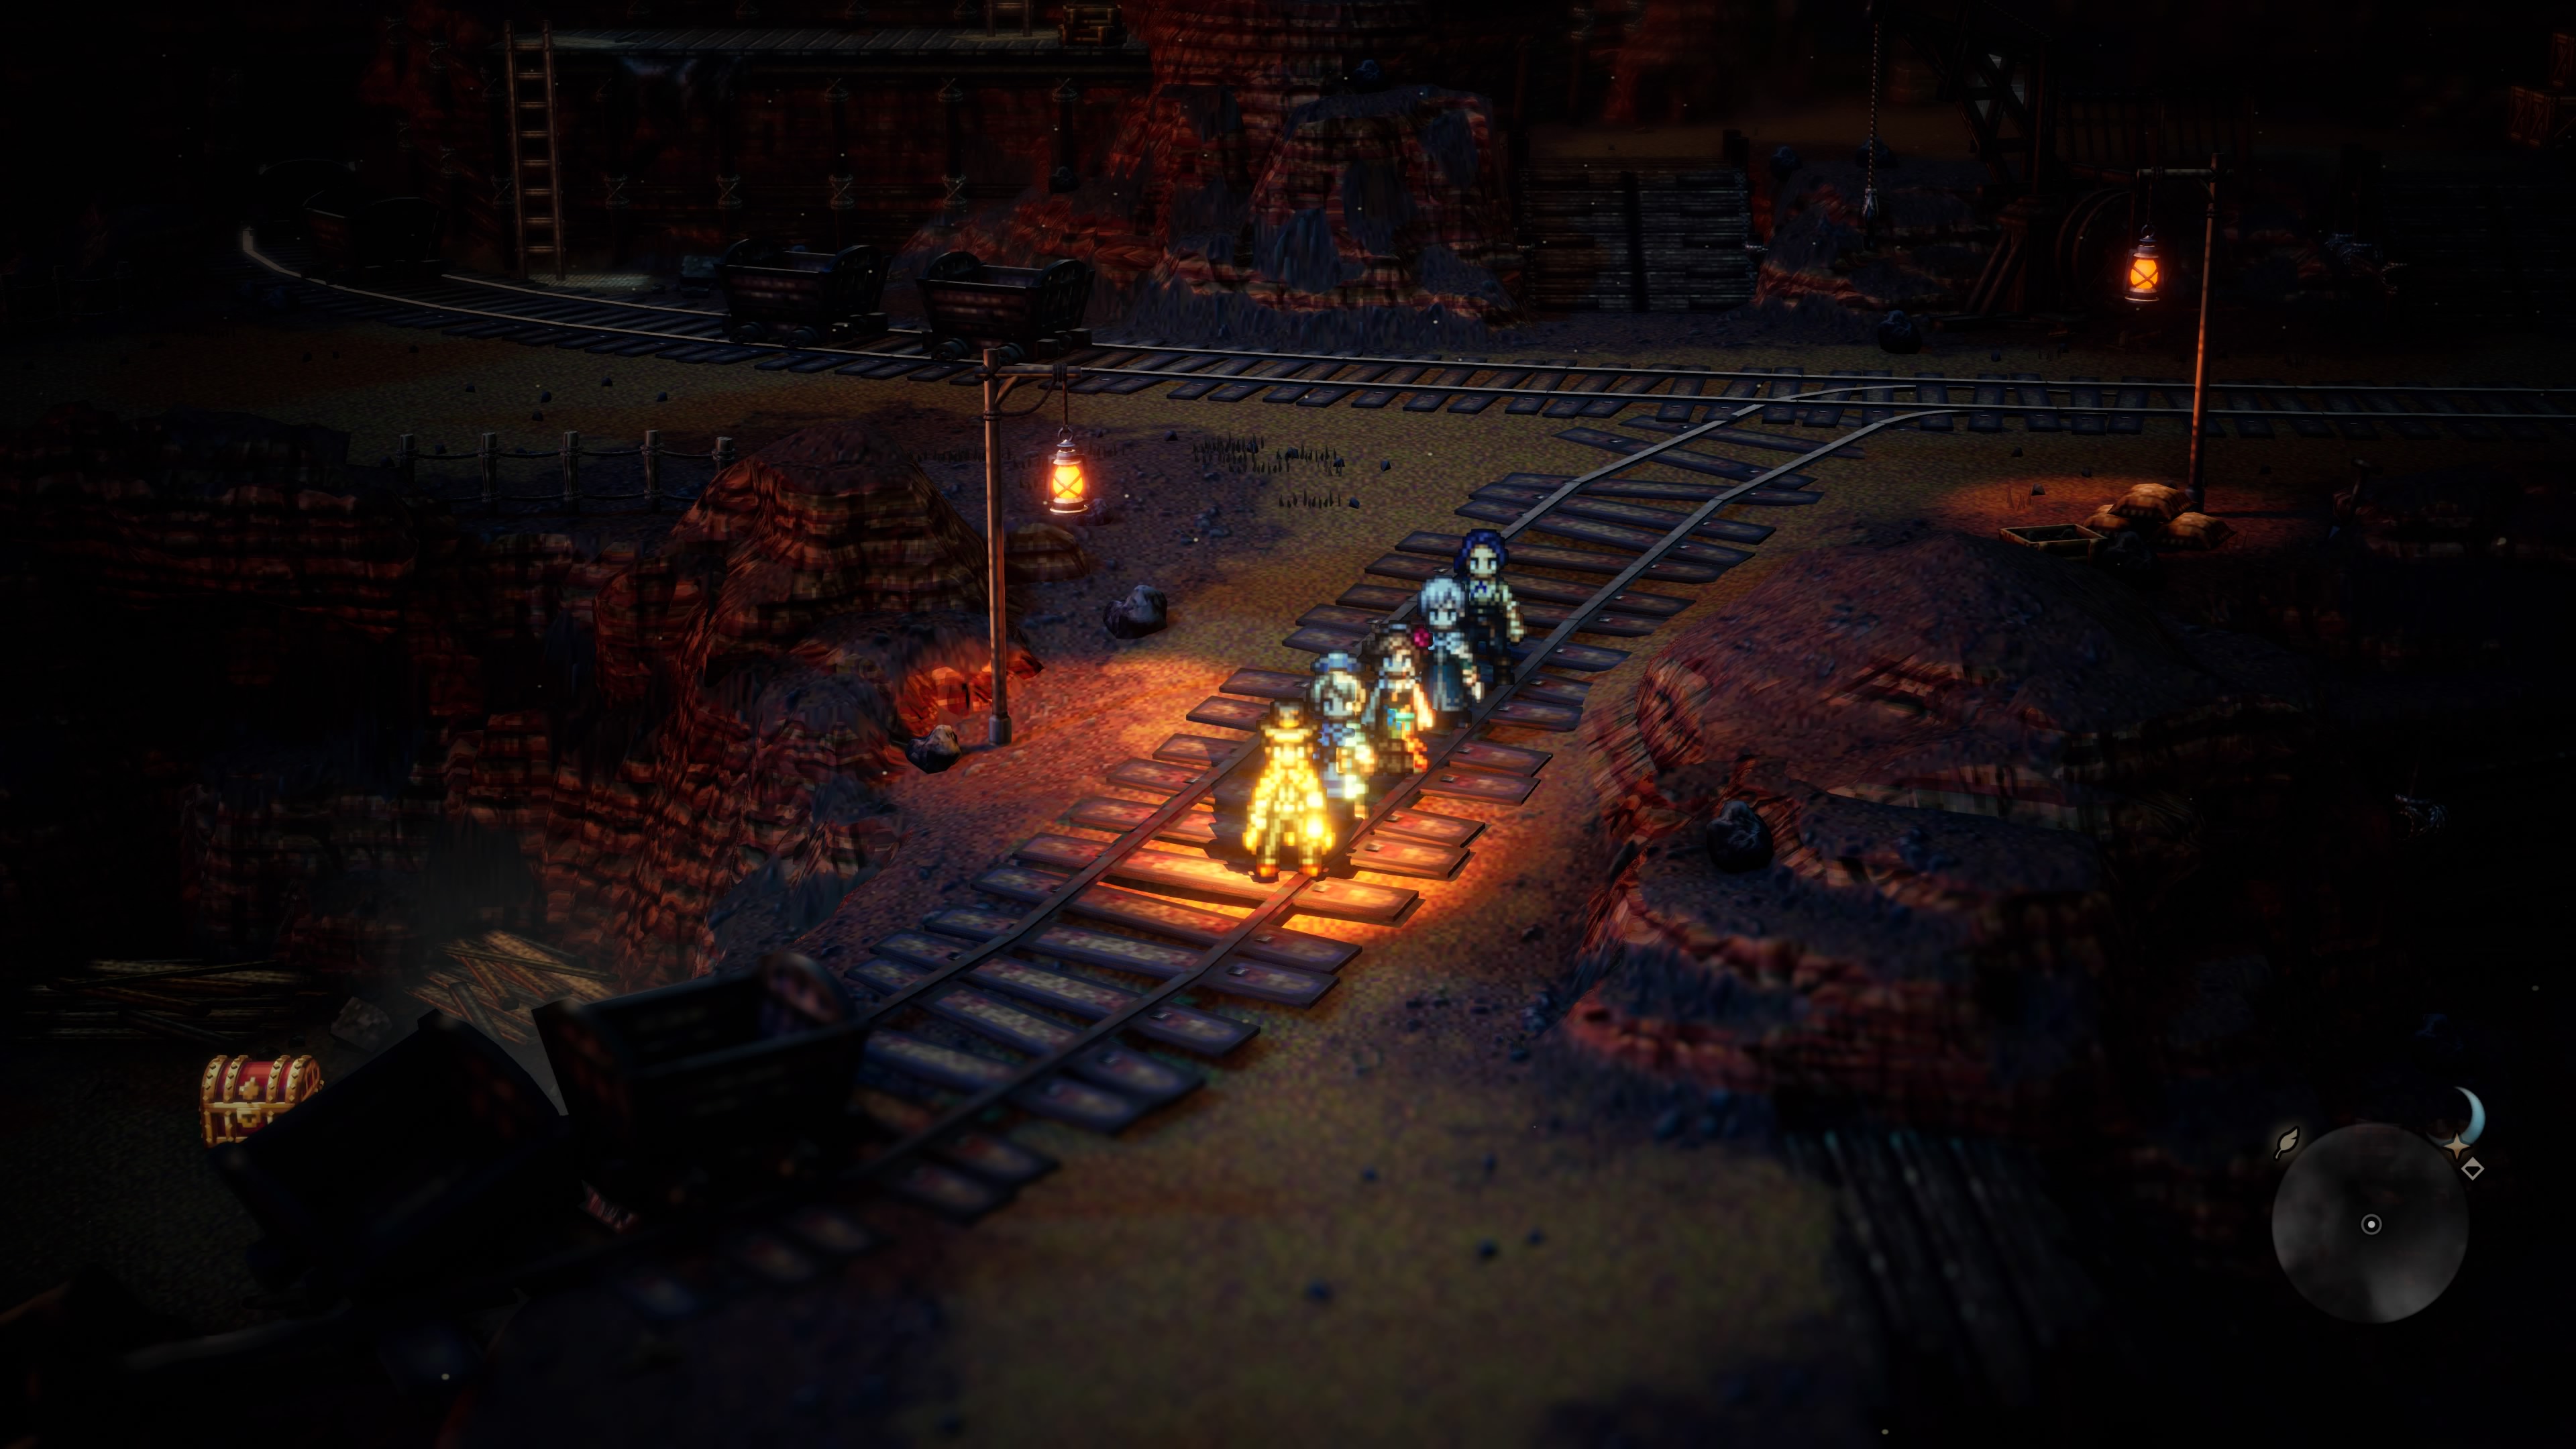
A man-made passage that has run into some trouble, the Unfinished Tunnel is located in the Southern Crackridge Wilds. You'll find the entrance in the northwest of the area, on the other side of some train tracks, but an Overseer will prevent you from entering. You'll need to knock the Overseer out via Path Action to enter the dungeon.
Once inside you'll be addressed by the Foreman, who claims that a monster has been styming the workers' progress on the tunnel. This will begin a new Side Story, The Cave Monster. If you care to plunder the Foreman's things you'll find a Rock Cleaver and two Herbs of Healing in his inventory.
Enemies
- Ancient Birdian I - Weak to Sword, Polearm, Axe, Lightning, Light - Drop / Steal Healing Grape
- Ancient Birdian II - Weak to Sword, Polearm, Axe, Lightning - Drop / Steal Dreamy Flower
- Ancient Birdian III - Weak to Polearm, Dagger, Fire, Lightning - Drop / Steal Inspiriting Plum
- Ancient Birdian IV - Weak to Sword, Polearm, Axe, Lightning - Drop / Steal Healing Grape (M)
- Armor Eater - Weak to Sword, Axe, Staff - Drop / Steal Whimsical Leaf
- Bloody Bull - Weak to Sword, Ice, Light - Drop / Steal Inspiriting Plum (M)
- Crawly Fledgling - Weak to Bow, Staff, Fire - Drop / Steal Fool's Leaf
- Cultured Cait - Weak to Sword, Dagger, Axe, Staff
- King Condor - Weak to Polearm, Staff, Lightning - Drop / Steal Inspiriting Plum
- Two-Handed Hatchling - Weak to Sword, Axe, Fire, Light - Drop / Steal Cleansing Leaf
- Wild Mole VI - Weak to Sword, Staff, Lightning - Drop / Steal Inspiriting Plum (M)
- Wild Moleking I - Weak to Dagger, Staff, Ice - Drop / Steal Healing Grape (M)
The main path leads west of the Foreman, though if you check up the ramp to the north of the Foreman first you'll find a chest containing 2,100 leaves. Go as far west as you can and you'll eventually come to a dead end with a ladder. At the top of the ladder is a chest containing a Revitalizing Jam.
The tracks running through the tunnel split off to the south, and you need to follow them. Walk south until you come to a pair of old mine carts. Look on your right and you'll find a pathway to a chest containing an Olive of Life (M). Southwest of the chest is a wooden ramp that seemingly leads nowhere, though if you inspect the wall on your left at the bottom of the ramp you'll find a hidden path. It leads to a chest containing Natural Magnetite, a quest item.
Return to the tracks and go south. Down a set of stairs you'll find a split in the path. Go down the ramp to the south of the split and you can find a chest containing a Clarity Stone. Go west from the split and you'll find a track bridge leading south over a chasm. Go north before crossing the tracks to find a chest containing 13,500 leaves, then return to the tracks and go west. On the other side you'll see a ladder to your left, and at the top of the ladder is a chest containing an Herb Elixir.
North of the tracks you'll find a save point. Keep following the path southeast of here and you'll be hit with a sense of danger. Ready to fight?

Manymaws
Weakness:
- Sword, Axe, Staff, Fire (first phase)
- Polearm, Axe, Bow, Staff, Ice (second phase)
Steal: Nothing
- Foul Odor, which can inflict Poison, Blind, Sleep, and Confusion on your party
- A normal melee attack
- Befuddling Fang, which damages and can Confuse a single target
- Toxic Breath, which can Poison the party
- Aberration, which can inflict Silence on your party
- Mutation, which raises Manymaws' shields to 8 and changes its weaknesses
- Rancid Odor, a charged attack that inflicts Poison, Sleep, and several debuffs on the party
