Enjoying Octopath Traveler II? Try out Octopath Traveler 0, the newest game in the franchise, available now on Amazon for the Nintendo Switch! As an Amazon Affiliate I earn from qualifying purchases, at no additional cost to you.
Danger Level: 50
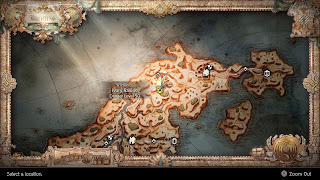
A small dungeon in the depths of the Wildlands, the Ivory Ravine is located at the 'bottom' of the Western Gravell Wilds. To reach the dungeon you need to look for a ladder, which is most easily spotted if you're headed west, away from Gravell. The ladder is beneath a rope bridge. Swing south from the bridge and you'll find a second, smaller bridge that will take you to the top of the ladder. Going down the ladder will bring you to another ladder, which serves as the entrance to the Ivory Ravine.
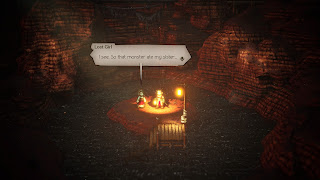
In all likelihood you'll be entering the Ivory Ravine to complete The Missing Girl Side Story, which is assigned to the party in Gravell by a Worried Mother. You can't do so without defeating the dungeon's boss, so let's get started.
Enemies
- Ancient Birdian V - Weak to Sword, Polearm, Axe, Lightning - Dreamy Flower
- Ancient Birdian VI - Weak to Polearm, Axe, Dark - Drop / Steal Inspiriting Plum (M)
- Ancient Birdking I - Weak to Sword, Polearm, Staff, Lightning - Drop / Steal Inspiriting Plum (M)
- Ancient Birdking II - Weak to Polearm, Dagger, Axe - Drop / Steal Dreamy Flower
- Ancient Birdking III - Weak to Sword, Polearm, Staff, Lightning - Drop / Steal Energizing Pomegranate (M)
- Dark Remnant - Weak to Sword, Polearm, Axe, Light - Drop / Steal Energizing Pomegranate (M)
- Dark Revenant - Weak to Sword, Bow, Staff, Light - Drop / Steal Inspiriting Plum Basket
- Deep One (must defeat boss first) - See below for weaknesses - Drop / Steal Revitalizing Jam
- Wild Moleking III - Weak to Axe, Staff, Ice - Drop / Steal Inspiriting Plum (M)
To the south of the entrance ladder you'll see a bridge on your right. Ignore it and look to the left. There's a ladder down here, and it will put you on a path to a chest containing a Lost Tribe's Axe. Put this on someone wearing a Blessing in Disguise and it will be a powerful weapon.
Head back to the entrance and take the bridge leading east. It will bring you to another bridge, further south, as well as a ladder. Go down the ladder first to find a chest containing a Bottle of Befuddling Dust. Across the bridge and to the west you'll see a chest up north. The chest contains an Evening Mist.
To the south of the chest you'll find a save point. The stairs to the right of the save point lead down to the bottom of the ravine, where you'll find water flowing through the area. Check to the west when you hit dirt and you'll find a chest containing a Giant's Club. To the north in the water you'll see a woman standing by herself on a small island, though if you try to canoe out to her you'll quickly run into trouble.
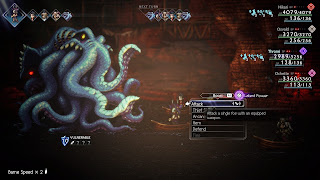
Deep One
Weakness:
- Sword, Axe, Fire, Light (first phase)
- Polearm, Dagger, Bow, Ice (second phase)
Steal: Nothing
- Normal melee attacks
- Strike of Despair, a powerful strike against a single character that can render them Unconscious and / or Silent
- Terrifying Blow, a powerful strike against a sinble character that can inflict Terror
- First / Second / Third / Fourth / Fifth / Sixth Calamity, a Dark attack with a secondary element against the whole party - Sixth Calamity reduces everyone to 1 HP
- Mutation, which changes the Deep One's weaknesses, gives it an extra attack per round, and raises its shields to 13
- Call of the Sea, an attack that damages the whole party and restores some health to the Deep One
- Slow Motion, a debuff to your entire team's speed
- Counterattack, which allows the Deep One to retaliate against physical attacks
- Great Calamity, a charged attack that will OHKO the entire party


