

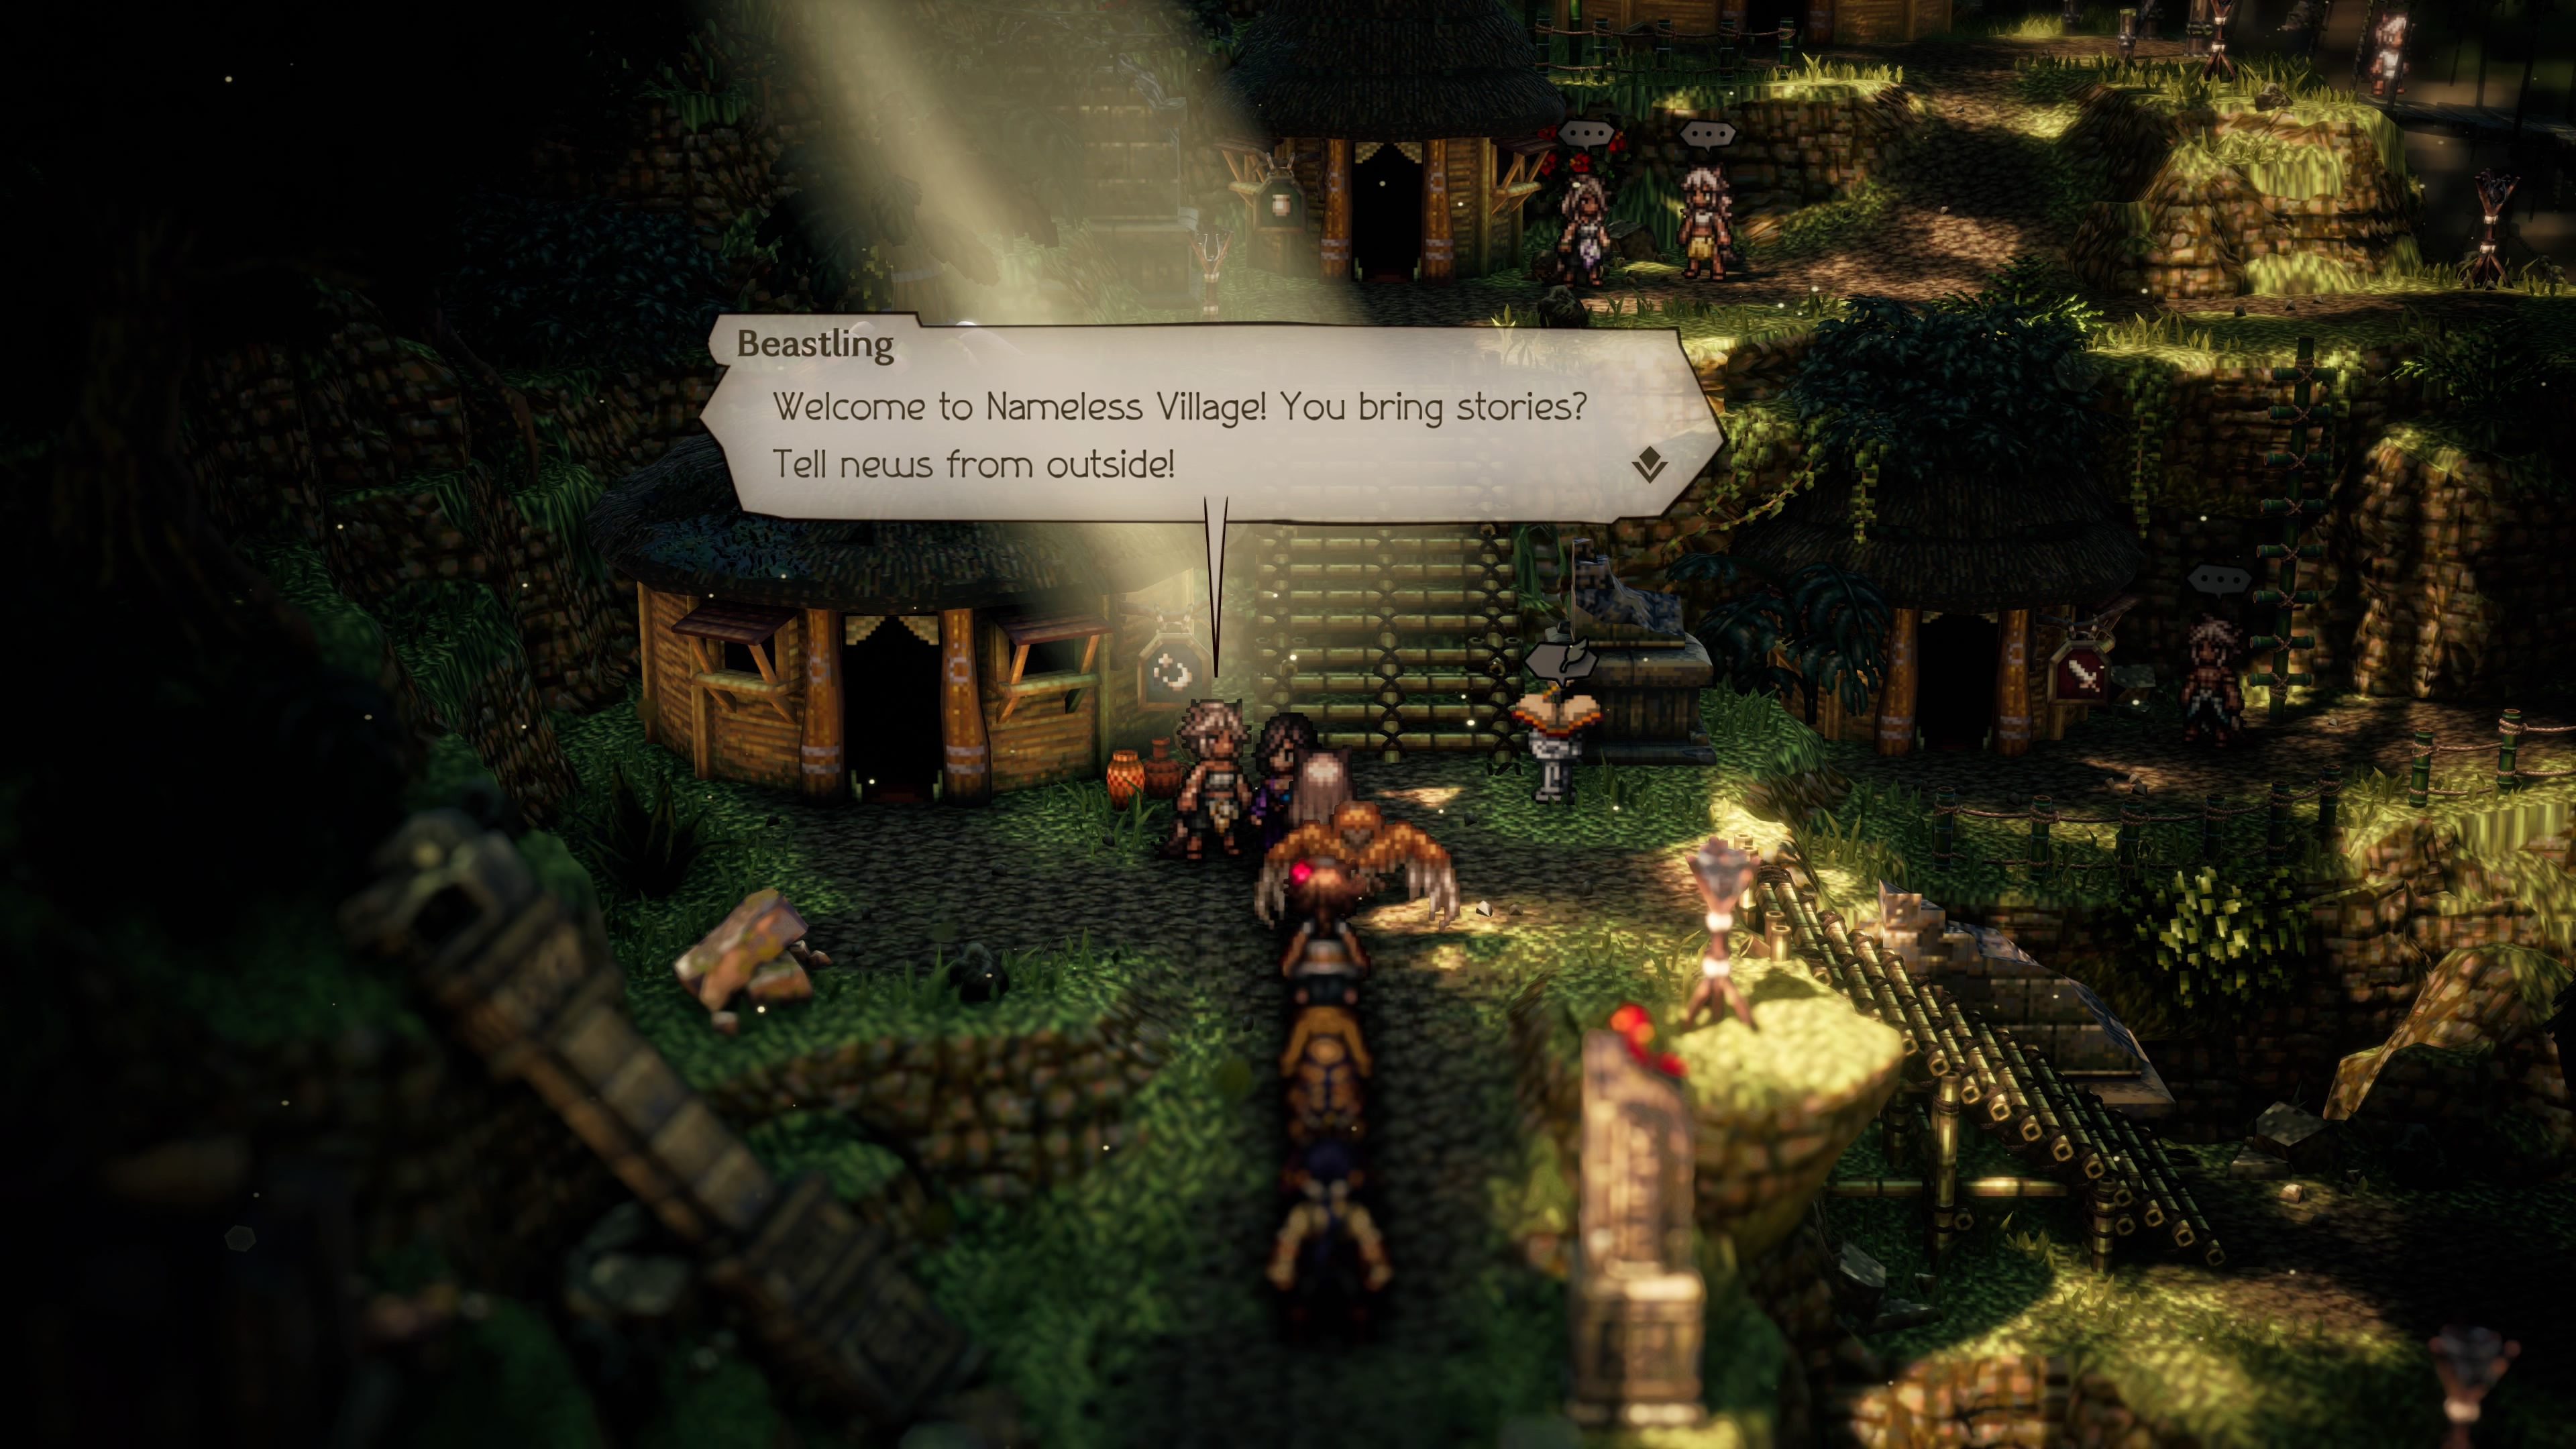
A small village populated entirely by Beastlings, the Nameless Village is a small waypoint on your journey. The storyline will only demand you come through here during Temenos's final chapter, and a few Side Stories will send you this way as well. You should nevertheless give the Nameless Village a thorough once-over, as there are some valuable items to pick up if you look around.
The Nameless Village is located in the north of Toto'haha. To reach it you'll need to head north through the Western Tropu'hopu Traverse, until you're forced to start canoeing. North of here is the Southern Nameless Village Traverse, and if you sail through this second route you'll arrive at the Nameless Village.
Exits
- In the southwest of the village you'll find the exit to the Southern Nameless Village Traverse, the path you took to get here.
- In the north of the village, accessible by a path near the Armorer's hut, you'll find the Wandering Wood. Temenos's final chapter takes place here, though you can't access it until you've met up with a particular NPC.
Services
The Nameless Village offers all of the usual amenities of a town, with a Provisioner, Armorer, and Inn on its west side. Travel across the bridges to the east to find the Tavern. Unlike the Beasting Village, which is the only other Beastling-centric settlement, you don't need to spend Jerky here.

Treasure
- East of the entrance to the Nameless Village you'll see a Beastling guarding a chest. If you succesfully knock her out - which may be easier via Ambush, as she's a powerful opponent - you can claim the Mythical Horn inside the chest. The Mythical Horn is a quest item used to cobble together an invention for the Inventor Job.
- East of the Armorer's shop is a ladder. Climb down it to find a chest containing Salted Seafood.
- Head north along the path to the Wandering Wood. On your right, partially obscured by a bridge, is a ladder. Climb down it to find a chest containing an Empowering Lychee (M).
- There are two docks in the Nameless Village, one by the chest containing the Empowering Lychee (M) and the other on the west side of the village. You can use either to canoe south, where you'll find a waterfall. Head east along the waterfall to find a third dock. It leads to a hidden chest containing a Stimulating Necklace.
- Up a ladder on the east side of the village you'll find a chest containing a Bottle of Befuddling Dust.
- On the east side of the village is a hut blocked by a Beastling. Knock him out via Path Actions to enter the hut, where you'll find a chest containing a Forbidden Bow.
- There's a Beastling standing outside the Inn, by the entrance of Nameless Village. She's carrying an Inspiriting Plum (M) and a Wind Soulstone (L). Inside the Inn is a younger Beastling who's carrying a Pomegranate Leaf, and a Sharp Nut. The younger Beastling can get you a Discount at the Inn.
- East of the Inn is a hut. Inside is a Beastling who's carrying a Sharp Nut (M) and a Light Soulstone (L). East of this hut is a Beastling protecting a chest, and she's carrying Salted Seafood.
- The Mayor of the village is standing outside the Provisioner's shop, along with another Beastling. They're holding a King of Beasts, an Energizing Pomegranate (L), a Healing Grape Bunch, an Inspiriting Plum Basket, and a Glass Marble. The Mayor can teach you how to Guide with Ease, while the Beastling on the right knows of a hidden Octopath Bowl, sitting outside the Tavern.
- There's a Beastling standing outside the Armorer's hut. He's carrying Quality Jerky and a Nourishing Nut (L). He'll unlock New Equipment for Sale when scrutinized.
- There's a young Beastling standing on the northern bridge. He's carrying an Obsidian Dagger and a Wind Soulstone. He knows of a hidden Wind Soulstone (M), down the stairs to the east of the village's save point at the entrance.
- Inside the Tavern you'll find a Beastling. She's carrying Revitalizing Jam and an Empowering Lychee (L). She knows of a hidden Bone on a statue on the west side of the village, accessible only by canoe.
- There's a Beastling standing guard in front of a hut on the east side of the village. He's carrying a Cleaver of Destruction, Jerky, and a Critical Nut (M). Inside the hut he's guarding you'll find a Beastling, and she's carrying a Divine Necklace and a Darkdelion. This younger Beastling knows of a hidden Warding Leaf, on the east side of the village's southern bridge.
- There's a little Beastling on the east side of the village's southern bridge. He's carrying a Tree Nut, a Curious Antique, and an Herb-of-Grace Bud. He can teach you how to Provoke Like a Pro.
- There's a Beastling on the east side of the village with a Side Story for you. He's carrying Superior Jerky and a Bone. Complete the Side Story and he'll be joined by a Beastling from Beasting Village who's carrying a Stick and a Stone.

- There's a Beastling on the east side of the village who speaks only gibberish. (Gibberish to you, anyway.) He'll give you the Ghormf! Side Story.
- Once you complete Temenos's storyline you'll find Shirlutto, the Cleric's temporary guide, in the north of the village. He'll give you the Shirlutto's Next Chapter Side Story.