

Part 32: Defeat Doflamingo - New Royal Plateau 2nd Level, War Plateau
3rd Level - Flower Hill
Enemies
- Conch Kancho - Weak to Power, resists Ice
- Crush Penguin - Weak to Speed, Fire, resists Lightning
- Durian Gator - Weak to Power
- Funny Mouse - Power, Fire
- Iron Del Kong Weak to Technique
- Mechanical Doll - Weak to Power
- Shay-King Dragon - Weak to Technique, Lightning
- Shockcracker Doll - Weak to Power
- Skullcracker Doll - Weak to Power
The end is close at hand as the group reaches the top of New Royal Plateau, and all that's really left is the final stretch to Donquixote Doflamingo. Save, activate the Yoisa Sign by the entrance, trigger the cut scene ahead, and claim the Grand Log: Dressrosa, Part 6 Objective reward. Time to set off.
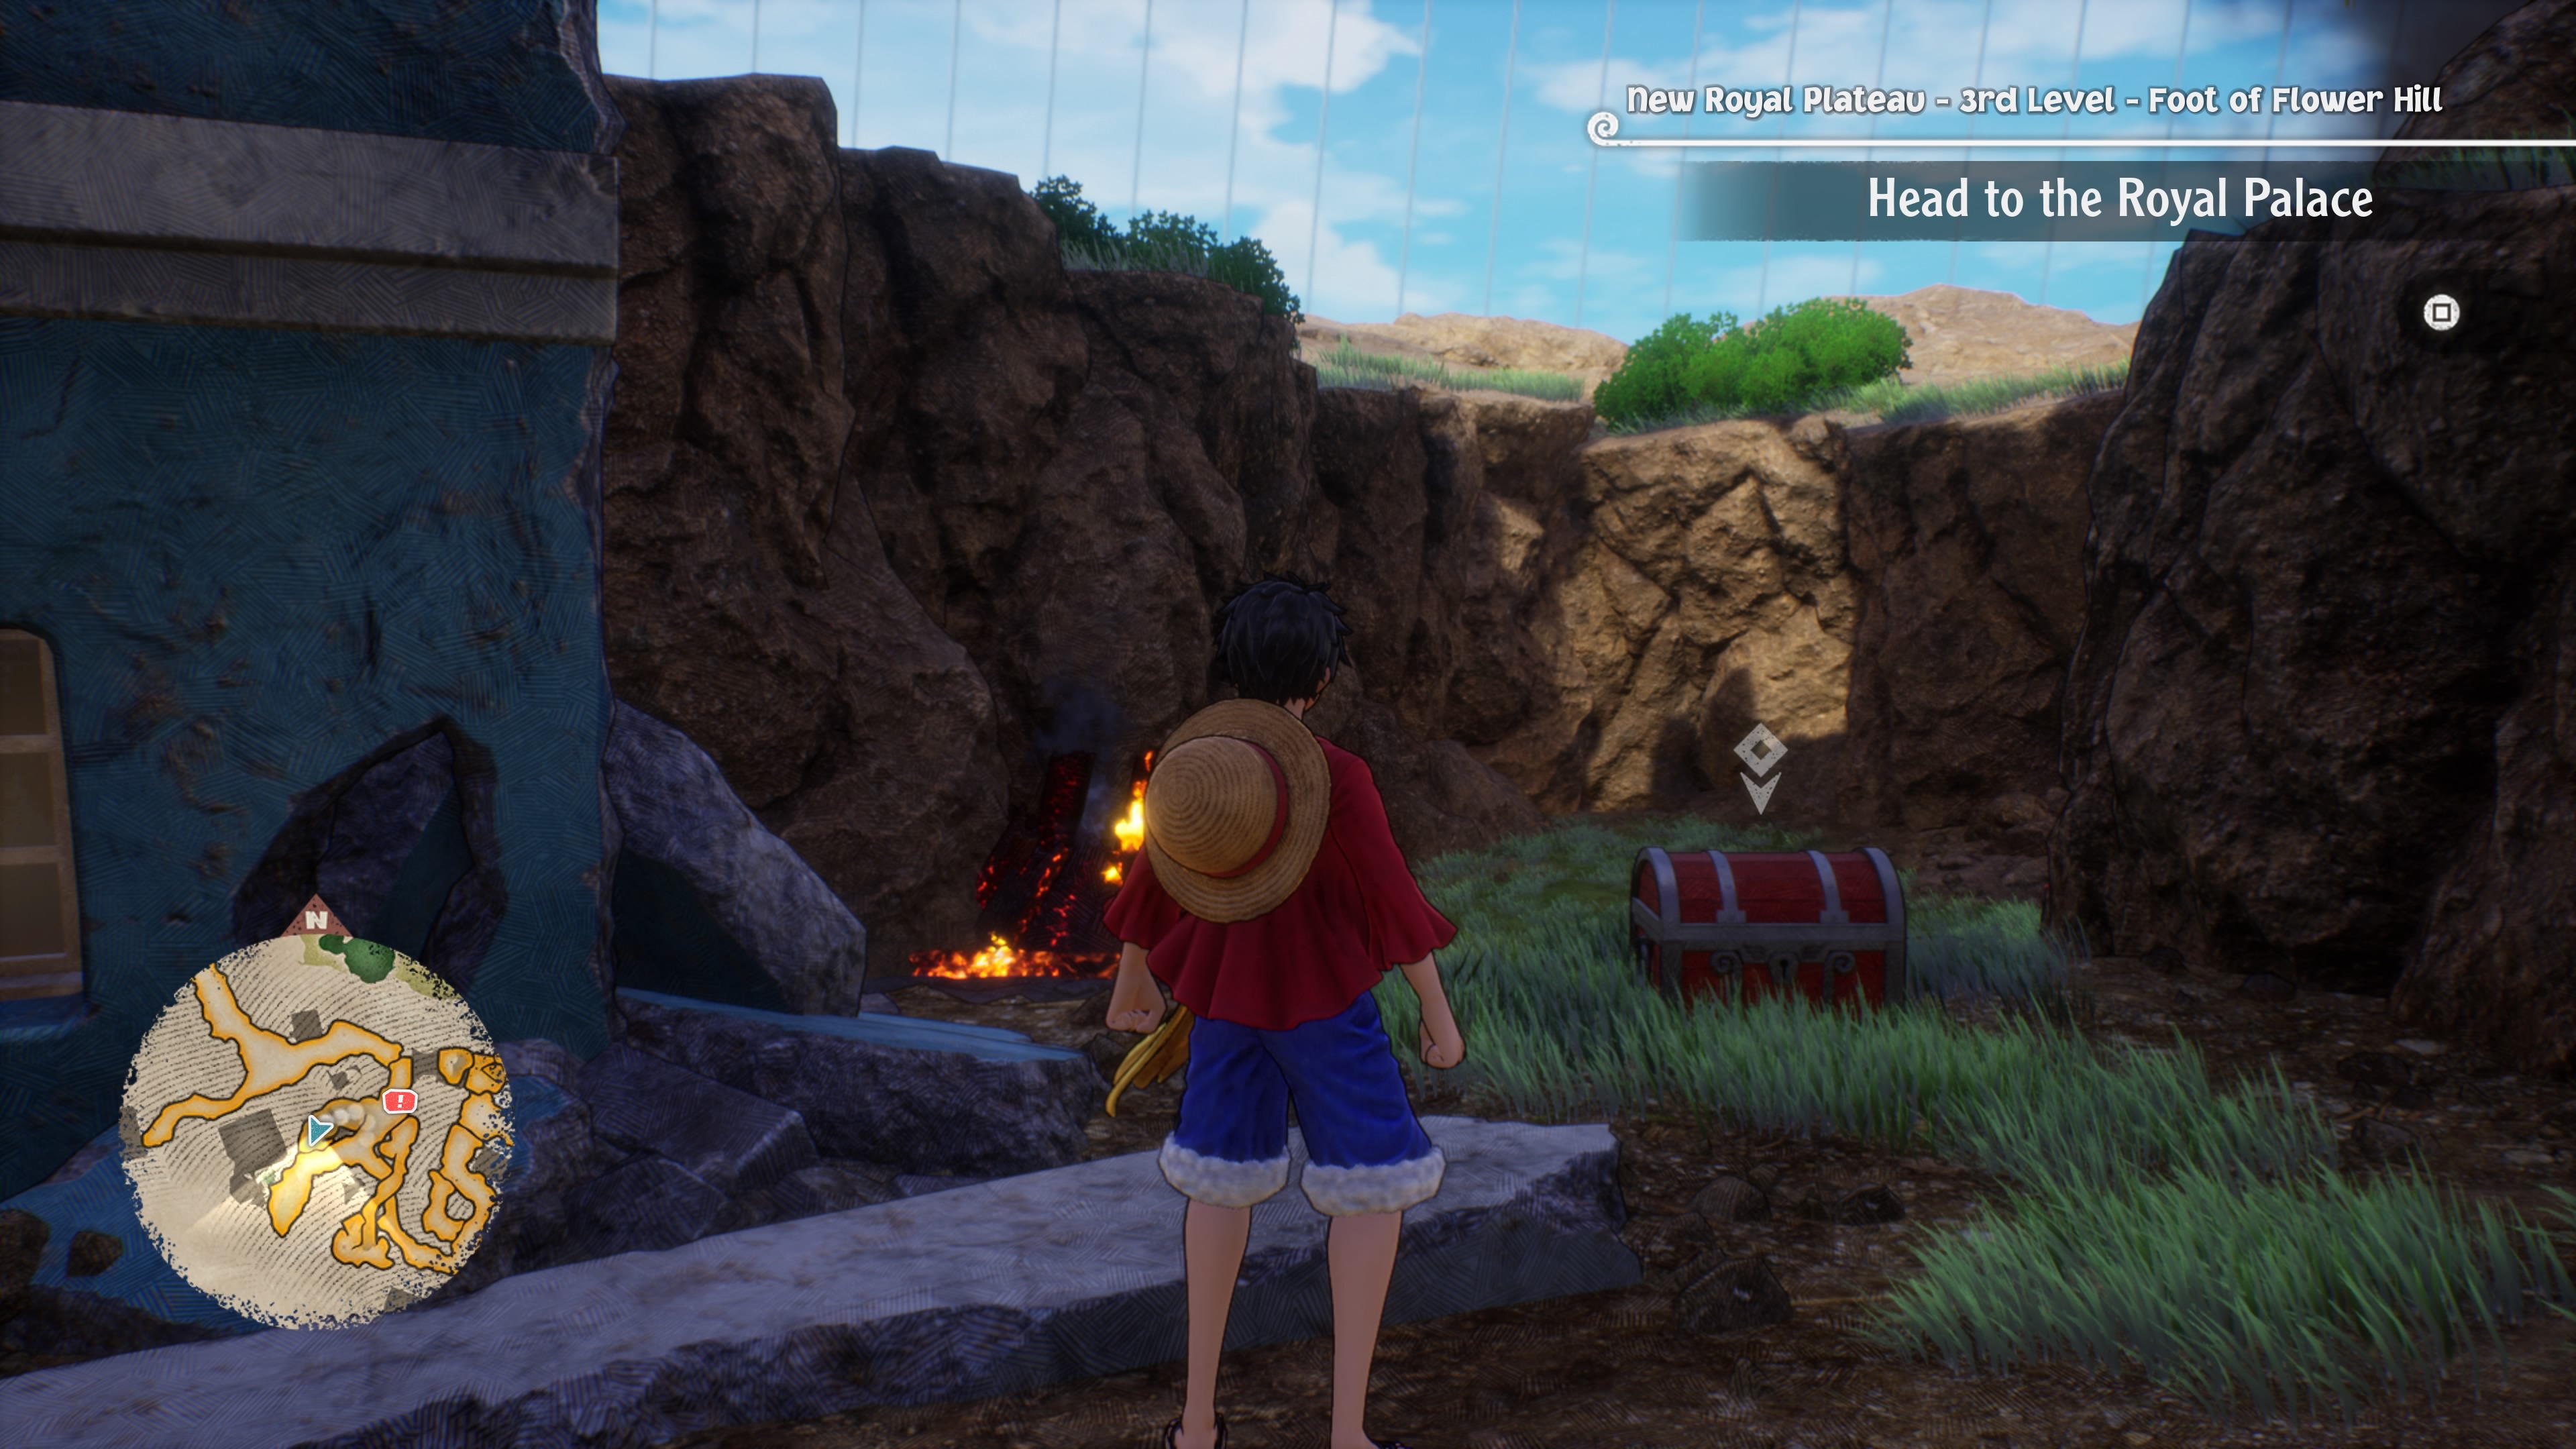
The path splits here, and the crew makes it abundantly clear that you should go left. Ignore their advice for the moment and go right. Follow the path southeast and you'll find a clearing with a chest that contains three Shay-King Dragon Maracas. On your way back northwest you'll see blue spikes sticking out of the ground that serve as grapple points, and you can grapple and hop your way into a ruined blue building if you stick to the north wall. Inside the building are three Robin's Cube Fragments and two Zoro's Cube Fragments.
Grapple your way back to the entrance and take the left, westbound path this time. On your left is a small pathway for Chopper that will take you up to a chest containing two Dogol Dragon's Chilled Pastas and two Nami's Cube Fragments and two Usopp's Cube Fragments.
Drop back to ground level, then check the rise dead ahead, with the ruins of a blue building on it. You'll find a chest containing two Super Burst Brews. Next, head north along the main path to trigger a cut scene instructing Luffy to use the blue spikes to climb. Before you do, smash the pot at the bottom of the nearest rock wall to find a Yaya Cube.
Grapple up a level. There are three Sanji's Cube Fragments and two Robin's Cube Fragments dead ahead. Continue west along here to reach a new area.

Spike Road / Spike Hill
The path splits here. Go left, to the west, and you'll find a dead-end with a chest containing Corazon's Hood. Taking the right and going north will put you on a winding, enemy-filled, fairly uneventful path to a save point. Make sure you use it, as coming up next...
Pica
Weaknesses:
- Technique (Pica)
- Power (Spiked Rocks)
- Varies (Donquixote Family)
When this fight begins Pica won't be on the battlefield, and you'll be facing off against a group of Donquixote Family members and three Spiked Rocks. They all use pretty basic attacks. Once you defeat all three Spiked Rocks Pica will pop out and join the fray. Aside from basic melee attacks he can use Colossus Hammer, calling on his huge, stone self to hit everyone on the field for a decent amount of damage. Reinforcements will arrive on the field multiple times if you take too long defeating Pica.
This fight is not hard. Luffy's Conqurer's Haki is a quick way to clear the intial field if you use it a few times, and once Pica's out in the open you just need to mash him with your Technique users. Bring out more AOE attacks if / when reinforcements appear. You'll receive extra experience if you beat Pica with Zoro, which is the true challenge here, since he'll be competing with your guest characters for the kill.
You'll receive Pica's Power, two Franky's Cube Fragments, and two Zoro's Cube Fragments for defeating Pica.

Spike Canyon
North of Pica's battlefield you'll find a drop down to a save point. North of the save point is a moulted spike that serves as a pathway. Look down and to your right as you cross the spike and you'll see two Chopper's Cube Fragments and two Zoro's Cube Fragments that only Luffy can grab. At the end of the spike you'll need to grapple across a gap, and if you look left on the other side you'll see a chest you can only reach by, again, grappling. Inside it is Fairy Pumpkin Gazpacho.
Grapple east and you'll land near a chest containing three Jura Bird Puddings. You're meant to grapple up the mountain at this point, but first you should head south. There's a toy soldier ahead, and if you look above you on your right you'll see another grapple point. It will take you up to a ledge, and in a nearby pit you'll find a chest containing Law's Hat. If you continue to follow the southbound path you can find a Yaya Cube in a pot on your right and a chest containing two Carbon Bolts. You'll need to make your way back after this, however.

Flower Hill Bluff / Sunflower Field
Climb the rubble at the base of the mountainous cliffs to begin the ascent. Aside from the spectacular view there's not much to see on the way up, though you can grab two Usopp's Cube Fragments and two Nami's Cube Fragments off of a lamp post about halfway through the climb.
Claim Grand Log: Dressrosa, Part 7 once you reach the top. There's a Yoisa Sign waiting, as well as a save point. And beyond the save point...

Doflamingo
Weaknesses:
- Power (Doflamingo, Donquixote Family A, D)
- Speed (Doflamingo Family B, C)


