

Part 31: Defeat Doflamingo - New Royal Plateau 1st Level, Great Fissure
The trek towards Doflamingo continues, and now you've reached a section of the New Royal Plateau that looks slightly less complicated than the last. Will that indeed be the case? Let's find out. Use the save point and get to exploring. Be sure to claim the Objective reward Grand Log: Dressrosa, Part 5 at some point, as well.
Turn around before you start walking south. Beside the entrance to the Stone Passage is a much smaller tunnel that only Chopper can enter. Entering will take you into a new... ish... area.

Sewer
Looks like you're not quite done with the underground. To the right and left from the entrance you'll find steel gates only Zoro can open, beyond which are chests. The eastern chest contains three Carbon Bolts, while the western chest contains a Super Burst Brew. There's also a steel door blocking a path leading north.
Walk north to the next intersection, then look to your right. There's a small, water-filled corridor beside you, and on the other side of the steel door are two Nami's Cube Fragments and two Chopper's Cube Fragments. North of here is a door, and beyond it is a chest containing five Panic Stones. To the west you'll find a side tunnel with a random item at the end, as well as an exit... which, apparently, is a one-way trip back to Dressrosa. You can't use this right now, so head back to the War Plateau instead.

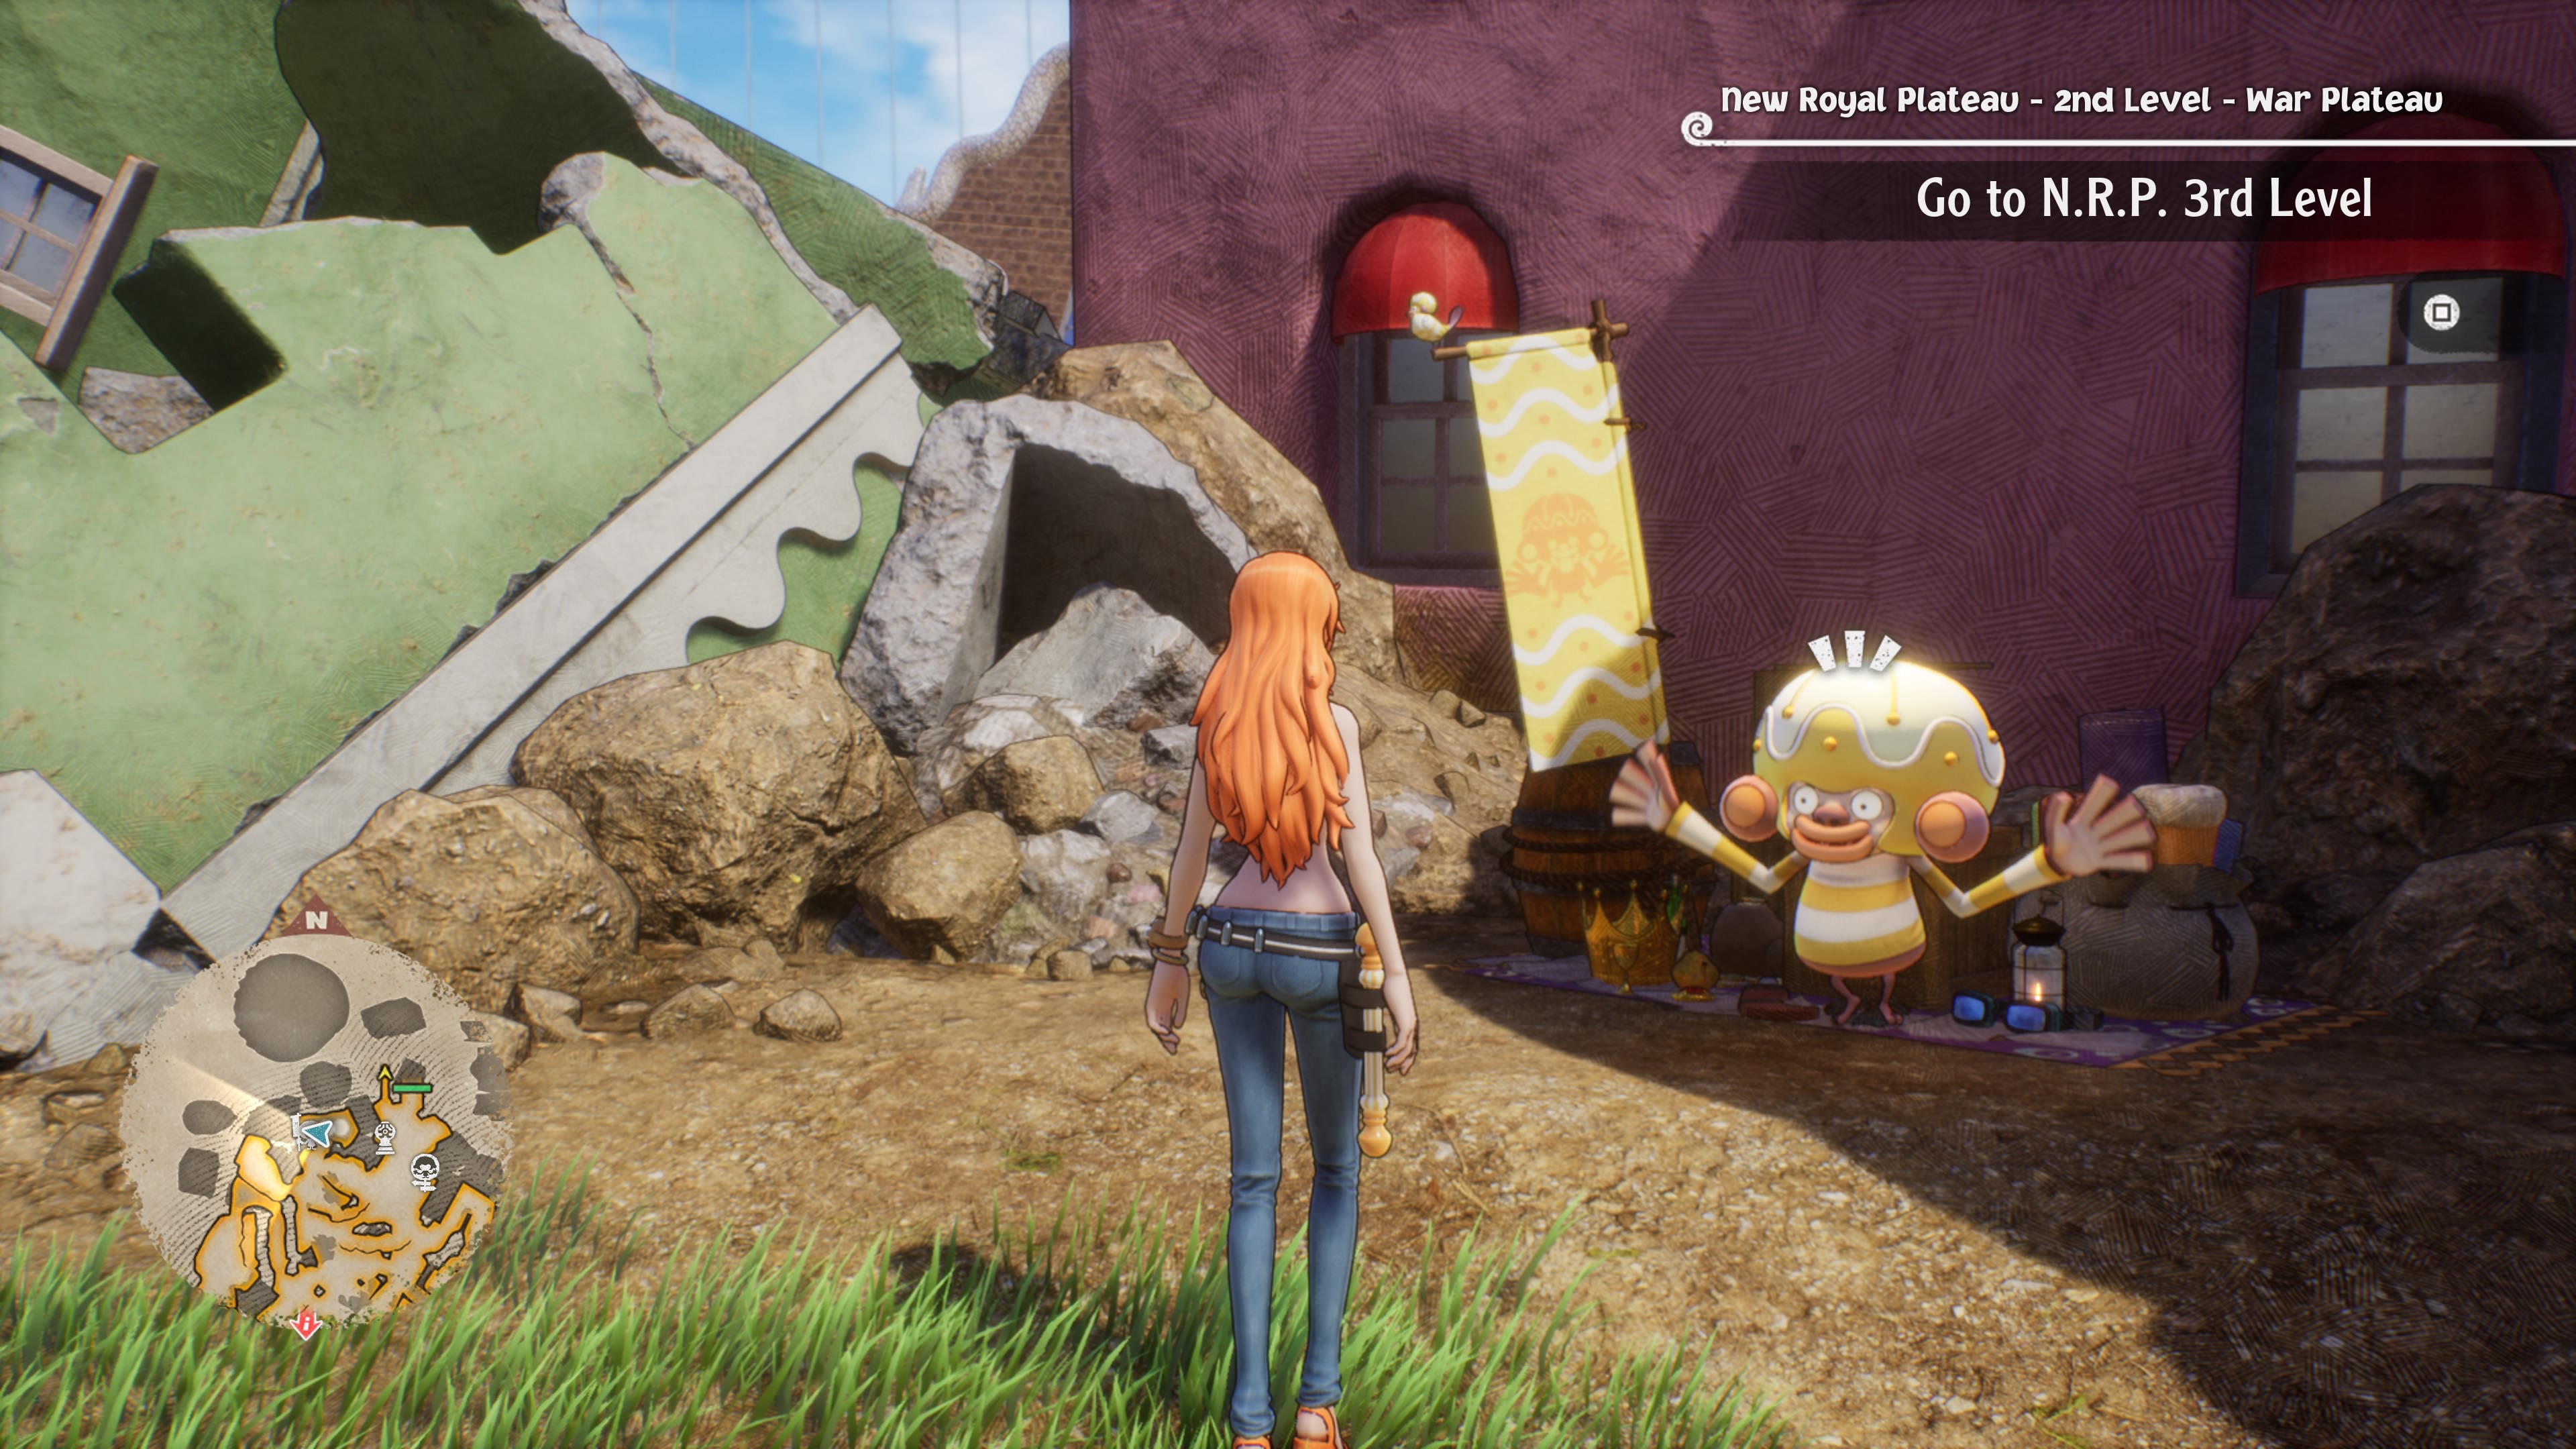
2nd Level - War Plateau
Enemies
- Conch Kancho - Weak to Power, resists Ice
- Donquixote Family - Weakness Varies
- Funny Mouse - Power, Fire
- Iron Del Kong Weak to Technique
- Mechanical Doll - Weak to Power
- Oisa - Weak to Power
- Shockcracker Doll - Weak to Power
- Skullcracker Doll - Weak to Power
Head south towards the first cut scene of the area. You'll find a group of Donquixote mooks surrounding a sleeping man, and when he wakes up he'll reveal himself as Hakuba. Fight time!

Hakuba
Weaknesses:
- Speed (Hakuba, Donquixote Family A, B, E, F)
- Power (Donquixote Family C, D, G, H)
- Doeisa's Power
- HP Auto Regen Jewelry
- TP Auto Regen Jewelry
- TP Cost Reduction Jewelry
- Rebecca's Robe
- Violet's Hairpin

- In the east you'll find a series of breakable walls. Plow through enough of them, down to the base of a bridge, and you'll find a spot for Chopper to pass through. On the other side is a chest containing Diamante's Mic. If you check the top of this bridge you'll find a chest containing five Gator Strawberries, and in the rubble of a home near the end of the bridge you'll find two Sanji's Cube Fragments and two Luffy's Cube Fragments.
- Check along the rock walls to the south of the Yoisa Shop. There's a breakable rock formation here that will lead to another tunnel for Chopper. The other end drops you back down onto the battlefield, though if you check the ledge on your left first you'll find a chest containing five Smoke Scales.
- There's a sunken blue building on the west side of the battlefield. Beside it is a crate containing a Yaya Cube.
- Just north of where you're meant to trigger the next cut scene is a small side area on the east side of the battlefield, across a bridge of fallen concrete. You'll find a Super Burst Brew in a chest and two Luffy's Cube Fragments and two Zoro's Cube Fragments attached to a piece of rubble.
- South of the spot where you're meant to trigger the next cut scene you'll find a pathway surrounded by breakable walls. Explore it to find a chest containing five Electric Scallops. Follow this path northeast and you'll find a little ledge overlooking the cut scene trigger point. Sitting on the ledge is a chest containing five Gator Melons.

