

Part 22: Go Inside Enies Lobby - Tower of Law
Enemies
- Black Gorilla - Weak to Speed, Lightning
- Blue Gorilla - Weak to Speed, Lightning
- Enies Lobby Agent - Weakness varies
- Sailor - Weak to Speed
The Straw Hats have tried, and largely failed, to free Usopp and Franky from Enies Lobby so far, likely because they're looking in the wrong place. The pair will need to see to their own escape. At this point you'll take control of Usopp, and Franky will join as a guest character, similar to Adio. You can't control this version of Franky, and given his general lack of strength at this point Usopp will need to do most of the damage. Give Usopp some accessories that boost his ATK and HP. The Sailors around here like to Paralyze your characters, and Usopp will probably stand around uselessly now and then, taking hits.
Once you gain control of Usopp you can claim the Objective reward Grand Log: Water Seven, Part 5. Better start escaping.

Second Bridge Pier Lower Level
Walk through the shipping container on the right side of their cell. You'll find a jump point that will take you over another container and down to a save point, as well as a door. The door is wide open, because the Marines are terrible at their jobs. Out the door and on your left is a dead-end alley, and if you go down it you'll just run into a Sailor, so it's not worth the trip unless you want to fight. (On the plus side, you do seem to get a lot of experience around here from Dramatic Scenes, which is handy for building Usopp's level up.)
Head north and east. You'll hit a dead end if you follow the outer wall, but you'll also find a chest containing a Speed Resistance +25 Necklace. Backtrack a little ways from the chest and take a left. Keep an eye on your left as you round some shipping crates and you'll find a chest containing an Aqua Cabbage Roll.
Continue through the shipping crates and you'll find the front of the jail cell. There are several enemies here that you can avoid by slipping through the white shipping crates, if you'd rather not fight. There's a chest containing an ATK +154 Necklace to the left of the cell.
Head southwest of the cell and look for a white shipping crate. You can slip through it to find a path north. This will allow you to get to the side of the cell, where you'll find stairs. Head on up.

Second Bridge Pier Middle Level
After a quick cut scene where Spandam, the base's commander, reveals that he's a horrible - and stupid - person, you'll regain control of Usopp. Check to the right at the top of the stairs and you'll find a chest inside a red shipping container. Inside the chest are two Golden Jellies. Left of the chest you'll find a climbing point leading to a ladder.
Climb the ladder up one level. You'll see another ladder ahead. Before climbing it, turn around and look beside the first ladder to spot a chest. Inside it are two Burst Brews. Climb the second ladder and the pair will find an elevator to the next floor.

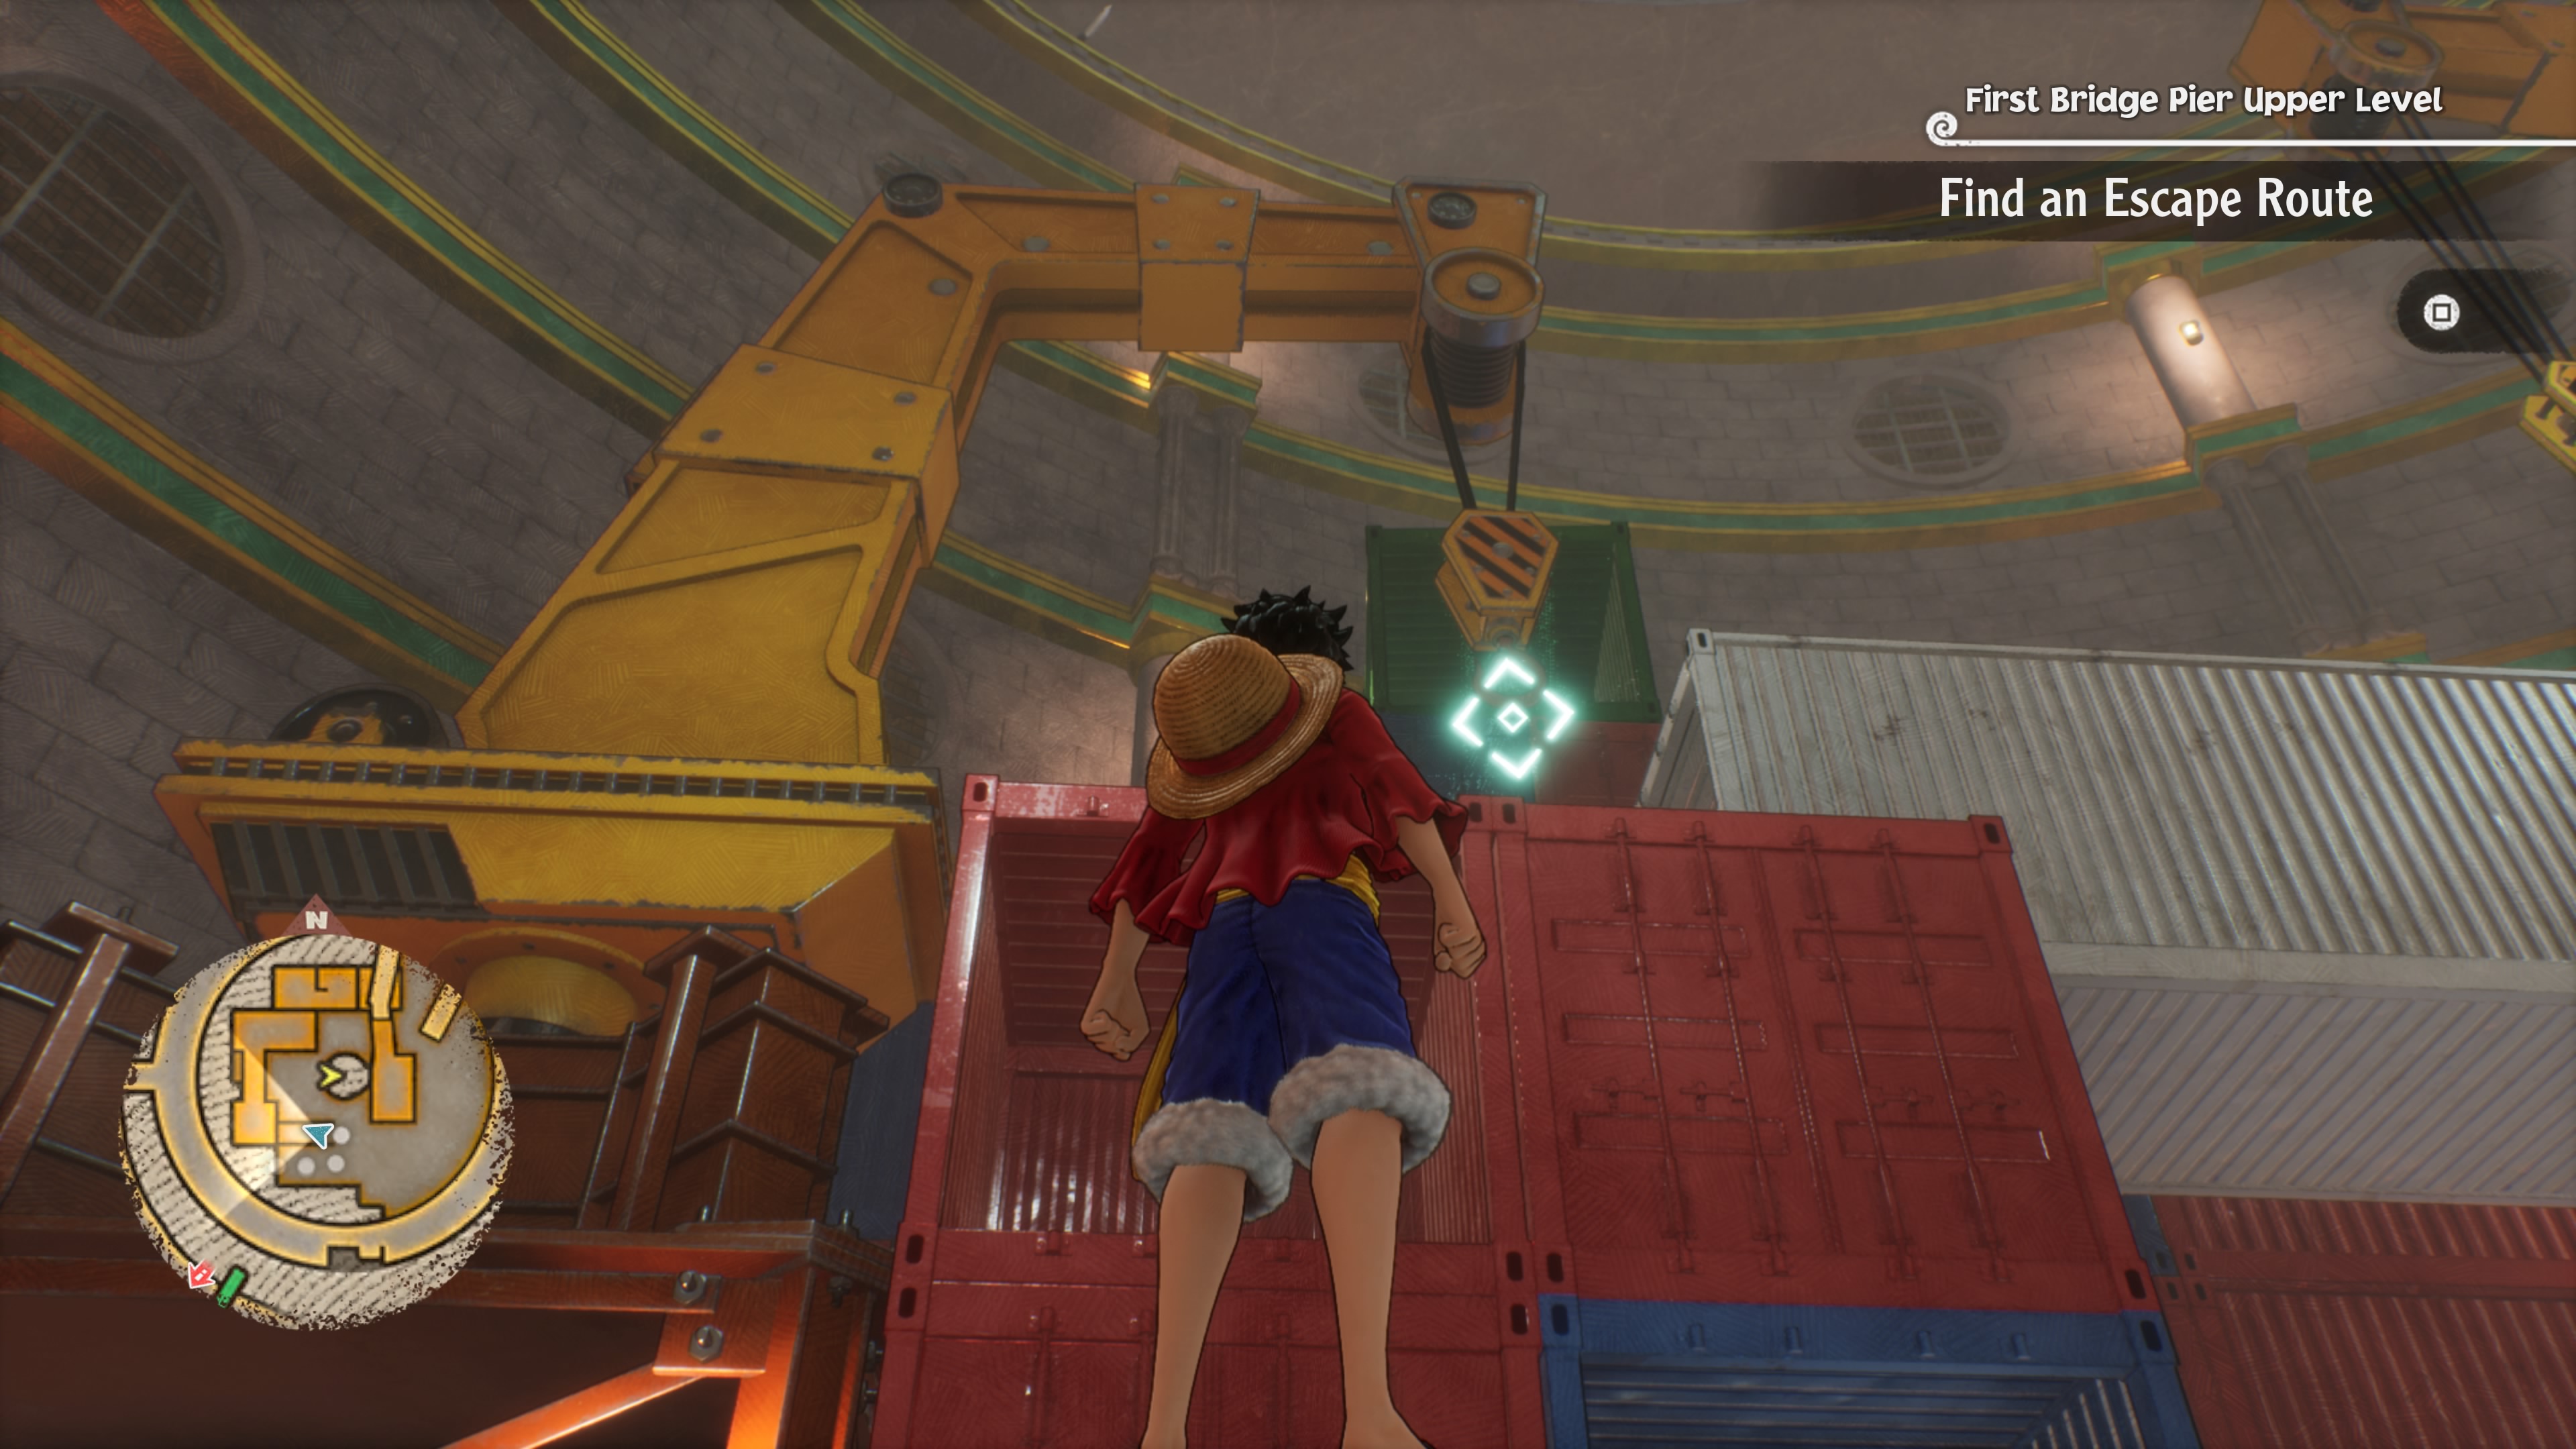
Second Bridge Pier Upper Level
Check the edge of the elevator and Franky will display his aptitude in creating walkways out of thin air. This will prove useful when the real-world Franky joins your crew. Climb the stairs Franky creates for another cut scene, then head south. You'll pass through a long shipping container, and if you check to your right and beside the shipping container on the other side you'll spot a chest. It contains Elephant Tuna Saute.
To the south is a Blue Gorilla, and just south of it is a save point. Go up the stairs near the save point and Usopp and Franky will be face-to-face with a Marine Buster Call. Not good. Time to switch teams again!

First Bridge Pier Lower and Middle Level
The game will jump back to the rest of the Straw Hats, and all they can do is climb. Claim the Objective reward Grand Log: Water Seven, Part 6, if you like, then head up the shipping containers, grappling when necessary and busting up any crates that you please. There's a chest containing two Burst Brews just after the first grapple point, another on your right when you first reach the Middle Level that contains a Power Resistance +25 Necklace, and a third when you reach the concrete outer ring that contains a Golden Jelly. The last is snugged up against some shipping containers that block your path.
Check the doorway on your right when you reach the concrete pathway to find a chest containing an Aqua Cabbage Roll, then make your way west, grappling over the next heap of shipping containers. There's a pair of Black Gorillas in the south that you haven't fought up to this point, but otherwise there's not much to see. Make your way to the ramp leading to the middle of the tower, save, and climb the ladder.
First Bridge Pier Upper Level
At the top of the ladder you'll enter an open area with a number of baddies prowling around. In the northeast you'll find a chest containing Golden Jelly. Otherwise, all you want to do is check in the southwest, where you'll find crane controls. Activate them to move a crane into place, creating a grappling spot.
Hop onto the shipping crates beside the controls to get within grappling range. At the top and through another container you'll find more controls to activate. Aim up more or less from where you're standing to launch Luffy onto the shipping crates. You'll find a ladder up here that will take you to yet another set of controls, and you can use them to create one more grappling point. This will put you on another concrete outer ring.
Head north along the ring, and take the first left you find, through a tilted shipping crate. At the end you'll find a chest containing Thunder Soup. It's guarded by a Sailor, so watch out. The exit from this area is on the west side of the concrete ring walkway, though if you follow it all the way around the area you'll find a chest containing a Golden Jelly. (You'll also be chewed out by the crew.)
Use the save point in the western passage, then head up the stairs. Somebody's waiting for you.

Lucci
Weakness: Power
Lucci isn't nearly as silly-looking as his buddy Kaku, and he's quite a bit stronger to boot. Aside from painful melee attacks that can inflict Bleed Lucci can use Finger Pistol Fire Sting, which does heavy damage to one character. He can also use an AOE kick against everyone in his area, though this seems to come out very rarely, and when he's weak Lucci will use Six King Gun against a single target. There are no curveballs, just a strong enemy with lots of health.
This fight takes place over several sections. At first your team will be short Luffy, and given your available party members it's difficult to not have a Technique user vulnerable to Lucci's attacks. If possible you should keep Zoro / Robin out of Lucci's area, in case he uses Finger Pistol to wipe them out. Send Sanji and Chopper to keep Lucci occupied, and unless healing is an issue have Chopper use Monster Point to maximize his attack power.
Lucci will become electrically charged in the second half of the fight, but you'll also regain Luffy. Swap your Technique users out completely and send Luffy, Sanji, and Chopper in to fight Lucci while Nami stays back. Chopper will likely do the most damage to Lucci with Monster Point, at least until it runs out, though Luffy and Sanji will handle their fair share as well. Defeat Lucci with Luffy for extra experience.

You'll receive Lucci's Hat for defeating Lucci, and in the cinematic that follows Luffy will remember Gum-Gum Jet Gatling. Once you regain control of the gang you can claim the Objective reward Grand Log: Water Seven, Part 7. Climb to the top of the Bridge of Hesitation to reunite with Usopp and Franky. Cross the bridge ahead for lots of dramatic cut scenes...
... and, when all is said and done, you'll wind up on the beach where you started off in Water Seven. Check the red point on the dock to trigger a sad farewell. After that you'll be back in front of the Mayoral Residence. You'll probably notice a slew of new things to do in Water Seven. You can get started on them now, but we're going to head back to Waford first. We have a new recruit to pick up before coming back.
Head to Dock One. You'll get shot back to the beach, where the Straw Hats' new / current ship, the Thousand Sunny, is waiting. Speak to Lim once you're aboard to head back to the Strange Place, and from there you can leave Memoria for Waford. The Straw Hats will get another huge Skill dump, most of which involves upgrading their current Skills. You'll also unlock more Accessory Slots.