

Part 20: Go to Franky's Hideout - Water Seven City Area
The Franky Family is on the run, and the Straw Hats have pursued the group into the Sewer beneath Water Seven City Area. The area you'll enter looks a bit maze-like from the map, but it's less complicated than it appears. Put your Power users up front and you shouldn't have any trouble with the monsters that inhabit these narrow halls.
Sewer
Monsters
- Conch Kancho - Weak to Power
- Golden Bat - Weak to Power
- Monogusa - Weak to Speed
- Silver Bat - Weak to Power
- Wicked Mouse - Weak to Power

B1F
When you reach open tunnels in the Sewer you'll find a save point on your right and a Yoisa Sign on your left. You'll also find a branch in the path, though the water in the east will prevent you from going that way. Slice open the steel box down the eastern branch with Zoro to find two Potent Energy Apples, then head west.
Put Luffy up front and use him to swing your way across the water. Keep following the tunnels until they bring you to one of the Franky Family members, as well as a huge cog on the wall. Toggle the cog to lower the water level throughout the Sewer. A short walk east of the cog and on your left you'll find a Yoisa Shop with some new unique items: Doeisa's Ring, Kokoro's Shell, and Yokozuna's Loincloth. The barrel near the Yoisa contains a Yaya Cube.

In the southeast is a mechanical door that you can't open. Ignore it for now and head north, then down a level. North of the doorway you can swing across the water to reach several side rooms, though they only lead to a chest that you can't reach from here. To the northwest of where you started are stairs leading back to the entrance. Just south of the stairs and on your left is where you need to go.
You'll find another huge cog here that will lower the level of the water even further. Near it is a steel box Zoro can open to find a Cozy Beetle. There are now a few routes that you can take to the south of the cog, though before you do you should head back to the previous room. There are a few new things to see:
- Drop into the culvert splitting this area in two now that it's empty of water. On the south end you'll find a chest containing a Freeze Resistance +25 Necklace.
- Travel to the north end of this same culvert and you'll find bars that Chopper can get through. The passage beyond will take you to the west side of the Sewer, where you'll find up in another culvert. Check to the south here to find a chest containing Iceberg's Jacket.
- If you check the side rooms with the chest you couldn't reach from earlier you'll find that there's a jump point down in the culvert. Hop up on the other side to open the chest and receive an Elephant Tuna Saute.
- In addition to everything above, if you check in the southwest of Sewer B1F you'll find a pit that used to be filled with water. At the bottom you'll find a Zoro's Cube Fragment, and in a side room you'll find a chest containing 40,000 Berries.
Enough exploring. Head back to the room with the second cog and start by grappling south, to the top of a nearby ladder. There's a crate containing nothing special on the landing the ladder is attached to, but if you check the far side of the landing and look at the pipes nearby you'll see a Sanji's Cube Fragment that Luffy can grab from afar. Grapple to the next ladder to the south and you'll reach a room with a chest containing two Burst Brews.
Grapple back north. You need to descend into the pit below you, and there are a few ways to do it. All will put you on B2F.

B2F
You'll wind up facing a set of steel bars at the bottom of this pit. Check near the bars for a box that Zoro can open to receive a Smooth Shroom, then head east. There's another steel box in the corner of this room containing two Potent Energy Apples. Follow the path west out of this room to find a side passage, down which you'll find a chest containing a Guts +81 Necklace. Along this same path is another box for Zoro to open containing Chilly Sap.
Down here you'll find a huge door. Go through and you'll be at a crossroads with doors on your right and left, neither of which will open right now. Head south until you reach stairs, then check to your left to find a box for Zoro to open. Inside are two Potent Energy Apples.
At the top of the stairs you'll find a save point. Turn around at the top of the stairs and you'll see a chest containing a Durian Gator Salad that Luffy can grapple over to and grab. Use the save point, because when you go through the door on your right...
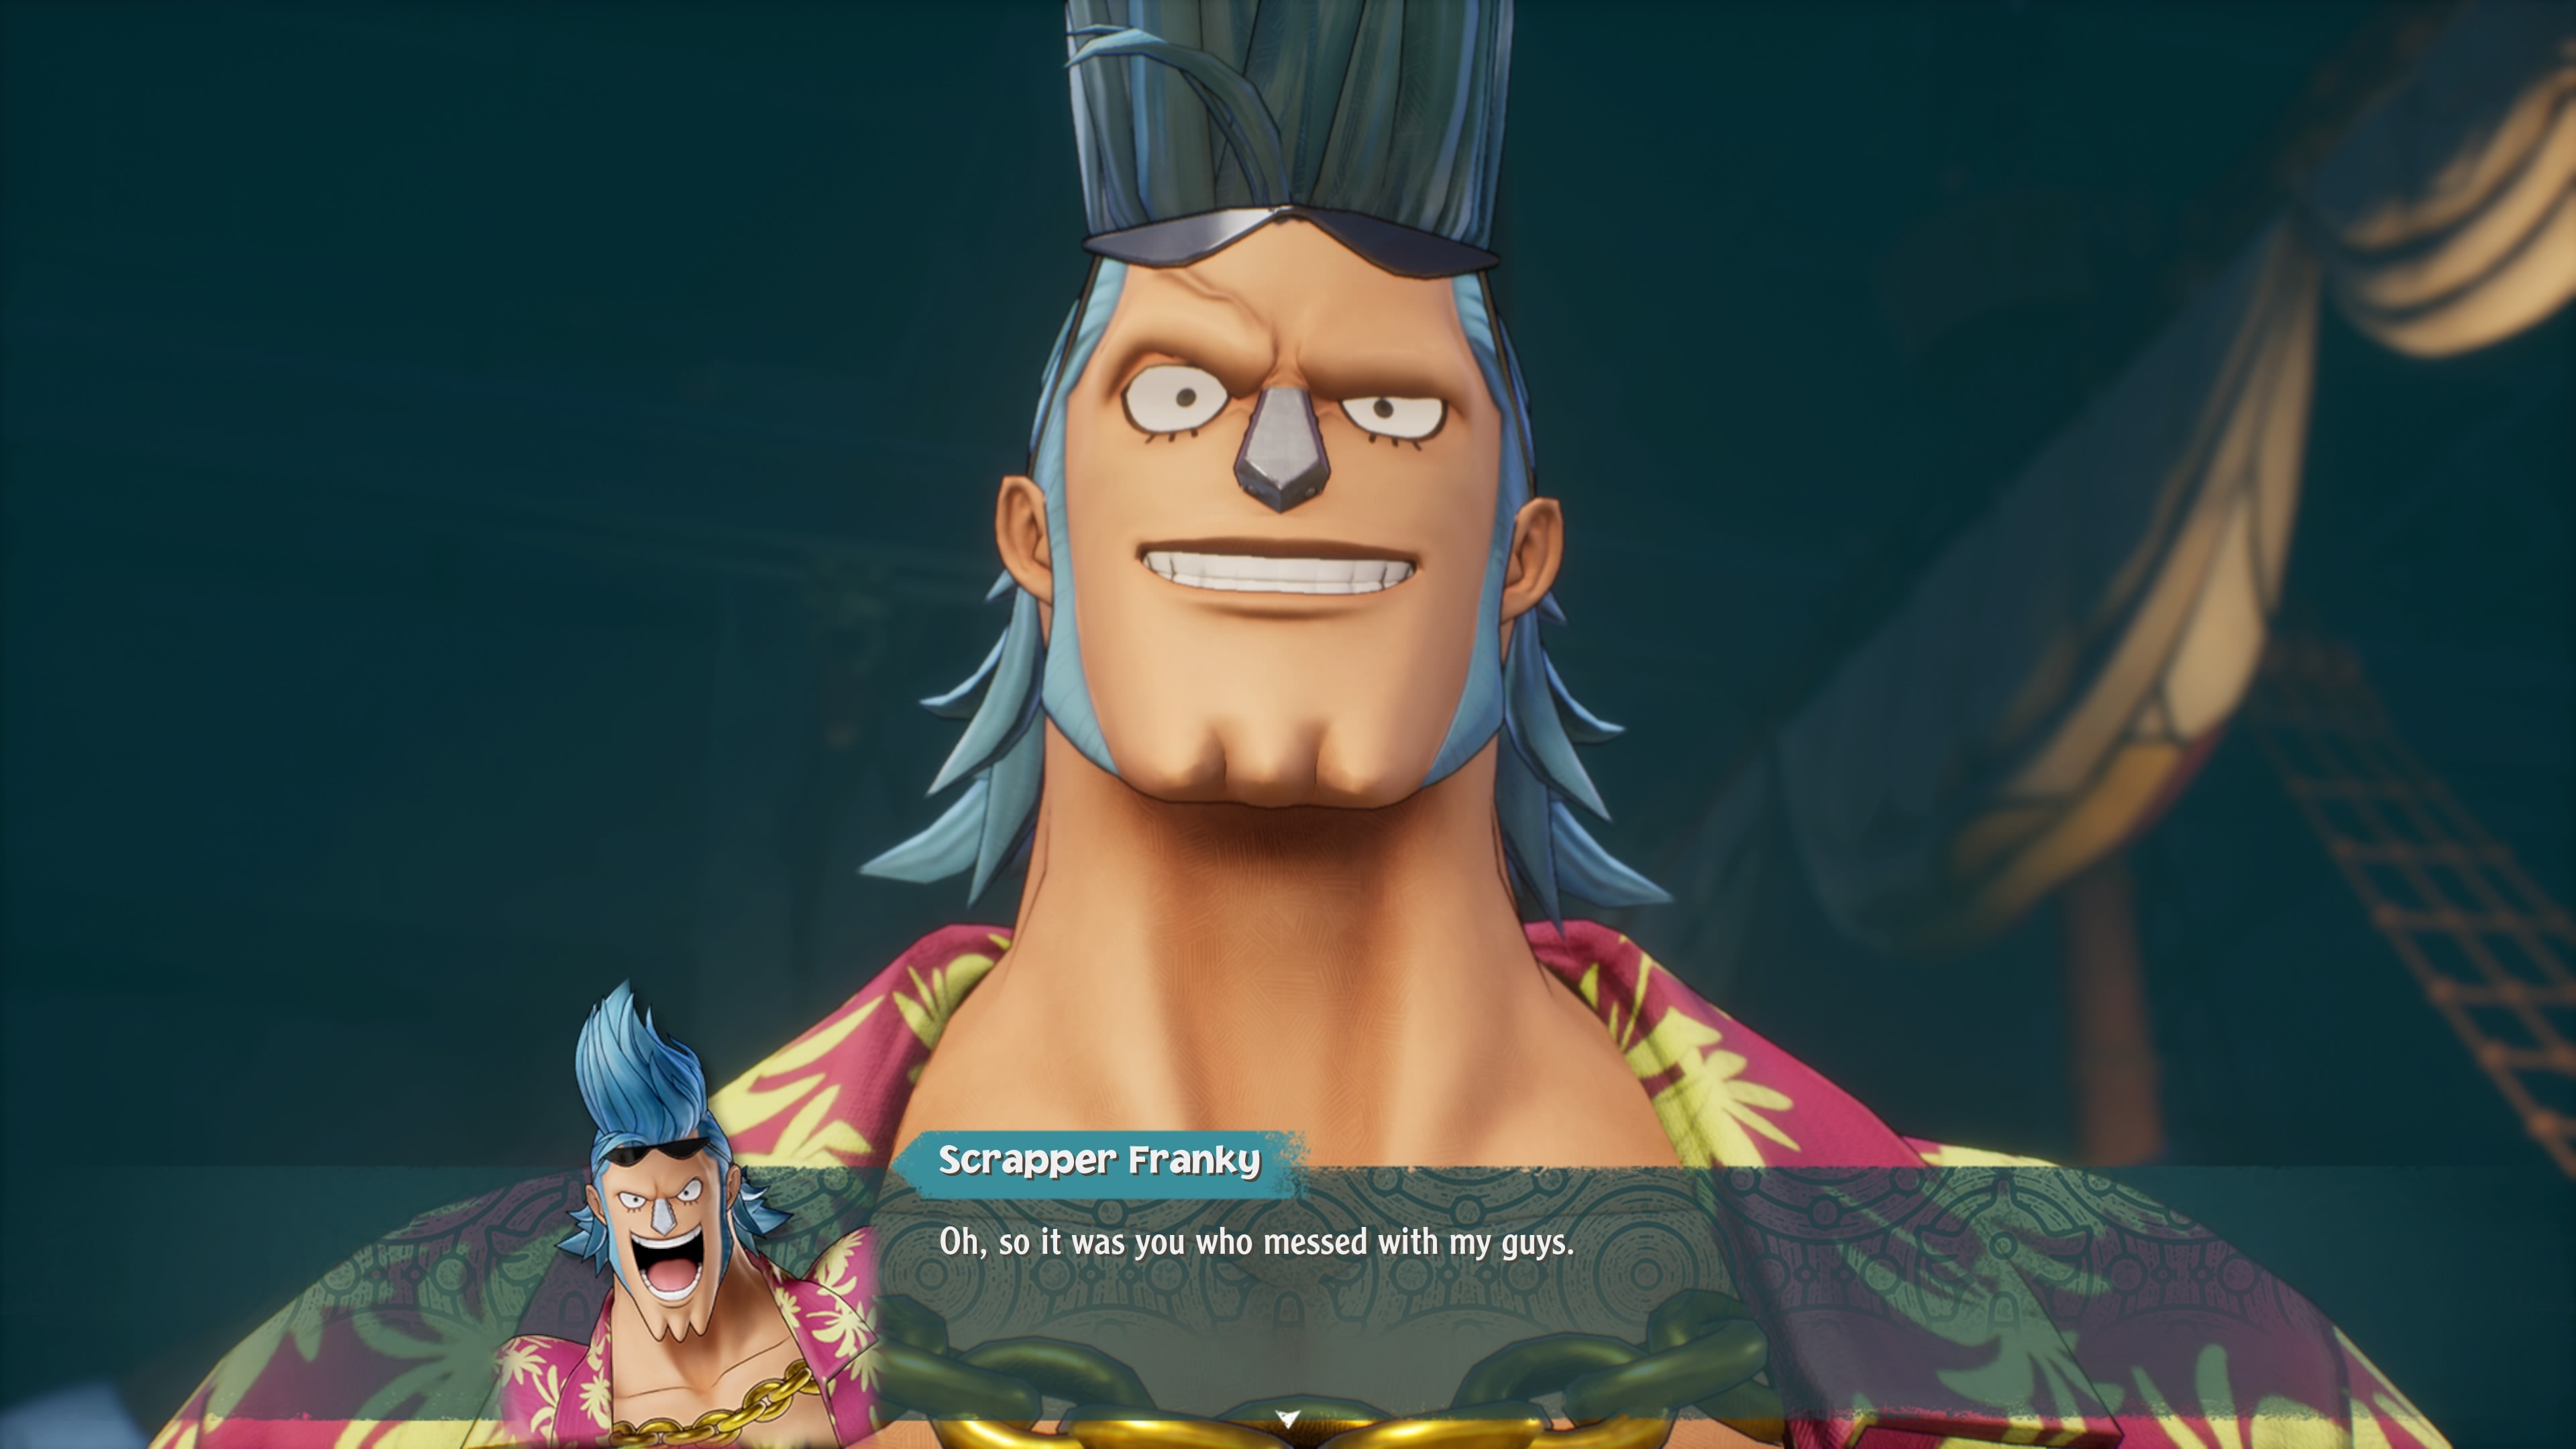
Scrapper Franky
Weaknesses:
- Speed (Scrapper Franky)
- Power (Franky Family Follower A, C)
- Technique (Franky Family Follower B)
Ah, a different version of Franky! Weird. Franky himself likes to use punches, though he can also use Coup de Vent to hit everyone in his area. The Franky Followers are the same as those you've fought before, and can be a little annoying if they hit your team members with status ailments. Otherwise, not a big deal.
As with most boss fights you want to take down the mooks first, which shouldn't take too long. Once they're gone let someone ideal pit themselves against Franky - Zoro is your best choice - while everyone else attacks him from the sidelines. Nami's the only person who should absolutely stay out of range of his attacks, making this a fairly easy battle.
You'll earn Franky's Swimsuit from Two Years Ago for defeating Scrapper Franky and his buddies. Ew. Usopp will pop up and smooth things over with Franky, and it seems as though everything is going to end well... at least until an uninvited third party joins the fray.

Lucci
Weaknesses:
- Technique (Lucci, Older Twin Government Official, Younger Twin Government Official, Enies Lobby Agent A)
- Power (Enies Lobby Agent B, C)
