

Part 30: A Call From the Past - Flying Continent Shambala
Need some quality headphones to connect to your PC? Try the JBL Tune 720BT, now available on Amazon! As an Amazon Associate I earn from qualifying purchases, at no additional cost to you.
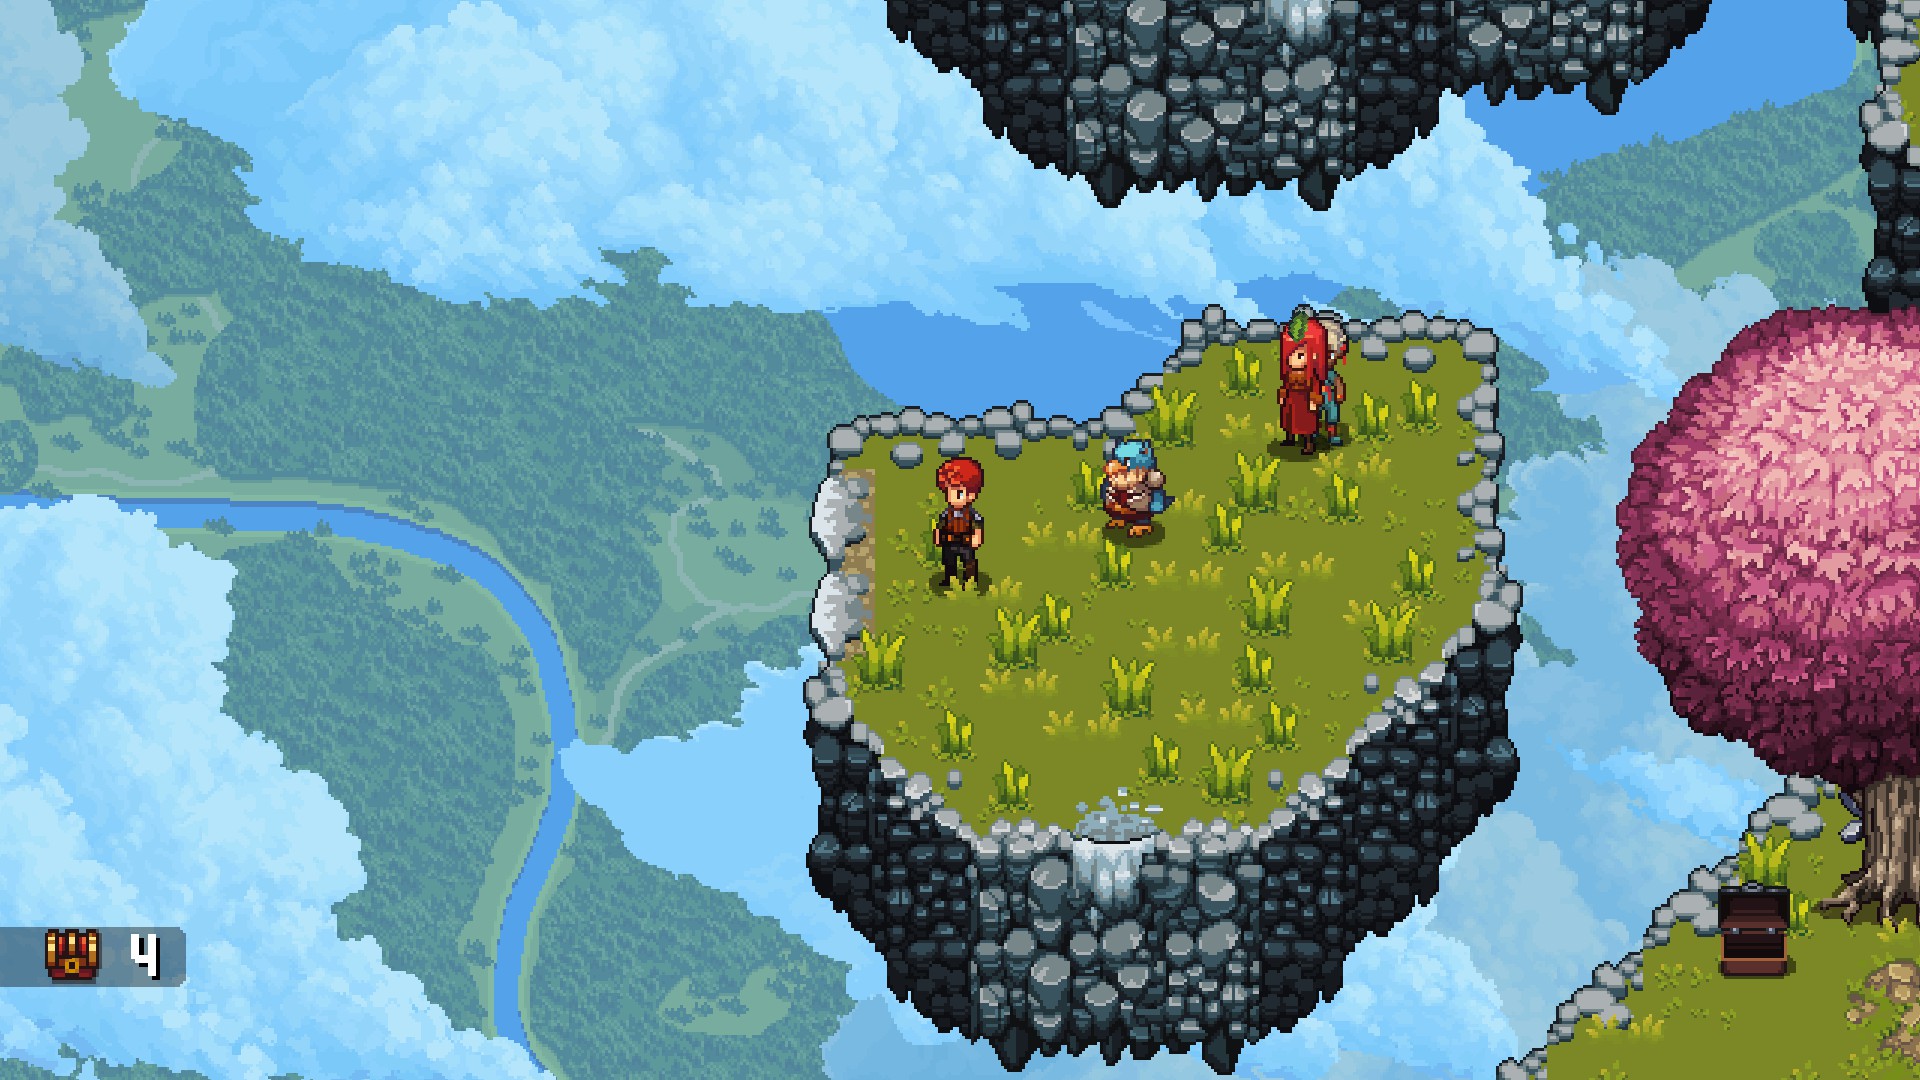
In pursuit of the truth behind Lenne's visions, the team has come to the floating continent of Shambala, a series of Edenic islands apparently controlled by the church. After battling Egyl, one of the area's protector knights, everyone has been brought to Sova Village, home of avians.
Upon arrival you'll be presented to the people of the village, including the oversized Chief. Everyone will badmouth Egyl, earning a sharp rebuke from Robb, who will storm off. The group will thereafter be free to explore Sova Village. There's a fair amount to see before you proceed with the story.

- In the yard to the right of the building where Egyl's standing is a chest containing three Colosssus Hides. You'll need to go up the stairs to the west of Egyl, then head back east, to get at the chest. North of the stairs leading to the chest you can climb rock walls to find a chest containing 1,000a, and if you go through the trees near this chest you'll find a red chest containing a Golden Brigandine.
- Southeast of Egyl you'll find rows of protective, wooden walls. Between two of the walls and on your left is a chest containing two Monster Fangs.
- To the southwest of Egyl, across a bridge, you'll find your merchant buddy. How he got up here is anyone's guess. He's also got an anvil if you feel the need to upgrade your equipment.
- In the northwest of Sova Village is a house with two Sova sitting on its roof. Behind the house and to the left you'll find a red chest containing a Metal Aketon.

Take the western path along the cliffs to leave Sova Village. You need your Sky Armor, and you won't be able to use it until you get rid of some air defenses.

Central Flying Continent Shambala
Monsters
- Ancient Turtle - Strong to Dark, weak to Light - Drops Platinum Ore, Tortoise Shell - Can steal Platinum Ore
- Sky Monkey - Strong to Water, weak to Dark - Drops Fake Monkey's Paw
- Toucibri - Strong to Earth, weak to Wind - Drops Colorful Beak, Elastic Wing
- asd2
- Coffee Bean
- Death's Apple
- Feather
- Flying Pig
- Gem Gum
- King Beetle
- Olden Book
- Rose
- Shell
On the next screen you'll receive an explanation of Hate, a mechanic which determines which of your characters an enemy will attack. Egyl has Skills that allow him to draw Hate from the enemies, forcing them to focus their attacks on him. Using this mechanic will allow you to draw attention away from your more vulnerable party members. The Ancient Turtle nearby will allow you to practice using Attention! Skill to raise Hate. The Ancient Turtle can easily KO anyone it hits with its Snort attack, so raising its Hate towards Egyl is quite important.
Hop one island west to find a Crystal Source, then hop south. The next island is a debarking spot for some orbiting islands, though you can also jump further south to find a chest containing five Demon Leathers. The handholds on the right will take you back to the Fast Travel Crystal so you can start over.
- To the east is a chest containing a Wyrm Carapace. Near this chest is a ledge for getting onto an island, but one won't float by at this point.
- Southeast of the Toucibri is a Crystal Source. There's another ledge here, but again, you can't debark from this point yet.
- Along the same path as the Crystal Source is a path between the buildings, heading west. At the end you'll find a chest containing 2,210a.
- If you check the south side of the path leading to the last chest you'll find a hidden archway leading south. Check northwest of where you come out to find a chest containing three Rayon Fibers.

Northern Flying Continent Shambala
Head northwest before doing anything else. You'll find a small island anchored to the main island, and the chain holding it in place looks pretty weak. You can slash it free, which will send it south. You'll use this to access other sections of the central section of Shambala. This will also reveal that you're not alone on Shambala.
Look north of the pond in the south of this area. There's a heap of rubble that you can bust out of your way to find a chest containing two Repair Kit DX. Near this cave is a sigil indicating buried treasure, and if you look northwest of the sigil, on the west side of the pond beside the huge chain, you'll find a buried Can Machine at the edge of the water.
In the north you'll find two Ancient Turtles. You can fight them or shimmy around them. Northwest of the turtles is a Crystal Source, and you'll find another to the northeast, atop the temple in the north. Activate the Fast Travel Crystal in the east, them climb to the top of the temple and deactivate the ether cannon you find. One down.
With a third island flitting about you can now reach your next destination in the southwest. Hop onto the appropriate island and ride it to the west end of the central island, then cross the buildings to the east. There's a ledge in the east that you can use to hop onto the new island. Ride it southwest and hop off.

Western Flying Continent Shambala
A short walk west of the entrance you'll find a chest containing two Colossus Hides. Head north and you'll run into two Toucibris and two Sky Monkeys. Keep following this path until you wind up near another weakened chain that you can bash. Free it to watch a cut scene. That done, check to your right for a pile of rubble that you can bust up, revealing a cave that contains two Wyrm Carapaces.
Return to central Shambala. Hop on the next sky island and ride it to the northeast of the middle island. The next hop-on point is a short walk across the buildings to the south. Ride the island to the northwest drop point and you'll find a path to the upper section of Shambala's western region.

Head west. You'll soon hit an intersection guarded by five Sky Monkeys. If you go north from here you'll find an area called Research Facilities, but you can't access any of it without your Sky Armor. Continue west and you'll find a ledge that will drop you down next to another five-man squad of Sky Monkeys. Two more islands south of here you'll find a Crystal Source on your left.
The second ether cannon is hiding amongst the trees in the south. Pop open the chest to the left of the cannon to receive six Platinum Ores, then shut the cannon down. This will allow you to hop into your Sky Armor and fly around. Before you do, though, head east. There are two more things to check out.
- First, if you check the trees along the eastern path you'll see a sigil pointing to buried treasure. Check the small tree to the south of the sigil to find a hidden 5,000a.
- Second, if you continue east you'll find some rocky walls to climb. Along them you'll find a cluster of rocks hiding three red chests. The chests contain a Golden Breastplate, Leather Gear, and a Mage's Garb. On the cliff above the cave you'll find a chest containing three Monster Fangs.

At this point you're intended to head to the Research Facilities in the northwest, but now that you have Sky Armor you should probably fly around a bit and make sure you've gathered everything from Shambala. There are two areas that you haven't explored at all yet.

Northeastern Flying Continent Shambala
If you fly along the outskirts of Sova Village (which you can't enter right now) you'll find an area with a few isolated sky islands. There are a few things to collect here.
- In the southeast are three islands. Land on the north island and you can drop down to the central island. A chest here contains a Rusty Gunspear. Hop down to the southern island to get back in your Sky Armor.
- In the east is an island with three Crystal Sources. Also here is Thopas, a badly-disguised miner who is desperate for work. He will join the Crimson Wings.
- In the north is an island that is, most of the time, empty. Keep leaving and reentering the area and eventually Aurora the Dragon, a Unique Monster, will appear on the island. It might take a while, so be persistent. (And do not approach this thing without your Sky Armor. It will decimate you.)

- On the eastern island you'll find a research named Archy who needs help getting... well, down. He'll agree to join the Crimson Wings as thanks.
- In the southwest you'll find an enormous stone tablet. The message on it is a bit clunky, but it reveals the locations of several Heroes of Leonar statues, scattered throughout Valandis.
- In the northwest you'll find a statue of the Heroes of Leonar. Offer it some Sacred Water and you'll be pitted against three Sky Monkeys, a Toucibri, and an Ancient Turtle. This is a tough fight until you get rid of the lesser monsters, so enter the battle with lots of AOE attacks primed and ready to go. The Ancient Turtle isn't a big deal on its own. Completing the challenge will earn you the Chemist Emblem, sigil of Carlyn the Chemist.


- Normal melee attacks from the Hands
- Fist Bump from the Hands, which strikes one character
- Fire Snap, which hits one character for Fire damage
- Fire Belly, which hits everyone for Fire damage
- Revive, which returns one of the defeated Hands to life
