

Part 28: Looking for Allies - New Wyrnshire
Need some quality headphones to connect to your PC? Try the JBL Tune 720BT, now available on Amazon! As an Amazon Associate I earn from qualifying purchases, at no additional cost to you.
Monsters
- Baki Fighter - Strong to Earth, weak to Water - Drops Heart of the Baki
- Elemental Cannon Wielder - Strong to Earth, weak to Wind - Drops Scrap of Iron
- Guardian Mage - Strong to Light, weak to Dark - Drops Soldier Crest, Stolen Diamond
- Guardian Soldier - Strong to Wind, weak to Earth - Drops Soldier Crest
- Sword Wielder - Strong to Earth, weak to Wind - Drops Scrap of Iron
- Tarynear Elite Soldier - Weak to Fire
- Terror Terrier - Strong to Water, weak to Earth - Drops Ball of Hair
After many close escapes from the hands of the Taryn army, Glenn and friends are finally striking into the heart of Taryn territory: Tormund Castle, home of Prince Frederik and his generals. The team is after the Grand Grimoire, and with help from an outside force they may just succeed this time. Emphasis on may.
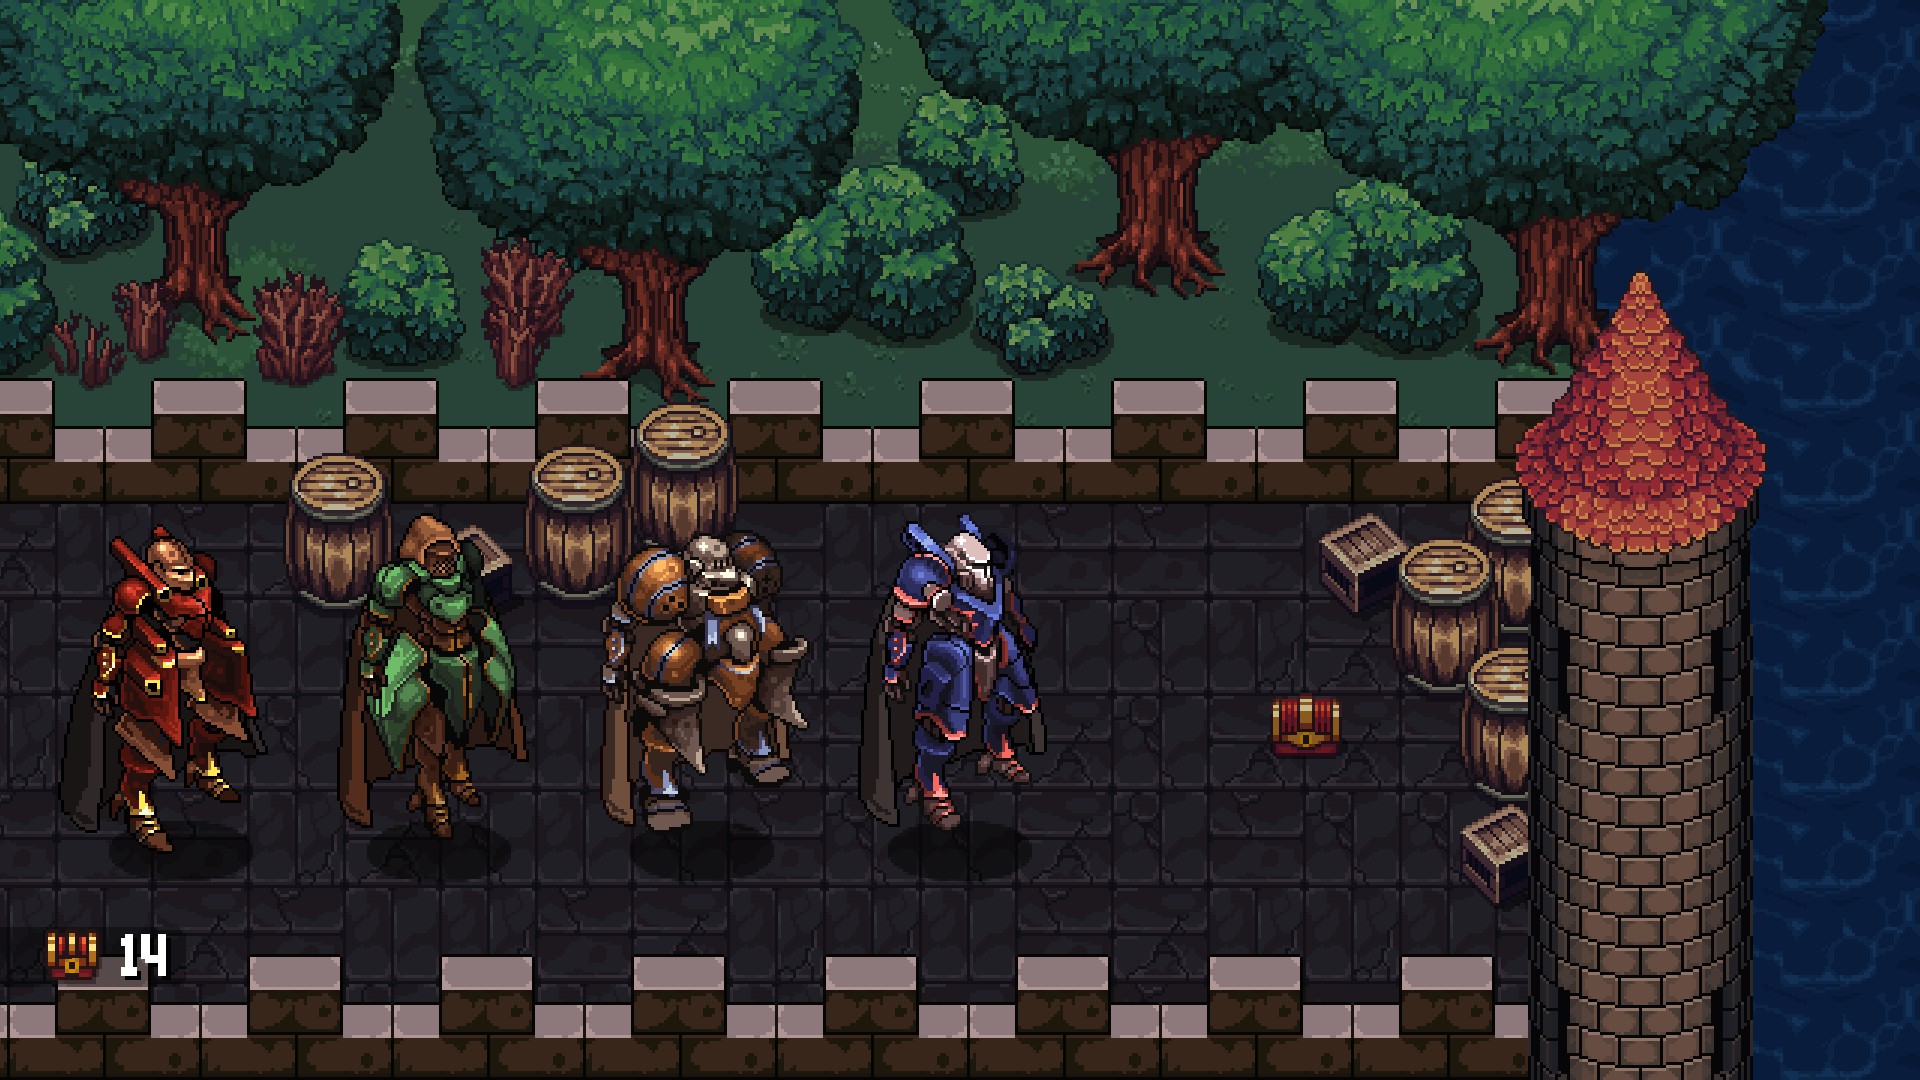
You'll start off in the yards surrounding the castle, and there's a merchant waiting nearby if you have need of his services. Head west and up the stairs and you'll run into a squad of enemy Sky Armor, forcing you to jump into your own. East of the enemy you'll find an ASAC emplacement, one of several around the castle, and until you deactivate them all you cannot fly around in your Sky Armor.
Head south along the perimeter wall once you've defeated the Sky Armor squad. In the south and to the east you'll find a red chest containing a Gemstone Jerkin. To the west you'll find a door into a building, and through it you'll find another Sky Armor squad. They're protecting a chest containing two Exchange Parts, as well as the second ASAC emplacement.
Head back to the main wall and go north at your first opportunity. On your right are stairs leading into a small courtyard. At the south end of the courtyard is a red chest containing a Halberd. In the north is a door, and inside you'll find two more doors. The door straight ahead leads back out to a clear where you'll find a chest containing two Exchange Parts, as well as the third ASAC emplacement. The door to the east leads to an overgrown field of grass, where you'll find a metal box containing an Ovelia F0200.

Return to the main walls and take a right. You're back at the intersection where you fought the first squad of Sky Armor. Head north, then east. There's a chest ahead containing two Demon Leathers, as well as a door. Inside and up one floor you'll run into two Guardian Mages and three Guardian Soldiers. They block the path to the roof of this tower, where you'll find the fourth ASAC emplacement.
Head back to the main wall. In the far north you'll find a squad of Baki Fighters. They're less durable than enemy Sky Armor, but hit harder and can counter your attacks if you don't strike strategically. You can either fight these guys or go around them on the west side. Either way, they're guarding a red chest containing a Pirate Gun and the fifth ASAC emplacement.


- In the north is a courtyard guarded by a ton of soldiers. They would be difficult it you had to fight on foot, but, fortunately, you can use your Sky Armor. They're guarding two metal boxes that contain a Paris FP200 Hammer & Shield H200.
- In the southwest are two clearings surrounded by trees. In the upper clearing you'll find a red chest containing Dragon Mail and a metal box containing a Kerberos FK200. In the lower clearing you'll find a metal box containing a Merlin FM200.
- East of the clearings in the southwest, across the water running through the area, you'll find a landing by itself. There's a metal box here containing an Agamemnon FA200.


- Head west along the northern passage and you'll run into a squad of two Guardian Soldiers and three Terror Terriers. They're guarding a storage room, within which you'll find a Strong Suit in a red chest, as well as an anvil. West of here you'll find a kitchen, as well as a merchant who will sell you things.
- On the east side of the castle you'll find a training yard, a common room full of tables, and two storerooms. The chest in the common room contains 2,300a, while the chest in the left storeroom contains two Fine Wools.
- On the west side of the castle you'll also find a training yard, a common room full of tables, and two storerooms. The chest in this training yard contains an Angel Wing, while the chest in the left storeroom contains two Meals.
- In the central hallway to the north of the library you'll find three sets of living quarters, guarded by a squad of Guardian Soldiers and Mages. In the central set of living quarters you'll find a red chest containing a Yahnagi Bow.
- In the southwest of the castle you'll find a small field filled with flowers. The red chest in this area contains a Topaz Amulet. North of the field is a squad of Guardian Soldiers and Terror Terriers, so be careful exiting.


- Eindrang, which hits one character for high damage
- Sturmwind, which hits everyone for moderate damage
Not a big deal so long as you have Amalia or your Cleric prepped, really. Pick one of the pair - Eindrang hits harder, so perhaps Drang - and chip away at him. Once he goes down, defeat the other. No biggie.

Defeating Sturm and Drang will earn you a Grimoire Shard. You'll also be treated to some truly crazy scenes, and the party will defy fate itself. You can enjoy what happens next yourself, though when you regain control of someone, you'll need to do the following:
- Push the orb north
- Push the orb east, north, and east
- Push the left orb east, both orbs west, one orb north and east, then the other orb north and east
- Push the orb east, north, west, north, and east