

Once you've had a look around Santalune City you're meant to head into the local Pokémon League Gym and tackle your first gym challenge. First, though, you should probably head onto the nearby Route 22 and fight some more trainers. They will help hone your team for the enemies to come. We'll come back to the Santalune City Gym once we dispose of everybody on Route 22.
Route 22: Détourner Way Pokémon
- Azurill - Uncommon, Tall Grass
- Azumarill - Rare, Surfing
- Bidoof - Rare, Tall Grass
- Bunnelby - Uncommon, Tall Grass
- Dunsparce - Rare, Tall Grass
- Farfetch'd - Rare, Tall Grass
- Litleo - Uncommon, Tall Grass
- Psyduck - Rare, Tall Grass / Surfing
- Riolu - Rare, Tall Grass
Route 4 Fishing
- Carvanha - Common (Good Rod)
- Goldeen - Common (Good Rod)
- Gyarados - Common (Super Rod)
- Magikarp - Common (Old Rod)
- Seaking - Uncommon (Super Rod)
- Sharpedo - Rare (Super Rod)
Enter Route 4 from the northeastern exit of Santalune City and head north. You'll soon run afoul of a trainer. There's a second a short trip east of the first, as well.
Rising Star Louise
- Psyduck, level 6
- Litleo, level 7

North of Louise is a tree to Cut down. Remember it for later when you can do something about it. Continue trekking east down the main path and you'll run into two more trainers. There's a third waiting in the grass on your left as the path veers south.
Lass Elin
Lass Elin
- Goldeen, level 6
- Marill, level 6
Rising Star Loic
- Riolu, level 9
Schoolboy Rabbie
- Pidgey, level 7
- Metapod, level 5
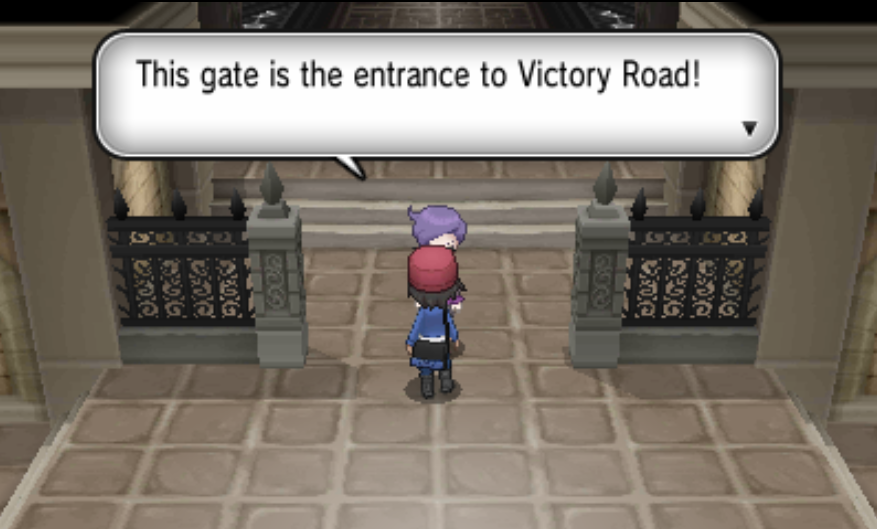
On the south end of Route 22 you'll come two final trainers, a body of water to the south, the path to Victory Road on your right, and a series of ledges on the left. The ledges will take you to a Super Potion, and back to the beginning of the Route. You can't do anything about the water or Victory Road right now, so you might as well take a left and return to Santalune City. The gym challenge awaits.
Schoolgirl Mackenzie
- Bunnelby, level 8
Lass Elsa
- Flabebe, level 8

Santalune City Gym
Heal up your team, then approach Santalune City Gym, in the northeast of Santalune City. There's a trainer out front, and she insists that you need Roller Skates before you can go inside. She challenges you to a battle. Agree to gain access to the gym, as well as some Roller Skates. You can use the Roller Skates to move around quickly while traveling outdoors.
Roller Skater Rinka
- Zigzagoon, level 7
Reward: 224 P

Slide down the pole by the man. The gym consists of a large web which you'll have to walk along to reach the gym leader. You can only walk on the thickened parts of the web, turning this into a bit of a maze. Start by heading southeast, where you'll run into your first gym trainer. You can also skip him by going north and along the edge of the web instead.
Youngster David
- Ledyba, level 10
Follow the web southwest of David, then north when you align yourself with the center of the web. You'll soon meet a second trainer. You can skip him by not entering the center ring of the web.
Youngster Zachary
- Spewpa, level 10

Carry on north, towards the platform with the gym leader. You'll be intercepted by another trainer before you can reach her.
Lass Charlotte
- Kakuna, level 7
- Combee, level 9
Once you defeat Charlotte your path will be clear. Heal your team and take the plunge.

Leader Viola
- Surskit, level 10
- Vivillon, level 12
Ahh, your first big challenge. Viola isn't insanely powerful, but she is pretty tough. Surskit is a straightforward Water-type Pokémon, and as long as you don't use a Fire-type you should be fine. Stick with Flying-type attacks or physical strikes that are anything but Water.
Vivillon is another matter. Though its Tackle attack barely stings, this creature has two things going for it: Durability, paired with a high HP, and the attack Infestation, which sucks away a bit of your Pokémon's health each turn. Vivillon can easily wait out your Pokémon while they suffer from the effects of Infestation. Switch out any Pokémon that becomes infested to dispel the damage, then take Vivillon out with Fire- or Flying-type moves.
Note that Viola can, and will, use Potions on her Pokémon when they get low on health. Try to get rid of these before Vivillon shows up.
Defeating Viola will earn you the Bug Badge, allowing you to control Pokémon up to level 30. She'll also hand over the TM83 Infestation, a handy move if you've got any Bug-type Pokémon on your team.

Return Trip - Route 22 Pokémon
- Azumarill - Uncommon, Tall Grass
- Bibarel - Common, Tall Grass
- Diggersby - Common, Tall Grass
- Dunsparce - Rare, Tall Grass
- Litleo - Uncommon, Tall Grass
- Psyduck - Common, Tall Grass
- Riolu - Rare, Tall Grass
First up, return to Route 22 once you can use Cut, which will happen not long after your initial visit. North of the western entrance, on the west side of the first field of grass, is a tree to Cut. Behind it is an Elixir.
Near the end of the Route, by the entrance to Victory Road, is a patch of water to Surf on and a waterfall to descend. Venture down here and you'll find two trainers.
Ace Trainer Adelbert
- Lucario, level 31
Ace Trainer Hilde
- Sharpedo, level 29
- Gardevoir, level 30

The Pokémon in the flower field are different from the ones that appear elsewhere on Route 22, and they are worth hunting. Down here you'll find a small cave called the Chamber of Emptiness. Not too foreboding. Inside is a Spooky Plate. Come here after upgrading your Mega Ring, between 8 and 9 PM, to find Banettite.
South of the Chamber of Emptiness is a Strength puzzle. Start by pushing the bottom stone on the upper path as far left as you can. Push it north one space, then circle to its left side and push it into the hole to the right. Next, push the stone on the far right down until it hits the rock, then left, then up and into the second hole. Last, push the final stone east and north, into the last hole. This will open a path to TM26 Earthquake.
The rock closest to the water on the west side of the puzzle contains a Full Restore. Check the wall to the left or where you dumped the second rock for a Max Elixir. Last, check the right of the area for a Tanga Berry.
Use Waterfall to ascend the waterfall on the right of this area. You'll find a Draco Plate at the top.