

A post-game treasure trove that will be largely unnecessary by the time you can access it, the Abyssal Ruins are an ancient, underwater dungeon teeming with items. There are no Pokémon to catch, but there are so many rare and valuable relics in the Ruins that having a look around a few times isn't a bad idea.


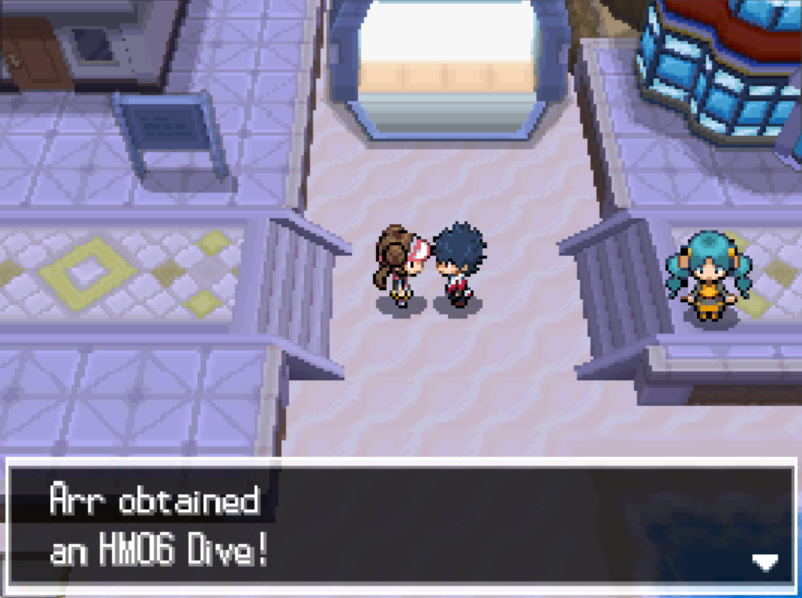
To reach the Abyssal Ruins you need to revisit Undella Town. Here you'll find Hugh standing near one of the exits. He'll give you HM06 Dive, and tell you to use it in Undella Bay. That will take you to the Abyssal Ruins. He'll also challenge you to a battle, so, why not?
Pokémon Trainer Hugh
- Unfezant, level 62
- Simipour (if Tepig was Hugh's starter) / Simisage (if Oshawott was Hugh's starter) / Simisear (if Snivy was Hugh's starter), level 62
- Bouffalant, level 62
- Flygon, level 62
- Eelektross, level 62
- Emboar / Samurott / Serperior, level 62
Reward: 6,400 P
You've handled Hugh before, so this shouldn't be a huge challenge. His two new Pokémon, Flygon and Eelektross, are powerful but nothing crazy. Flygon is easily handled with Ice- or Dragon-type moves, while the Eelektross is best countered with a Ground-type Pokémon. (Just be ready for Eelektross' Levitate Ability to prevent you from using Ground-type moves. Unless you can negate Levitate you'll need to use neutral moves.)
The Rules
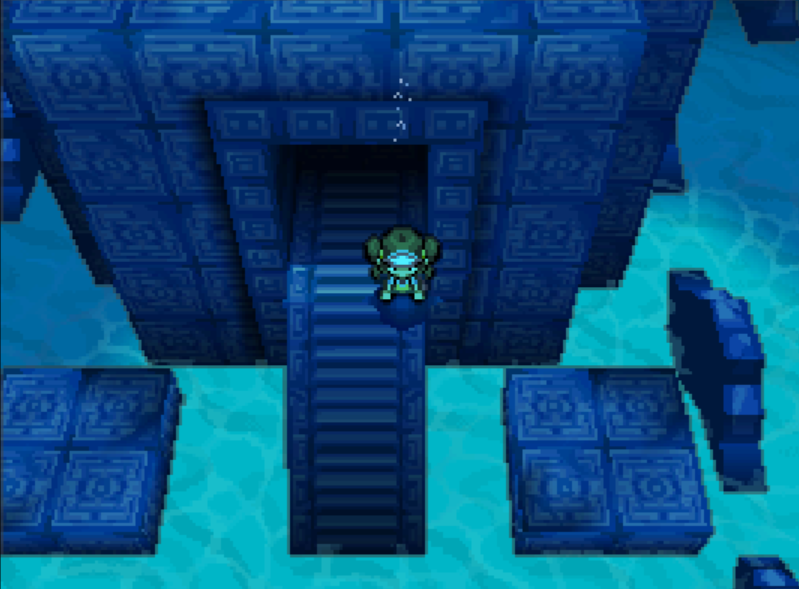
If you've ever explored a Safari Zone in a previous Pokémon title you'll quickly understand how the Abyssal Ruins work. Upon entering the Abyssal Ruins you'll be able to take 500 'steps' before the watery insides of the Ruins flush you back to the surface. A series of progressively louder sounds will let you know how much longer you have before you're kicked out and need to start over.
There are four entrances to the first floor of the Abyssal Ruins. In order to access them you'll need to Surf out into Undella Bay and use Dive on one of the four black spots in the water, arrayed in the north, south, east, and west. All of them lead to the same series of tunnels, though you'll find it easier / faster to pick up certain items by using specific routes.
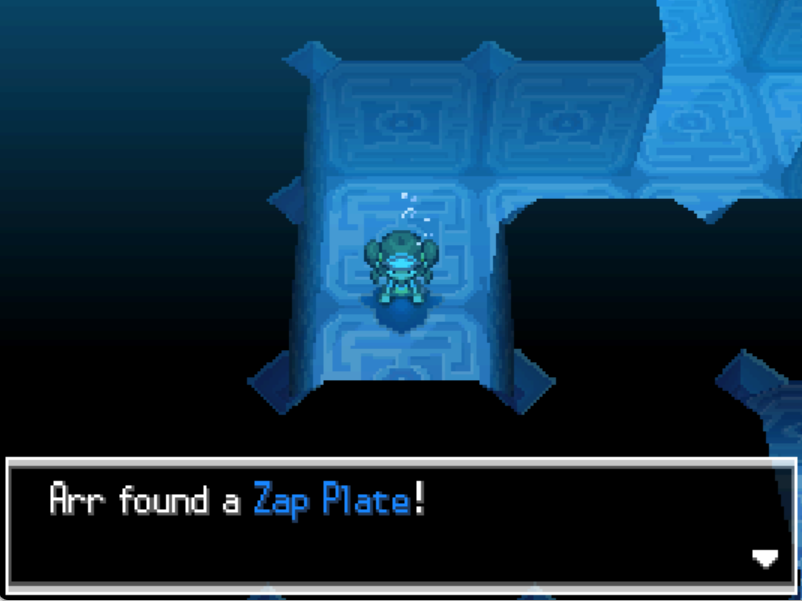
Which items you'll find in the Abyssal Ruins depends on which level you're exploring:
- The first level of the Abyssal Ruins contains a mixture of Plates and lower-level Relics that you can sell in Undella Town. The Plates are held items that boost a specific move type.
- The second, smaller level consists entirely of medium-price Relics.
- The third, even smaller level also consists entirely of Relics, all of higher value.
- The final level contains a Relic Crown.
The Relic items can be sold to the Black Belt Item Maniac in the west-most home of Undella Town. You can pretty easy earn more than a million Pokédollars by picking up all of the Relics, which is way more money than you'll ever need.
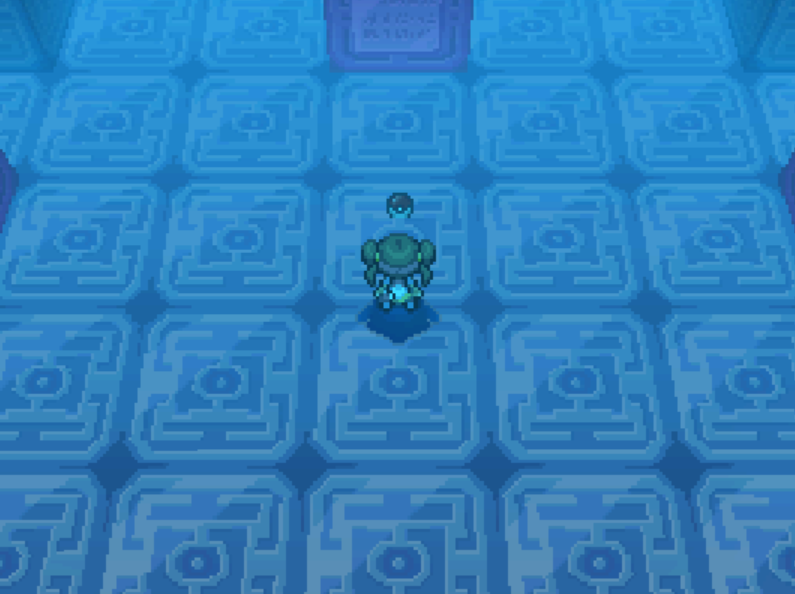
Exploring the Ruins
This walkthrough has decided to be lazy and not create another map of the Abyssal Ruins. Many, many other sites have already done so. We found these maps to be the most useful for navigating the Ruins and tracking down items. Saving the maps and using an image editor to keep track of which items you've already collected will help you efficiently collect everything.
In this guide we'll instead focus on getting you from the first level of the Abyssal Ruins to the fourth before you run out of time. Remember, you can only make 500 movements before you're kicked out, so to reach the end you need to choose your moves carefully. You will also need the moves Flash and Strength to get through the Ruins. Strength you get automatically during the game, but Flash you'll need to find in Castelia City.
- First Level - Starting from the western entrance, which is closest to Undella Town, you need to Surf through the tunnels until you reach the first intersection. Continue east to the next intersection, then head north, east, and north again. Take the second right and follow the passage south until it splits to both the east and the west. Take the lower, eastbound passage. The path to the next floor will be north of you. There's a block in your way that will only move if you reached it in 190 moves or less, so make sure you don't make many mistakes on the way.
- Second Level - Head south and take the second right. Go north when you hit the next intersection, then, again, take the second right. Go north along the upper edge of the area, then take the second left until you find a southbound passage. There's a block ahead, and you'll need to use Flash on it to get it out of your way. There are two exits beyond the block, and the northern exit will put you at a slightly greater advantage on the next floor.
- Third Level - Travel east from the northern entrance and go north at the second intersection. Travel east to the second southbound passage, then take the second right. There's another block ahead that you'll need to use Strength to move. The exit is the space just north of the block's starting point.
- Fourth Level - Done! Collect your Relic Crown, then swim around until you're kicked out of the Ruins.