

THREE DAYS LEFT, Part 6: THE DUNGEON
Want to display your love of OMORI for all the world? Get a collection of OMORI stickers, straight from Amazon! As an Amazon Associate I earn from qualifying purchases, at no extra cost to you.
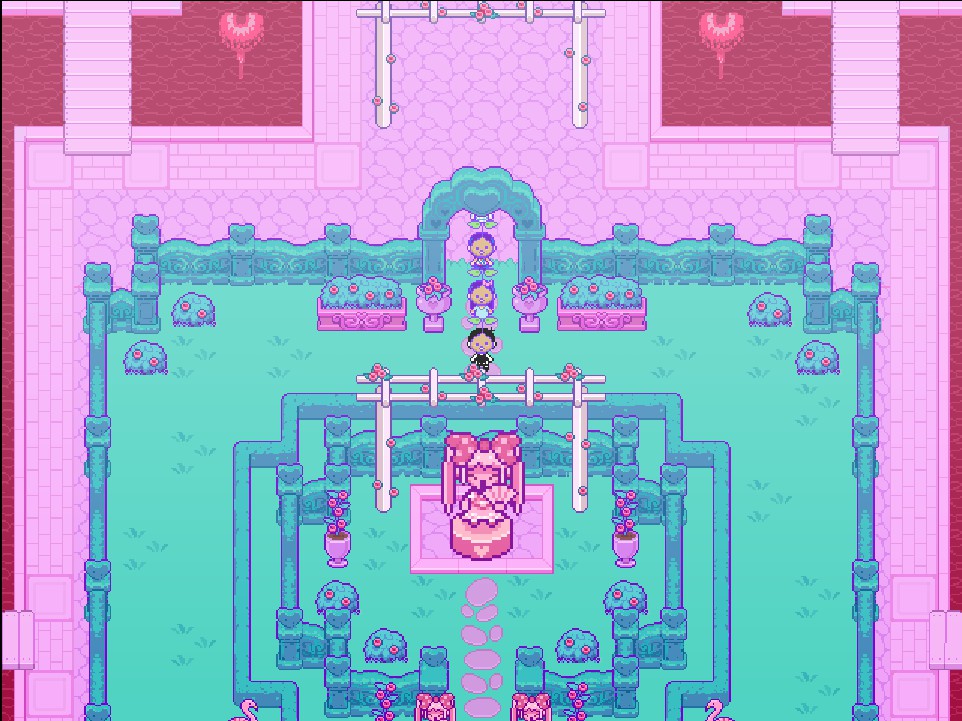
After emerging from THE DUNGEON the party finds themselves in the main area of SWEETHEART'S CASTLE, and thanks to quick thinking on HERO's part they don't get dumped back into their cell. Everyone's now disguised as SPROUT MOLEs, and you can explore SWEETHEART'S CASTLE... though you'll still get attacked if you run into anyone. At least the guards aren't actively hunting you down anymore?
There are a few new enemies to face when you find your way into SWEETHEART'S CASTLE, in addition to HAROLD and MARSHA from THE DUNGEON:
- LUCIUS - A hat-wielding SPROUT MOLE. Can use fiery magic to incinerate your party. Given their comparatively low health count, killing LUCIUS first is a good idea.
- THERESE - A bow-wielding SPROUT MOLE. Can make your characters ANGRY, but generally just pelts them with arrows.

The main entrance is blocked by hordes of adoring SWEETHEART fans, so you can't get out that way. There's a fountain just north of the front entrance that's worth inspecting, however. You can throw CLAMs into it. Chuck 9 CLAMS into the fountain and you'll make PEARLS appear throughout SWEETHEART'S CASTLE. If you head back towards THE DUNGEON you'll find your first one in the entry hall.
This main hub of SWEETHEART'S CASTLE branches off in four directions, each leading to a different section of the castle. You'll need to visit all four to proceed. We'll start by going down the top-right corridor and moving clockwise around the hub.

THE ROYAL KITCHEN (NORTHEAST)
When you enter this area the HEAD CHEF MOLE will declare that he's going to retire, as his back just can't take the workload anymore. Yet a cake must be baked for SWEETHEART, and the SOUS CHEF MOLE (one of them, anyway) promptly employs the group in getting the job done.
Grab the PEARL sitting near the chefs, then head up the stairs. Go through the door at the top and you'll find several back rooms to explore. Let's see what we can see:
- There are jars in the area containing CLAMS. Smack 'em with AUBREY.
- MARI is in the first room to the right as you enter this area. Save and rest here.
- In the north of the area is a cage with the letter J inside. Use AUBREY to bust the cage open and retrieve the Hangman letter.
- To the right of the cage with the J is another PEARL.
- There's a strawberry cake sitting on a table in the northeast that smells like garbage. Taste it and you'll apparently be teleported somewhere - the JUNKYARD, maybe? - where you'll find JAM PACKETS.
- The top-left room contains a pair of squabbling BUTLER MOLES. Check the bed for a BOW-TIE.

- Preheat the oven to 350 degrees
- Mix FLOUR and EGGS together in a bowl
- Mix SUGAR and BUTTER together in a bowl
- Dice up STRAWBERRIES on a plate
- Combine everything and put it in the oven
You don't get anything special if you complete the recipe successfully on the first try, though the SOUS CHEF MOLE will give you the wrong recipe altogether. If you fail spectacularly - say, maybe throw in pickles, or fish, or something - he'll die while taste-testing the resulting cake, and you'll earn an achievement. Fun! (The second chef is better at his job.) Grab the sparkling FRYING PAN from beside the chef once the recipe is done. This is a weapon for HERO.
Head back to the main hall of SWEETHEART'S CASTLE. On your way to the next wing you'll run into trouble, as one of SWEETHEART's elite guards, SIR MAXIMUS, sees through the party's disguise. (Regardless of which area you did first you'll face this guy.)

SIR MAXIMUS
Ah, the best of the best. MAXIMUS is a beefed-up version of the HAROLDs, relying exclusively on physical attacks to beat you down. He's not a big deal, really - just make him SAD and he'll lose a lot of fighting power, or make him ANGRY and use MOCK to blunt his attacks. Even just attacking and healing as needed should be enough to get you through the fight. Just watch out for his final attacks before going down, as MAXIMUS will hit the whole party - twice - and can knock someone out if their health is low.

ROYAL BALLROOM (SOUTHEAST)
Take the southeast hall in the main hub area and you'll wind up in a hallway. Follow it southeast and you'll find... PLUTO...? Well, whatever... check to the east for a PEARL, then head north, through the door of your choice. You'll wind up in the ROYAL BALLROOM. Ye gods, what is that noise...?
Head north up the main stairs and you'll find a VIRTUOSO MOLE, trying to whip a choir into shape. He seems to be struggling, and HERO offers to help. Apparently the SPROUT MOLES can't stay awake long enough to sing properly. KEL seems to know exactly what should be done, and asks to be TAGGED in.
Check along the southern ends of the balcony, left and right, to find FRIES and a PEACH SODA, and take a bite of the cake in the upper-right corner of the room to be teleported to... the ocean, apparently. You'll find JAM PACKETS waiting for you. There's also a PEARL in the upper-left corner of the room if you tossed change in the fountain.
All that done, swap in KEL. He'll set up five baskets of tomatoes, and you'll need to hurl them at any SPROUT MOLES in the choir that have fallen asleep. You don't need to be perfect, just move as quickly as you can between the baskets so the song sounds reasonable. You can keep trying until you meet the VIRTUOSO MOLE's standards. Hitting the SPROUT MOLES before they fall asleep works pretty well. You'll receive an achievement if just one of your three attempts sounds good to the VIRTUOSO MOLE.
Head back to the main hub. (You can dance with a SPROUT MOLE on your way out of the BALLROOM, if you wish.) The next area to visit, the southwest hallway, has four rooms for you to check out.

SOUTHWEST HALLWAYS
ROYAL GALLERY
The ROYAL GALLERY is down the western hallway from the entrance, past the lines of BUTLER MOLES that are desperately trying to block everyone. Just north of the entrance to the ROYAL GALLERY you'll find two MAID MOLES, each of which will give you a piece of TOFU. Thanks. In the north you'll find MAESTRO, who you may have seen near the JUNKYARD, displaying a toilet. Inside the toilet is RAMEN. In the northeast corner you'll find a face embedded in the wall, and if you've visited ORANGE OASIS you can probably smash through it with AUBREY to find some JAM PACKETS.
Two displays down from the toilet you'll find the K HANGMAN key. After you grab it you'll find a crack in the pedestal. Go into it and you'll be dropped into a familiar room from the real world. There are six photos in this room, each of which is scratched out with marker. (And they all have something in common.) When you leave the room the crack will be gone.

ROYAL THEATER
The ROYAL THEATER is along the southern path in the southwest corridors of the castle, accessible via two entrances along the south wall. There are tea and crumpets to eat beside SWEETHEART'S throne, and you can buy POPCORN from the POPCORN GIRL on the second level. Check the right side of the lowest level for a PEARL. If you wish you can watch a movie about SWEETHEART by checking the sparkle on the second level. It's... really something.

ROYAL LIBRARY
The ROYAL LIBRARY is just down the hall from the ROYAL THEATER, and it contains a lot of SPROUT MOLES. Make your way past the lines to the north end of the room. You'll find a GUEST LIST MOLE trying to sort out all the guests waiting to be admitted. He demands you kick out any SPROUT MOLES not wearing an approved color, which is to say, pink.
Put HERO in front and wander through the room, gathering up all the PINK? MOLES in the line and standing off to the sides. Once you've got all the PINK? MOLES following you around, return to the GUEST LIST MOLE and they'll be sent to THE DUNGEON. Good job...?
Before you leave, have a quick look around. Now that the PINK? MOLES are cleared out the guards standing in front of the bookshelves will have moved, allowing you to go up ladders and grab items. There's a PEARL on the left-hand stairs, near the top, and if you check up the ladder on the left-hand bookshelf near the north end of the room you'll find a BOOK. (The BOOK offers more EXP when equipped, making it a fantastic CHARM for one of your characters.) A bookshelf on the right side of the room, nearer the ground, has an INTERESTING BOOK on it that's part of a side quest, and the right bookshelf on the ground floor has a POETRY BOOK.

KEEPER OF THE CASTLE
The last area you can enter in the southwest wing is a bit of a secret. If you check the east side of the lower hallway in this area you'll find a parted curtain that you can enter. Beyond is a candlelit hallway that leads to an odd creature called the KEEPER OF THE CASTLE. It will share the history of the castle, and tell OMORI to come back once SWEETHEART is gone. (This is an OMORI ROUTE area, and not something you much need to worry about in a SUNNY ROUTE playthrough.)
Before you leave, TAG in OMORI and stand on the red grate just outside the KEEPER's room for a few seconds. Something... odd... will happen. (And again, this is different in the OMORI ROUTE.)
Head back to the main hub. Someone's in your way... again... kinda...

SIR MAXIMUS II
Ah, the son. SIR MAXIMUS II is pretty similar to his father, though he has more HEART and can make himself sad thinking about his pappy. The strategy you used on SIR MAXIMUS should work fine here as well.

ROYAL CHAMBERS
The northwest wing is the ROYAL CHAMBERS. In the entry hall you'll find a PEARL, right next to the elevator in the north. Climb into the elevator and ride it up to the chambers. There are a bunch of things to see in this room:
- Right in the middle of the room is SWEETHEART'S bed. You can, rather recklessly, have a nap in it. Doing so will restore everyone's health, and you'll receive a BODY PILLOW, a weapon for AUBREY. Ew.
- There's a PEARL sitting on the table on the right side of the room. Also on the table is a book of SWEETHEART's poetry, which is... just fantastic.
- To the right of the aforementioned table, partially hidden under banners, are a TASTY SODA, an ORANGE JUICE, and a PEACH SODA.
- There's a cake sitting on the table on the left side of the room. Take a bite and you'll be whisked off to a forest glade, similar to VAST FOREST. Inside the glade you'll find JAM PACKETS.
- To the left of this table are a WHOLE PIZZA, FRIES, and POPCORN, again hidden under some banners.
- In the top-left corner of the room is a FRUIT JUICE?, entirely obscured by a banner. The banner on the opposite side of the room, by the bookcases, hides a COMBO MEAL.
- In the rear of the room you'll find a door to SWEETHEART'S private balcony. You'll find a TEAPOT for HERO out here, and picking it up will teach him TEA TIME.
Inside the ROYAL CHAMBERS you'll meet CASTELLA, who's trying to dispose of a statue of CAPT. SPACEBOY. Put AUBREY in front to dispose of the statue. CASTELLA will replace it with another statue of SWEETHEART, and you'll be all done with the chambers. On the way out, though...

SIR MAXIMUS III
Hey, look, it's... another one. This member of the MAXIMUS line adds the ability to make himself HAPPY, and can hit harder as a result. Otherwise he's just a slight step up from his father.
Once you've explored the four wings of SWEETHEART'S CASTLE and defeated the three SIR MAXIMUSES - MAXIMI? - the party will notice that the main foyer has quieted down. This is a sign that all the SPROUT MOLES blocking the entrance have left, opening a path to the next area.
SWEETHEART'S GARDEN
Yep, you're not done yet. You'll run into a few new enemies in this area:
- HORSE HEAD - Can make itself HAPPY and your characters ANGRY. No big deal.
- HORSE BUTT - Can make itself HAPPY. Good for you, butt.
Before you do anything else, check to the west. Between two sections of topiary you'll find a trap door. Pop it open and you'll be back in THE DUNGEON. Hit the switch beside the ladder and you'll have a nice, quick path back to MARI'S picnic blanket.
Head to the SWEETHEART statue in the middle of the garden. (And have some tea, if you feel up to it.) The statue will come to life and demand a password. You don't know it, so it'll blast your lead character for giving the wrong answer. The four parts of the password are found in the four corners of the garden:

NORTHEAST - If you try to proceed through this section of the garden you'll be blasted by topiary statues. Head to the southern-most platform, put KEL in front, and do as AUBREY says, aiming for the statue on the right. This will give you access to another platform, where you can hit more statues on the left and right. Run north down the paths you've cleared to find a LEMONADE and a switch. The switch lowers spikes, leading back to the entrance... and nearby you'll meet BRIAN THE DISTINGUISHED. Choose anything but 'SURVIVAL' when prompted and he'll teach you his password, 'JELLY'.
SOUTHEAST - This section works the same as the last. Use the platform in the south to knock out the statue on the right, then hit the switch to the northeast. Use the platform by the switch to hit the statue on the left. The switch unblocked the path to a TOMATO, while destroying the left statue unblocks HELEN THE CALAMITOUS. She'll accidentally teach you her password, 'DONUT'.
(As you're exploring this section of the garden you'll see a conspicuous circle in the grass to the southeast. Check it to find a trapdoor. Beneath it is a large prison cell filled with RARE BEARS, and if you open their cell they will rush and attack you en masse. You'll need to defeat ten of them to get out. They all start off ANGRY, making OMORI'S MOCK very useful. Once the RARE BEARS are cleared you'll find two COMBO MEALS, two JAM PACKETS, a FOX TAIL, and a JACK for KEL in their cell.)

SOUTHWEST - You're getting the idea. Shoot to the right on the first platform, grab the nearby CHEESE WHEEL, and head south. Fire to the left on the next platform. The path through the topiary maze will lead to CAROL THE ILLUSTRIOUS. Give her a piece of TOFU (you can find it in the breakable jars in THE DUNGEON if you don't have any) and she'll reveal the next password: 'SWEET'. Hit the switch nearby to return to the beginning.
NORTHWEST - Same as before. Launch a rock to the left from the lower platform, then head north and launch rocks to the right and left. This will open the path to a WAFFLE, and in the south you'll find ALEX THE ESTEEMED. Pink-swear that you won't tell on him and you'll receive the last password, 'FILLED'. Hit the switch south of ALEX to return to the entrance.
(If you head south from the entrance of this topiary maze you'll find a big, blue mushroom. Sample it and you'll be transported to a forest. Here you'll meet J. SHROOM, and if you put OMORI in the lead the big mushroom will teach OMORI how to slice up big bulbs, such as the one behind J. SHROOM. Do so to release another mushroom creature and receive a DANDELION. You can now use this technique to free other YOUNG SHROOMS throughout the game. Interact with the YOUNG SHROOM again and his head will launch the party up to some JAM PACKETS.)

Head back to the central statue once you have all four passwords. The complete password is 'SWEET JELLY FILLED DONUT'. Supply it and the statue will shift to the side, revealing a trap door. Head on down. You'll find a bunch of jars to break and a PEARL in the passage below, and as you head south you'll find a SMUGGLER JASH with plenty of goods on sale. The pickle jars in this area will restore your health, and there's a save point in the south.
(If you're doing side quests you'll find a RARE BEAR on the right side of the room. Defeat it to receive a TEDDY BEAR. Someone in PYREFLY FOREST wants this back.)
Heal up, save, and go up the ladder in the far south of the room. You'll be back where this whole mess started - and the lady of the moment wants a few words with you.

SWEETHEART
What a nasty customer. Often faster than the majority of your party members - and this only gets worse as the battle wears on - SWEETHEART will spend most of the fight slapping your characters or attacking with her mace for a lot of damage. She can make herself HAPPY, and occasionally she'll use SHARP INSULT to make everyone in the party ANGRY. This puts your team at an immediate disadvantage since ANGRY is weak to HAPPY, and it gets progressively worse as SWEETHEART's level of HAPPINESS grows while you chip away more of her health.
Ideally you'll want to make your characters SAD to capitalize on SWEETHEART's perpetual HAPPY status, which means using either POETRY BOOKS, RAIN CLOUDS, or OMORI's SKILLS. Using PAINFUL TRUTH and SHUN early in the fight will give SWEETHEART a defense debuff, before you can no longer manipulate her EMOTION, and PAINFUL TRUTH will allow you to quickly switch OMORI away from ANGRY if his EMOTION gets swapped. Everyone else can either focus on healing, switching EMOTIONS, or just walloping SWEETHEART with their strongest attacks (AUBREY'S MOOD WRECKER is a good one) and debuffs. So long as you keep your party either SAD, or, less ideally, HAPPY, SWEETHEART should never be able to one-shot your characters.
You'll receive an achievement for defeating SWEETHEART, and the aftermath will end more happily for the pink-clad tyrant than you might expect. Once SWEETHEART is gone the fun will abruptly go with her, and you'll need to approach the big hole in the north of the map. (There are new side quests that you can do in SPROUT MOLE VILLAGE right now, if you wish, though this article has gone long enough. Suffice it to say that this is your last chance to explore the entirety of HEADSPACE for a little while, so if you have anything you need to do, this is the time.)
Without spoiling too much, when you enter the hole on the stage you'll wind up in a library. Make your way south, slicing through cobwebs and reading books on the shelves, at the tops of ladders. In the bottom-left corner of the area, assuming you've read all the book excerpts, you'll find a small room with a familiar - but shadowed - figure. In the bottom-right corner of the area you'll find the letter L for HANGMAN, and if you check the light behind it you'll be shunted out of this place...
... and back to WHITE SPACE.
WHITE SPACE
Yep. Gotta love this place. All you can do is tell OMORI to STAB himself. This brings THREE DAYS LEFT to an end.