The final leg of Alfyn's story takes place in Orewell, a remote mining town in the far west of Orsterra's Cliftlands region. It's located on the north end of the South Orewell Pass, west of the South Quarrycrest Pass. There's a strong chance you've never visited this town before, so we'll have a quick look around to see if there's anything of interest before letting Alfyn do his thing:
- There are several NPCs right at the entrance of town. The Villager on the right has the More Plentiful Provisions info that you can Inquire / Scrutinize, and the Oblivious Townsperson to the left of him has an Enlightening Necklace to Purchase / Steal.
- If you've been pushing her along her quest path then Kaia will be outside the Inn. She has a bunch of decent stuff to Purchase / Steal, if you haven't already.
- North of the Inn is an Elderly Woman who's blocking the entrance to her house. Challenge / Provoke her to gain access to her home. The Old Man inside has an Invigorating, Fortifying, and Magic Nut (M) to Purchase / Steal, and if you Inquire / Scrutinize him (which is not easy if you're coming here around level 50, which is already overleveled) a Hill Cleaver will appear near the entrance of town. The chest next to the Old Man contains a Scrap of Rope.
- In the northeast of Orewell is a large home with a save point out front. There's a chest with Soothing Dust inside.
- On the west side of town is a home with two NPCs outside. The Affable Merchant on the right carries a Rare Stone to Purchase / Steal, and he'll teach you the Dragon of the Cliftlands info if Inquired / Scrutinized. This info is part of a Side Story. The Villager blocking the house to the left has a Fire Amulet to Purchase / Steal, and a Revitalizing Jam will appear in her home if she is Scrutinized / Inquired. Challenge / Provoke her to get inside her home and you'll find a chest containing Weathered Boots. (Ever get the feeling that you're robbing some very poor people blind?)
- On the left side of the Tavern is a chest. It contains... 68 leaves. (Yes, these people are very poor.)
- There are three NPCs in the northwest of town, up on a ridge. The man on the left has the Discount at the Inn info to Scrutinize / Inquire, the Lazy Loafer on the right has... nothing great... and the Struggling Merchant up top has an Olive of Life (M). This last is part of a Side Story.

Plagued with doubt over what happened in Saintsbridge, Alfyn finds himself in the dried-up town of Orewell, asking for advice and receiving none. He does, however, discover that the people of Orewell need him, as a plague is sweeping through the community. Ogen arrives just as Alfyn is inspecting the patients, and the pair tend to the sick.
Alfyn needs a drink once he's done. Head to the Tavern and Alfyn will drown his sorrows in booze a bit. Ogen comes in, and the pair commiserate over the difficulties of their profession. On his way out of the Tavern Alfyn meets one of Ogen's patients, who confesses that he saw Ogen having health problems of his own. A little side cut to Ogen confirms that, yes, he is quite ill.
Cross the southern bridge and Alfyn will spot Ogen. The two will bicker for a moment... and then Ogen will collapse. Alfyn diagnoses Ogen... or tries, anyway... but the older Apothecary has no interest in cures, and takes off. Alfyn needs more details before he can properly figure out what's wrong with Ogen, and a patient on the left side of the house filled with sick people has the Ogen's Mutterings info that Alfyn needs.
Head to the Inn to trigger a cut scene with Ogen, and he'll confess his sins - which includes why he's so sick. Alfyn agonizes over what he should do, but a surprise letter from his buddy Zeph puts Alfyn back on the right track. Head back to the Inn and Alfyn will declare his intentions to brew up an elixir that will set Ogen to rights, and a quick flashback will allow you to Inquire Alfyn's role model for the Elixir Recipe. Not sure memories work like that, but... whatever.
Head to the northwest corner of Orewell. There's a path up here leading to the Forest of Rubeh, where Alfyn suspects he can find the key ingredient for brewing up a cure.

Trail to the Forest of Rubeh
Another clifftop path, the Trail to the Forest of Rubeh is short and fairly straightforward. You'll run into the following enemies on your way to the titular forest:
- Creepy Fledgling - Weak to Sword, Axe, and Lightning. Pretty basic melee unit that can buff itself.
- Woolly Spider - Weak to Sword, Axe, Staff, and Lightning. Hearty opponent that can put your characters to sleep. A bit less of a menace than it appears.
- Bloody Rhino - Weak to Sword, Axe, Staff, and Ice. Hefty enemy that will buff itself and then assault your party with strong physical attacks. Prioritize stunning and killing these things before they can wreak havoc.
- Dreadwing - Weak to Polearm, Bow, Lightning, and Light. Can debuff your party, but otherwise isn't a huge menace.
Walk west through the area until it sweeps north, towards a save point. Keep going west and down a ramp to find a chest containing Purifying Dust. Head back up the ramp and trek past the save point until the path splits. Take the lower path and it will lead you to a chest containing 20,000 leaves. Head back north and continue west; you'll cross a bridge, under which you'll find a chest containing an Energizing Pomegranate (M). The end of the area, and the beginning of the Forest of Rubeh, is a short trip further to the west.

Forest of Rubeh
The final dungeon of Alfyn's story, the Forest of Rubeh is filled with a contingent of new enemies for you to tackle:
- Wind Elemental - Weak to Ice and Lightning. Uses Wind attacks. Should be pretty weak compared to your party by the time you reach the Forest of Rubeh.
- Menacing Manticore - Weak to Sword, Bow, Staff, and Wind. Can blind your characters, and is generally an annoying melee fighter.
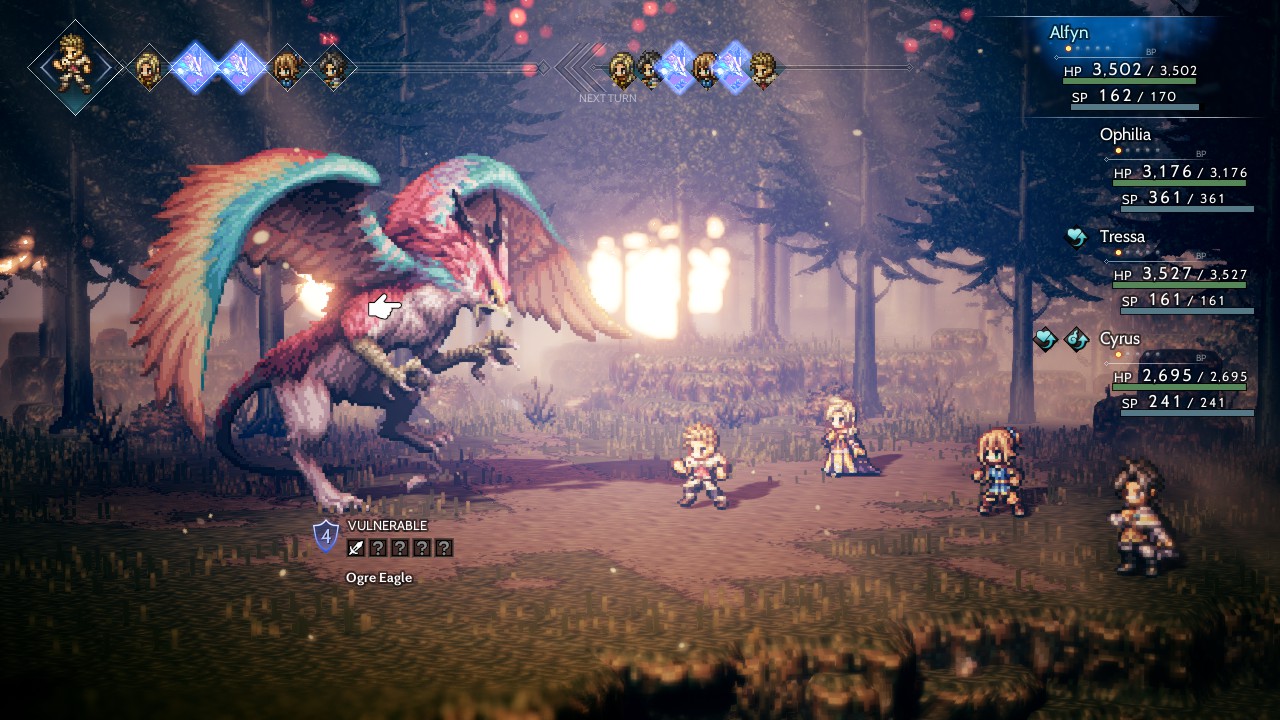
- Giant Eagle - Weak to Polearm. One weakness? Eesh. Mainly annoying because of that, but if you have a Polearm they're easy to stun and kill.
- Devil Deer - Weak to Axe, Staff, Lightning, Wind, and Dark. Can buff itself and dish out lots of damage, but is also vulnerable to a lot of different attacks. Make killing these a priority.

- Ettin Snake - Weak to Dagger, Axe, and Ice. Strong melee enemy that can quickly eviscerate your party members. Quick to stun, so get on it.
- Killer Chameleon - Weak to Axe and Ice. Can confuse your characters and is a bit difficult to hit at times, but overall is more of a nuisance than a threat.