
Part Nine: Saving Kid - Hydra Marshes (Home World)
In order to proceed in Chrono Cross you need to make your way through Mount Pyre, a fiery volcano that blocks the path to Fort Dragonia, the dungeon you briefly visited at the beginning of the game. Thanks to either Korcha or Macha you now have a boat, however, and can explore Another World at your leisure. This guide will focus on checking out each of the islands in Another World.
(If you try to approach Mount Pyre you'll hit a bank of fog. If you enter you'll hit a dungeon of sorts before you can make landfall. We're going to ignore this for now, and come back to it two articles from now.)

Hydra Marshes
Our first stop doesn't even involve the boat, but it will look familiar if you saved Kid. The Hydra Marshes of Another World are a worse place than their Home World counterpart, as the waters have become poisonous thanks to the total absence of Hydras. Until you have protective gear you'll be poisoned and take damage as long as you're trekking through the sludge.
Take a left at the entrance and go west, to the areas that vaguely resemble roots. Follow them west until you come to a pair of Goblins bullying a Beeba. Defeat them - they're both Green Innate, and not very difficult - and the Beeba will give you an Ancient Fruit. You'll need this for another quest much later. Follow the path north and then east from the Beeba, and keep going north on the next screen until you see a chest on your left. It contains an Electro-Jolt Element.
East of the chest you'll find two men. Speak to the one in purple and he'll give you Safety Gear. This key item will allow you to wander the swamp with impunity. Also here, if you defeated the Wingapede in Home World's Hydra Marshes, is a big hole. Leap into the hole if you have the opportunity and you'll be facing a rather sad boss.

De-Hydrate
The specter of the Hydra, the Black Innate De-Hydrate is a lover of Black Elements. It uses only three attacks throughout the fight. If the Field Effect is anything but all Black, De-Hydrate will either hit one character with Gravity Blow or your whole party with Gravitonne. Both are painful, but not that bad. Once the Field Effect reaches Black, however, De-Hydrate will switch to Black Hole, which is substantially harsher, and can wipe your party if you're unlucky. You don't want this to happen.
Fortunately, the answer is simple: Use any Element but Black. This will keep the Field Effect from transforming to all Black and prevent the De-Hydrate from using Black Hole. (You can also use Black Hole Trap Elements to earn yourself some powerful weapons, though you probably won't have enough of them to last the entire battle.) Heal as necessary and wallop De-Hydrate with White Innate attacks. Serge may have a bit of a rough time in this fight, but he'll also do tons of damage to De-Hydrate.
(One quick warning: Do not run from this battle. Unlike most boss battles the De-Hydrate will disappear forever, and you won't earn its unique reward. If you're losing, just reset your game and try again.)
You'll earn 780 g and the Freefall Element for defeating De-Hydrate. You'll also earn Hydra's Shadow, a Tech for a character that you likely won't be recruiting for a long, long time. Grab the Greater Pendragon Sigil from the chest in the south of this room, then use the slope in the north to leave. You'll wind up back near the entrance of the marshes.
Whether or not you fought the De-Hydrate you'll now be able to explore the rest of the Hydra Marshes, though for full exploration you'll want the Green Tinkler from the dwarf who's sitting at the bar in Guldove. Use this by the green tendrils in the marshes and they will turn themselves into ropes, allowing you passage. You'll find the following treasures exploring the Hydra Marshes:
- A Tablet Element by the log in the northwest corner of the first screen
- A Seed on the second screen to the north of the entrance
- A Carapace on the third screen to the north of the entrance
- A Copper in plain sight and a Bat Eye Element on the second-to-final screen of the Hydra Marshes, the latter of which you can access via a secret passage near the northeastern exit
- The Good Backbone (part of Skelly) in a small cave and a Tablet Element on the eastern screen that leads back to the entrance
- A Copper back on the first screen, if you went all the way through the swamp

Hermit's Hideaway
The first place we'll check from the boat is Hermit's Hideaway. It's a small island to the northeast of the main continent, and even from the main map it appears to be on fire. As soon as you enter the Burned-out Hermit's Hideout you'll be confronted by Harle, the clownish girl from Viper Manor, and she'll jovially engage you in combat.
Harle
Lynx's Black Innate sidekick, Harle bucks convention by using the other end of the spectrum as far as Elements are concerned. Besides her physical attacks, which aren't too bad, Harle will spend the fight hitting your party members with either Photon Beam, or, a little more rarely, Meteorite. Both Elements can hurt, but her constant use of them makes the Field Effect White, which doesn't help Harle's position at all. (Almost like she doesn't really want to hurt Serge. Interesting.)
This fight is pretty easy, so long as you don't bring any Black Innate characters (Mojo) into the battle with you. Harle will make Serge's attacks very strong, so let her fill up the Field Effect with With, then use Dash & Slash to pummel her health. Everyone else can use their own White Elements, healing as necessary. Simple.
Before you go killing Harle, however, you should spend some time trying to steal from her. Harle has two items: Photon Ray, which is just a normal White Element, and the Moonglasses accessory. When equipped the Moonglasses cut all damage by 25%, which is, obviously, quite good. You can only get the Moonglasses from Harle, so it's worth the time to put Kid / Mel in your party and try to Pilfer the accessory from her. Run if she gives up the Photon Ray or the attack just whiffs and try again. This might take a while, so be patient.
You'll receive a Photon Beam Element and 564 g for defeating Harle. Once she leaves - after further snarking about Kid - Radius will show up, or at least a version of him you haven't met before. Follow him into the remains of the Hermit's Hideaway and he'll give you a small info dump about the Acacia Dragoons. Spend the night, then be on your way.

Isle of the Damned
In the northeast of the El Nido Archipelago is the Isle of the Damned, a cursed area filled with powerful specters. You can go somewhat deep into this place, though without a specific item you can't access it all - and the enemies here will rip you apart if you try to fight them at your earliest opportunity.
That said, there are no enemies on the first screen of the Isle of the Damned, and you'll find two small, unlit caves here. The cave in the southeast contains an Eyeball, while the other in the northwest contains Mixed Bones that belong to Skelly. We'll explore the rest of the island in a later article, when it becomes more plot-relevant.
Marbule
In the southeast of the El Nido Archipelago is the Demi-Human settlement of Marbule. The people here aren't too nice to humans. If you check the Demi-Human in the pool to the north of the entrance you'll discover that he runs an Element shop, and his Elements almost all relate to status and stat changes. Very handy. No one else in the village aside from the Elements vendor and the elder will speak to you, at least not in friendly terms.
In the far north of Marbule is the cave of the Black Dragon, though it's sleeping. Remember that this thing is here. It's an important plot point later in the game.
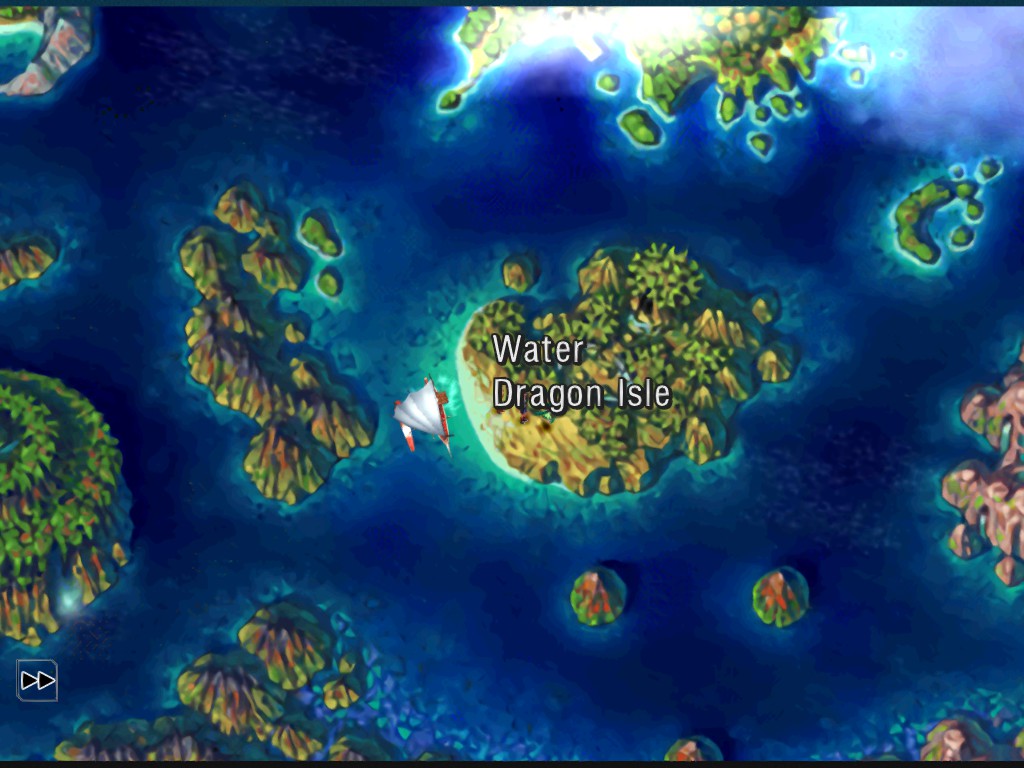
Water Dragon Isle
In the south is Water Dragon Isle, though this version of the place is suffering a terrible drought at the moment. You'll only find groups of explorers and Blue Innate Scorpiods, the latter of which are good for Feathers. Check up the hill on the east side of the first screen for an Iron, and up the handholds in the west for another Iron. The man in green on the right as you head towards the northern exit has Skelly's Sturdy Ribs.
To the north you'll find a small colony of depressed fairies. They speak of the Water Dragon, though you can't see it with the water all dried up. Check the west side of the screen for a chest containing more Iron, and along the trees in the east for a fourth Iron. With all this Iron you may want to make a trip to a blacksmith for some new gear - and whether you do that or not, you're done at Water Dragon Isle for the moment.
Earth Dragon Isle
Located in the north of the Archipelago, Earth Dragon Isle is a sand-covered rock populated only by explorers. Check to the north on the surface and you'll find a giant hole. Jump into it and you'll land in a huge cavern, atop a pile of sand that will slowly drag you to the left. Resist the current and hop off the sand on your right. Look south for a Brace Element, then head back north and take a right. Down a drop on your right is a sand boil that will launch you back to the surface if you use it.
In the south of this room you'll start running into Fossickers. They're Yellow Innate enemies with a lot of health and the ability to summon Bombers that can self-destruct on you. It's worth Pilfering Fossickers, as they're holding Mythril that you can use to make high-quality equipment. They'll also drop Mythril every now and then.
Head into the next room over and you'll find an even larger room, also filled with sand. Take a left at the entrance to find a Capsule Element, then backtrack to the entrance and go south. Follow the path south and east to find an Upheaval Element. There's another path above you, but you can't reach it until you do something at the Earth Dragon Isle of Home World, and you won't be able to go there for a while. Return to the surface and leave.

And The Rest
In addition to the islands above there are five more locations you can visit with your boat:
- The Sea of Eden, the cloud-covered cluster of rocks in the east
- The El Nido Triangle, just south of Water Dragon Isle
- Gaea's Navel, in the southwest corner of the map
- Sky Dragon Isle, just south of Guldove
- Forbidden Island, a tiny, smoking landmass just off the northeastern coast of the main continent
You can check these spots out now, if you wish, but they're all devoid of items, and three of them - the Sea of Eden, the El Nido Triangle, and Gaea's Navel - are largely inaccessible.
That's all for the world map at the moment. You now have two choices of destination, and we'll next look at the one in Another World: The mysterious fog bank that's blocking the path to Mount Pyre.