

Sacrosanct Spires and Hunting Fields - Enemies
- Anointed - 165 HP - Weak to Blunt
- Owlsassin - 133 HP
- Scout - 138 HP
Now that your team has been restored to a full five members you're headed to Sacrosanct Spires. Look for the huge island in the northwest of the underground's ocean and you'll find it. The landing spot is in the southwest of the island. There's a campsite right by the entrance, and if you inspect the giant purple crystal blocking your way B'st will, with flair, remove it for you.
The next room is a tower. Start climbing stairs and walls. Eventually you'll make your way up to your first set of enemies, an Anointed and a pair of Scouts. Neither of them are terribly dangerous, though they're not pushovers either. The Scouts attack more often and have less health so you may want to wipe them out first.

Climb the wall to the north of the battlefield and keep going until you reach two grapple points. Swing across to the east side, then look a little ways northwest for a wall ring that you can pull out with the Graplou. This will raise a platform over on the west wall, but only for a limited time. Swing back the way you came and start climbing up the steps as quick as you can.
A bit further up you'll run into two Anointed. Drop off of their platform to the left and climb the long wall in the west. This will get you up to a grapple point, and on the other side you'll find the exit - as well as a chest containing Sapphire Ore. On your way out the exit you'll be treated to a cut scene with three ominous figures, one of whom looks... a little looney?
This will take you out of Sacrosanct Spires. Head east to your next destination.
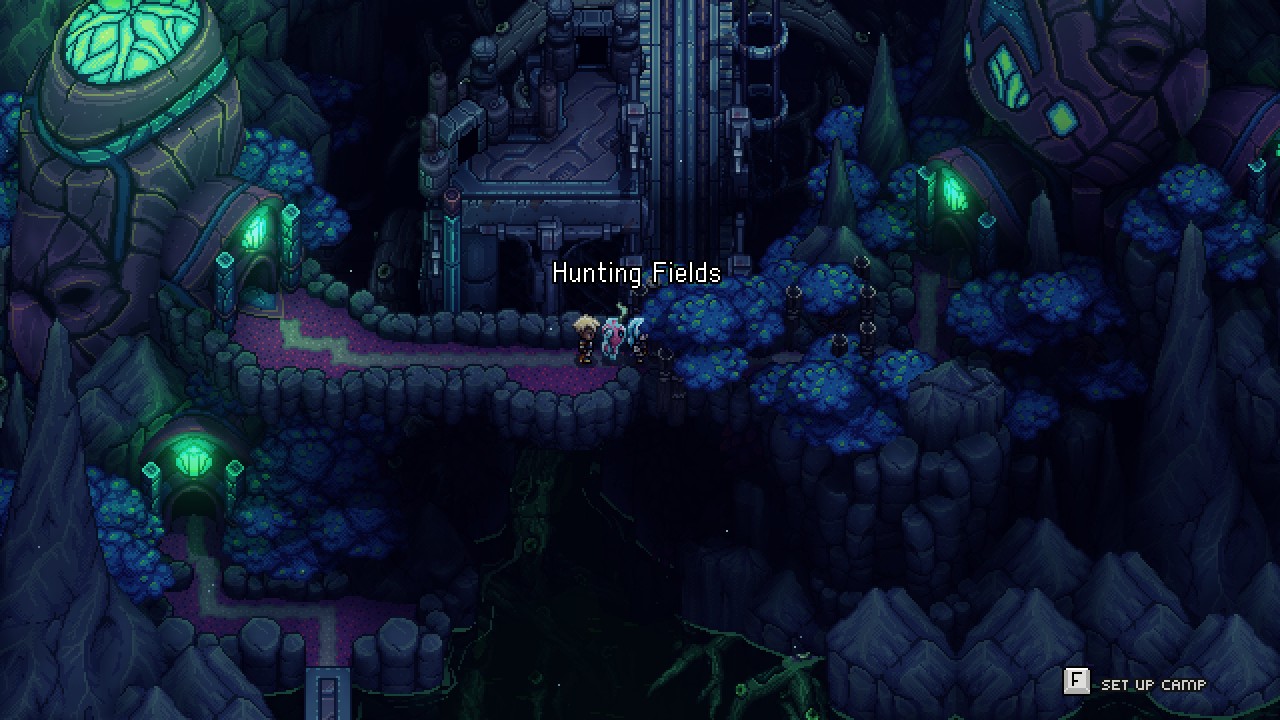
Hunting Fields
Your next stop is a forest full of pitfalls. Head east of the entrance and grapple over to the climbing nets to the north. Continue to hop and grapple your way to the east and you'll find a campsite. On the right side of the campsite is a lever that will open the way forward, as well as bring two Scouts and an Owlsassin out to play. The Owlsassin is a bit tough to block but overall not a big deal.
Rest your wounds after the battle - might as well, the campfire is right there - and continue east. There's another lever ahead that will lower walls to the north, letting you get at a third lever. Pull this one, though, and you'll be trapped by Rachater, the local hunter. After a brief conversation he'll dump you into a little pen, and you'll have to fight an Owlsassin and a Scout.


Completing the puzzle will raise a ladder to the second level. There are two floor panels here that will shake some nearby tiles, though not enough to make a difference just yet. Keep climbing until you run into a pair of Owlsassins, then climb the final wall to the top.

Up here you'll find a ball that you can blow around with the Mistral Bracelet. Blow it onto one of the two floor tiles near its resting place, then step onto the other floor tile yourself. This will open a hole to the southwest. Blow the ball into the hole and follow it down. There's another hole to the east on the next floor, and it will take you to the second floor, where there are two more tiles. Again, put the ball on one and yourself on the other to open some holes.
Blow the ball into the western hole and it will crash through the ground on the lowest level. Hop down the chasm it opened and you'll drop into a chamber full of enemies. Below you are an Anointed, an Owlsassin, and a Scout for you to defeat. North of the enemies is a chest containing a Crystal Egg, as well as a lever that will open a barrier to the south.
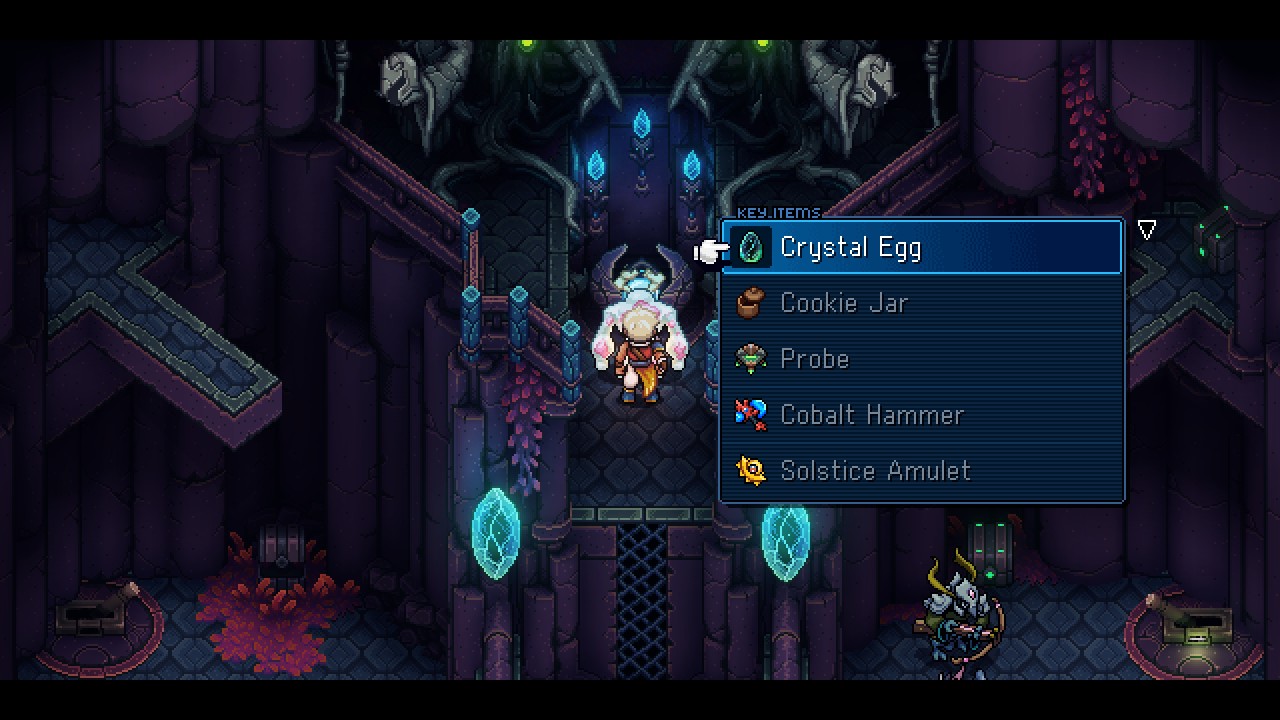
Walk through the barrier, then climb your way north. There's a shrine up here where you can place the Crystal Egg, which will open a wind tunnel in the previous section of the spire. Go south of the shrine and you'll find an elevator that will take you back up to that chamber.
Before proceeding, however, climb to the second level of the tower. There's a hole on the right that you couldn't access with the ball, thanks to some barriers. If you jump down this hole yourself you'll land back in the chamber with the shrine, albeit on the other side. You can hop down and fight two Anointed and a Scout, which will give you access to a lever, as well as a chest containing the Recipe for Champion's Omelette. The lever lowers the barrier and lets you use the elevator again.
Blast to the top of the spire using the wind tunnel and you'll find an exit on your left. You're back on the world map again. Head west.

Seat of the Triumvirate
You're almost there. This small area has a campsite and save point for you to use, and if you check the west side of the area you'll find a chest containing a Rainbow Conch. Climb the stairs to the north and you'll find a chest containing a Neobsidian Staff for Valere. Keep climbing and you'll find some challengers waiting at the top.
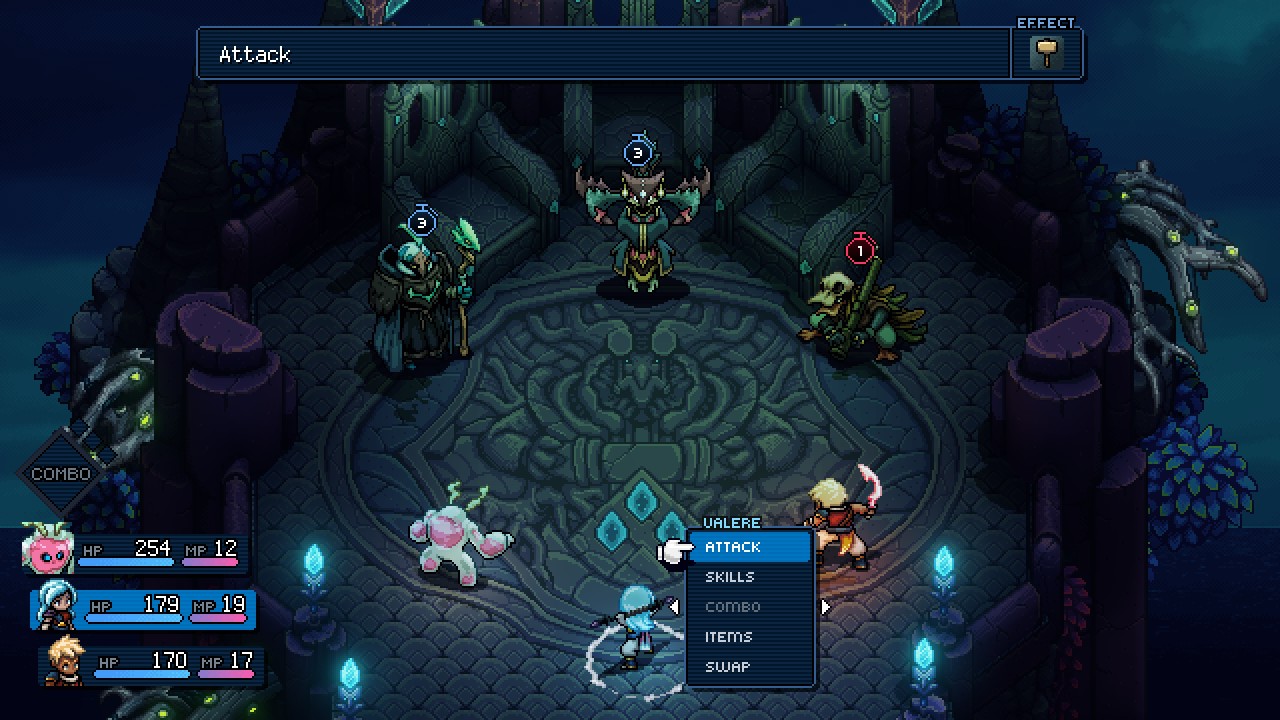
Abstarak, Brother Casugin, and Rachater
All three at once? Yep, all three at once. Apparently you've offended the sensibilites of this grand council, and now you need to pay the price. Time for some fun. Abstarak, Brother Casugin, and Rachater use the following attacks:
- Single-target spells (Abstarak and Brother Casugin)
- An AOE bomb attack (Rachater)
- Get Zook'd, a four-Lock, three-hit attack on a single target (Rachater)
- Mend Mind, a three-Lock healing spell for the enemy party (Brother Casugin)
- True Terror, a five-Lock AOE attack that reduces everyone to 1 HP (Abstarak)

- Rachater should go first. He's a persistent nuisance who can dish out some serious pain if you don't block his Get Zook'd attack.
- Abstarak is second. He's not terribly dangerous until he brings out True Terror, but that one move is awful.
- Last is Brother Casugin. Yes, the healing is an irritant, but by this point in the game he usually won't heal enough to make a huge difference in the fight. (Though if you wind up really hating Mend Mind, by all means defeat him first.)
