Part 3: Mountain Trail
Main Walkthrough
Elder Mist Trials - Enemies
- Tern - 5 HP - Vulnerable to melee attacks
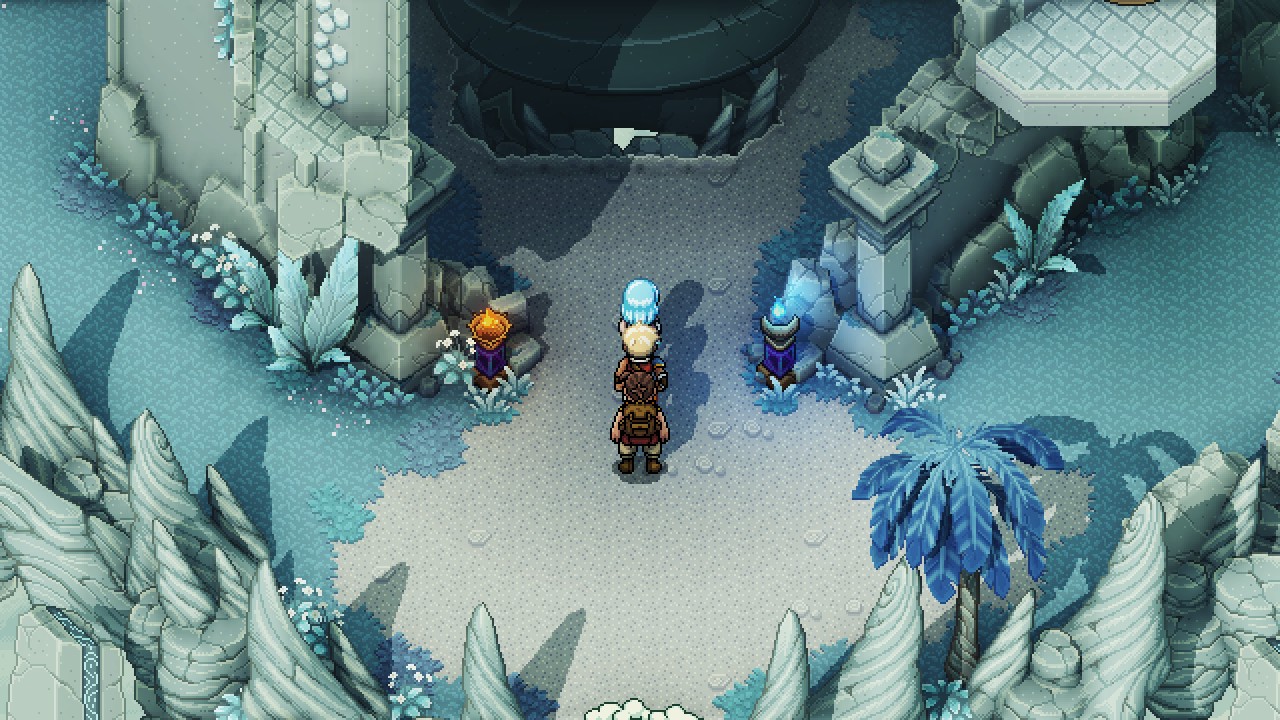
The next step on the path of the Solstice Warrior, the Elder Mist Trials are a quick dungeon that will unlock a new combat skill: The use of Live Mana. We'll discuss it in a moment, though first you should note that you can exit the Elder Mist Trials via the swirling circle at the entrance. There's a save point to the east of the Elder Mist's pool, back on the Mountain Range, and you can grab some Grains and Potatoes over here as well. Just sayin'.
Head north of the entrance to the Elder Mist Trials and you'll find a Tern, a simple, floating enemy. Your melee attacks will do no damage to the Tern, and you can't use Skills in the Elder Mist Trials. That said, you can draw on Live Mana to inflict damage via your weapons. The process for doing this is simple:
- Strike an enemy with a normal attack to generate Live Mana
- Activate Boost by holding down the proper button (varies with system)
- Allocate as much Live Mana to the character as you desire
- Choose an attack
Live Mana can be allocated to any attack you choose, Boosting the effects. This will also add the character's innate magic type to the attack, so if Valere Boosted her normal melee attack it would gain the Moon type. You'll need to use Live Mana to defeat all of the enemies in the Elder Mist Trials, as nothing else will damage them. (Note that your characters will get in a little introductory whack if you approach an enemy from behind to start the battle, which generates a bit of Live Mana to get you started.)
North of the battle with the Tern you'll find a campsite and a save point. You'll also find three more swirling portals, each of which you'll need to enter to complete the Elder Mist Trials. Let's get crackin'. You'll face plenty of Terns along the way, and keep in mind that you must Boost your attacks to hurt them - though you only need to Boost once to do enough damage. Don't suck up all that Live Mana with one character!
Northwestern Portal
Head northwest and you'll find a few Terns near a beige platform. Check to the right of the platform for a chest containing Basic Armor, then pull the lever to the south of the platform to create a path on your left. This leads up to more Terns, as well as a rope ladder. Push the rope ladder down to the lower level.
Climb down the rope ladder and hit the lever again. This will return the beige platform to its original spot. Climb back up the rope ladder and hop onto the beige platform. This will allow you to get onto the broken path on your right. Follow it to find more Terns. Take them out to raise a diamond-topped device. Inspect it to complete the first trial.
Northern Portal
There's a broken tower dead ahead. Go inside and check the rear wall to find a climbing spot. There are three murals scattered throughout this tower, and each one asks a simple question of you. Answer correctly and the tower will create a path forward. Answer incorrectly and you'll have to fight one or more Terns, though you'll still find the way forward after the battle. The path is straightforward.
The answers you need to supply are as follows:
- Attacking
- Zenith Academy
- Eclipse
Between the second and third mural you'll wind up beside a tightrope. Look on your right before crossing the tightrope and you'll see a chest on a lower level. It contains the Mushroom Scramble Recipe.
Inspect the diamond-topped device that appears after answering the third mural's question to end this trial.
Northeastern Portal
Climb and hop your way to the east. On the side of the main path is a chest containing a Shiny Pearl, but other than that this is a navigational test. Climb the wall on the east side of the area and you'll eventually find your way to a battle with three Terns. Hop down the cliff south of them to find a lever. Pull it, then take a right and circle back around to the clearing where you fought the Terns. The last diamond-topped device is to the southwest.
Completing all three trials will raise structures in the place of the portals, as well as a small pot. Heal and save by the campfire, then check the pot to begin your final trial.
Elder Mist
HP: 90 (Elder Mist's Sword)
Weakness: Moon, Sun (Elder Mist, Elder Mist's Sword)
Well, he got... bigger. Elder Mist isn't too bad, though if you run into this fight half-cocked and aggressive you'll get into trouble. Elder Mist uses the following attacks:
- A single-target melee fist slam
- An AOE counterslash if you attack Elder Mist while Elder Mist's Sword is active
- Healing Mist, which restores some of Elder Mist's HP
Elder Mist's Sword is a separate enemy here, and it won't do anything else you try to attack Elder Mist while it has health. Do that and you'll get hit by a nasty AOE swipe. Otherwise Elder Mist will maul your characters with his fist, and occasionally heal himself (assuming you fail to wipe out his Locks in time, anyway).
First thing's first: Take out Elder Mist's Sword. It doesn't have that much HP, and you absolutely don't want to get hit by the counterattack. Valere and Zale's Moon and Sun magic will make short work of it. That done, Boost Valere and Zale and use their Skills or normal attacks. Elder Mist is vulnerable to their respective elements, and can't last long under a sustained assault. Garl can help generate Live Mana or heal the party, as needed.
You'll receive a hearty congratulations from Elder Mist after the battle is won, and the trial portals will reappear in case you missed out on any treasures. Return to the Mountain Trail and the Elder Mist will introduce you to a new mechanic: Changing the time of day. Simply step onto the nearby purple diamond and hold down the intdicated buttons. This will shift day to night and night to day as you hold down the button.
Why bother doing this? To complete puzzles, of course. There's a crystal near the diamond, and as you change the time the light of the sun and moon will shine through the crystal, creating a beam that changes position with the time. Alter time so the beam is shining on the top-most of the five diamond-shape indents next to the crystal. This will charge up the track of indents and create a bridge leading west. Proceed across the bridge and you'll find another crystal with more tracks, and you need to adjust time again until the beam falls onto the top of the track on the left of the crystal.
Run across the bridge and you'll find your way off of the Mountain Trail. You're now back on the world map. Head west and you'll find an ominous-looking location called Evermist Island's Landing. Speak to Elder Mist here to unlock the No, wait! Achievement, and to, uh... be... hurled. Off we go!
Return Trip
Head back to the Elder Mist Trials once you've found the Mistral Bracelet. If you go through the northwestern portal you'll find a large block on the left side of the path. Blow it to the left and you'll uncover a chest containing a Rainbow Conch.
Part 5: X'tol's Landing and Moorlands
Main Walkthrough